|
Home
Why an RV?
Choices
Search
Empennage
Empennage Attach
QB Wings
Bulkheads
Aft/Center Fuselage
Forward Fuselage
Cockpit 1
Cockpit 2
Cockpit 3
Tip up Canopy 1
Tip up Canopy 2
Tip up Canopy 3
Avionics/Panel 1
Avionics/Panel 2
Avionics/Panel 3
Avionics/Panel 4
Firewall
Tricycle Gear
Engine/Prop 1
Engine/Prop 2
Cowling 1
Cowling 2
Baffling
Ram Air
Last 10 Percent
Last 5 Percent
Last 3 Percent
Last 1 Percent
Phase 1
Phase 1 pg. 2
Phase 2
P-Mag Install
Videos
EFIS Flight Logs
Tips & Mods
Links
Fine Living
Avionics Manuals
N447RV Documents
Helpful Builder Docs
FAA Documents
Contact Information
The Boo
| |
Tricycle Gear
| 7/12/04 |
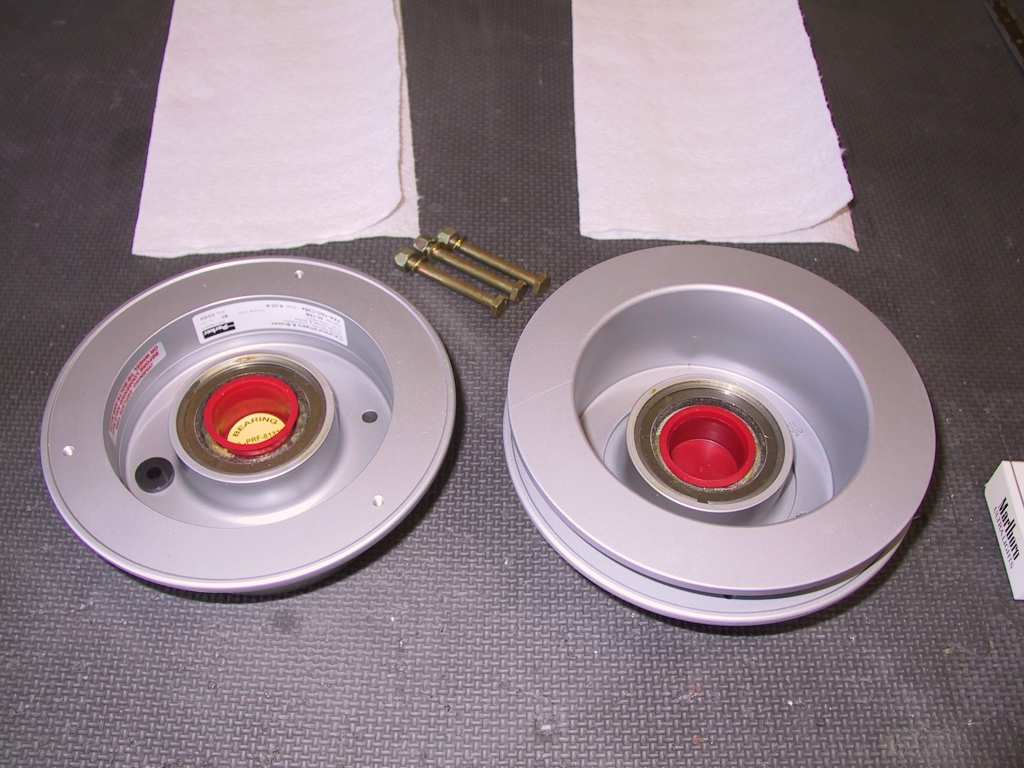
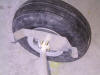
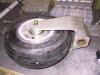
Tonight, I decided to see if I could get the brakes and wheels
started on the gear legs. Vans plans for this absolutely sucks.
Worst ever. Details are seriously lacking. Anyway started by
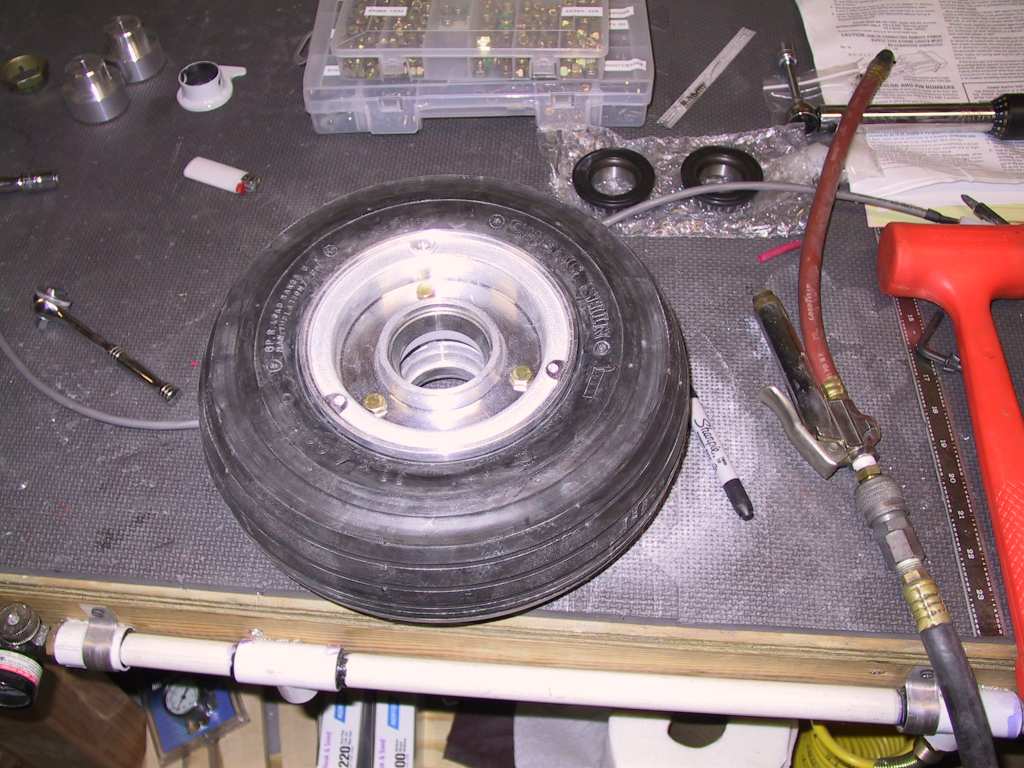
repacking the bearings. Pretty easy with the bearing packer.
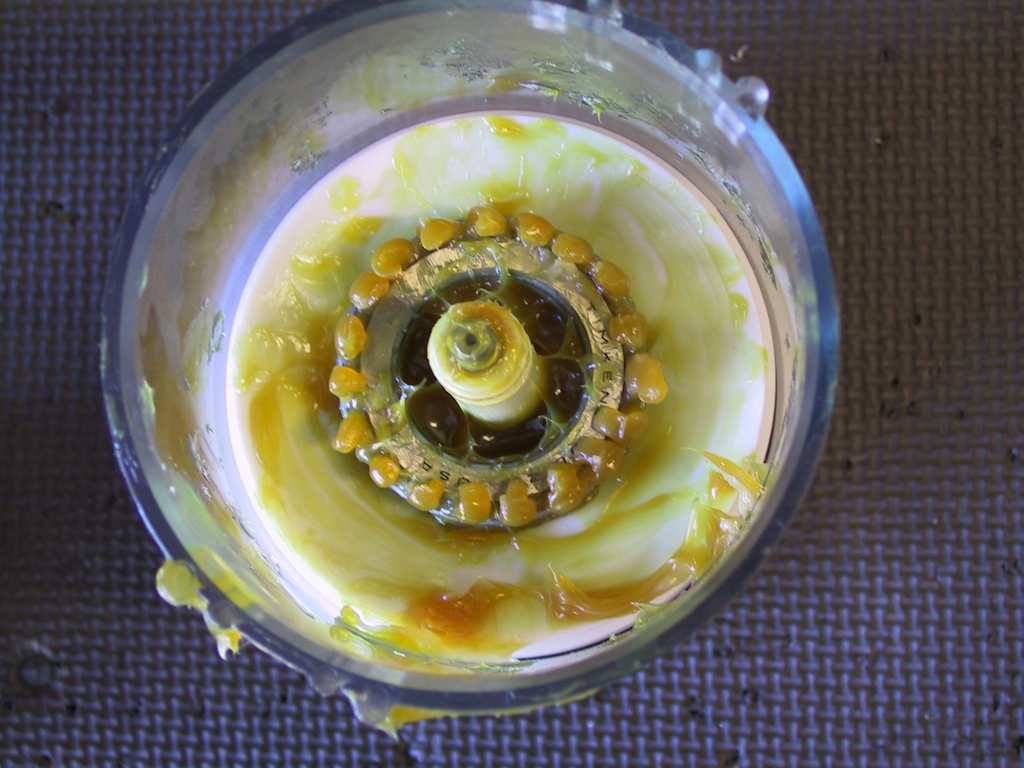
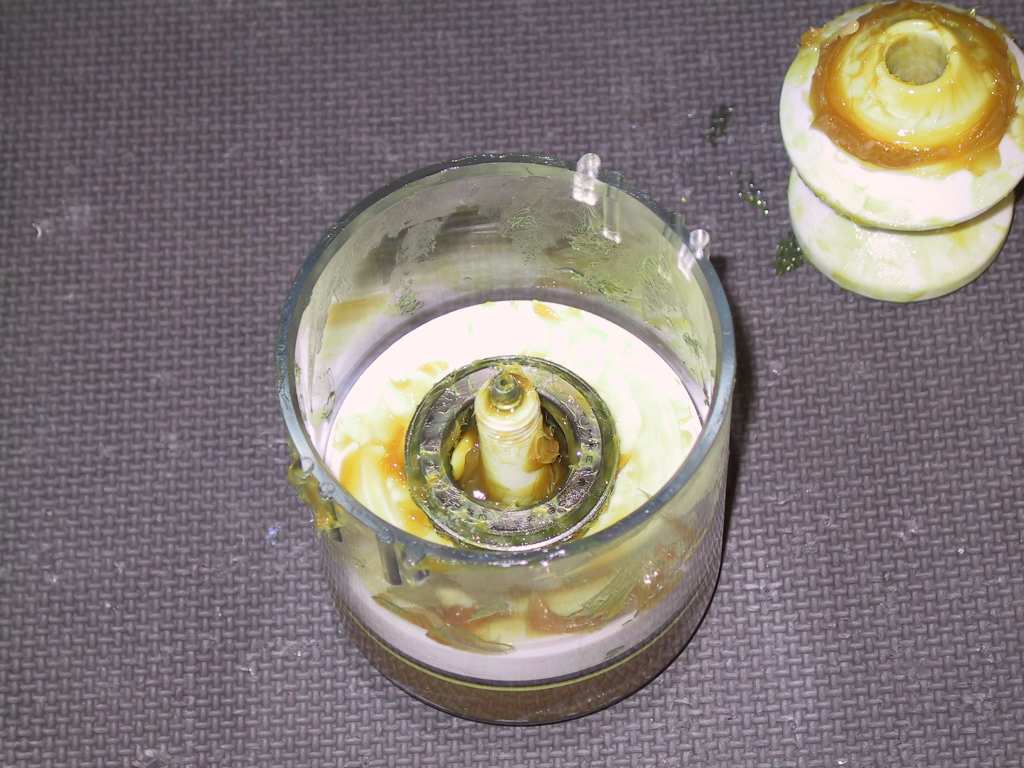
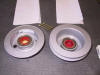
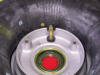
Split the tires, there are three bolts. Watch out because the disk can
seperate from one half of the tire and you wouldn't want it landing on the
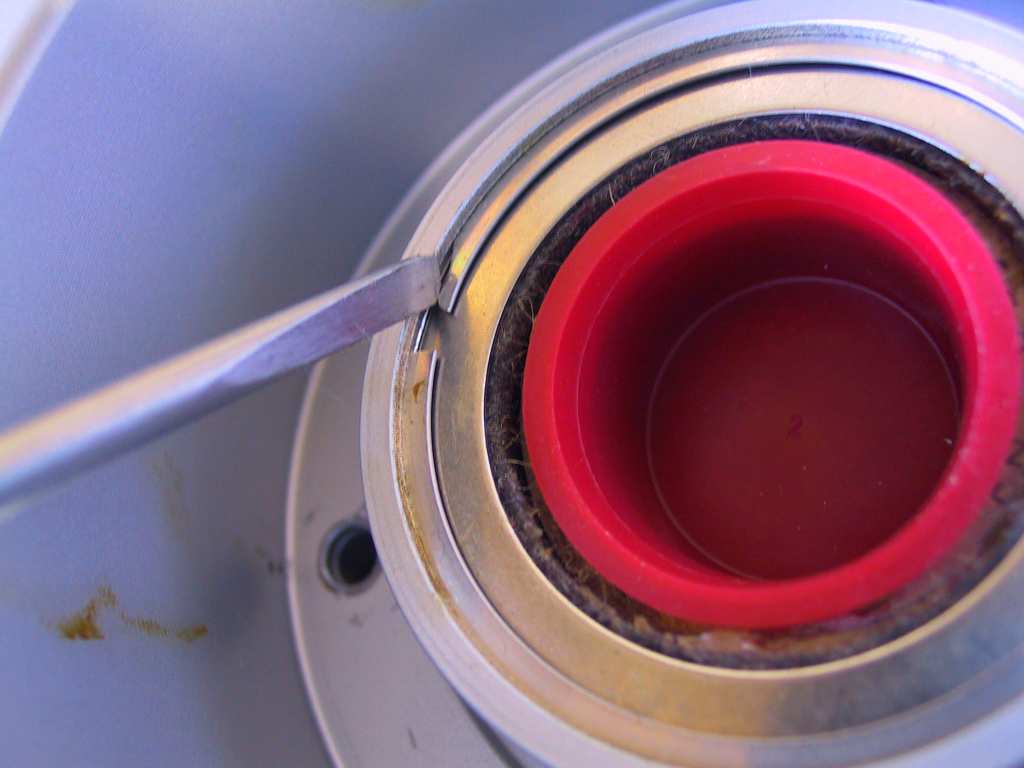
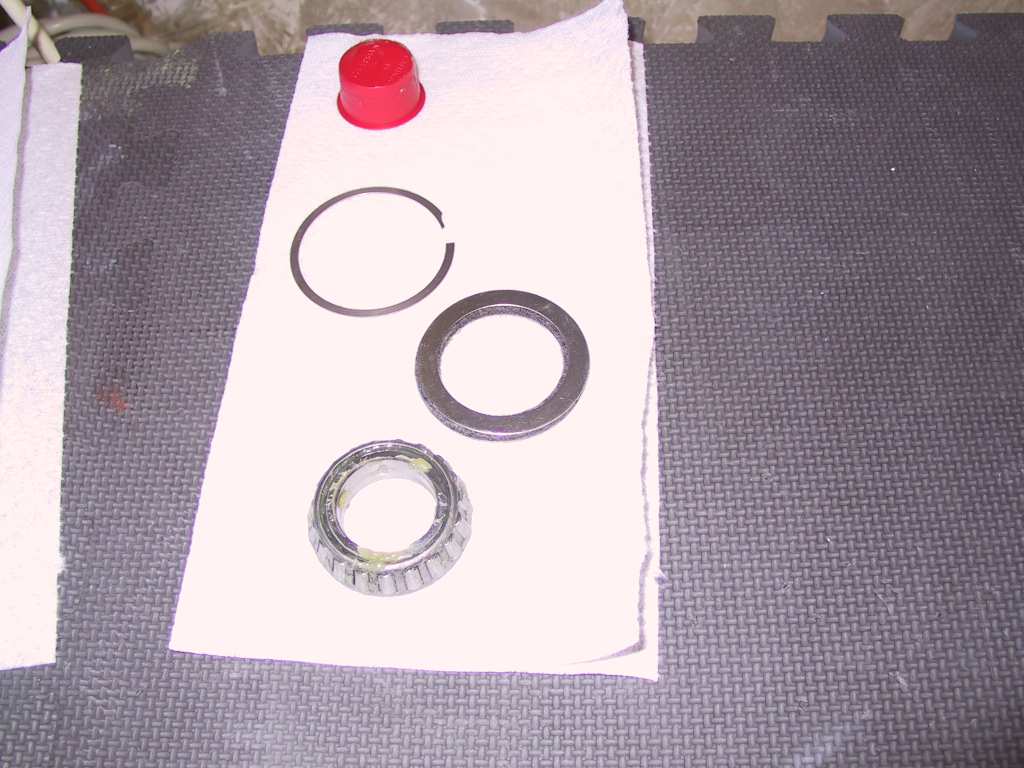
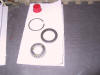
floor. To pull the bearings out just lift the circular clip with a
screwdriver. Push down on the bearing packer until the old grease
squirts out.
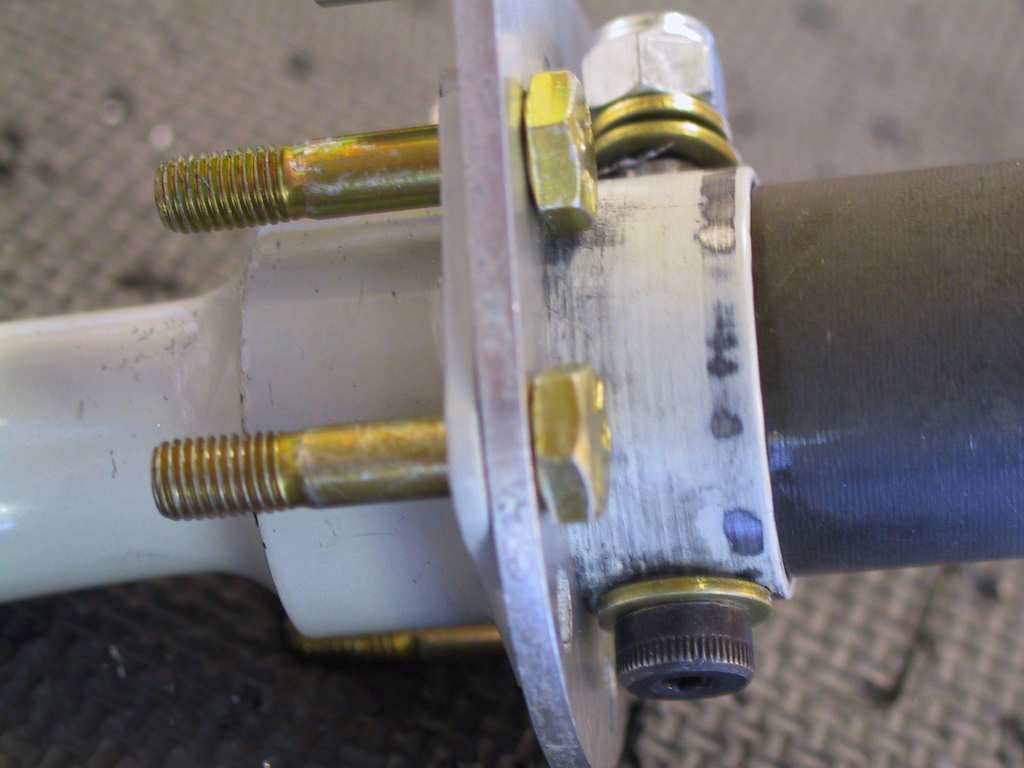
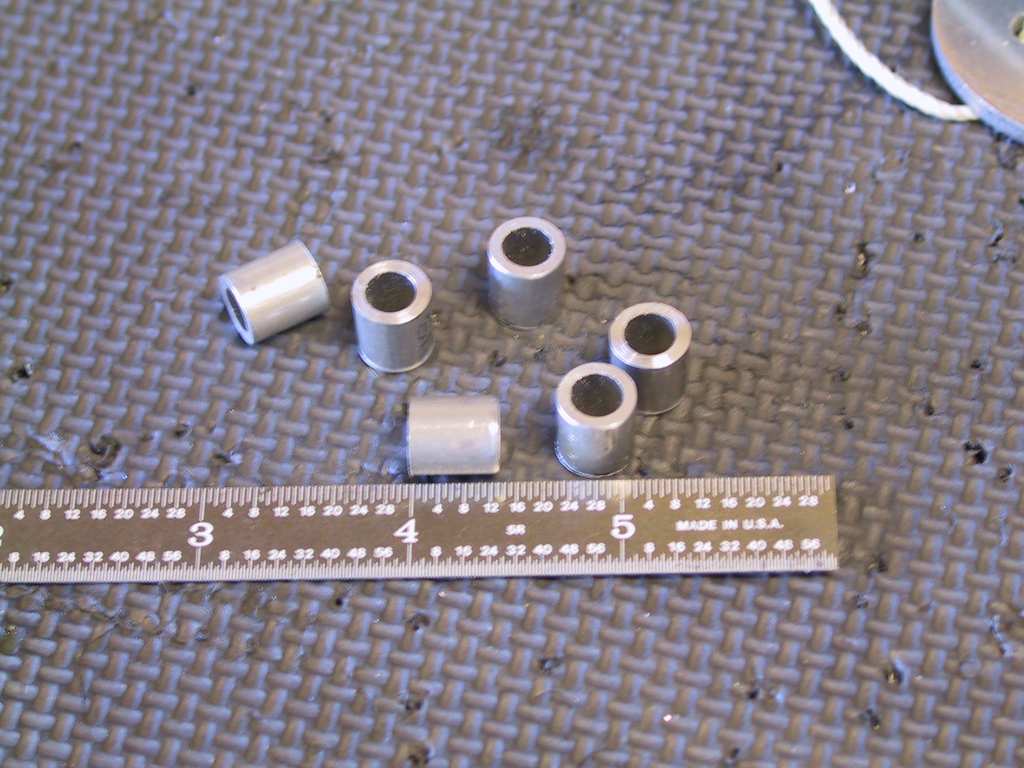
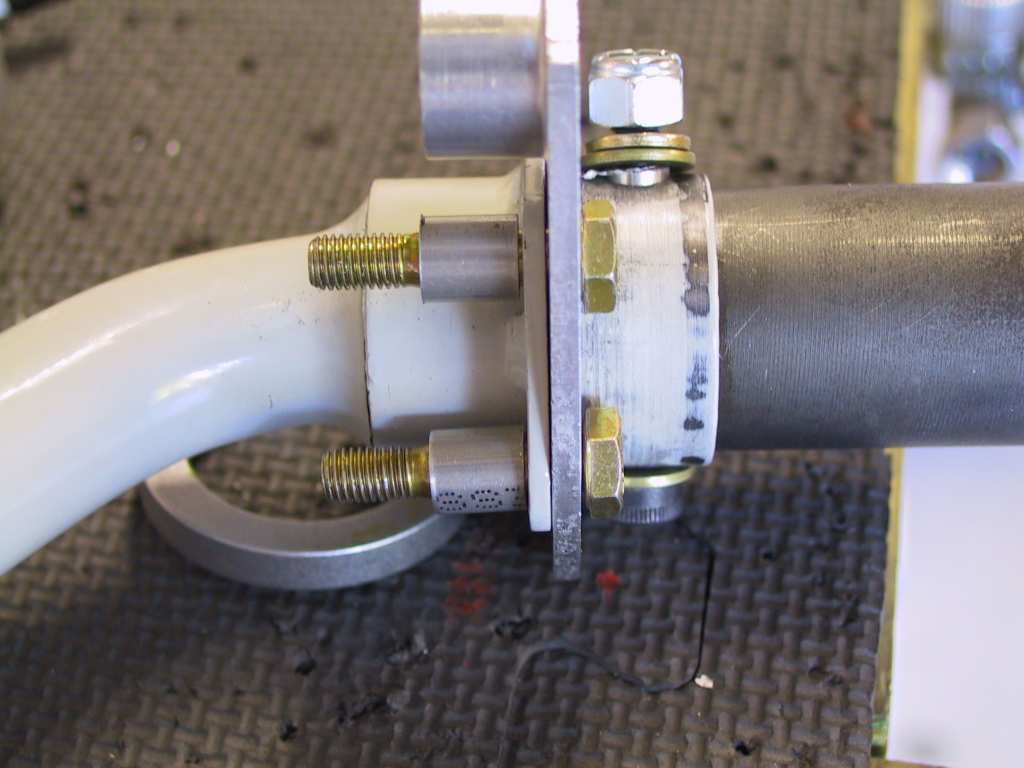
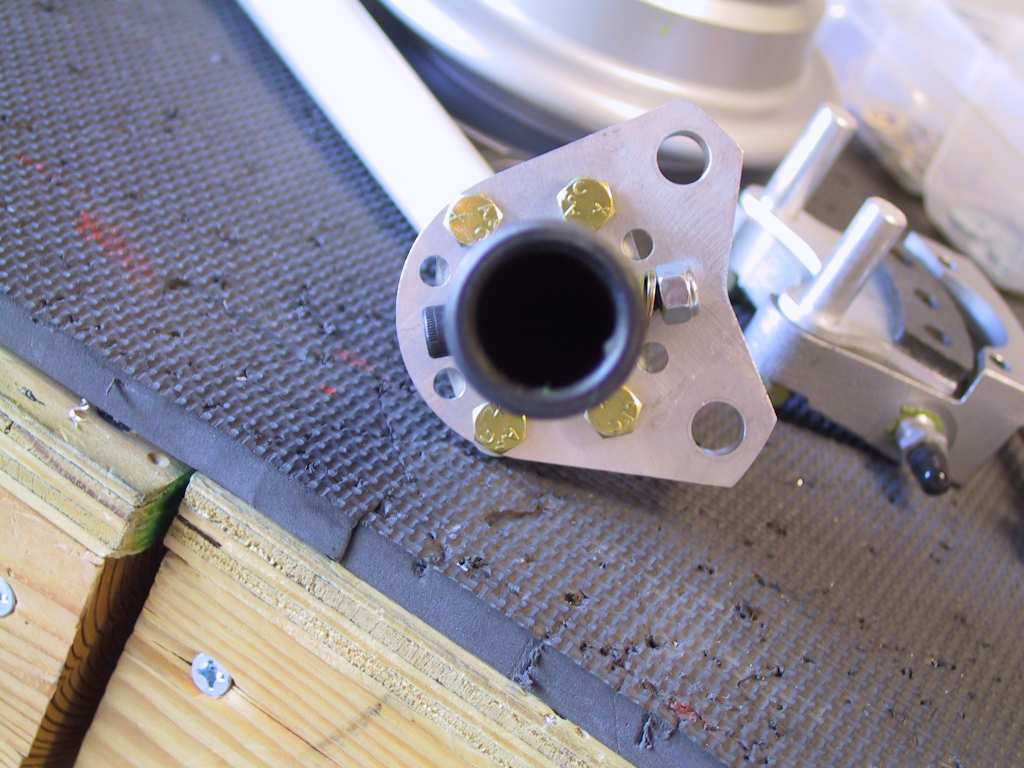
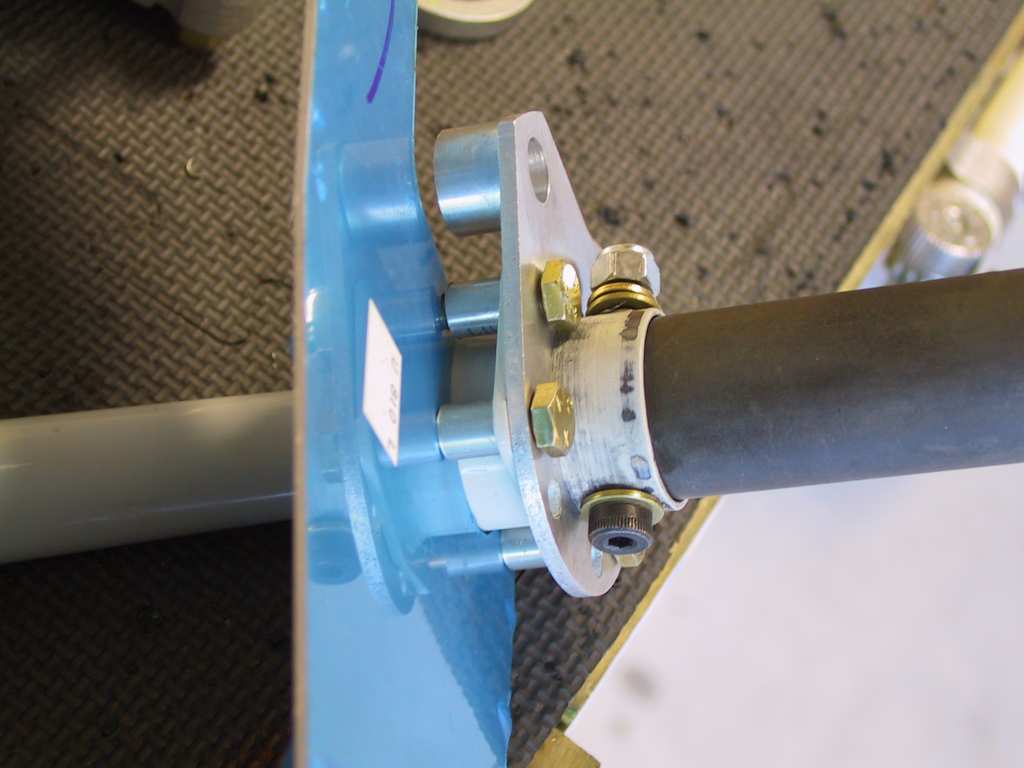
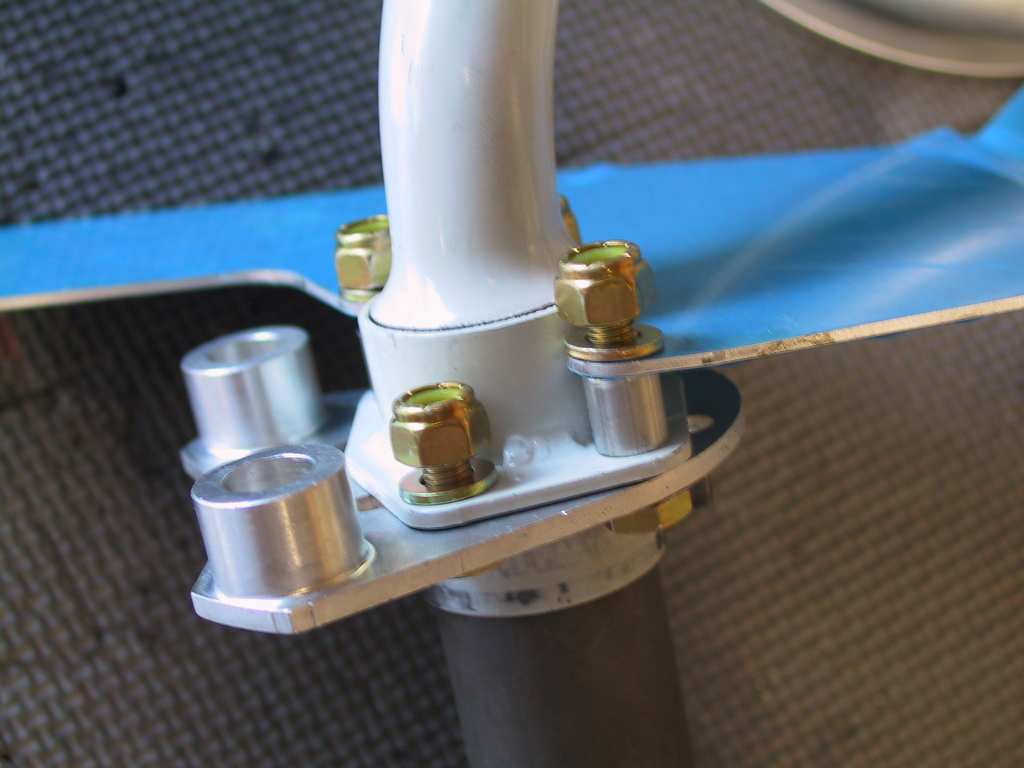
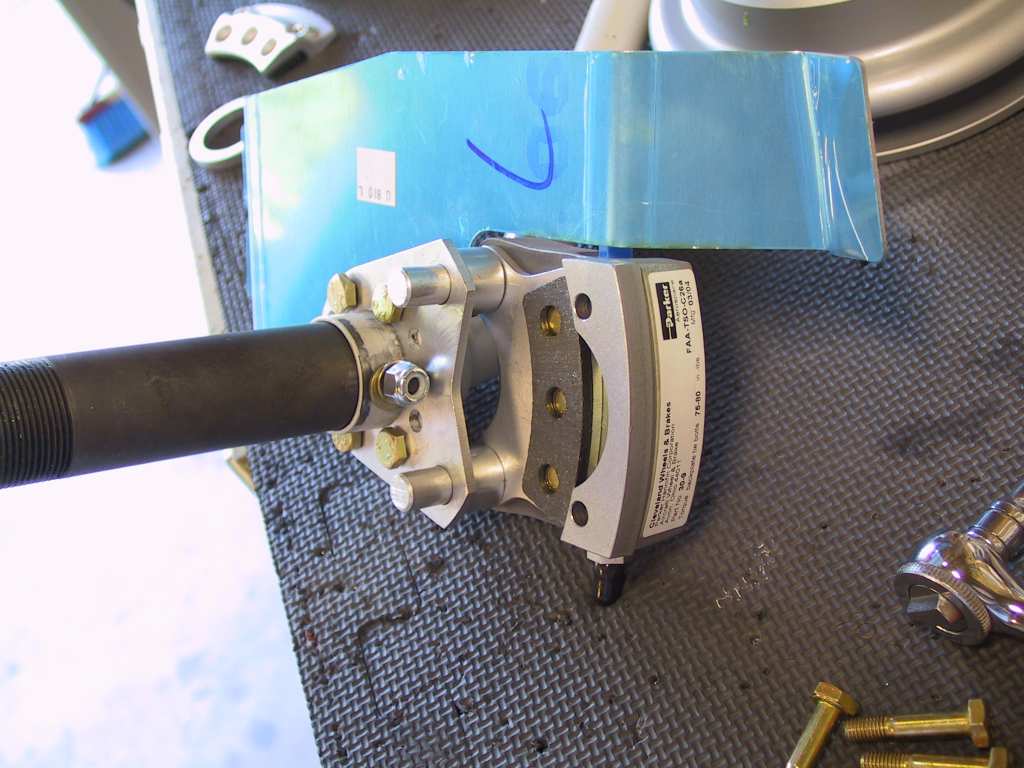
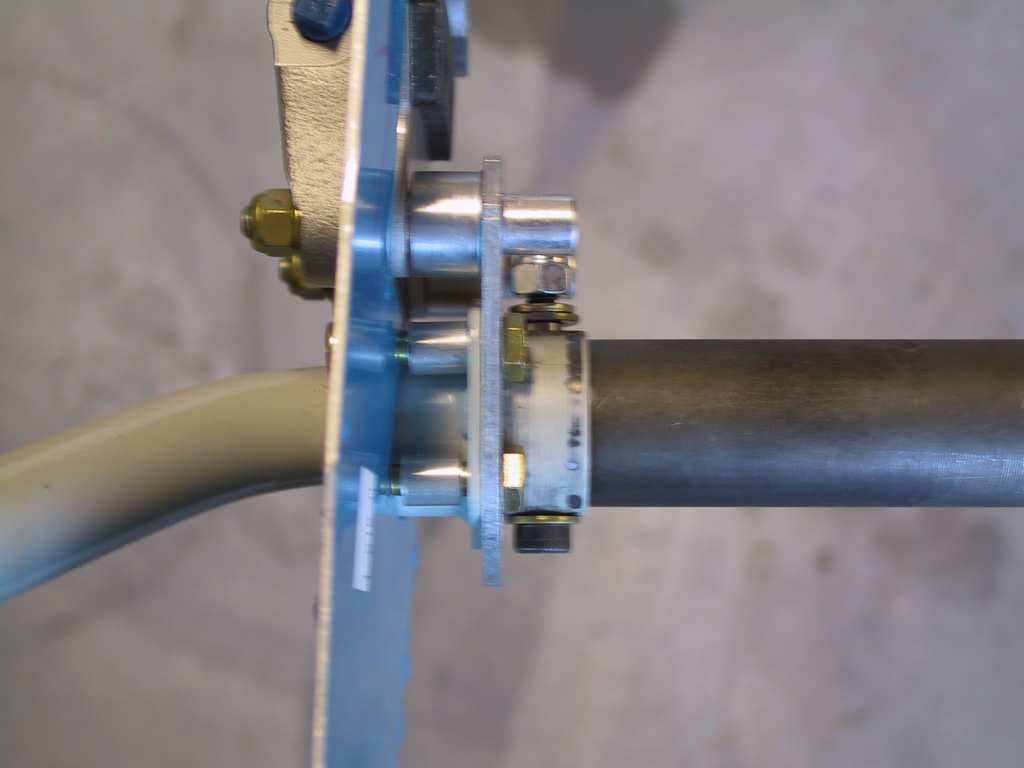
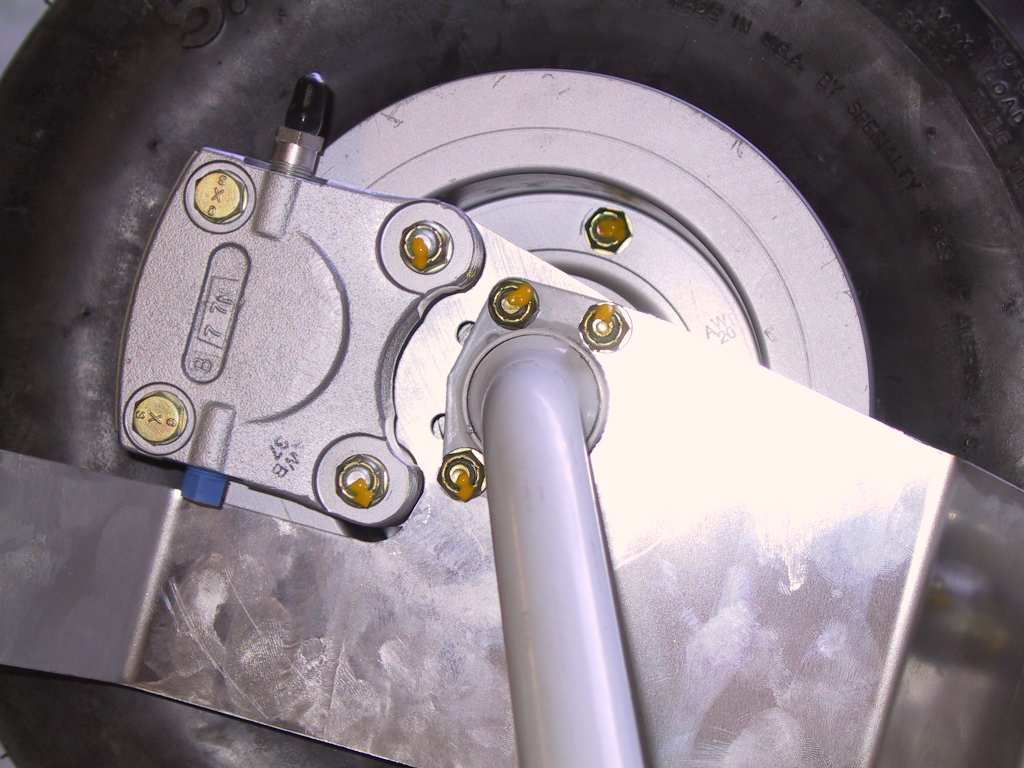
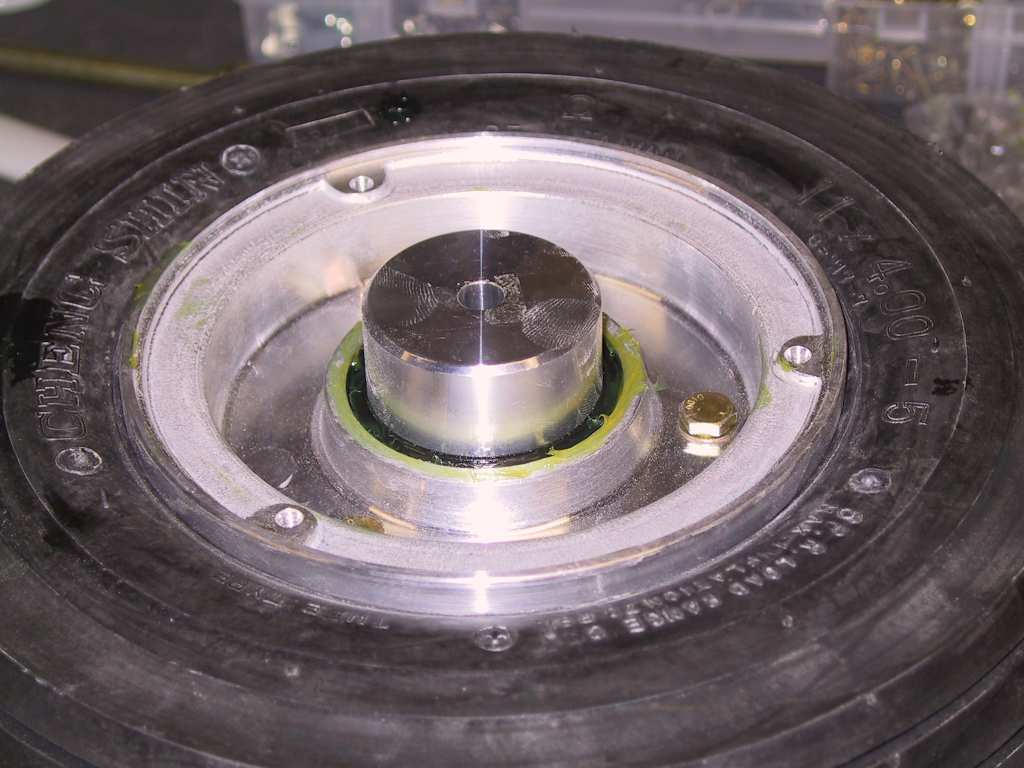
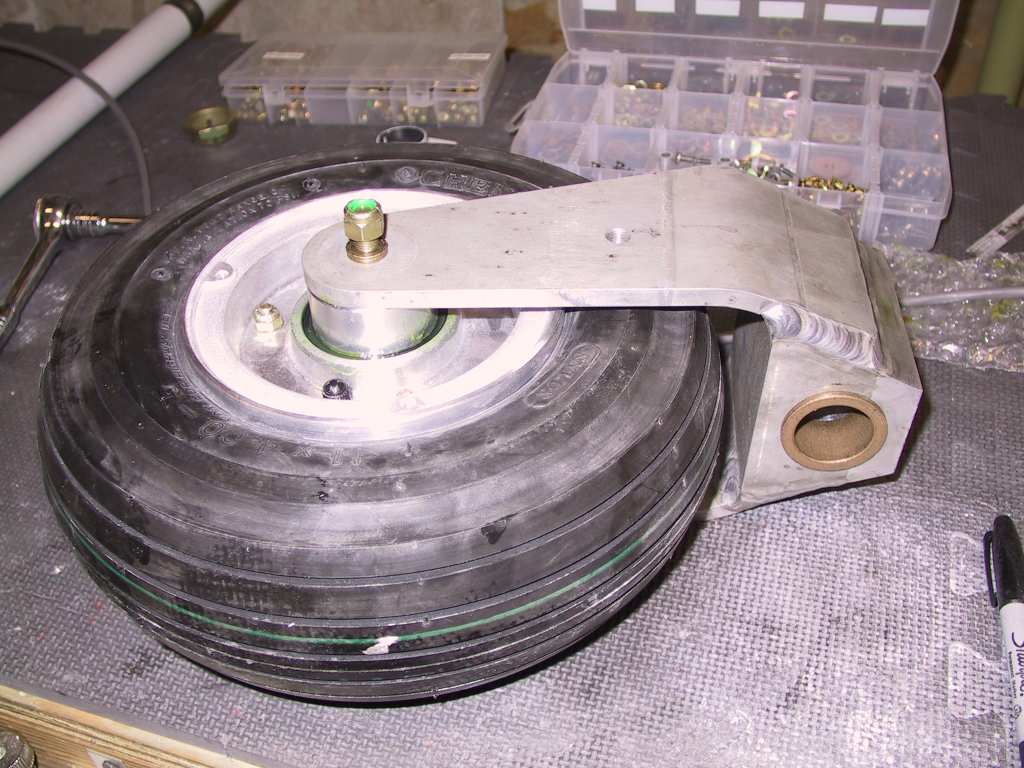
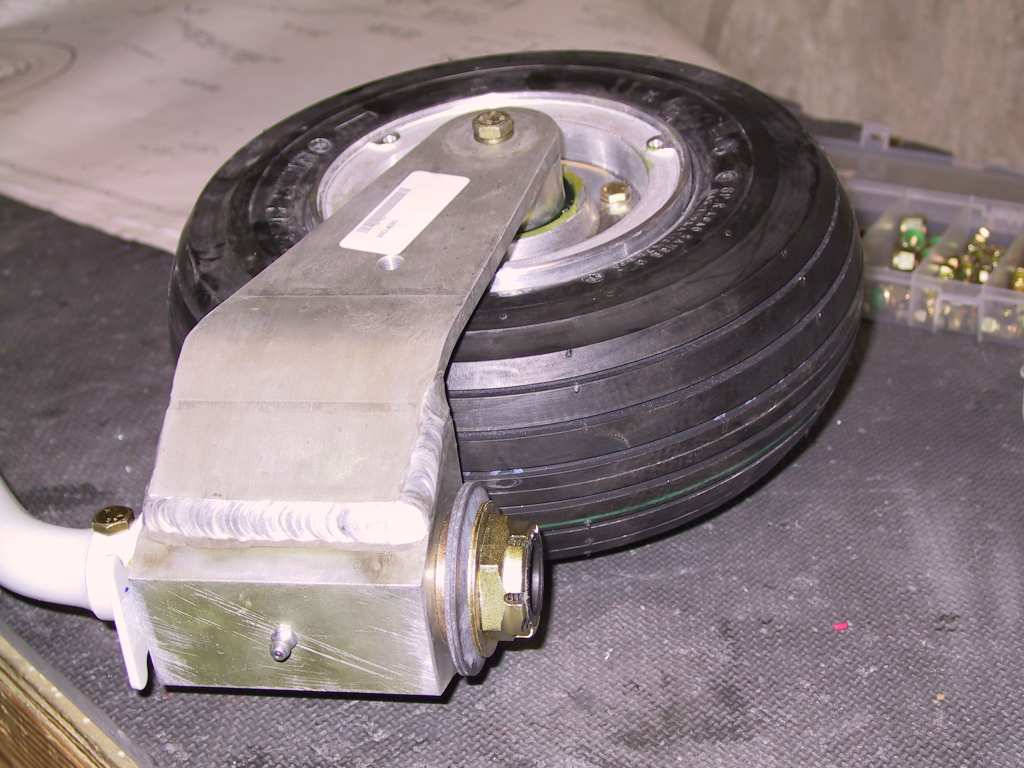
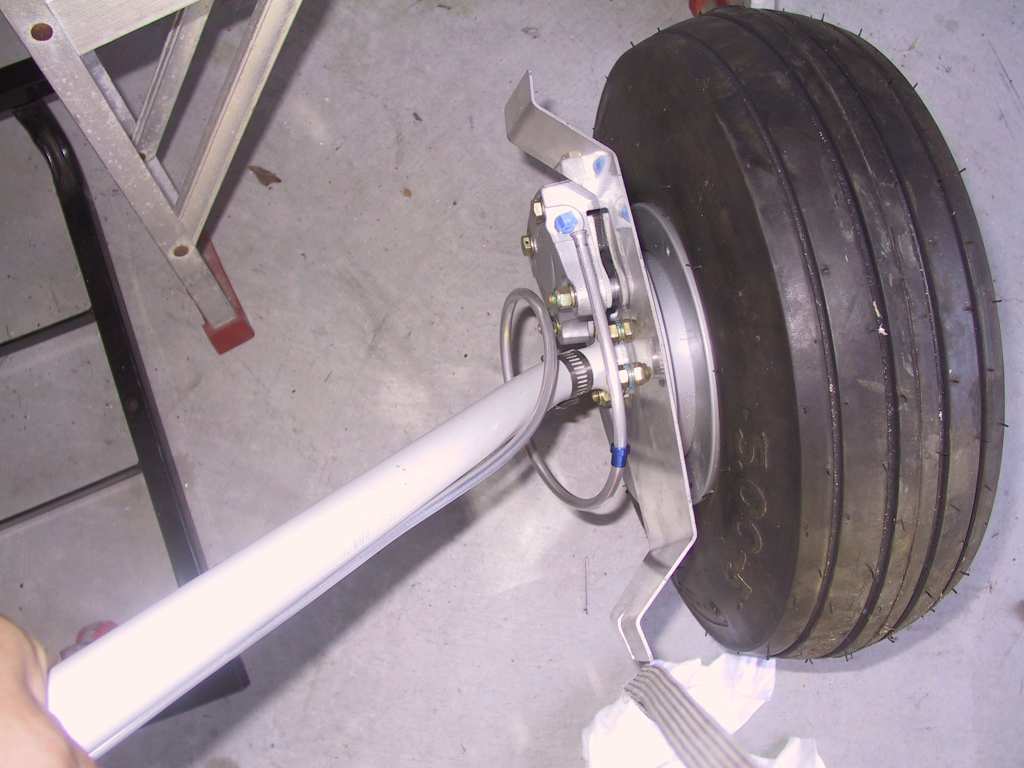
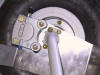
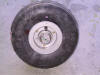
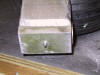
I had previously removed some of the powder coating to allow the brake
mount to slide on. Note the orientation for this part. Here I'm
showing the left gear leg assembly. The spacers are for the wheel pant
support structure. They go on the inside of the gear leg. The
Allen head bolt holds the assembly in place. The Allen head faces
forward. Three of the bolts are -11 in length and one of them is a -5
I believe. The rearmost lower bolt is the -5. Lots of
pictures so you can have some idea.
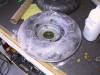
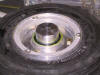
When placing the first half of the tire assembly, the part with the brake
disk, it fits very snugly onto the shaft (he said shaft). Lubricate it
with grease. In my case I had to rub it a bit with a scotch brite pad,
just a bit.

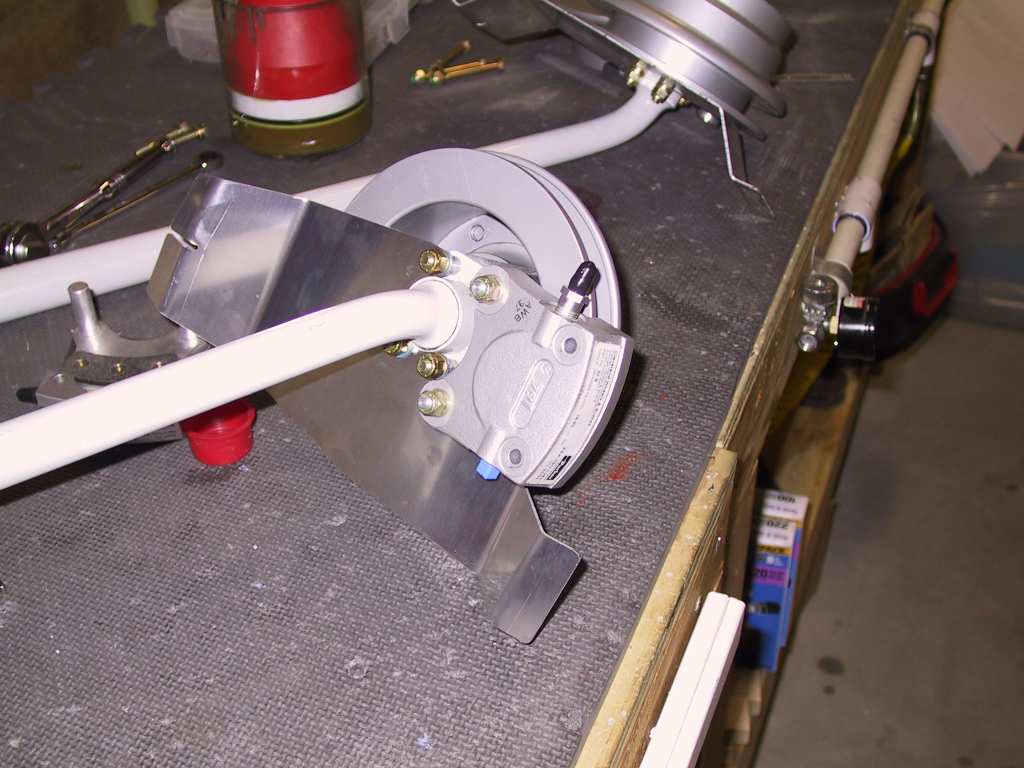
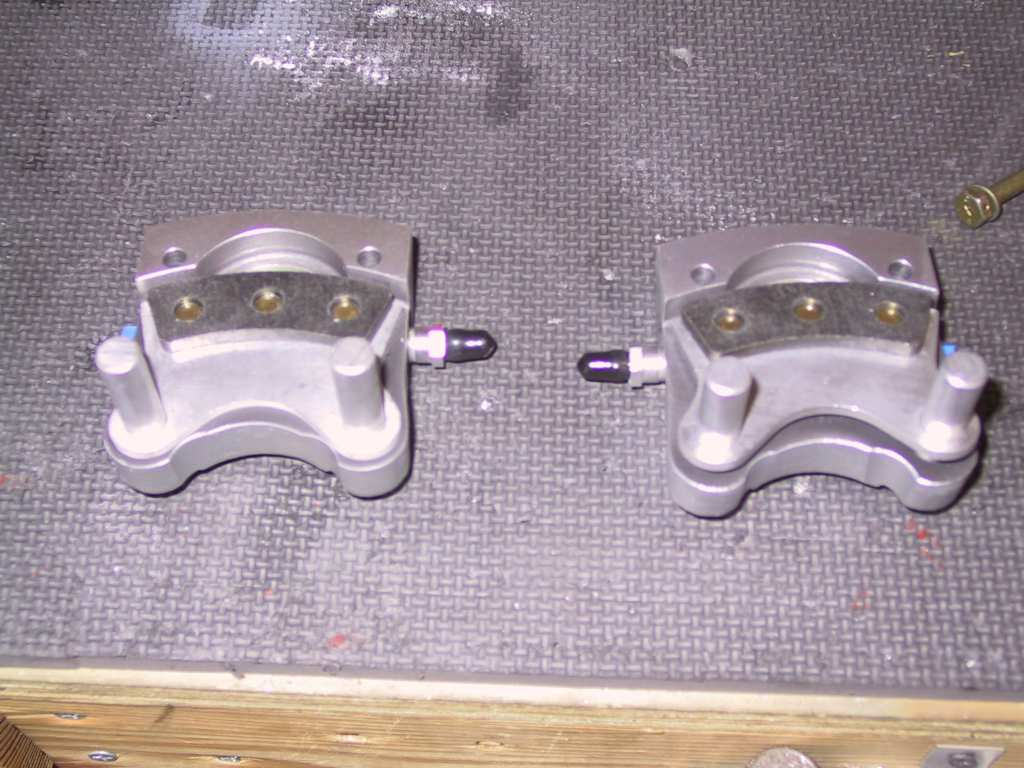
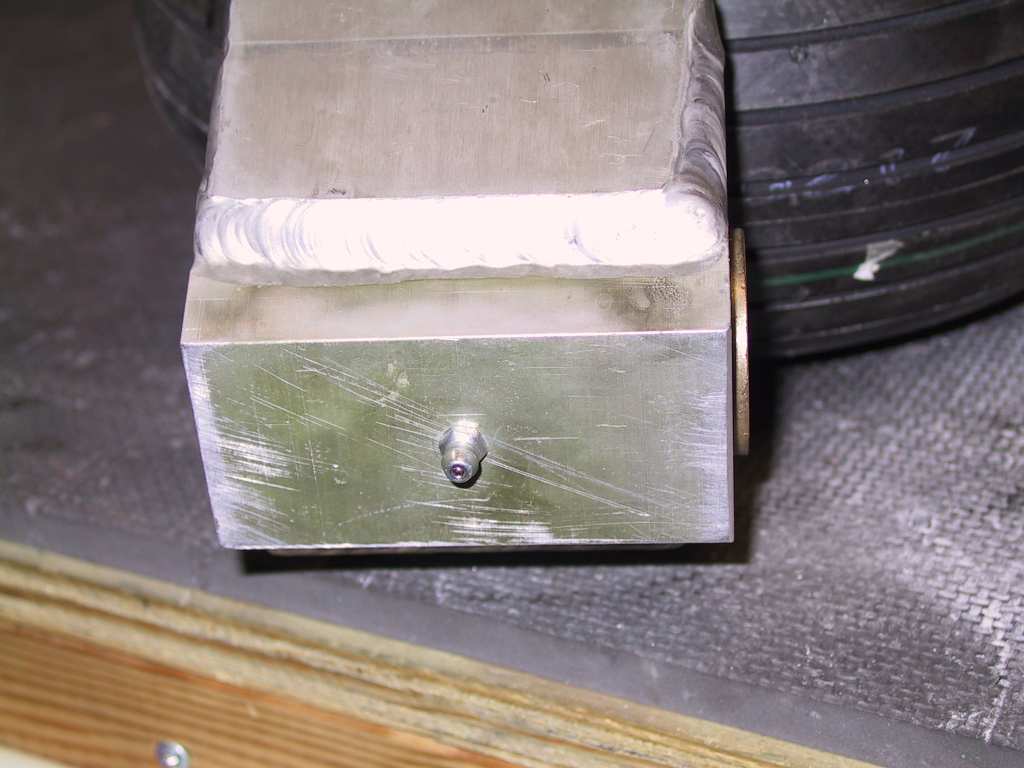
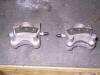
Now is when I got a bit confused and maybe a little upset. The
bleed nipple is supposed to be on the underside of the brake caliper
assembly. Great, works on the left side.
BUT, on the right, it points up. I'm basically convinced that vans
sent me two left caliper assemblies. No other way around it.
Time for the early morning Vans call....
 |
| 7/13/04 |
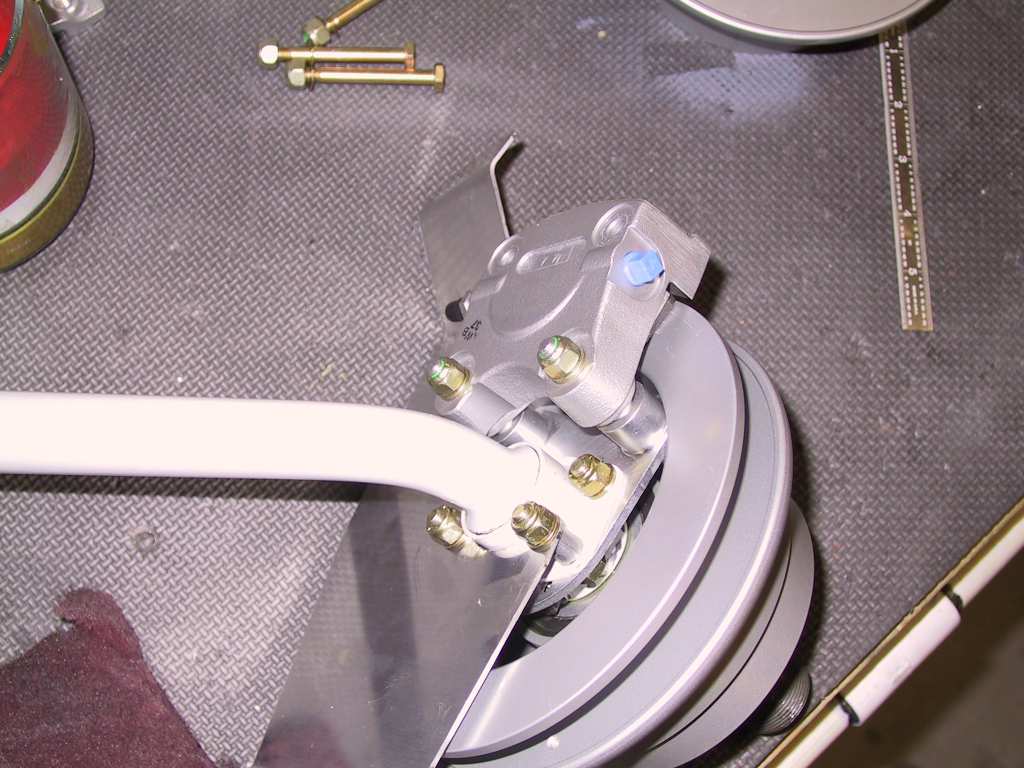
Finish up work on the tires/rims. Found out from Vans
this morning that there is not a left and right brake caliper. It's
not written any where but you need to move the bleed nipple (he said nipple)
from the top to the bottom of one of the calipers. Thanks for the
excellent documentation. Did that.
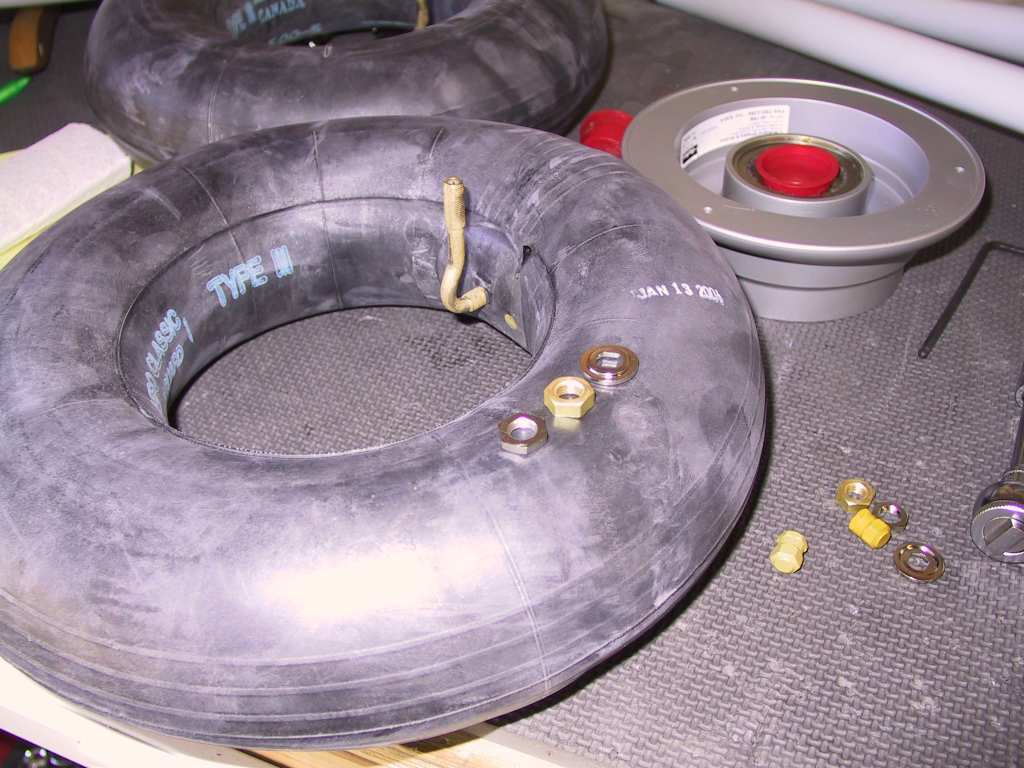
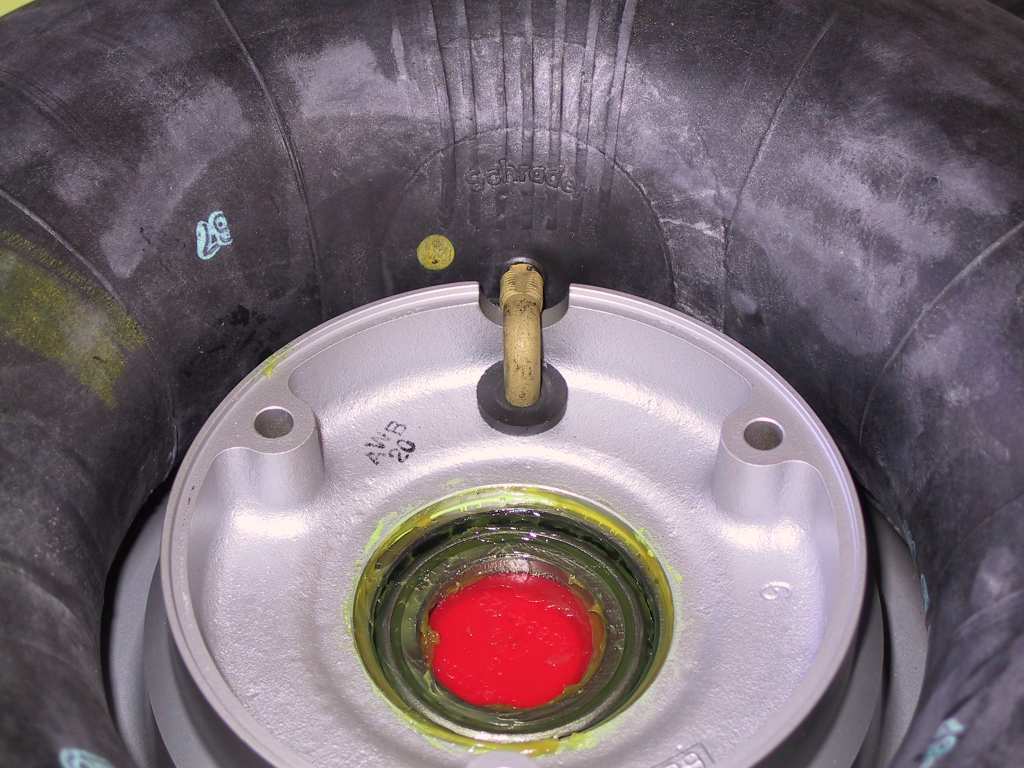
Now I tried two ways to get the inner tube and tire on the rims.
The first way was to put the valve stem through the rubber bushing of the
outer part of the rim, then try to slide the inner tube in the gap of the
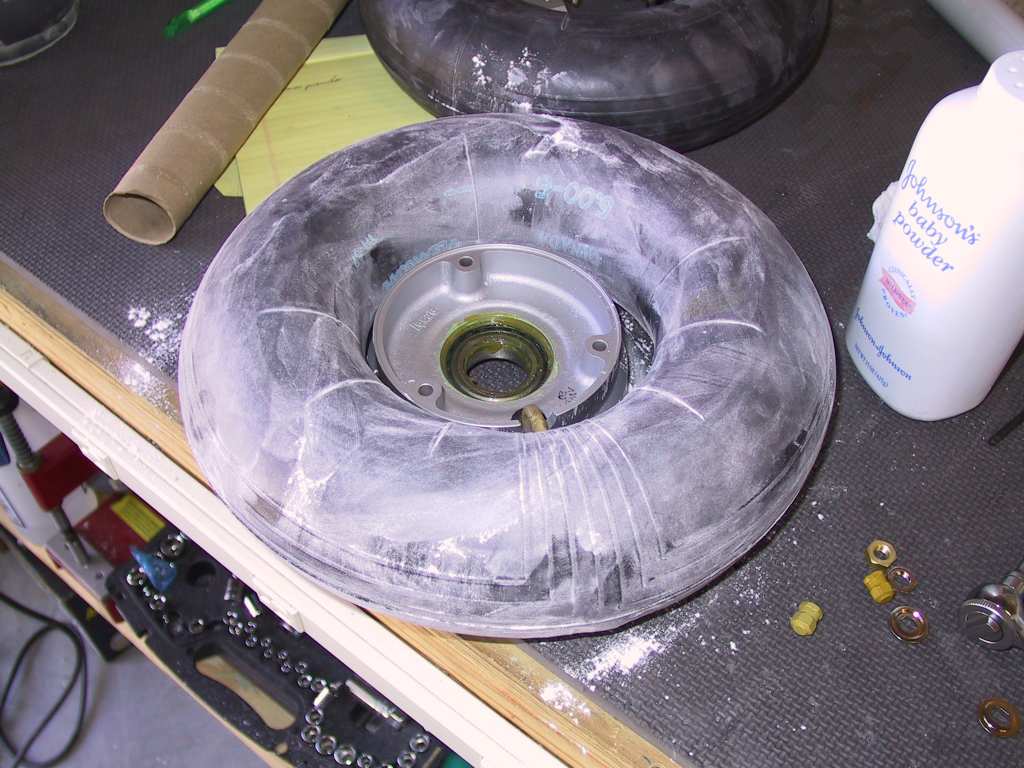
tire. Tough. Do it the easy way. Stuff the inner tube into
the well talcummed (is that a word?) tire. Then shove the valve stem
through the rim, much easier. These pics are from the hard
way. Oh and the inner tube needs to be completely deflated to
make it easier.
I positively guarantee you will smell exactly like a baby's ass when this
is all over.
Torque all bolts to the specs nicely written on the rims and brake
caliper. Now that's good documentation! But then realized I'll
have to take the brake caliper off and the rims to punch a hole for the
retaining cotter pin in the axle. No biggie, tomorrow.
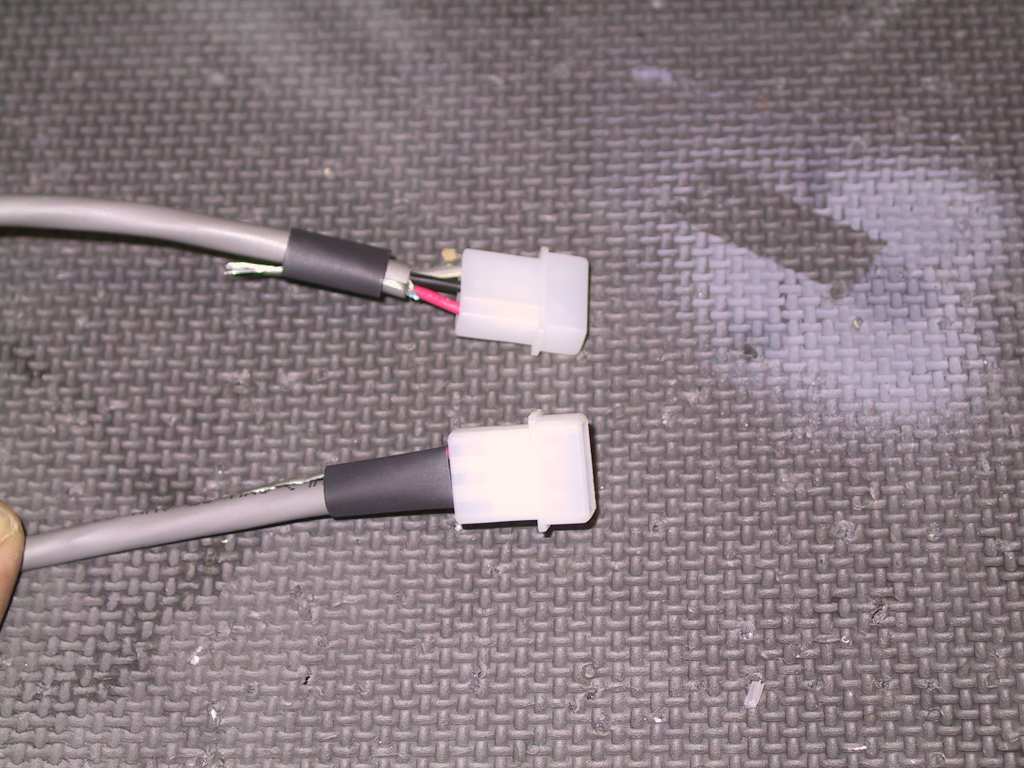
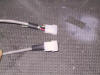
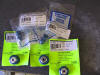
Today I finally received the Molex dies for my crimper from Steinair.
Partially fabricated the connectors for the Whelen strobes, still need to
heat the shrink-wrap. Pretty simple if you understand how much
insulation to cut off and how to place the pins in the crimper. The
tag end is the shield which is grounded only at the power supply. I'll
extend this and all three leads will be fuselage grounded. There's no
current so this is just a free ground. Not even necessary.
 |
| 7/14/04 |
Nose wheel time. Make everything smell like a baby's
ass again and stuff the tube into the tire. When you put the second
half of the rim put the bolts in it so they line up with the other half.
You can stick your finger in between to feel if the tube is getting pinched.
I put a small amount of air in the tube for some shape. If your are
trying to get the two rim halves together by yourself, an easy way is to
compress the two halves with a portion of the rim hanging over the edge of
your workbench. You can reach your hand under there and get the nut
started.
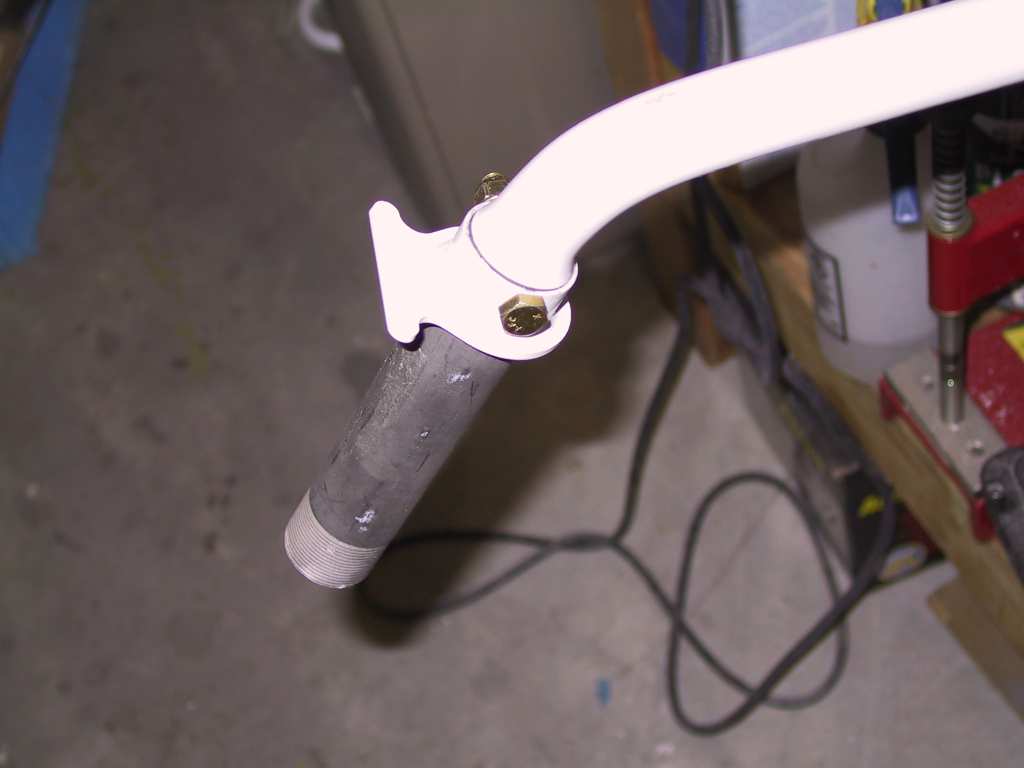
Instructions and plans don't say it but you need to drill the holes to
proper size of the upper brace. The gear leg is drilled to the correct
size. Then get this nerx fitting on too.
Christmas again. Here are the one eyeball firewall pass-through
and more stuff.
 |
| 8/11/04 |
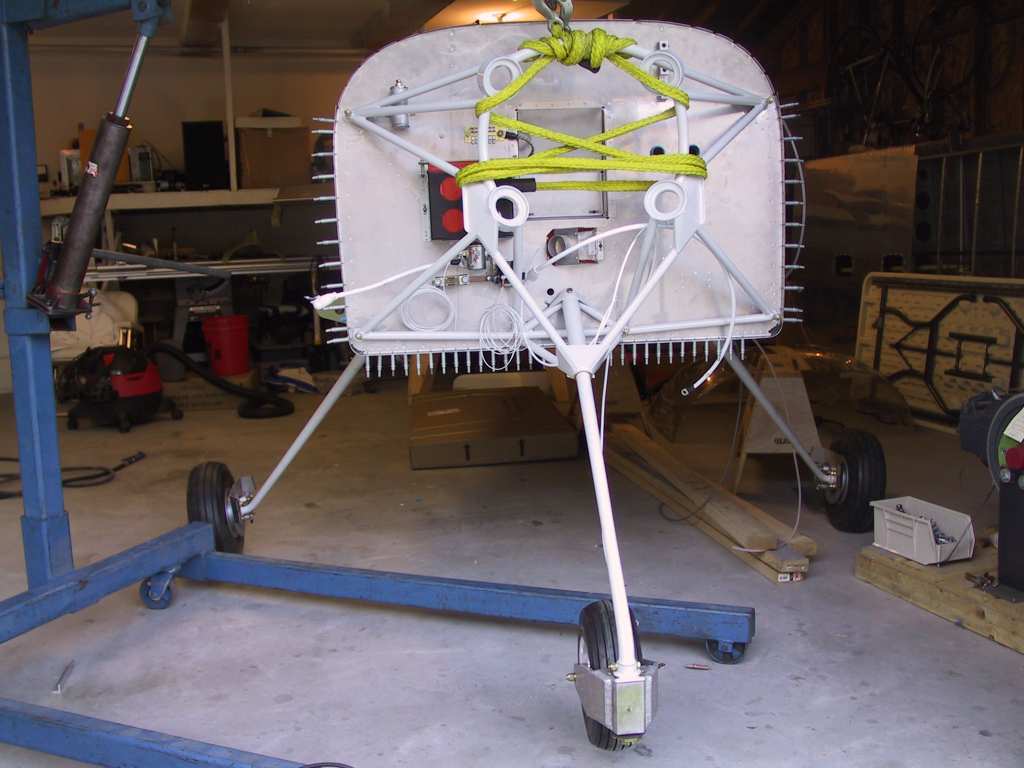
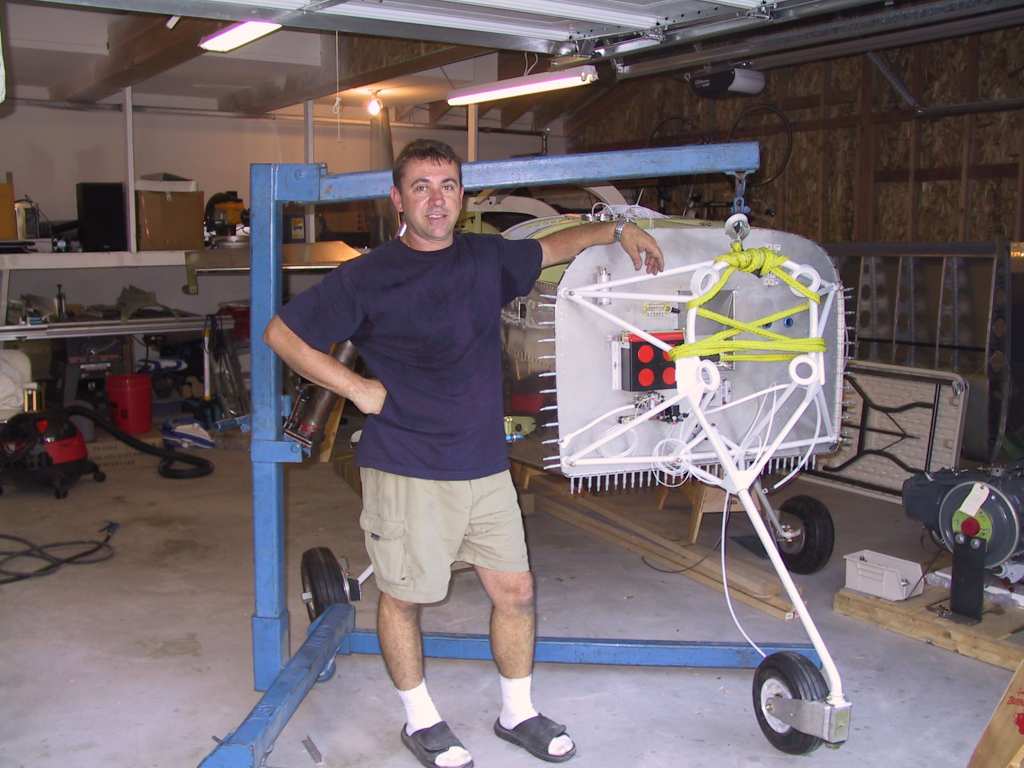
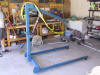
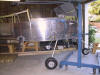
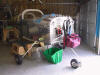
Time to put this puppy on it's gear. I
posed a question to the mailing lists about what to do in what order with
regards to the engine mount, engine and gear. My final decision was to
place the engine mount on the plane and all the gear on and mount the motor
to the mount. You could I suppose attach the motor mount to the
engine, attach the nose gear and then mount it to the firewall but that
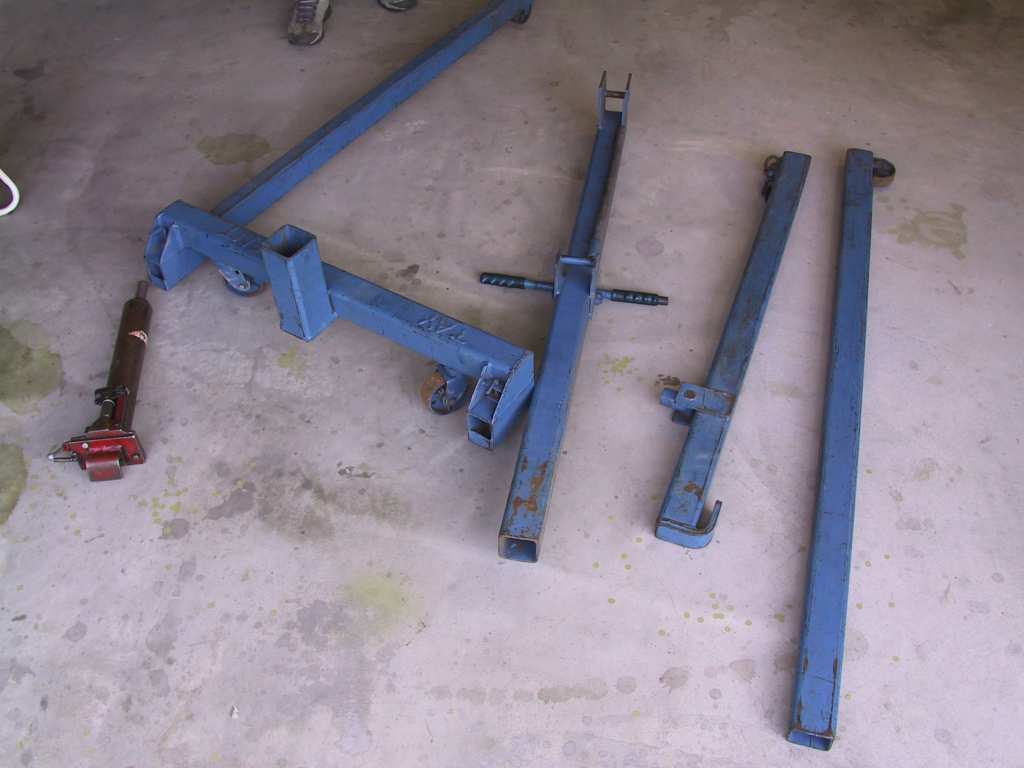
seemed much to cumbersome. Rented a take-a-part hoist from the local
vendor for $29/day. Pops put it together when I was at work.
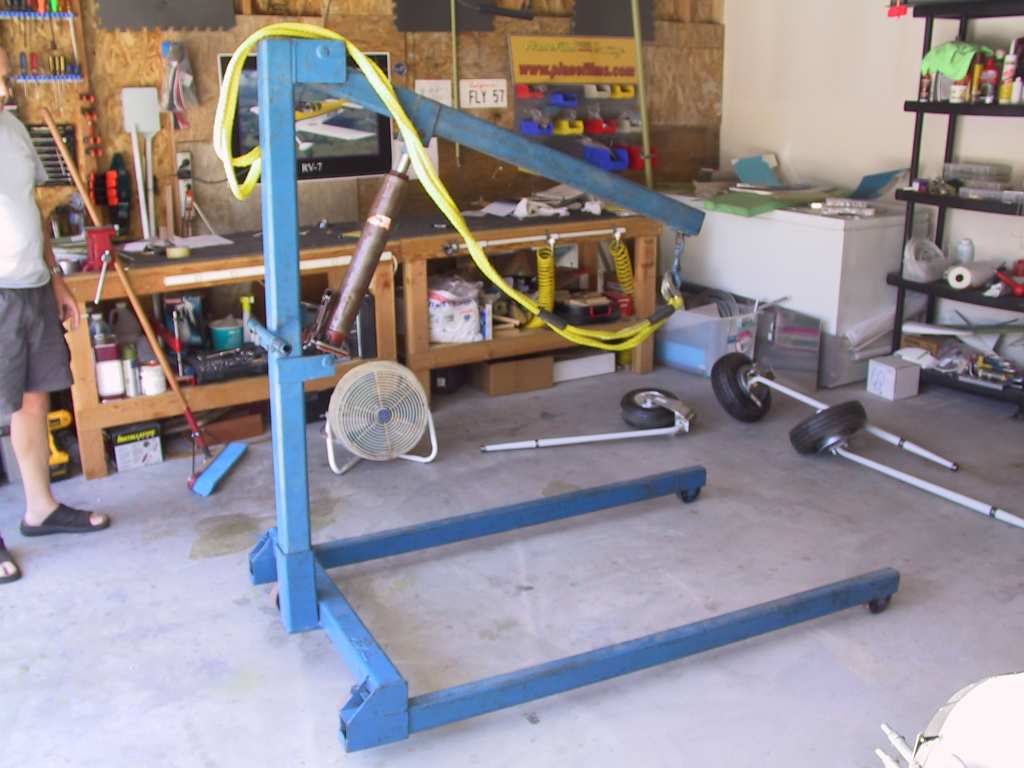
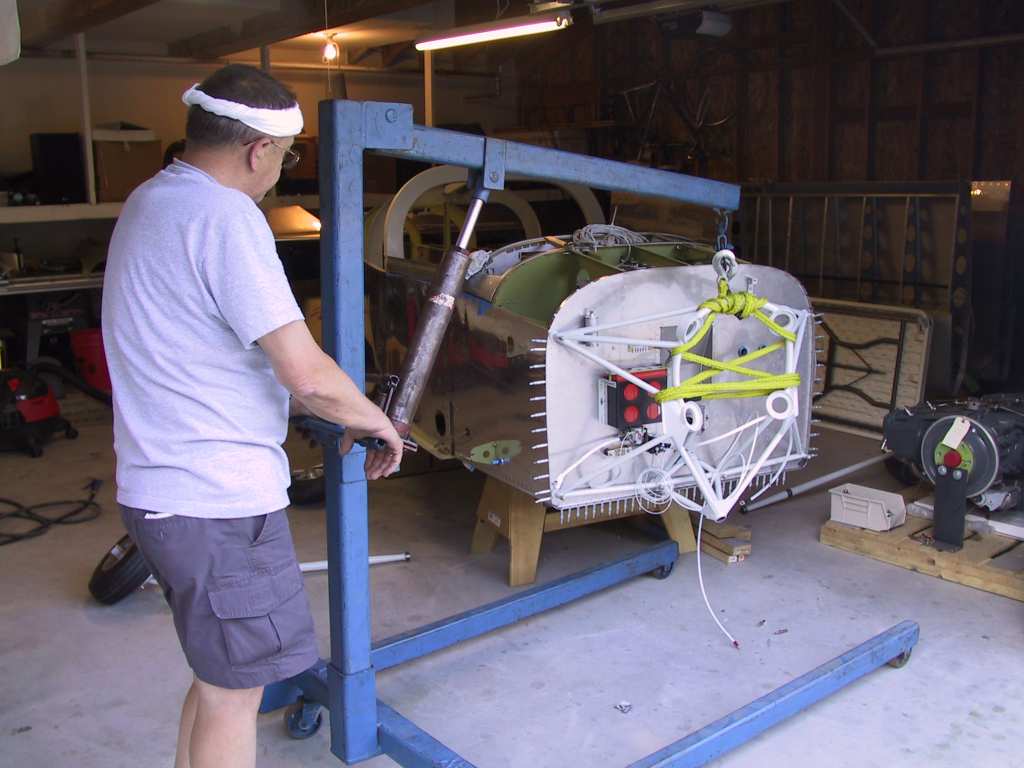
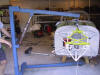
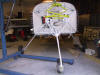
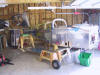
With great trepidation and anxiety we decided to put the gear on after I
came home from work. We used a tow rope wrapped around the engine
mount several times to hoist it. As it was being lifted I continuously
placed higher and higher sawhorses under it to make sure that if it fell it
wouldn't have to far to go. I greased the axles to make sure it would
run smoothly into the mounts too.
 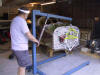 
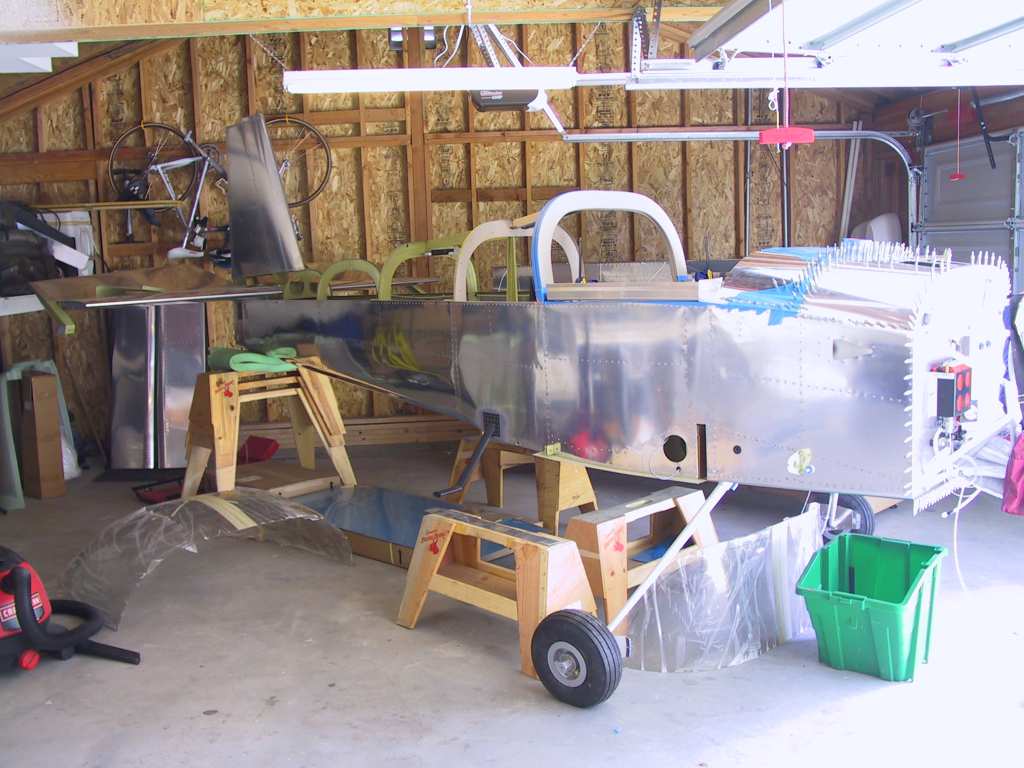
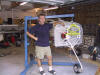
Installing the nose gear was actually no paint at all. The
access hole was drilled per Vans layout and the bolt went in without a
hitch. Since there is no weight on the nose you will have to provide
support to the tail. At this time I didn't have a sawhorse tall enough
to the nose wheel was an inch or two above the floor.
   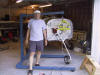 |
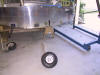
| 8/14/04 |
Went to Turners and got three bags of lead shot
(22lb ea.). Add one diving weight belt and a bowling ball bag with two
balls and the front end stays in place firmly on the ground.
  |
| 9/5/04 |
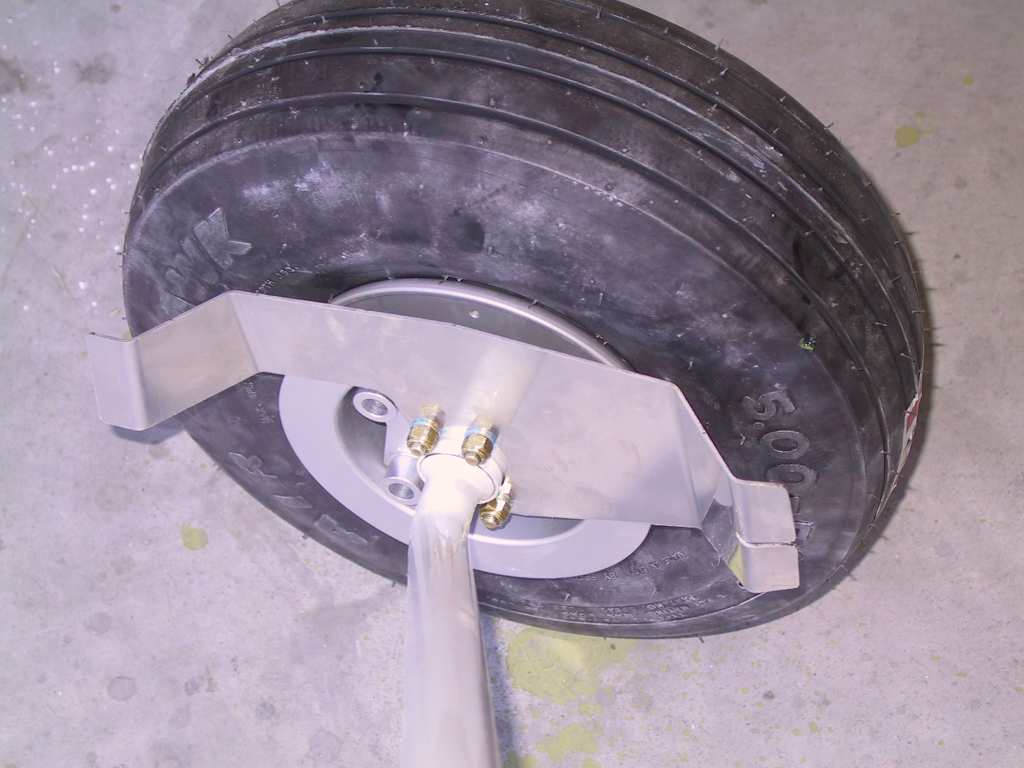
Bent the brake lines. No hassles here, just follow
the plans. I can't fully install the lines until I get the replacement
wheel pant brackets. We had a little accident when mounting the wheels
onto the axles and the darn thing fell off the sawhorse and onto the ground,
bending the wheel pant attachment bracket. These things need to take
some abuse and I've already decided the get the Stainless Steel replacement
brackets from Robbie at attawaiair.com.
Yeah, they weigh more but I'll be able to leave them off during the 40 hour
fly-off and not have to worry about them ripping off like they did to Dan :)
 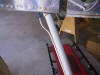 |
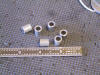
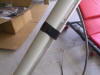
| 9/11/04 |
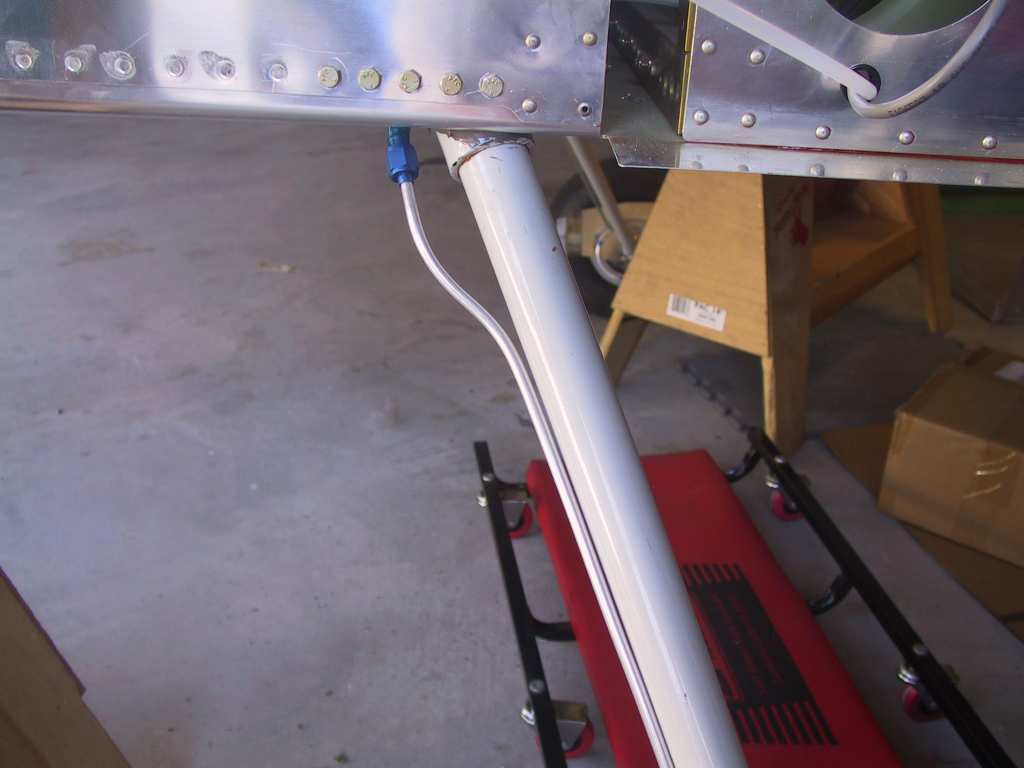
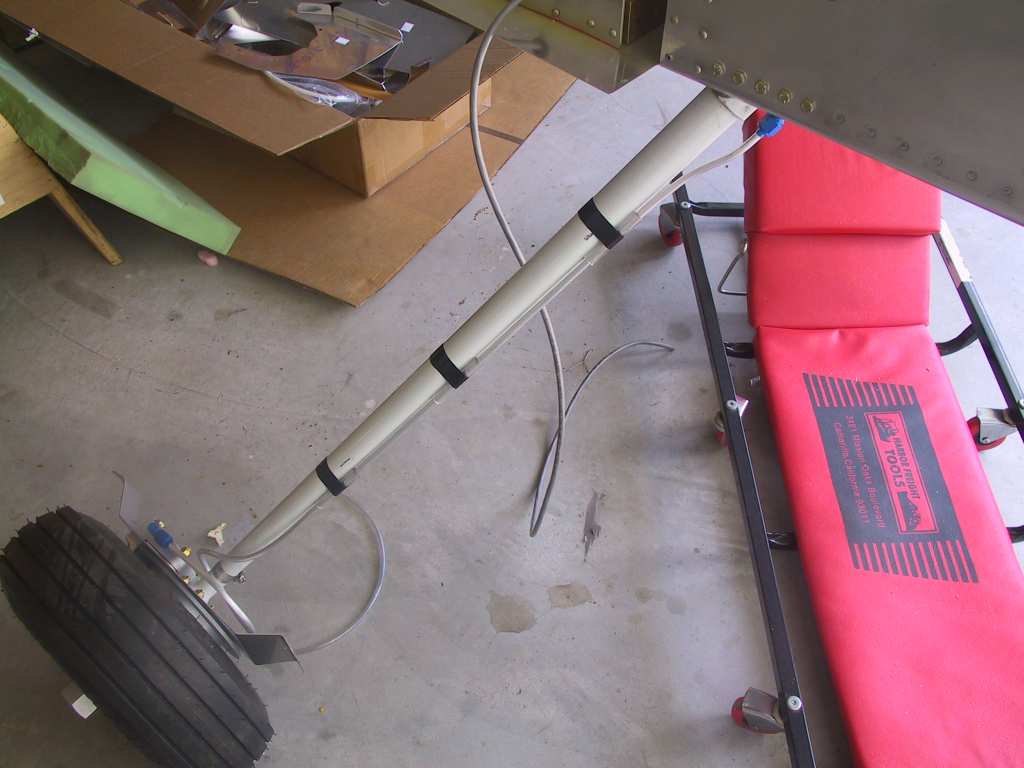
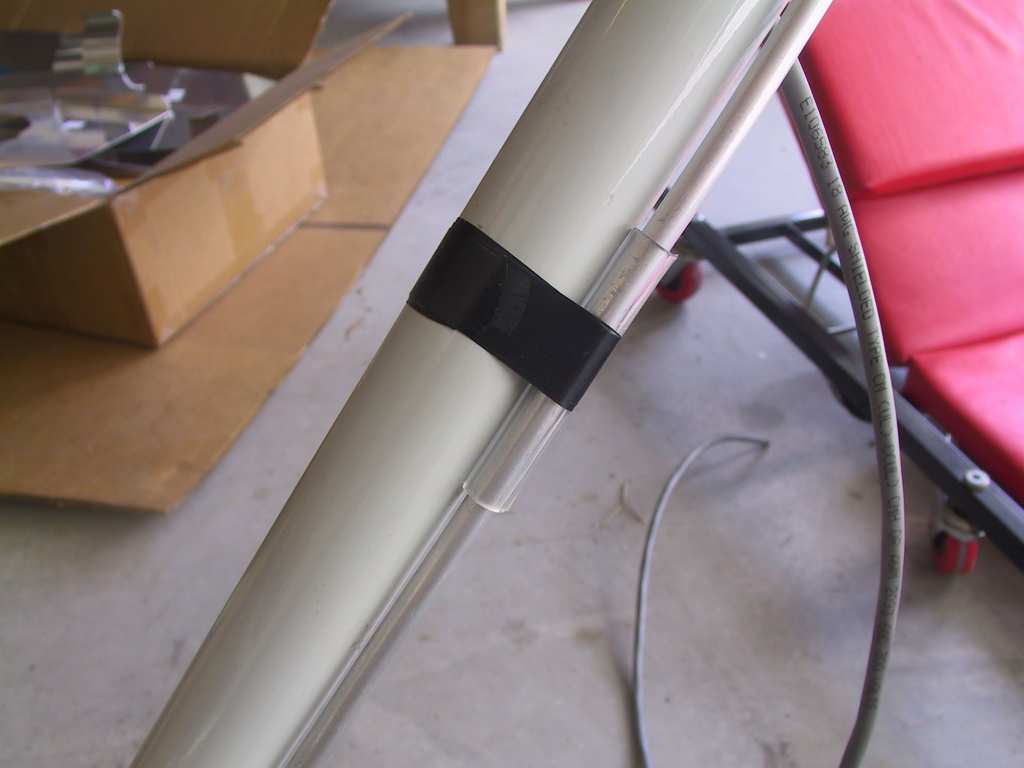
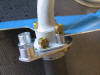
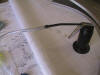
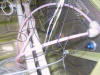
Brake lines completed and fluid added. The brake
lines have three pieces of 1/4" tubing wrapped around them and then
electrical tape is applied as a standoff so the tubes don't rub against the
gear legs.
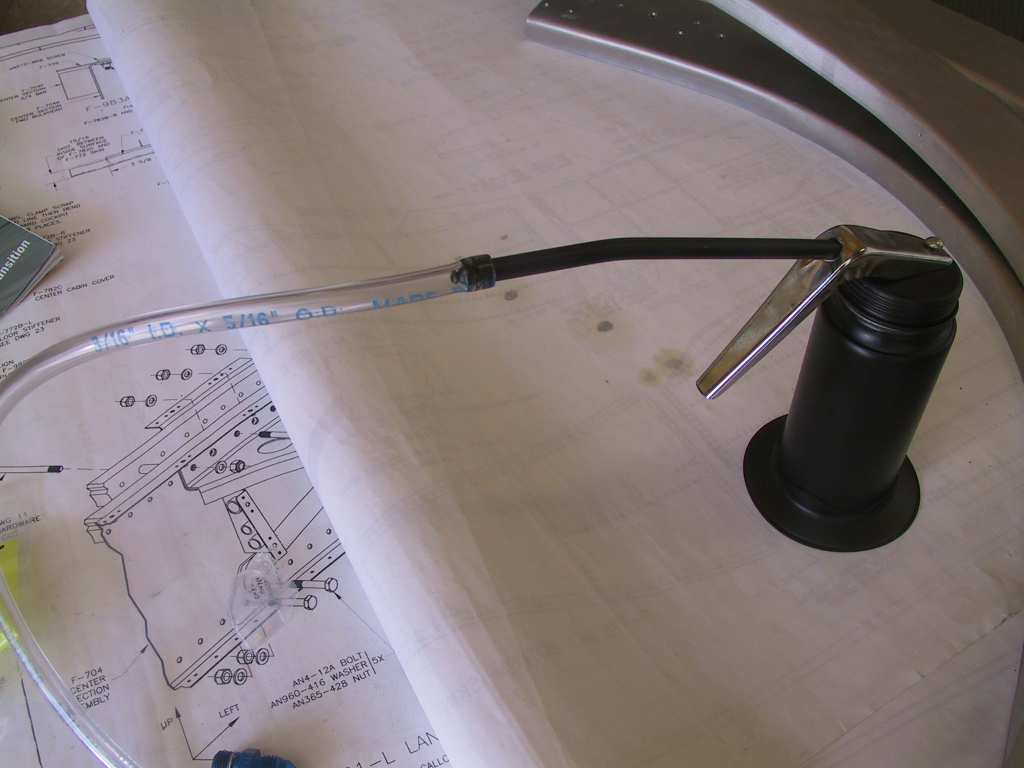
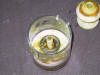
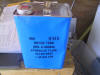
I purchased a small oil pump from Pep Boys, attached a flexible plastic
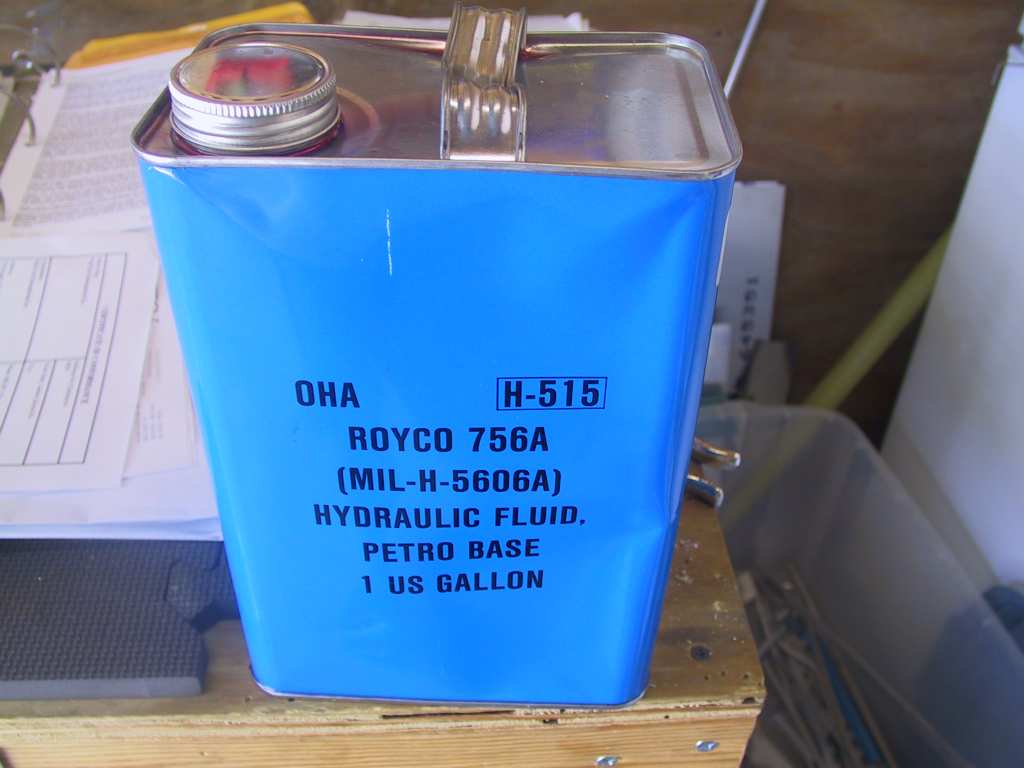
hose to it about the same inside diameter as the bleed nipple. Filled
the pamper with Vans hydraulic fluid and began the process of filling from
the bottom up. One thing I did was to shove a 1/4" hose into the top
of the brake fluid reservoir so that I could overflow the reservoir to get
all of the air out. I had the tube return the fluid into the hydraulic
fluid jug. Do this to both sides.
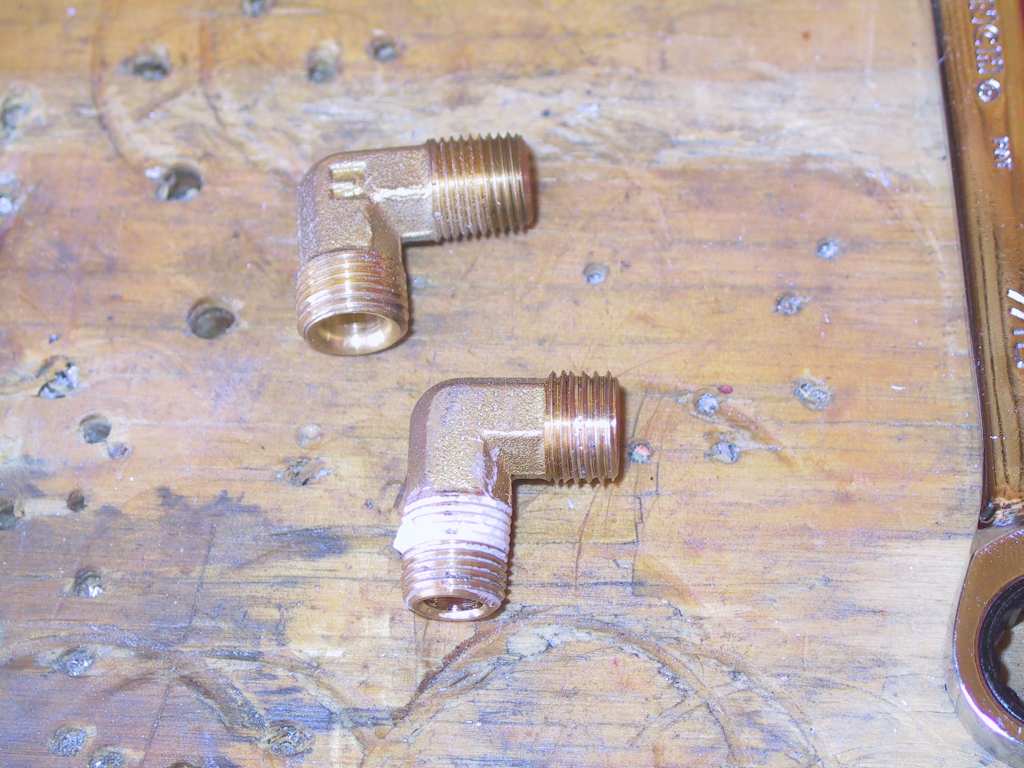
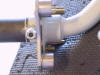
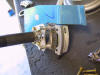
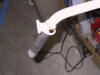
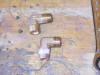
I immediately found that I had a leak at the pilot pedals. Turns
out that I used the incorrect fitting at the master cylinder. Don't
use these, they are only for the passenger side. Use a regular AN
fitting here. I should have read the plans more carefully.
Here's the incorrect fittings.
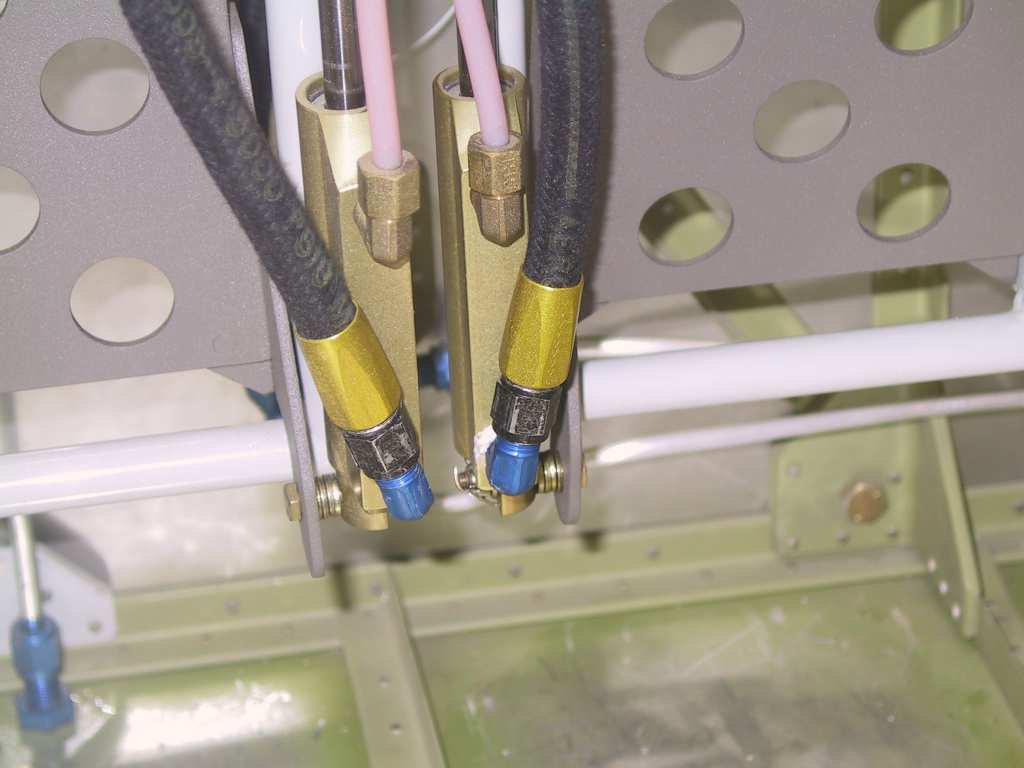
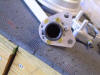
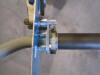
And the correct fittings in place.
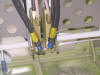
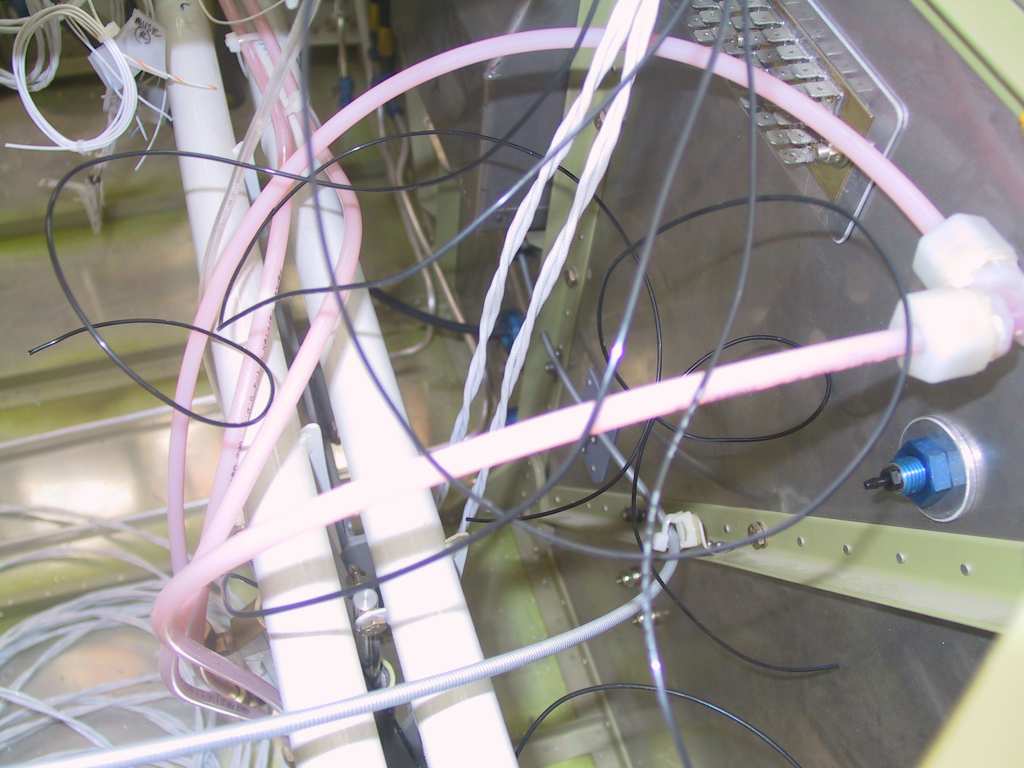
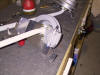
And the system full and working.
 |
|