Home
Why an RV?
Choices
Search
Empennage
Empennage Attach
QB Wings
Bulkheads
Aft/Center Fuselage
Forward Fuselage
Cockpit 1
Cockpit 2
Cockpit 3
Tip up Canopy 1
Tip up Canopy 2
Tip up Canopy 3
Avionics/Panel 1
Avionics/Panel 2
Avionics/Panel 3
Avionics/Panel 4
Firewall
Tricycle Gear
Engine/Prop 1
Engine/Prop 2
Cowling 1
Cowling 2
Baffling
Ram Air
Last 10 Percent
Last 5 Percent
Last 3 Percent
Last 1 Percent
Phase 1
Phase 1 pg. 2
Phase 2
P-Mag Install
Videos
EFIS Flight Logs
Tips & Mods
Links
Fine Living
Avionics Manuals
N447RV Documents
Helpful Builder Docs
FAA Documents
Contact Information

The Boo

Tip up Canopy 2

6/7/04

I'm really not getting to much done on the canopy.  I seem to be scratching my head, wondering why Vans decided to make this canopy in such a way.  I don't understand why they leave a 1/8" gap under the canopy frame.  Weird.  Anyway, I had to run to Harbor Freight to get a few more large spring clamps.  And today my order for my Bearing Packer arrive from Sears.  Pay no attention to that beer.  You can drink when thinking and examining the plans.  Just don't do any drilling. :)

6/8/04 Dan was gracious to talk to me today to answer a few questions I had.  Thanks Dan.  I'm really beginning to think that your idea of extending the side skins over the longerons and bottom skin is a good idea.  I just don't want any gaps.  No decision yet, but soon, I hope.  And I'm kinda bummed that I have to trim the skins a bit in order for the canopy to lift properly.  I can't believe that Vans didn't build the proper geometry into the hinge bracket so that it would leave zero gap when closed.  I can't wait to fly in the rain the first time with my all electric plane and have water seeping in. 

So tonight I decided to do something productive and I got everything ready to drill the canopy frame.  First make sure the side skins will be flush.  Next, spend two hours making sure the F-631 canopy frame matches the rollbar.  This is a real pain.  I was cursing the whole time.   I ended up trimming 1/8" off at the center where the two F-631 meet.  Got all the shims in place and used a thousand clamps to hold everything where I wanted.

Now drill.

Once again, a mismatch of parts.  As you can see from the photo above the bottom holes are way too close to the bottom of the F-631.  I probably won't make any difference since at least two bolts will be placed here for the latch assembly.

Now I drilled the F-613 splice plates.  I only drilled the holes that are in the WD-725 at this time.  I used a thin steel sheet to make sure I didn't drill through the skins.

I think I'll counter sink and rivet these splice plates on the WD-725 before drilling the other holes into the splice plate and canopy frame.  Otherwise you have to leave clecos in and they mark the skin when you try to clamp everything together.  Enough for tonight.

6/10/04 Made the shims and started to put it all together.  Here's a note.  Do NOT shove the shim in there tightly.  It will spread the angle of the rails and the canopy frame and the fit you spent many nights working on will not fit as nicely. Guess how I know.  I drill the shim out and will make it a bit thinner.  No problemo.

6/13/04 Wanted to get the latch mechanism completed but not riveted.  Here I drilled a #40 hole for the spring and rod shaft.  I placed the metal shaft on the top of the mechanism, so to align the hole I just laid the drill bit horizontal to the latch fingers and drilled just to the right of the existing rivet column. 

6/14/04 Went to Home Depot to get more tape and some painting paper.

Plans say to draw a centerline down the canopy.  It's just to line up the front and rear halves when you split them.  I measured with some string, centered it and ran a chalk line.  Then ran a ruler and pen on the line.  First I covered the center with tape.

Also placed tape on the rollbar area and duct taped the ears down.

Next I trimmed the clamp lines off the bottom of the front and rear.  Crap is this messy.  Used a full face mask and big work glasses.  This gets everywhere.  Don't cut in a big wind unless you really don't like your neighbors.  It's like crappy smelling snow.  I'll cut some more tomorrow.

6/15/04 I ordered new parts for the canopy.  I'm really really wanting to make the side skirts overlap the fuselage skin.  I don't want to spend a crapload of money on this plane only to have each and every passenger ask why there is a gap between the canopy and fuselage.  That just sucks.  Another poor design.  Hey, Vans, you listening???  Spoke to Dan today and he gave some great tips about doing this.  I suspect he'll do the same thing only with glass work.  I'm still working out the design...
6/26/04 Ok, second (maybe third) try on the access panels and they came out perfect.  Never having made access panels and the support structure before, this was definitely a learning experience.  I can probably build the entire thing now in a couple of hours, No Joking!

I had already fabricated the support brace and the panel cover.  You should do this in that order.  Now lay the covers on the panel, measure properly and begin to cut out the hole in the skin.  I started  with a unibit to give access to my pneumatic nibbler.  If you don't have one of these, you will soon.  Rough cutout then file to the lines.  Then use a hand nibbler to get it right on the line.  Then file.  If you want to know the dimensions:  Hole is 7 inches square.  Backing plate is one inch wide.  If I had to do it over again I would make the backing plate about 1.25 inches in order to give a bit better clearance for the dimples for the screws.

6/27/04 Finish up of the access panels.  Just pictures for you.  I sealed in between the backing plate and the skin with High Temperature (Red) Silicone RTV (Dow 736).

I moved the rudder braces to the center of the three positions I had drilled.  I may have to move them to get the fit perfect.  I then pop riveted the naca ducts into place, again using the red RTV silicone as a sealant.  Fabricated a bunch of little aluminum backers first.

6/29/04 Time to get the forward section riveted and the instrument panel angles fixed.  I left the very center section of the forward structure clecoed in because I know I'm going to need some unobstructed access in the near future.  I used MSP42 pop rivets to hold the little angles in place which the instrument panel gets screwed into.  There is no way in hell I'm going to get a bucking bar in there under the canopy decks and make it perfect.  In fact these rivets are stronger than solid aluminum rivets.

Do yourself a Huge favor when installing these little instrument panel braces.  Do NOT put the nutplates on first.  Rivet them to the canopy decks, Then put the nutplates on.  You don't have enough room to buck or place pop rivets, as I did, with the nutplates in place.

8/6/04 Ok, after tons of procrastination, actually waiting to get a second hand, we (me and pops) went ahead with the canopy cut.  It really wasn't as bad as I thought.  First I trimmed the sides removing the clamping areas used in the forming of the canopy.  I sanded the edges with 220 grit on my orbital sander nice and smooth.  Then taped the edges to keep the plastic on tight.  Place some masking tape on the rollbar and mark the centerline.

The canopy has a natural curve to flat area in the front.  I hand marked the area where it starts to get flat and cut it there.

Place a corresponding mark on the canopy where the centerline of the rollbar is.  You want to make sure the canopy is aligned for and aft properly.  The front of the canopy is 1 3/4" from where the top skins meet.  Remove canopy and place on table, securing with blocks of wood and duck tape.  The aft portion of the canopy is held in place with a carpenters beam level (or whatever you call this thing).

Ready to make the cut.

Cut is made.  I started from each outer edge and worked inwards.  Taped the inside and outside of the cut every 5 inches with duck tape. 

Looks bitchen.  Thanks Pops!

8/7/04 Trimmed the sides of the canopy.  Remove tape so you can see what you need to trim.  Tape this sucker down good.

Trim the back window too 1 1/4" from the skin line which you mark earlier.

Ran the wires for the electric trim servo.  I used the Adel clamp bolt which holds the ruder cable to keep it out of the way of the pushrod then it goes to the bottom center of the bulkhead.  I double wrapped shrink-wrap on it just to be sure.

8/21/04 Riveted in the tip up canopy frame.  This is a real pita to rivet.  Glad I had a second set of hands.  There's still a bit of a gap at the front but I can take care of that with a big mallet :)  I decided to countersink the pop rivets just a bit to get them a bit more flush on the top.  I want to install something to cover that area and I don't want something sticking up too much so that it's noticeable.  Don't countersink too much because that skin is thin, and pop rivets aren't like regular rivets, the hole gets huge fast.

8/29/04 
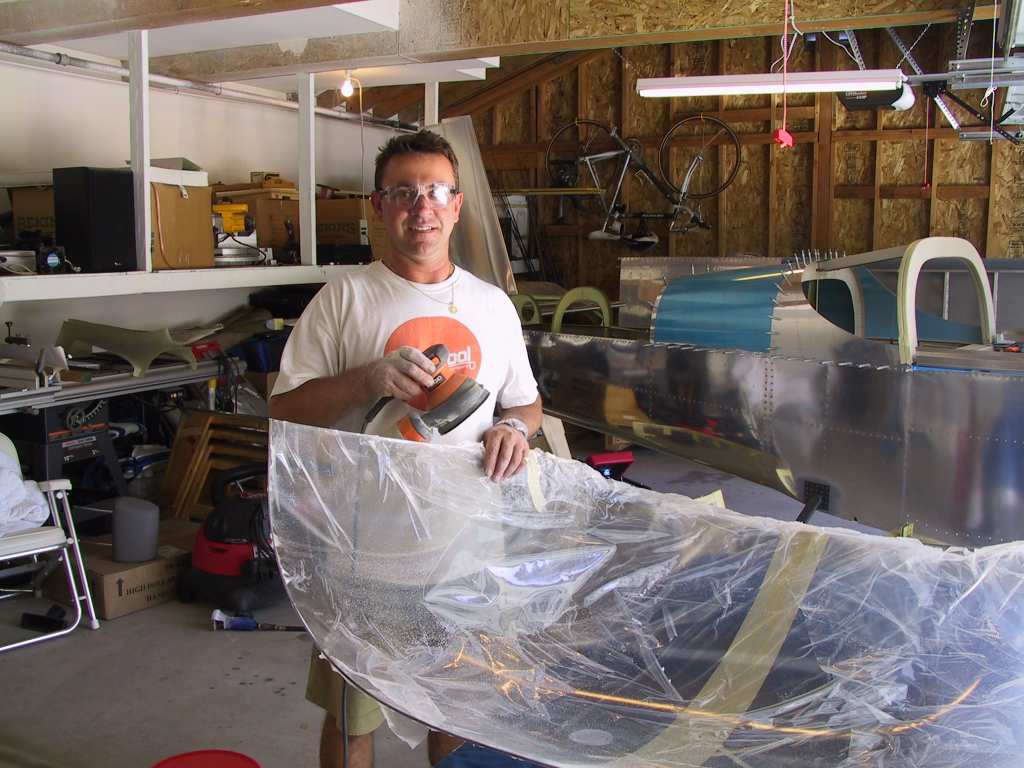
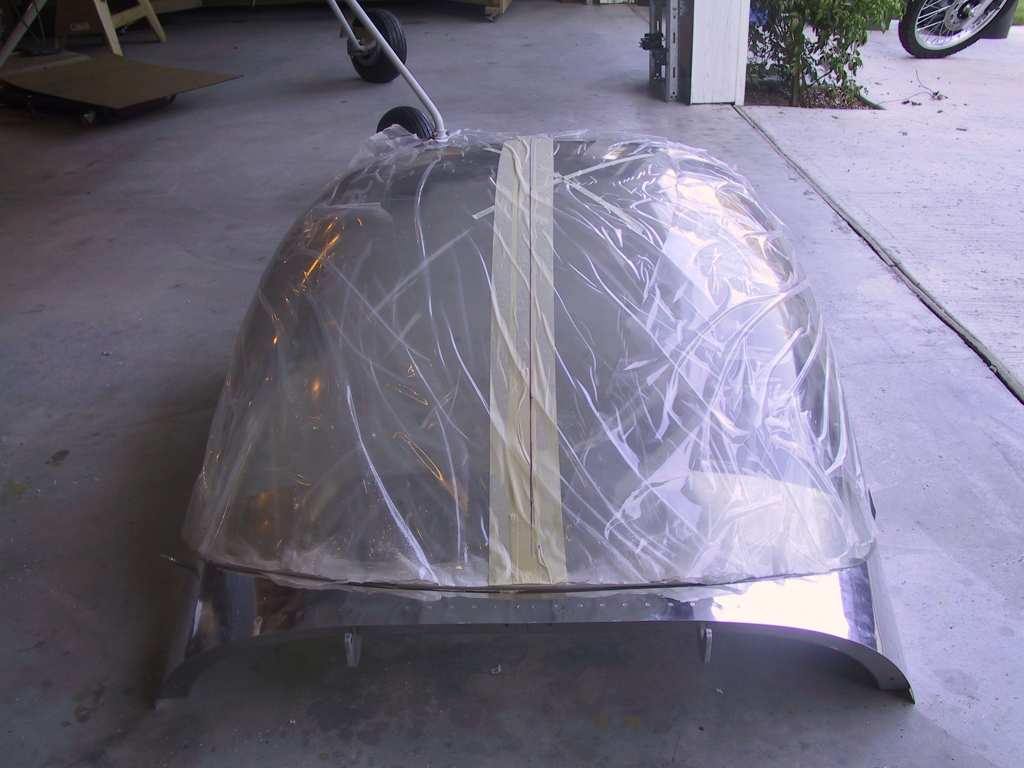
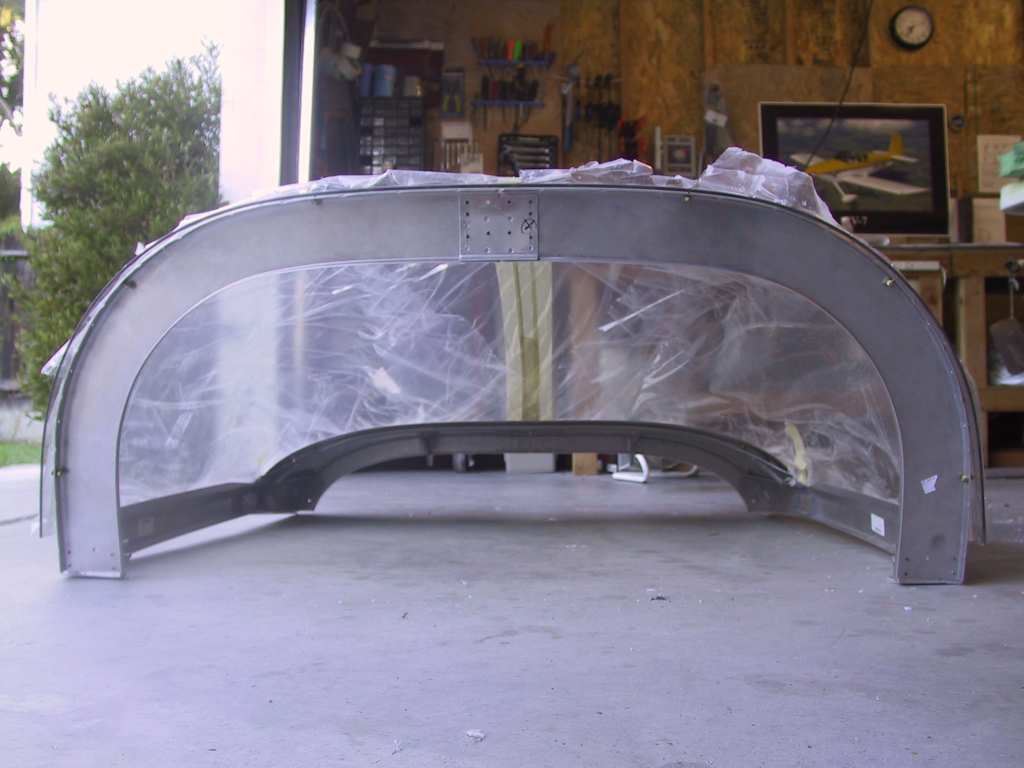
Time to get this canopy finished.  Waited long enough to do this.  I've finally made my decision as to whether I will have 
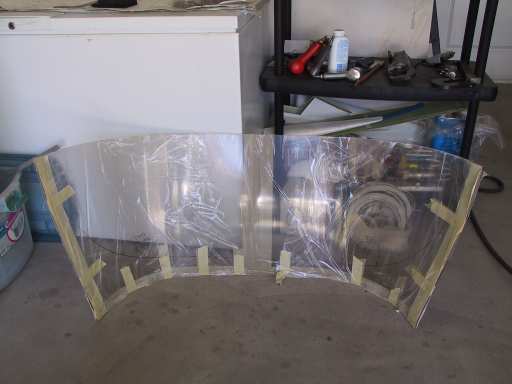
extended side skin skirts.  YES.  I ordered two pieces of stock from vans, I think they were 4.5" x 45".  I'm holding off drilling the side skirt holes through the plexi until the skins get here and I've had a
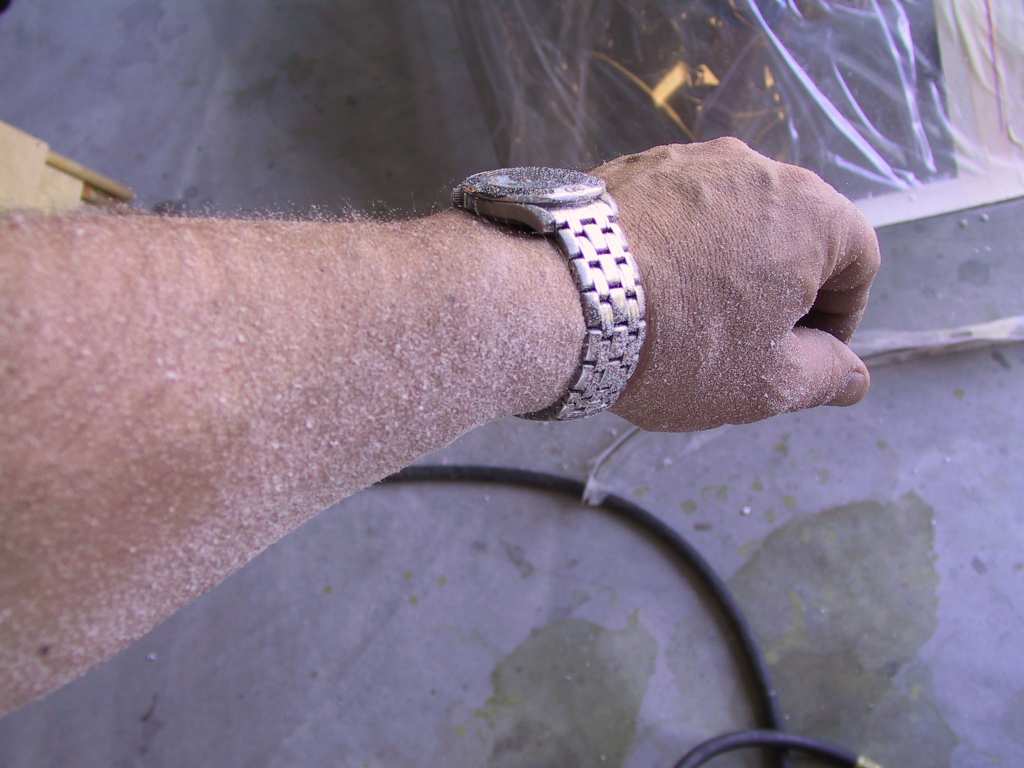
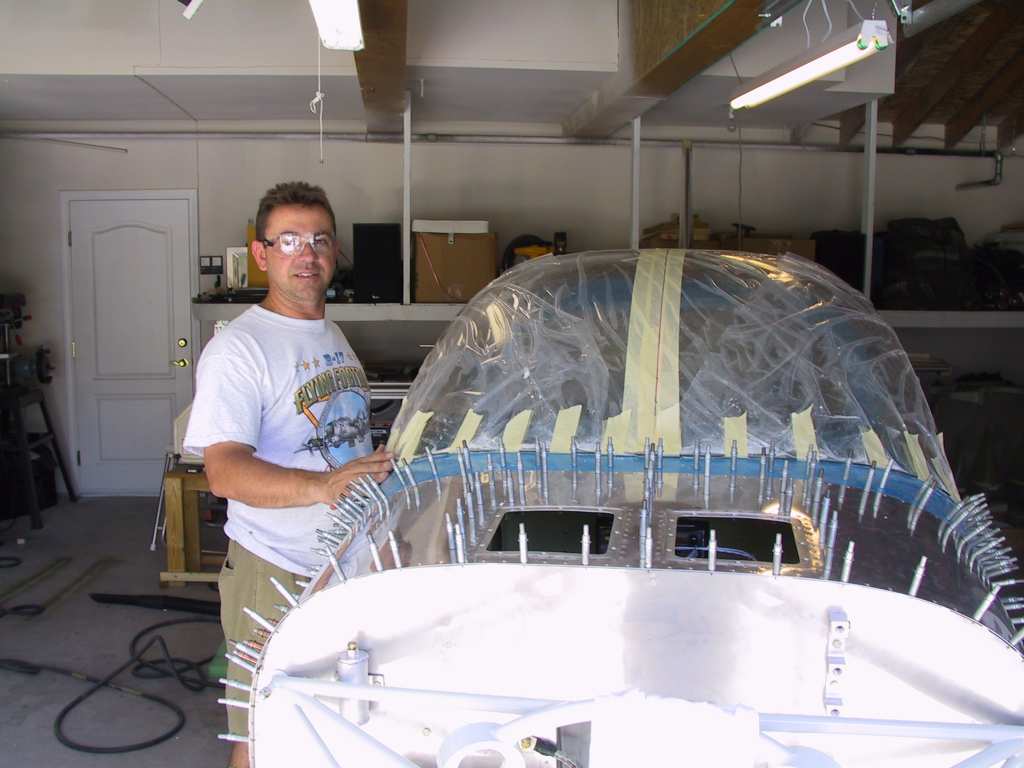
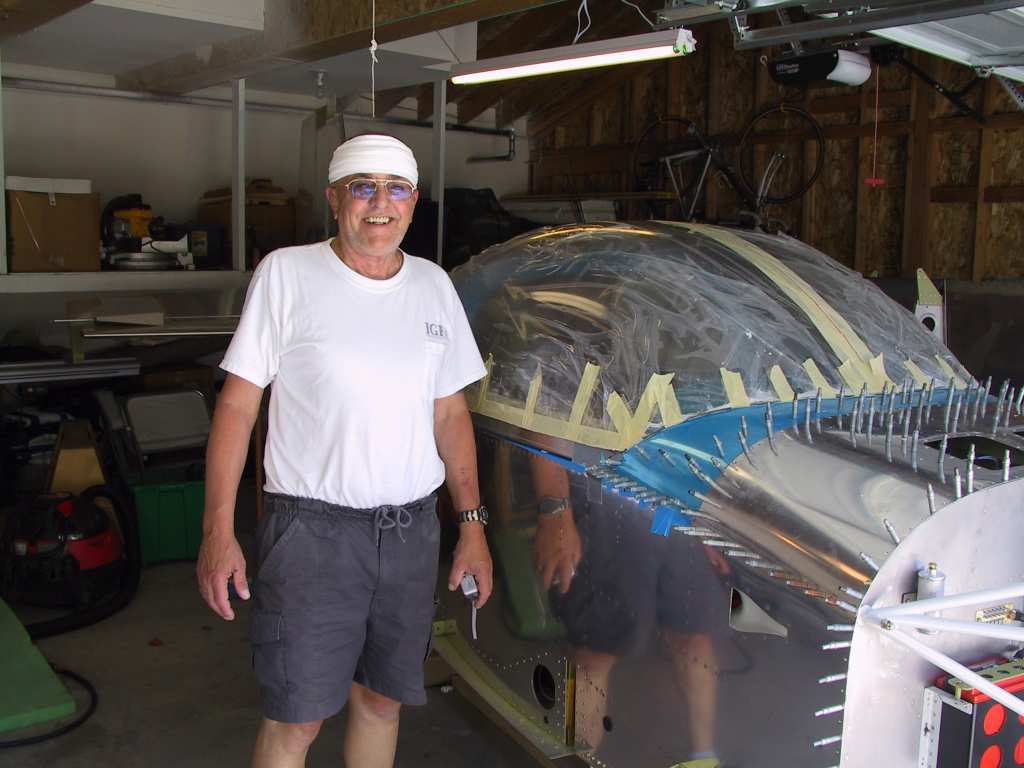
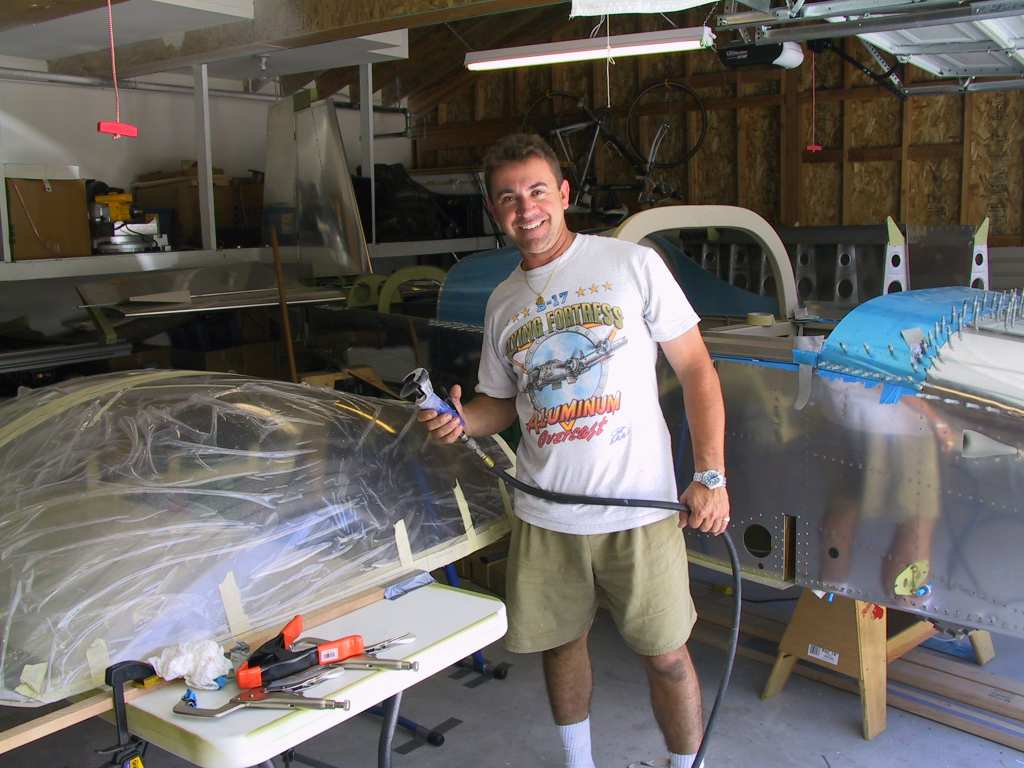
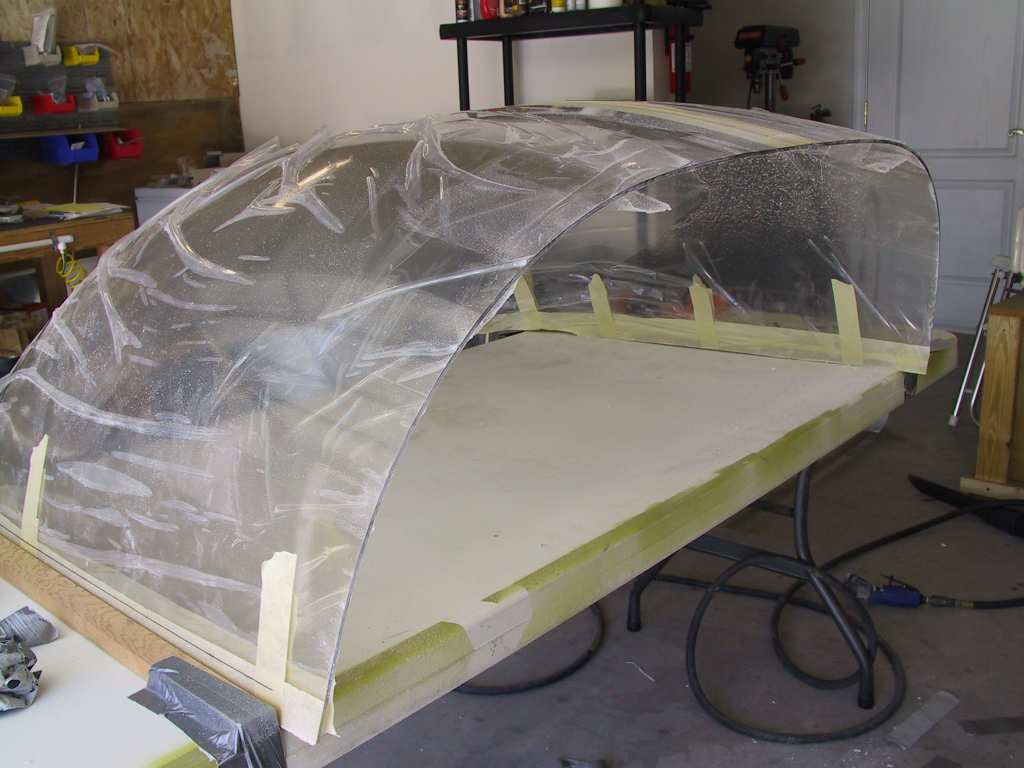
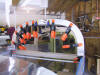
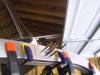
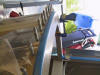
 real good look at what I'm up against.

Today was a good day.  Pops 
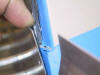
and I banged out almost everything we could on the canopy.  No mistakes, no cracks.  It was almost 90 in the garage so temperature was a non-issue.  Lots of pictures, maybe they'll help you.

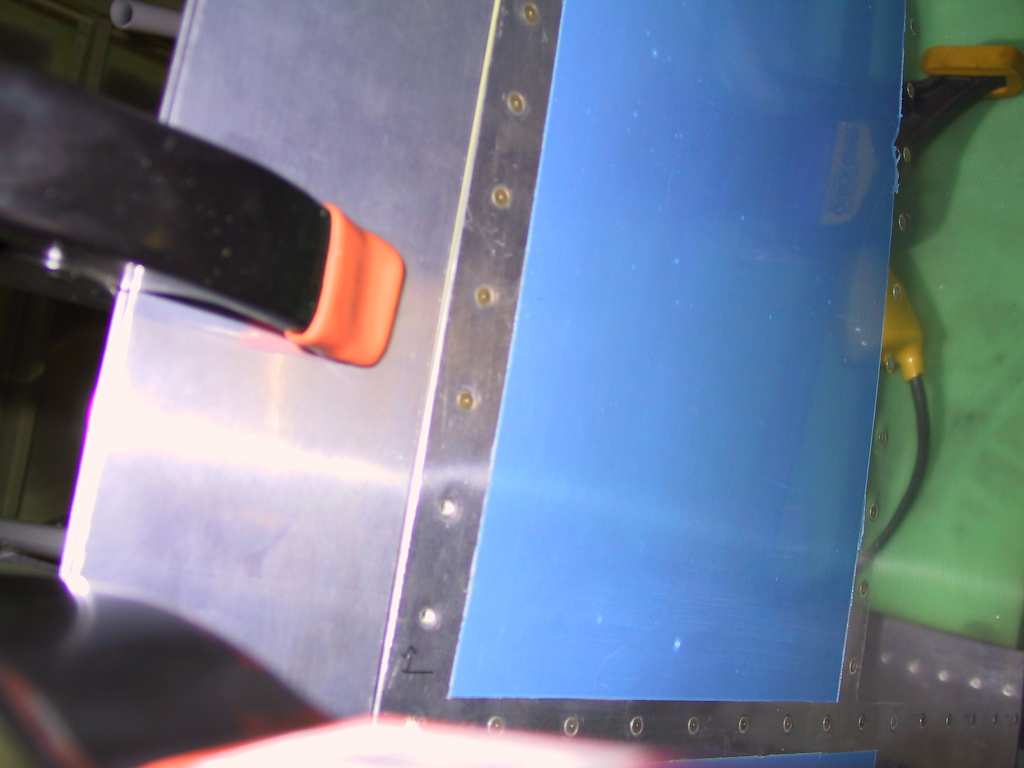
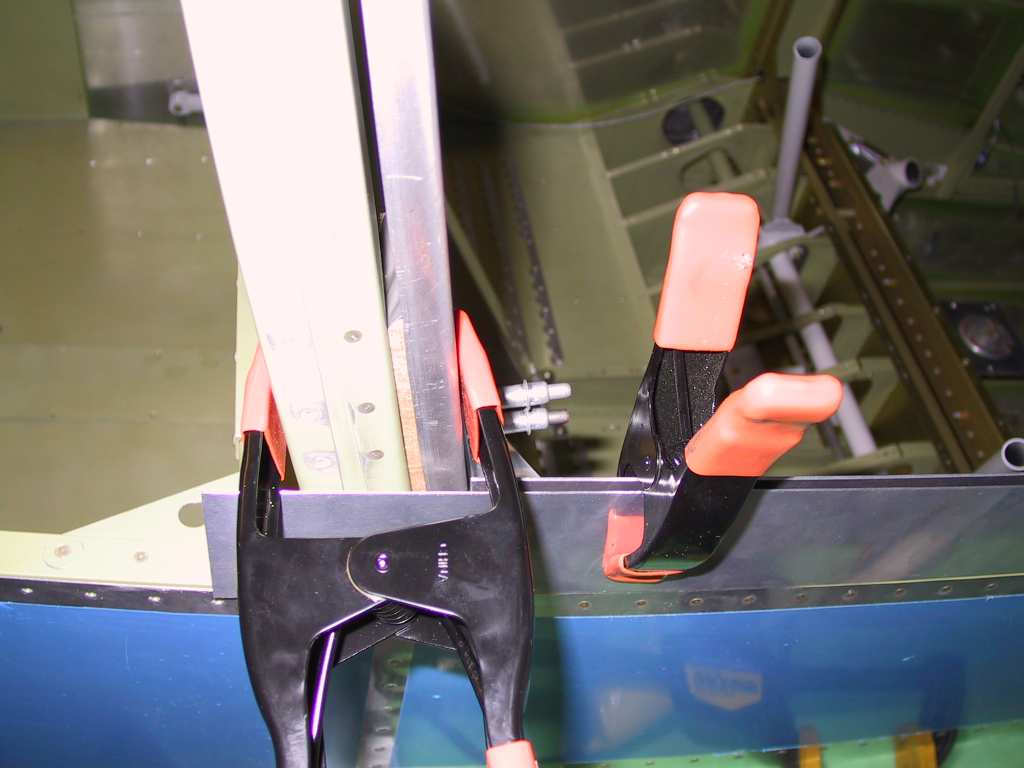
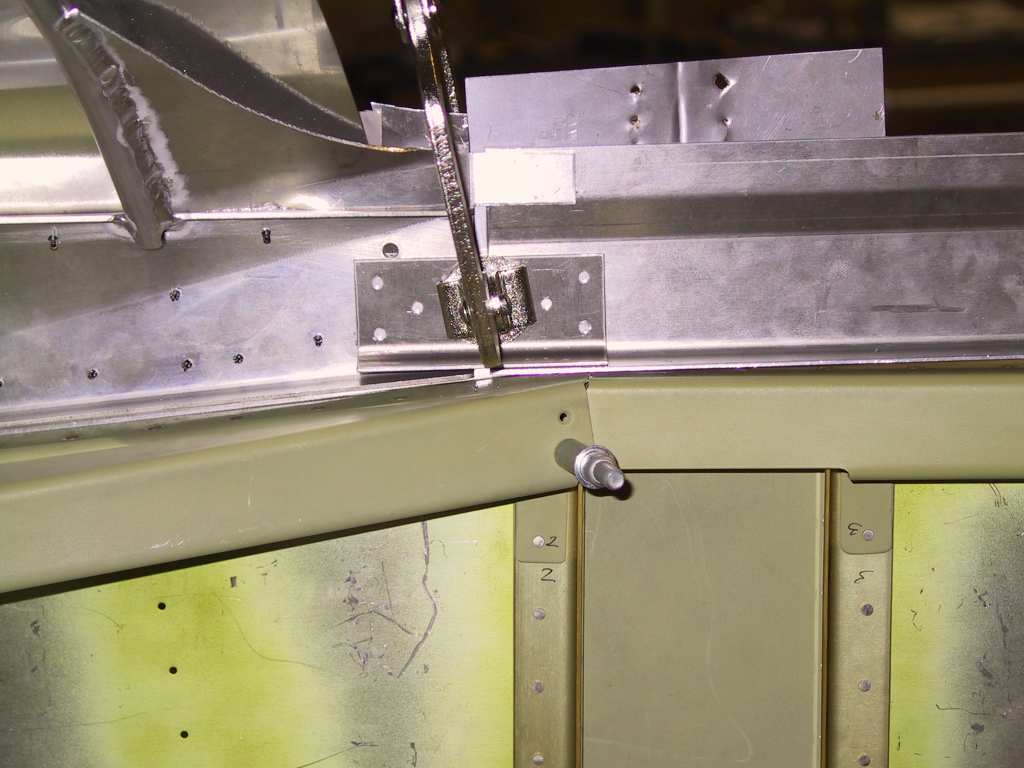
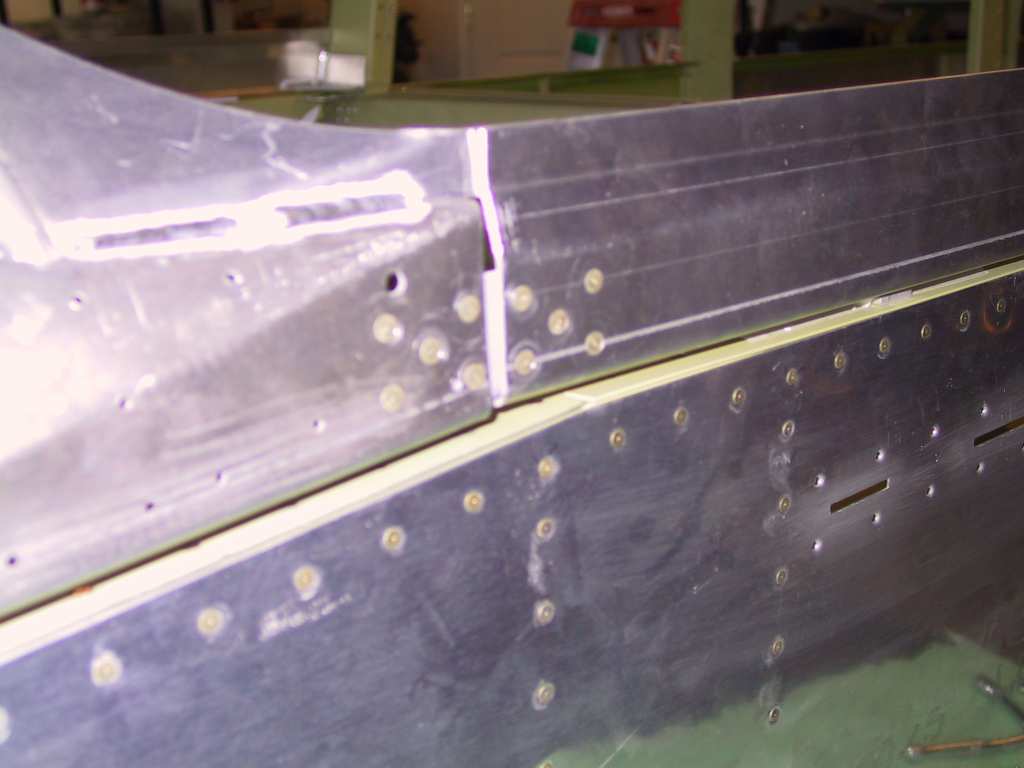
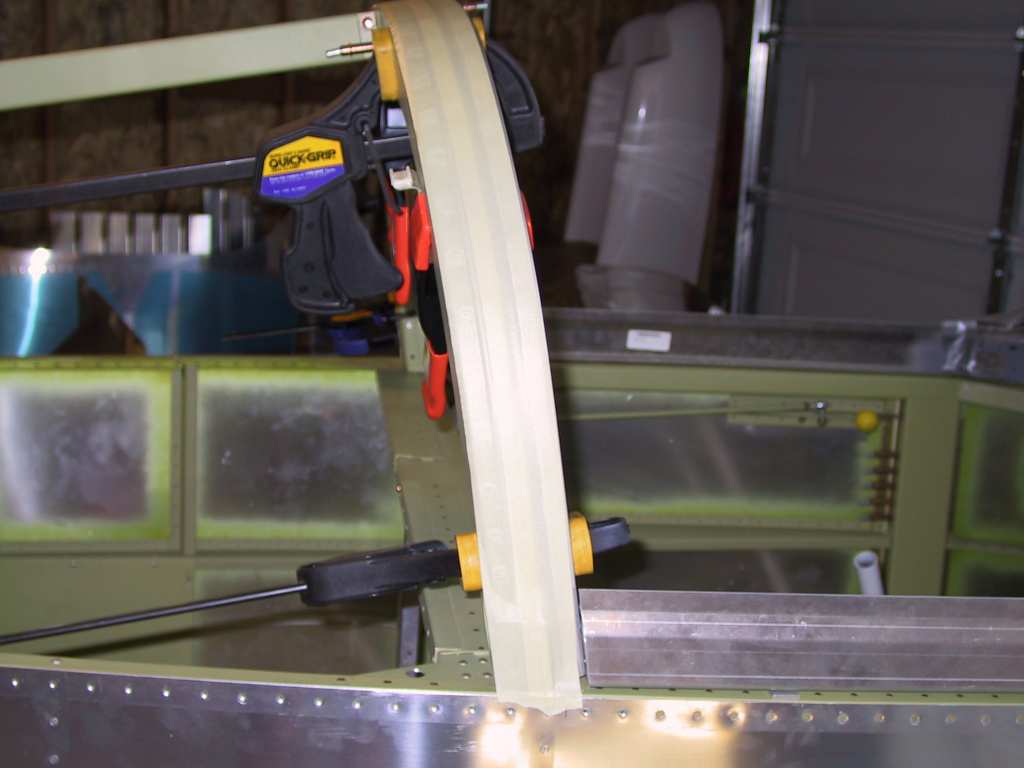
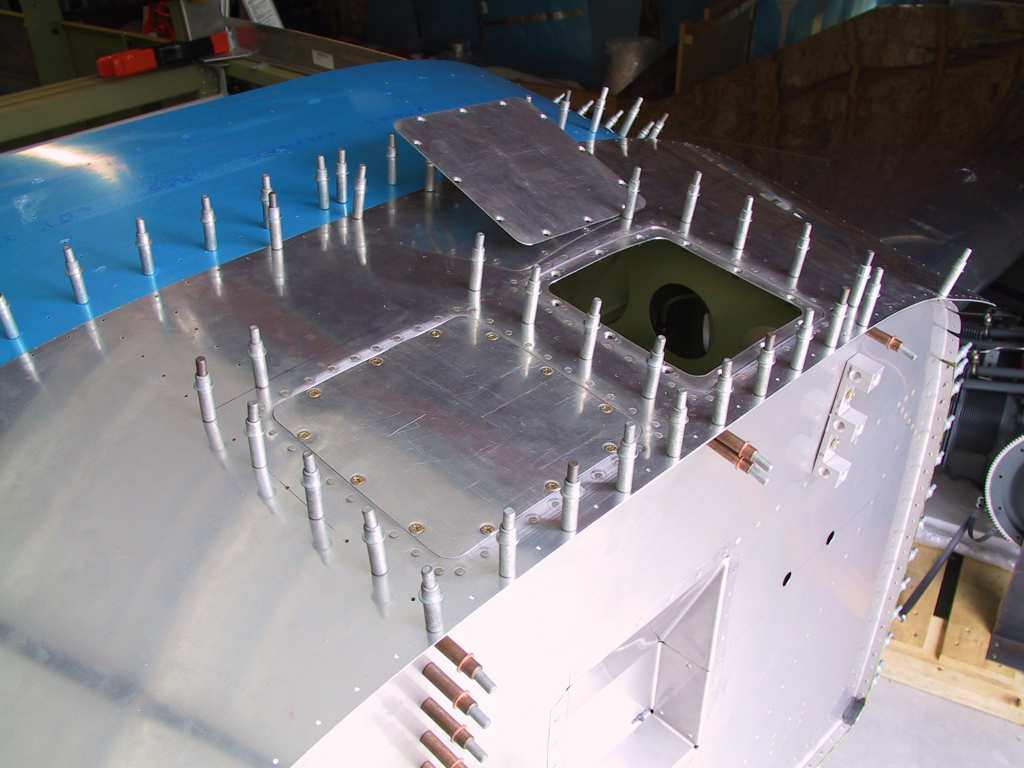
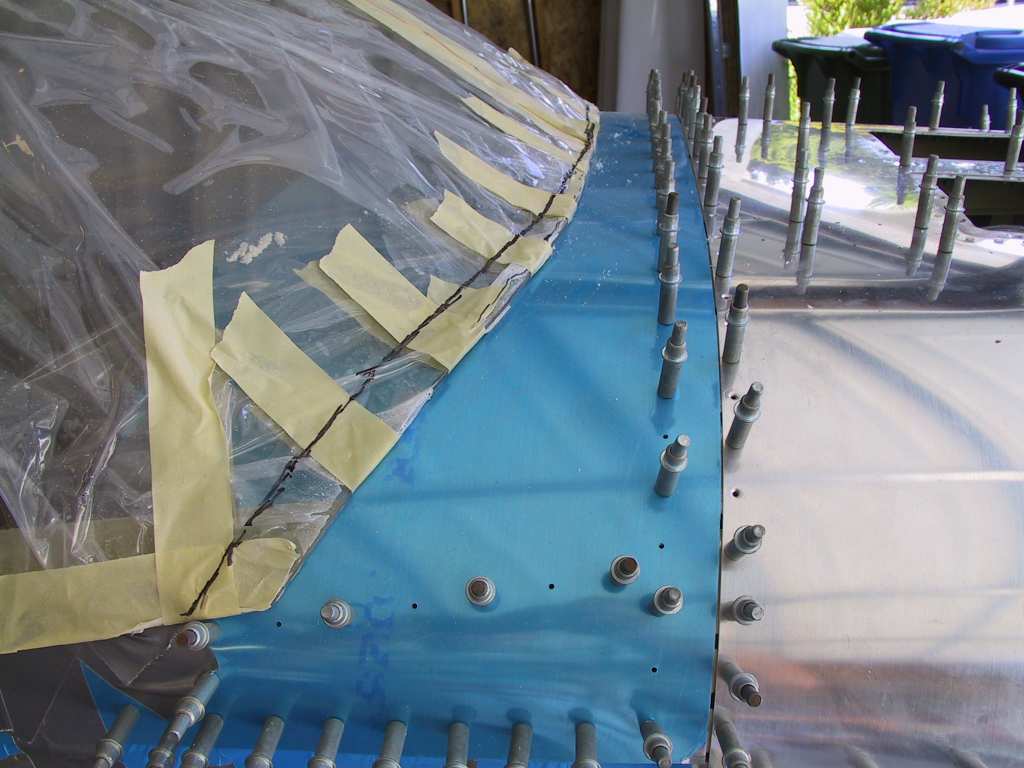
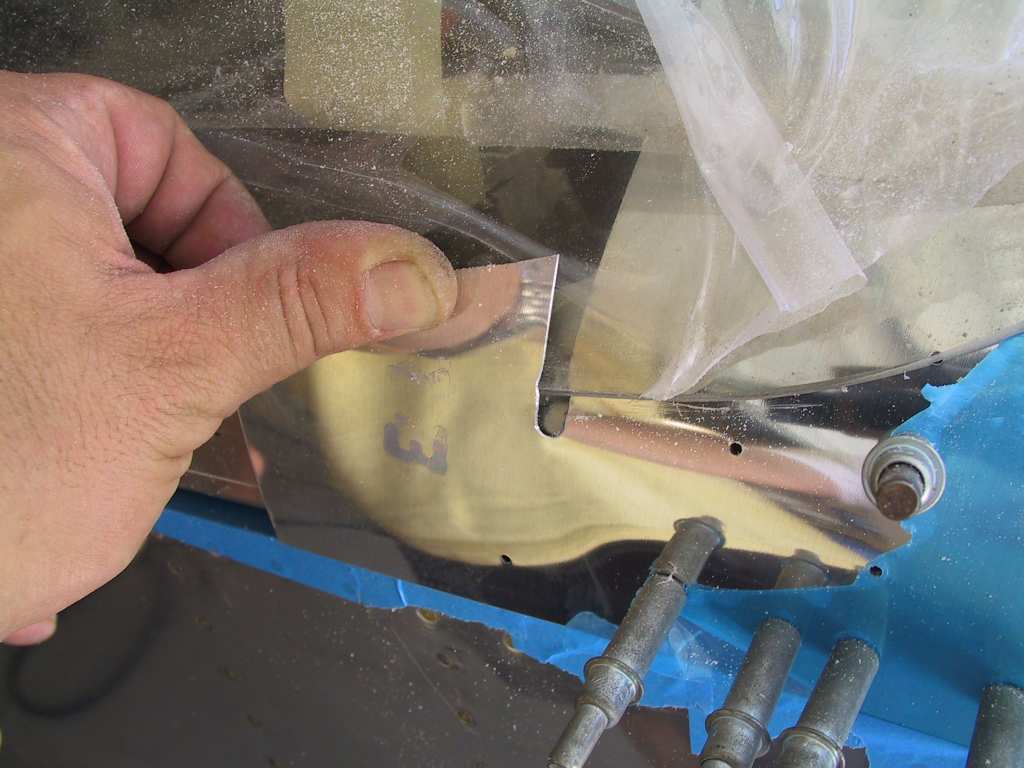
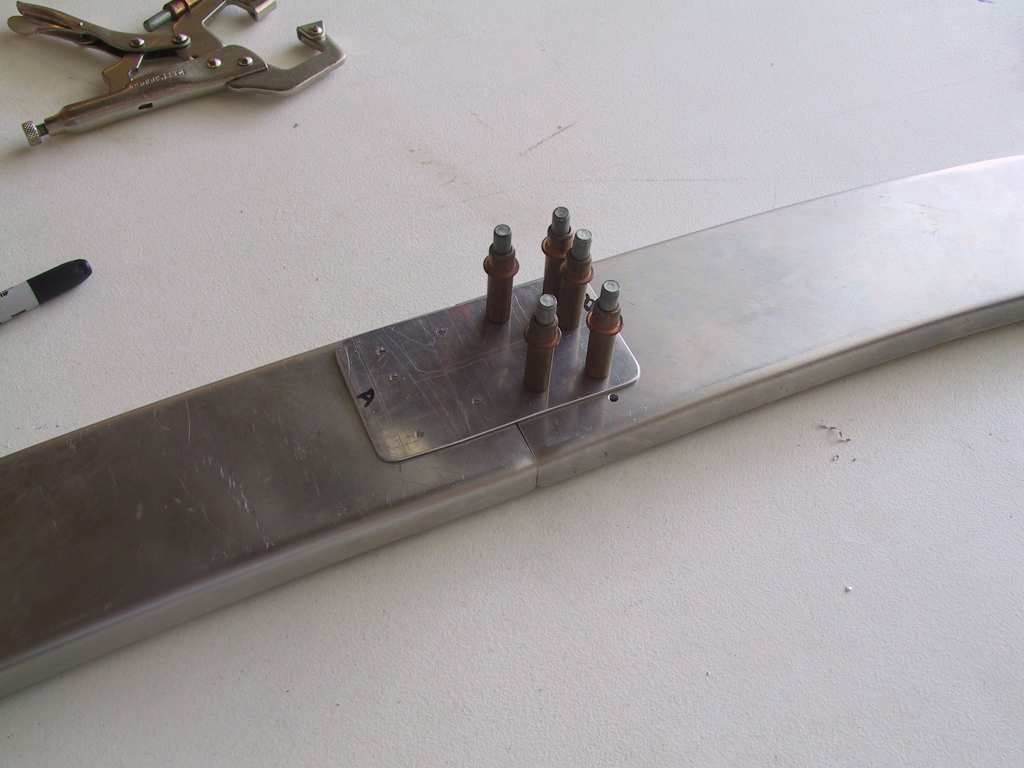
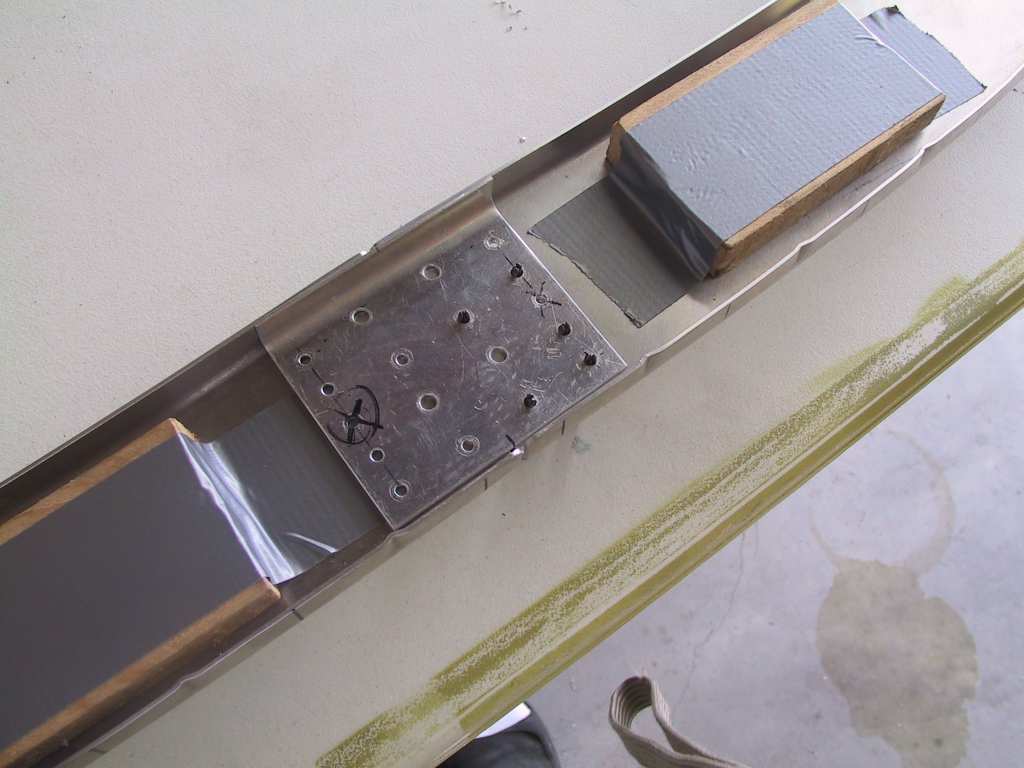
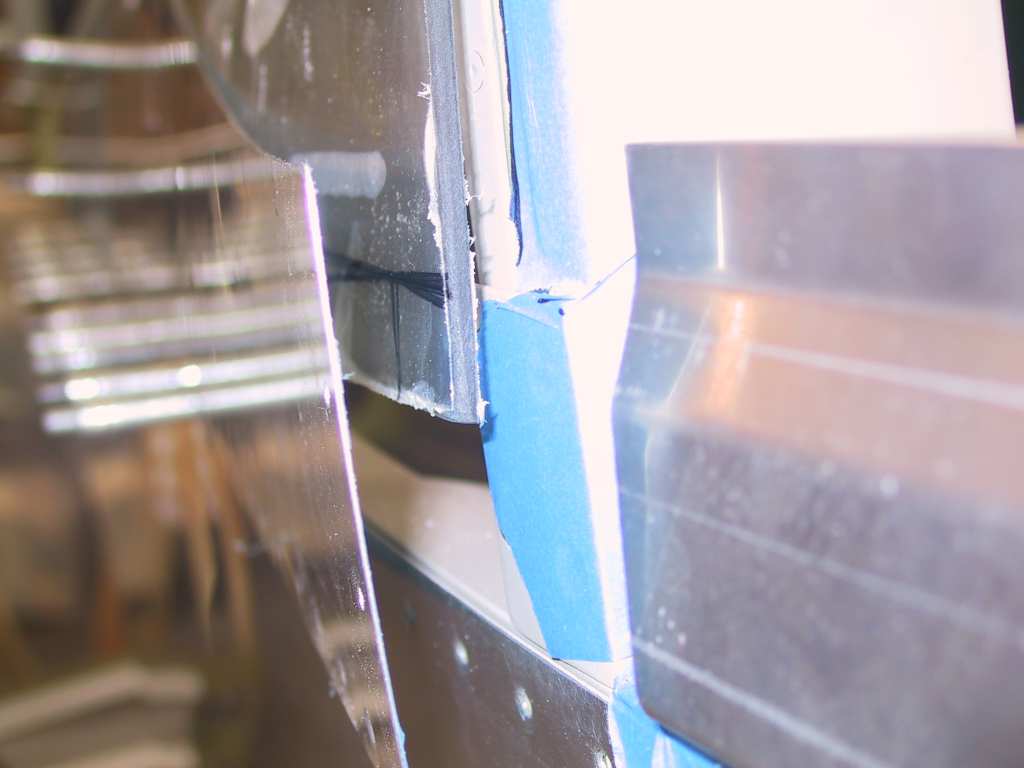
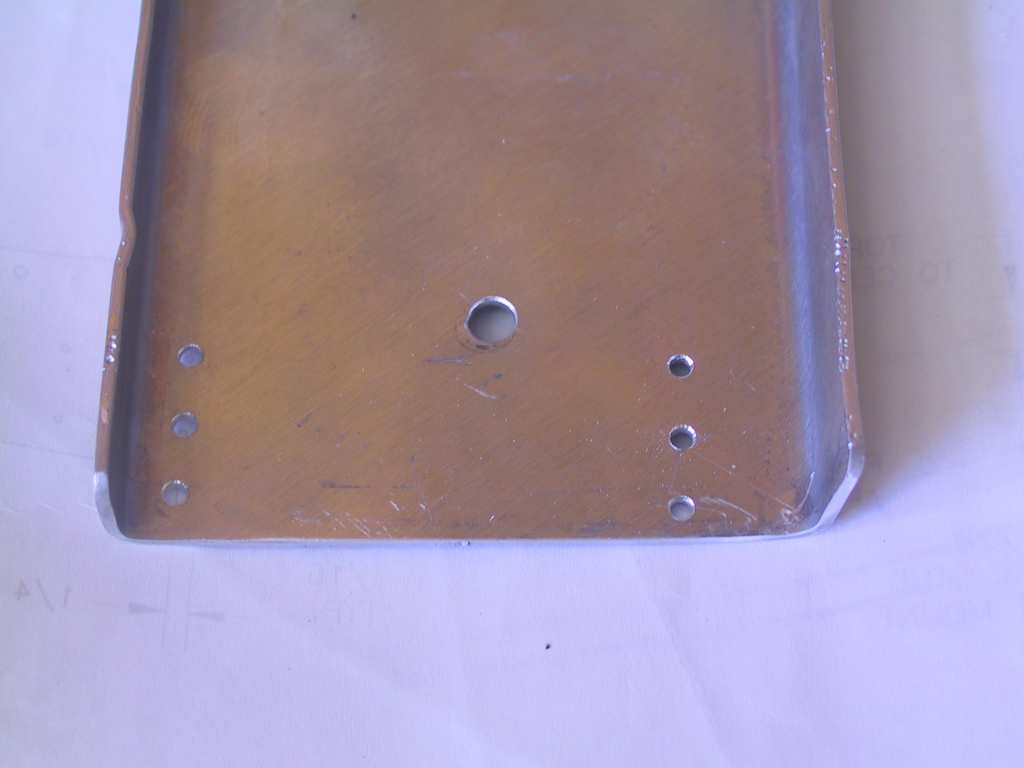
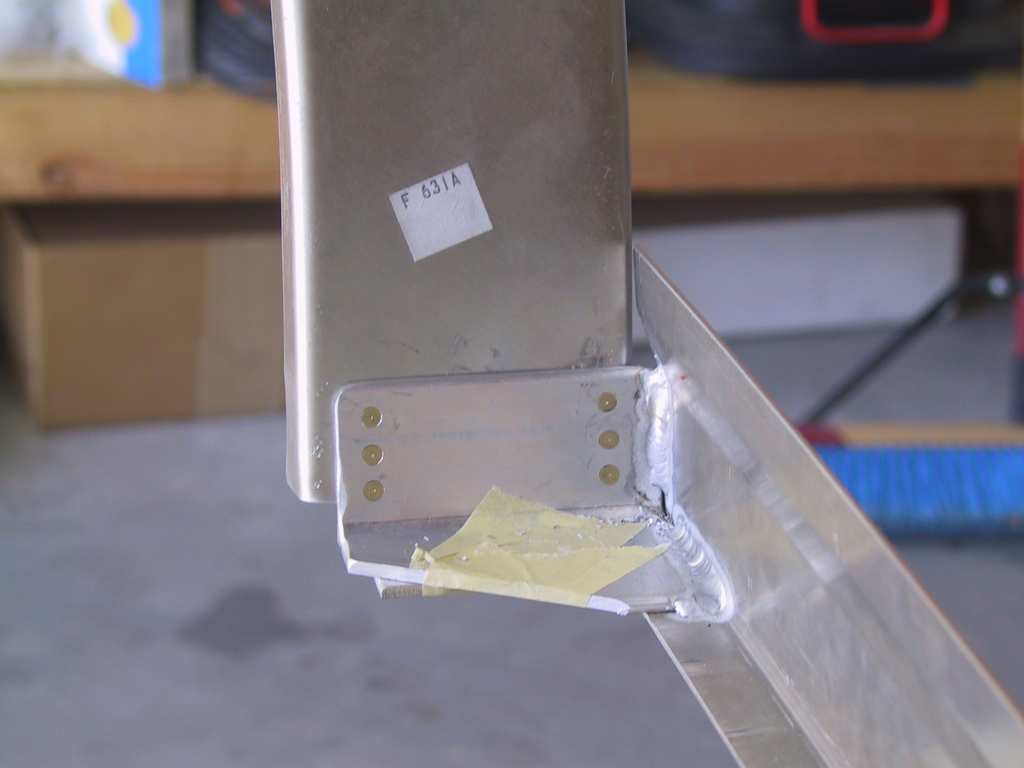
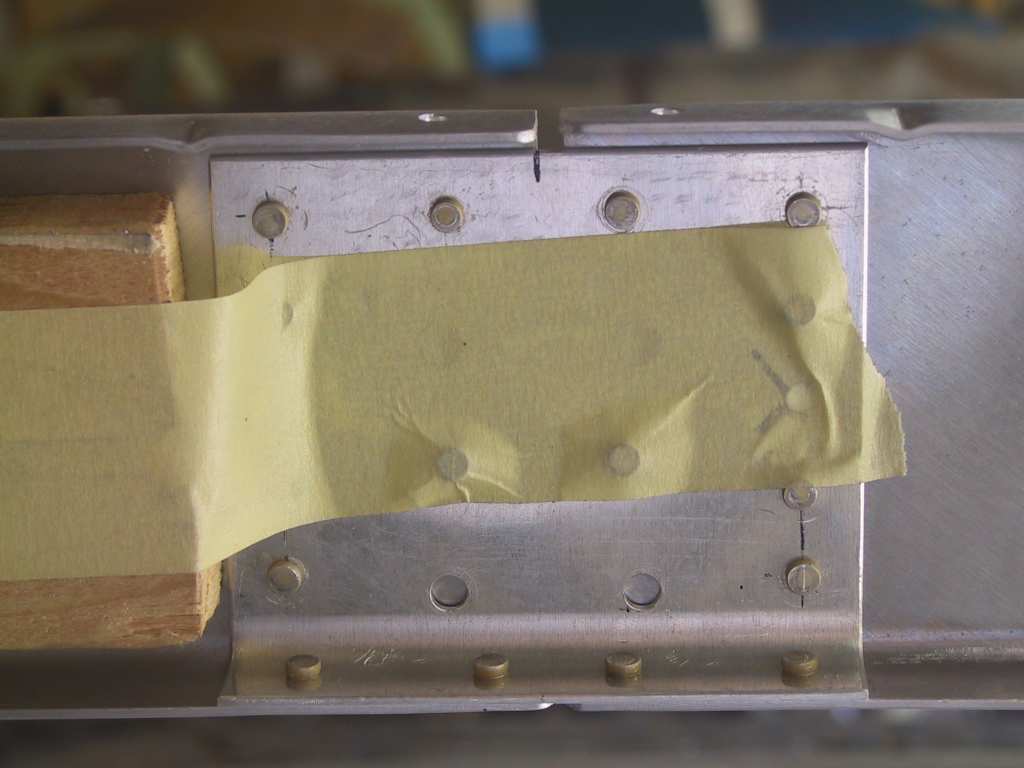
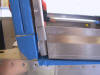
Since the splice plate is behind the channels you can't drill it in place so I made a plate and drilled the splice plate holes through it and placed it on the forward side of the channels with the splice plate behind it.  
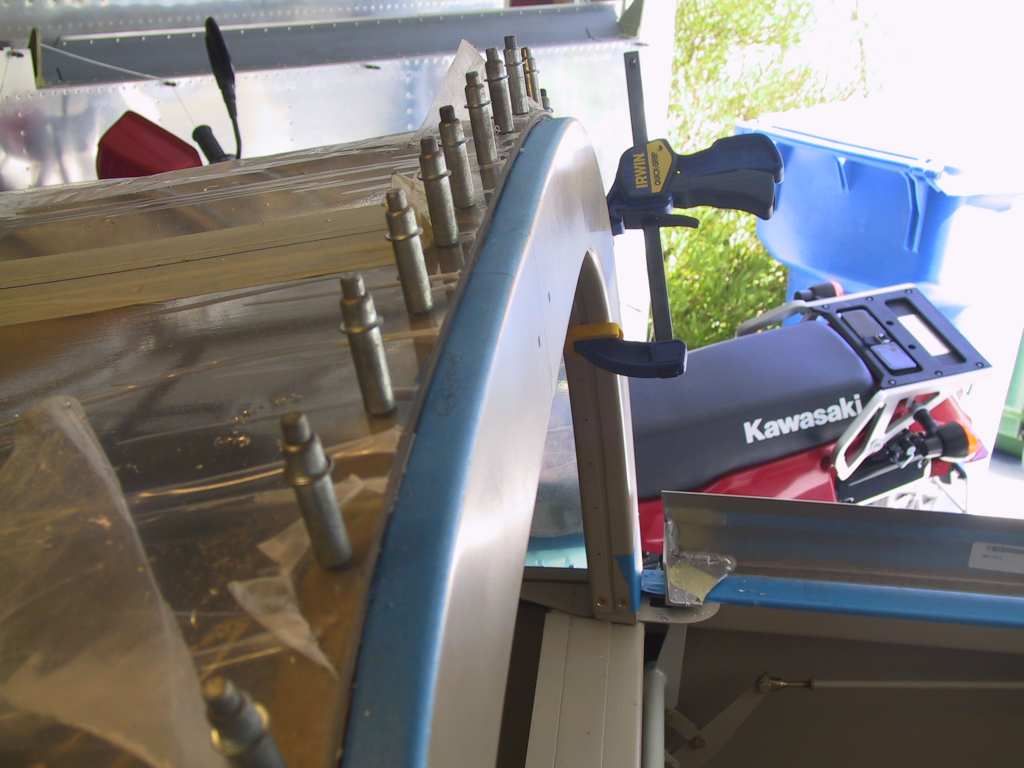
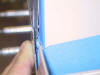
One side of the channels is predrilled.  This allows you to drill the holes without disturbing the channels as you fit them up into the bubble, clamping the crap out of everything so it won't move.

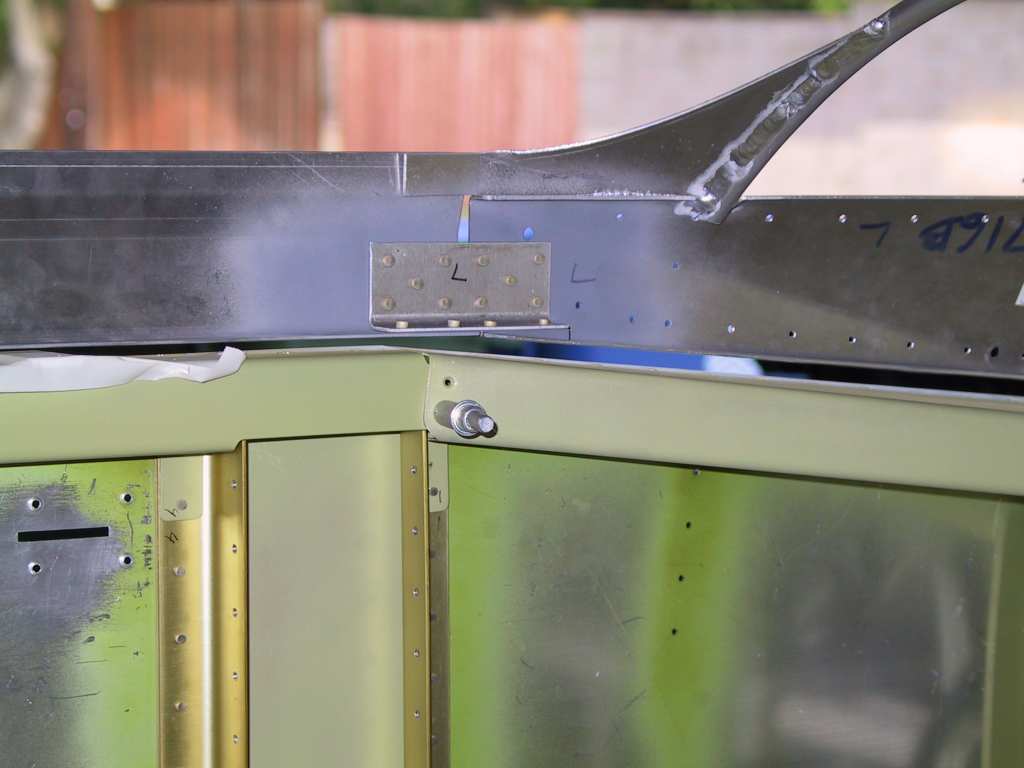
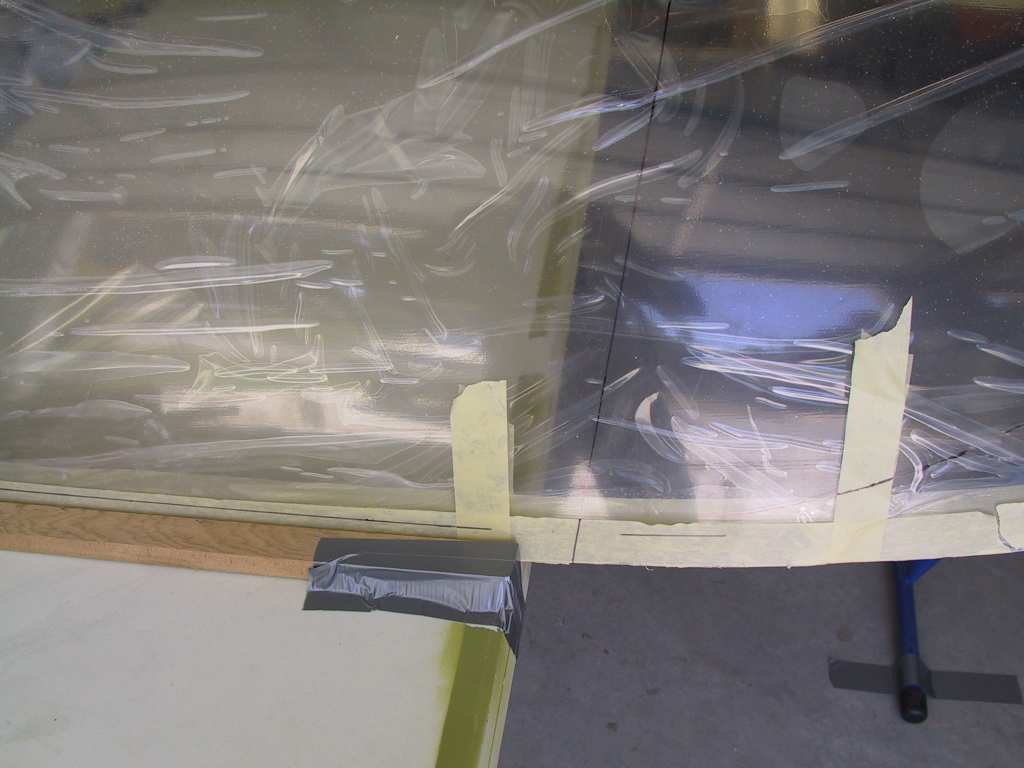
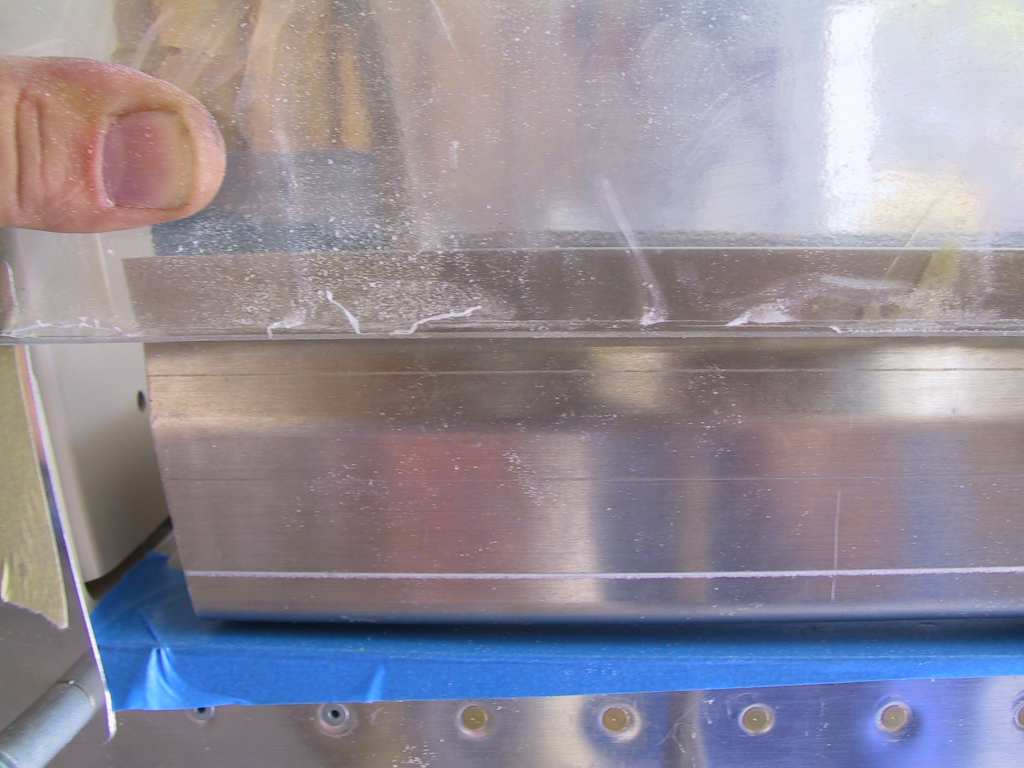
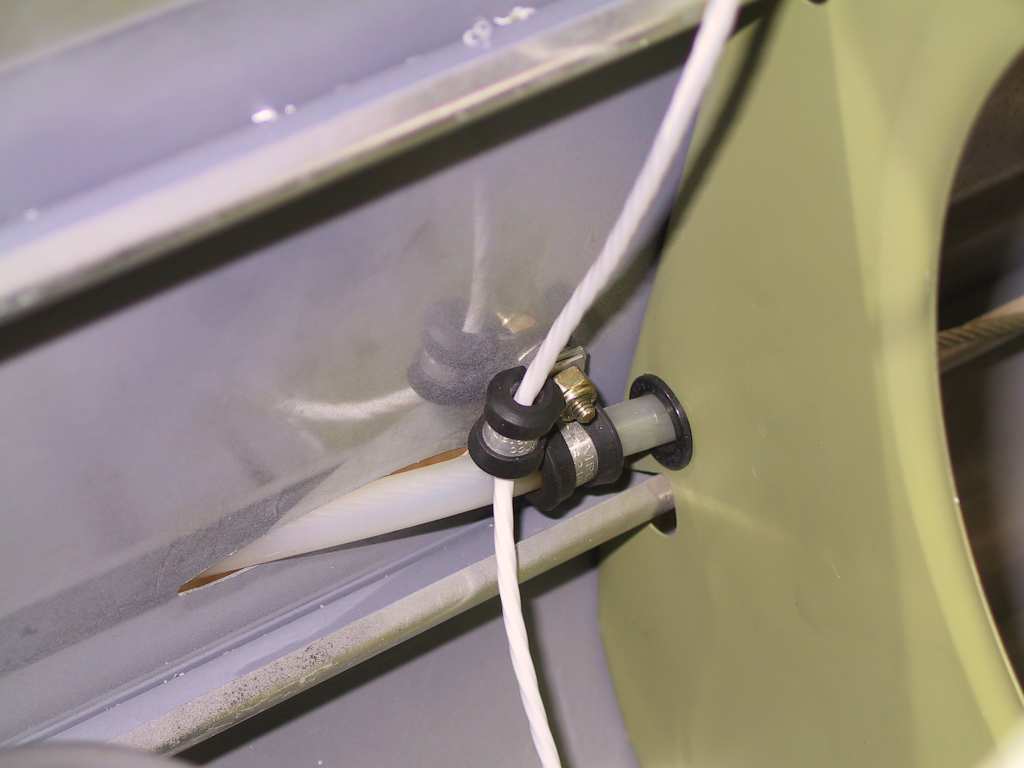
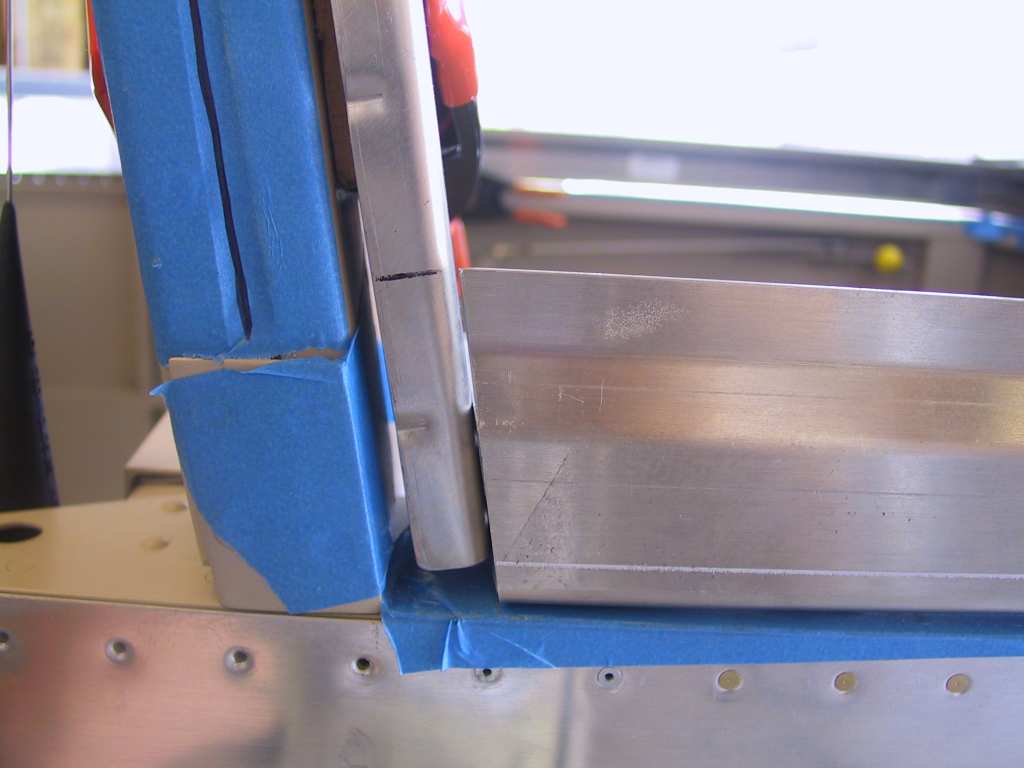
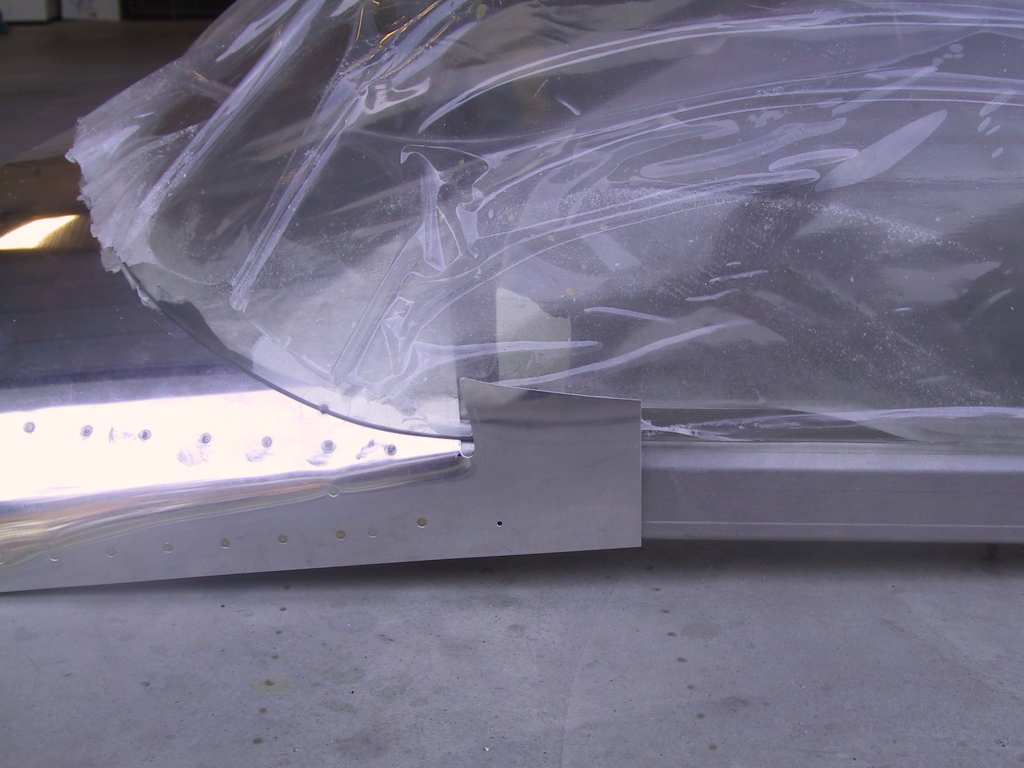
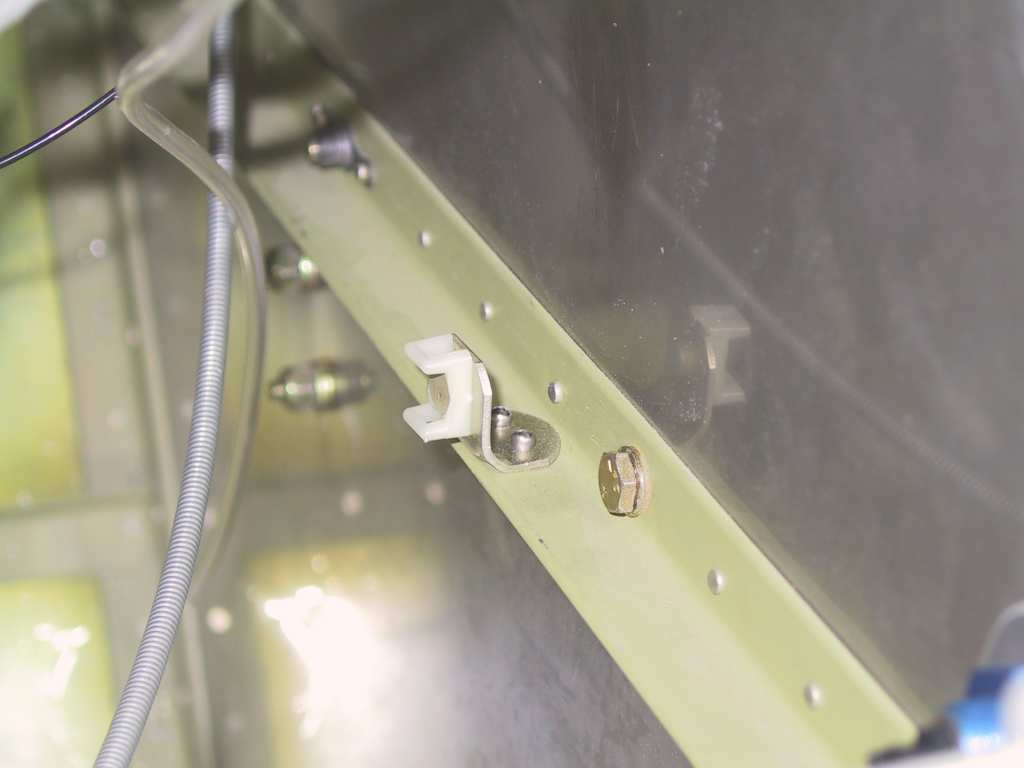
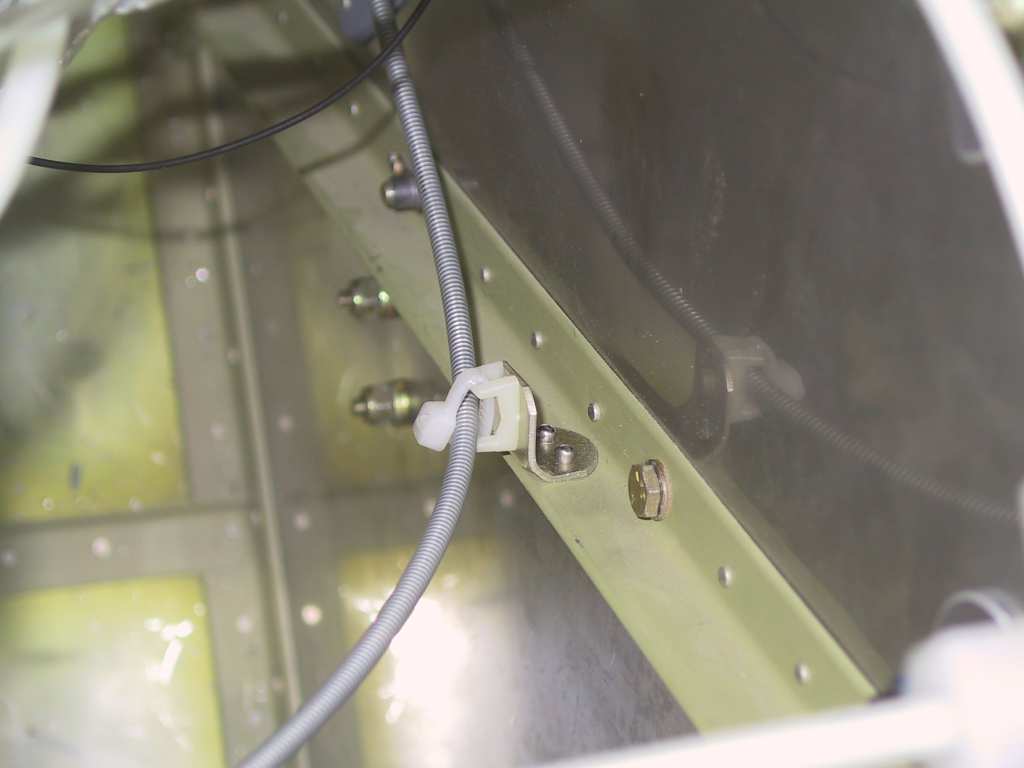
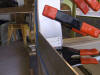
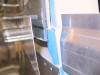
Make sure your sides provide clearance for the side skins.  I will be using a spacer on top of this skin to get clearance for the extended side skins so they won't rub the paint off.  I also intend to place a thin strip of UHMW tape on the underside of the extended side skins just in case.

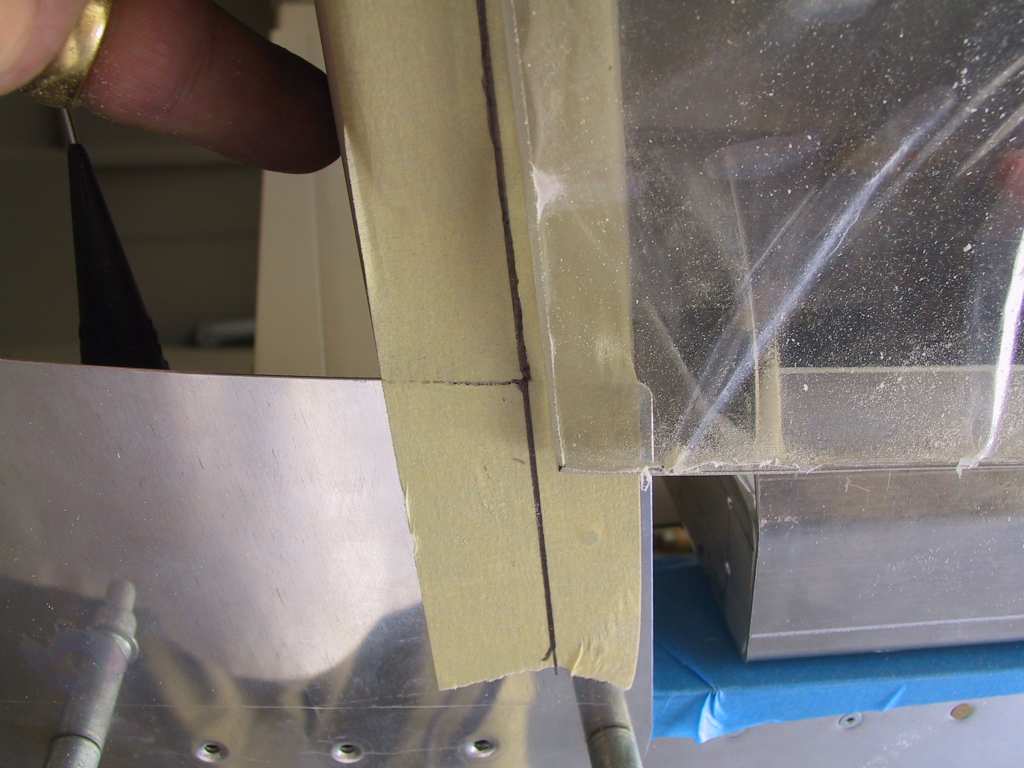
If you've drilled the holes for where the frame hits the channels make sure the channels are low enough so the bottom holes have no clearance issues.

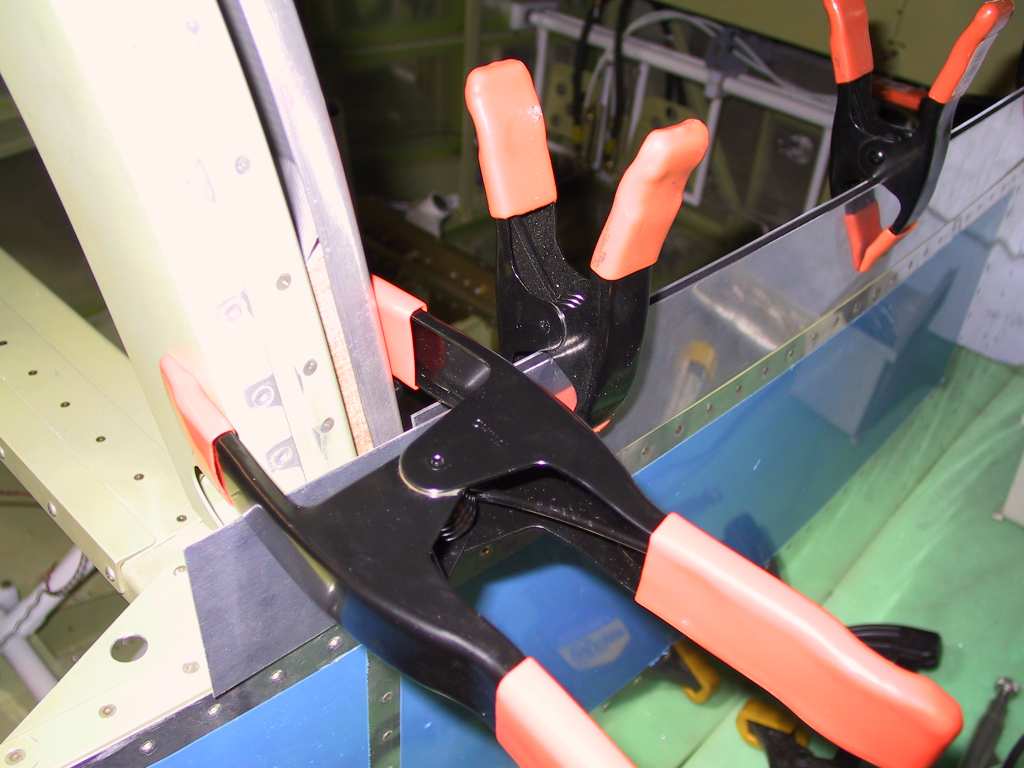
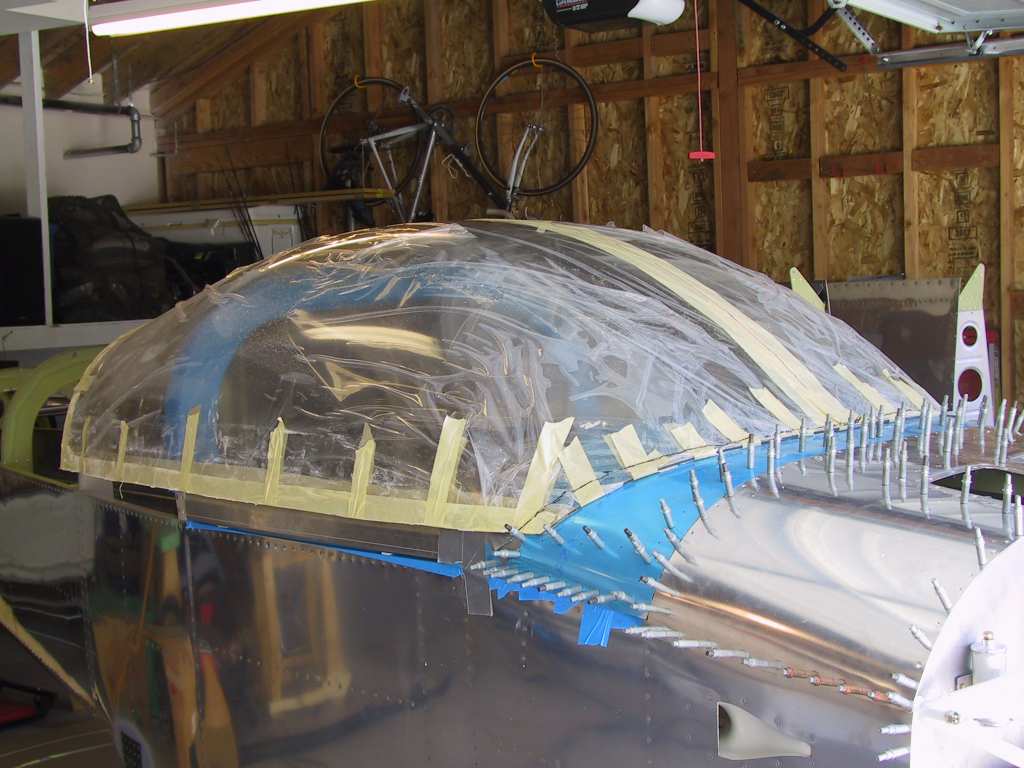
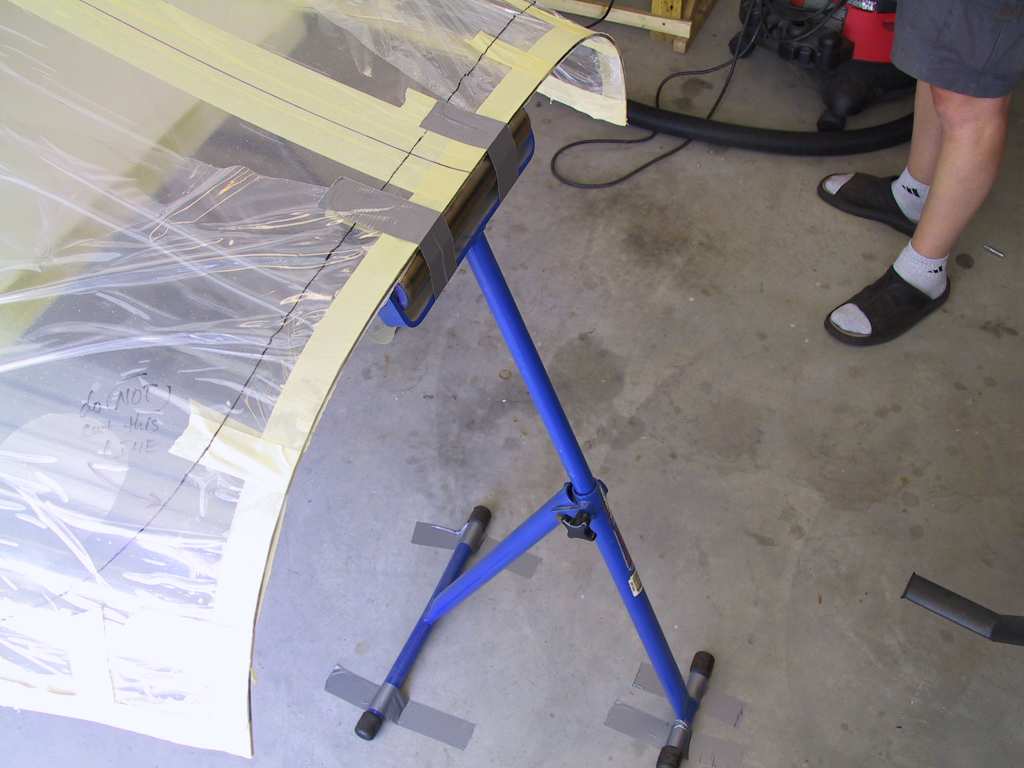
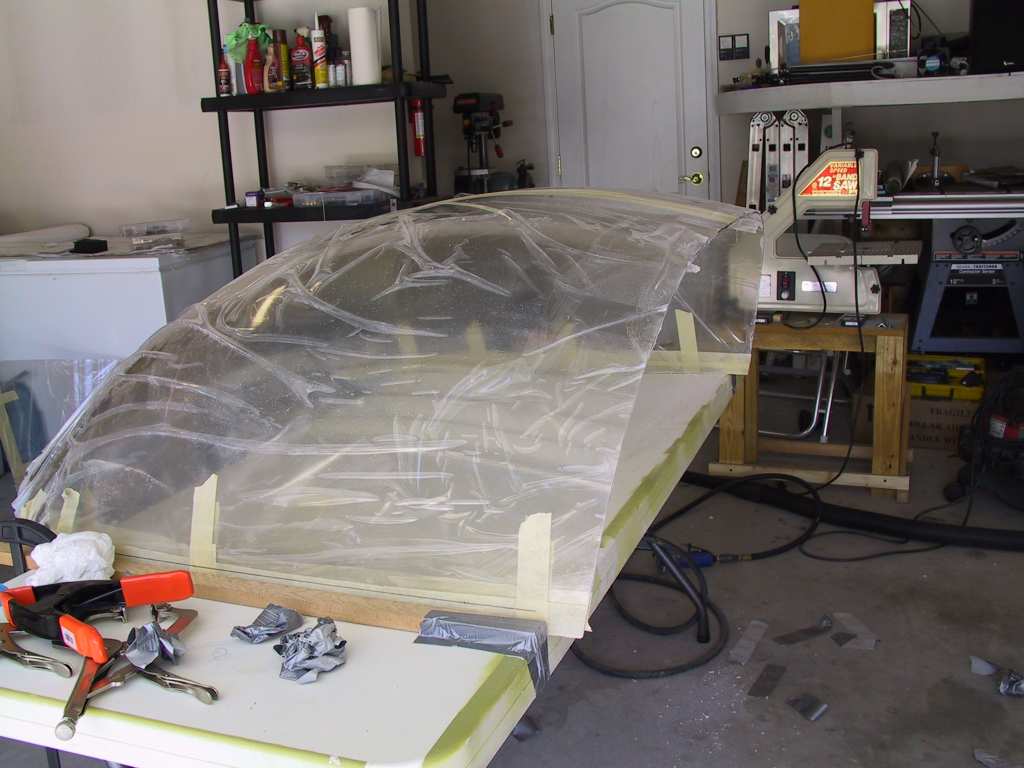
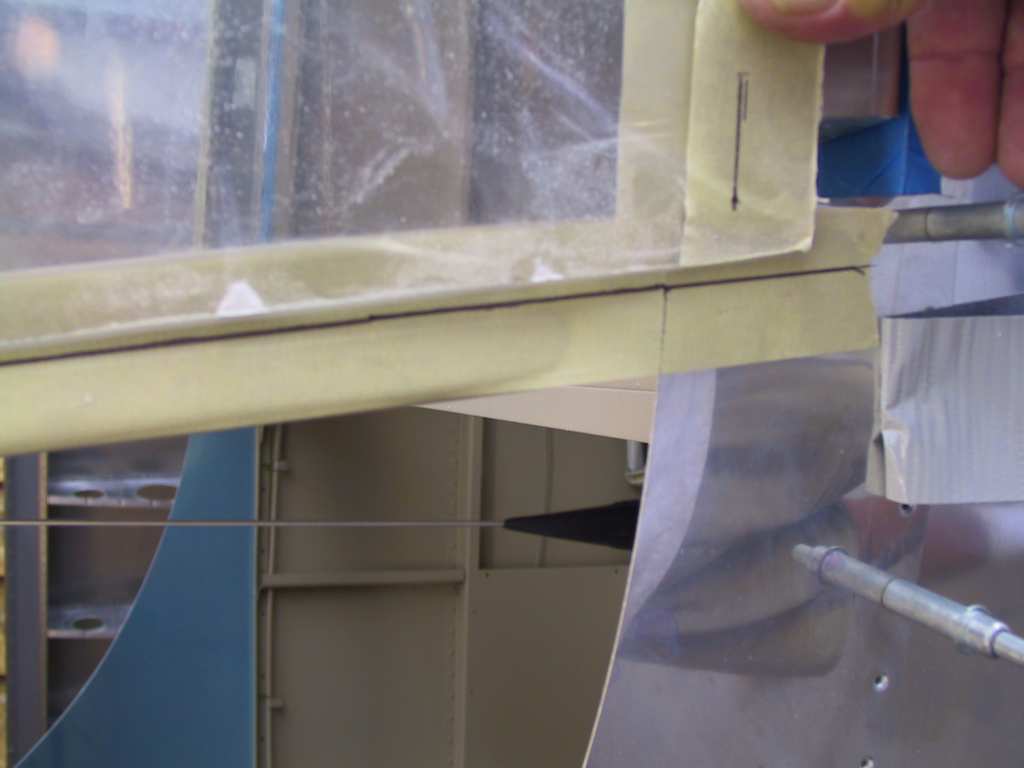
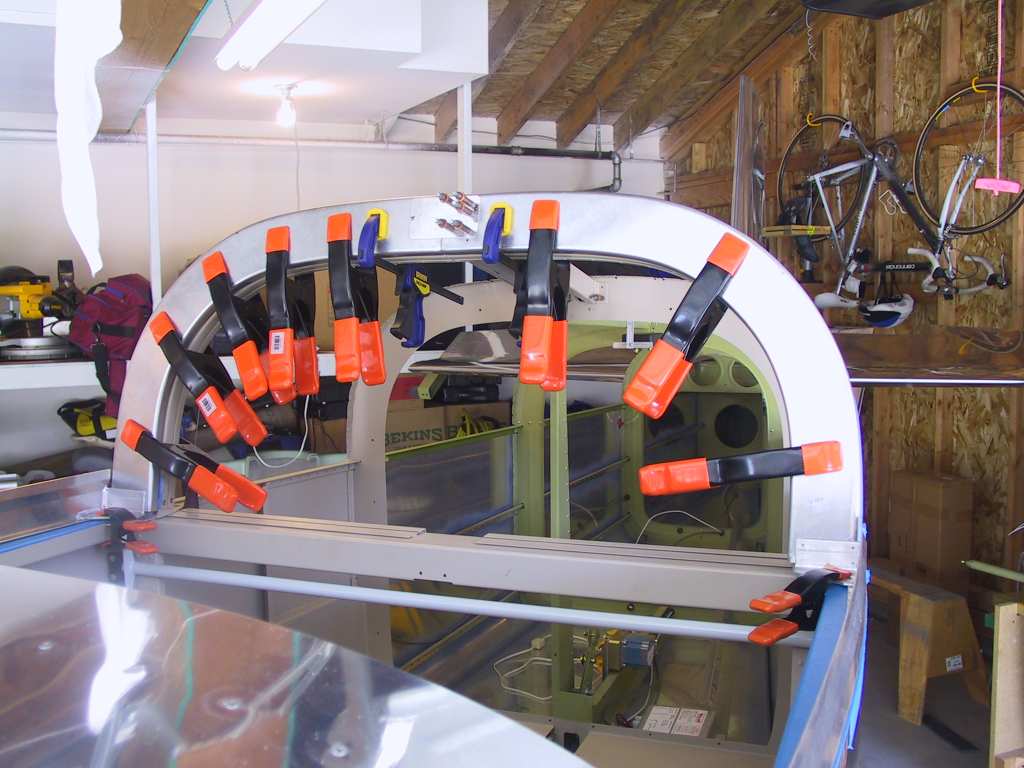
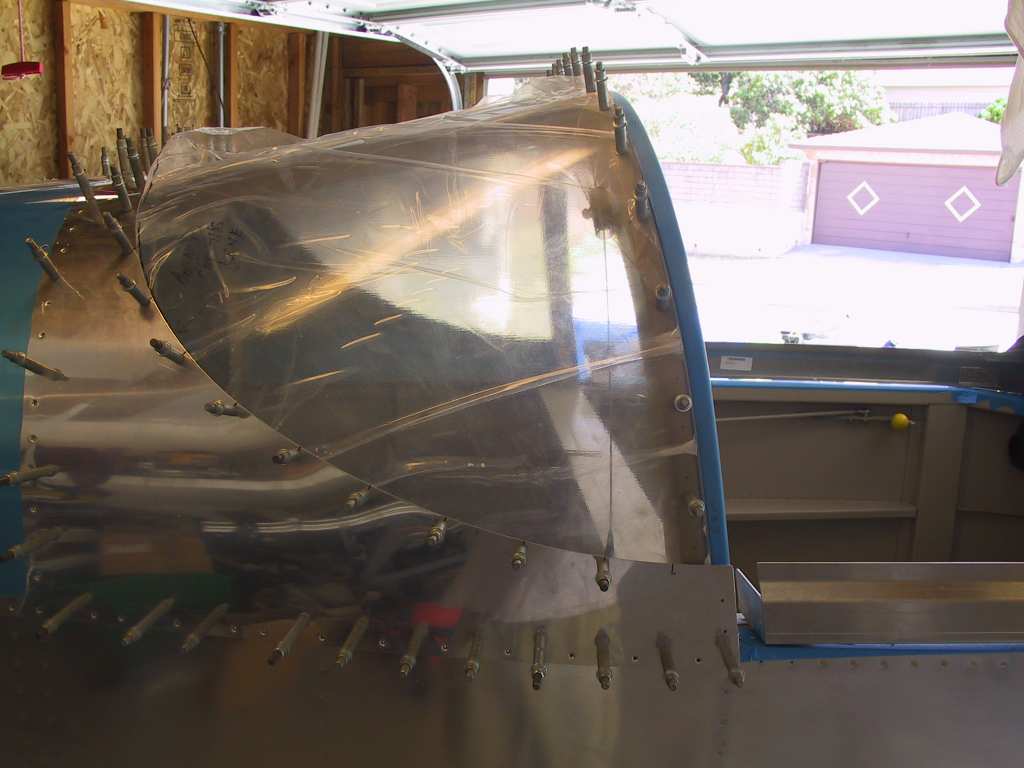
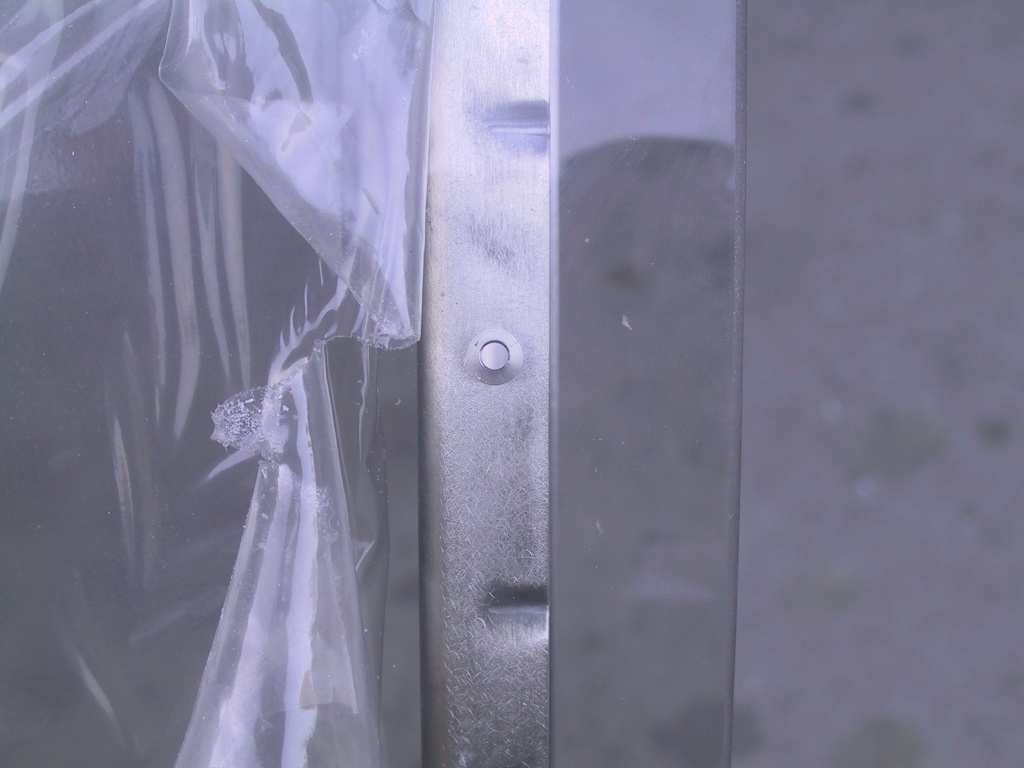
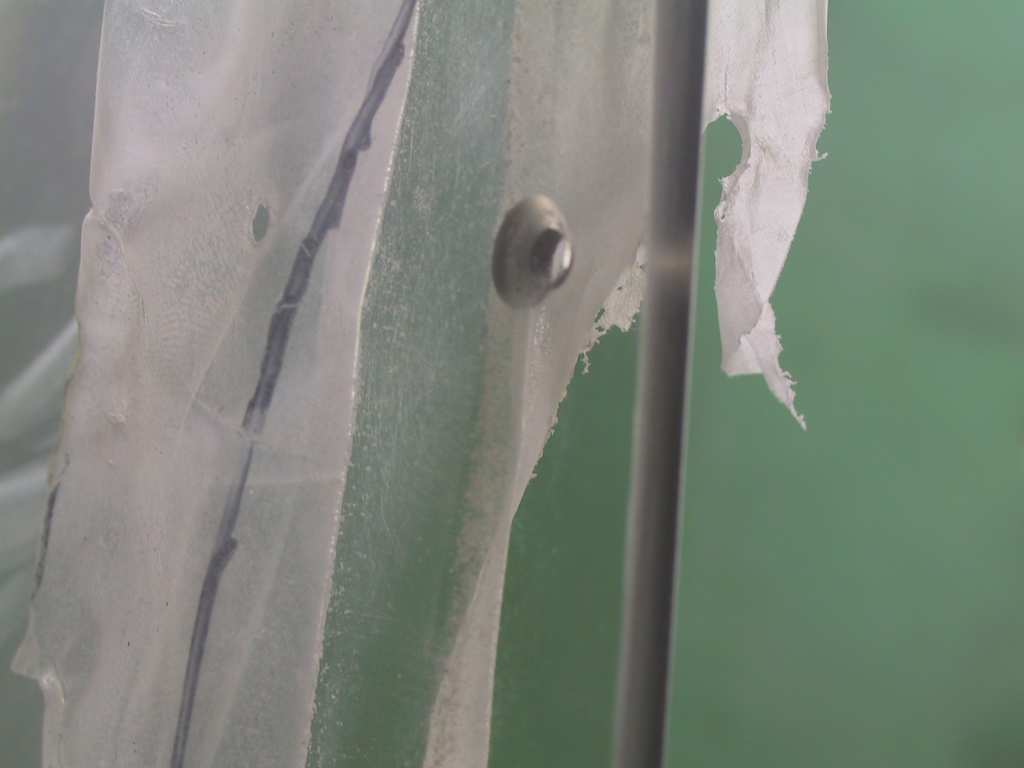
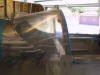
The bubble is going to need to be flush with the tops of the rails and the canopy channels where they meet.

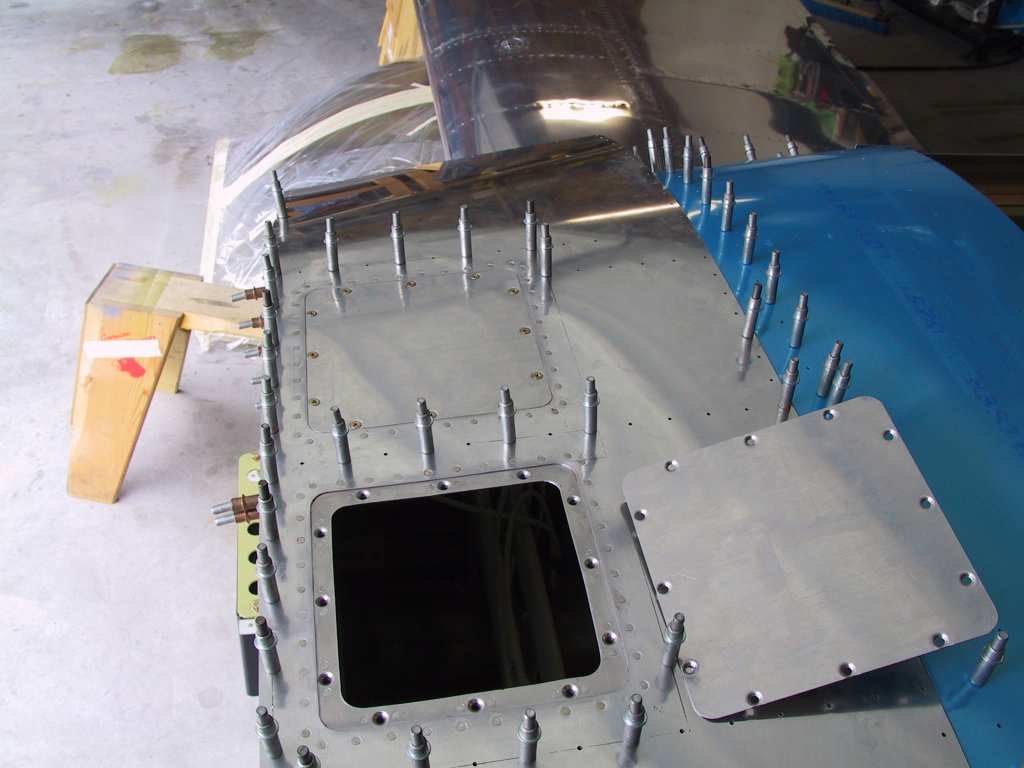
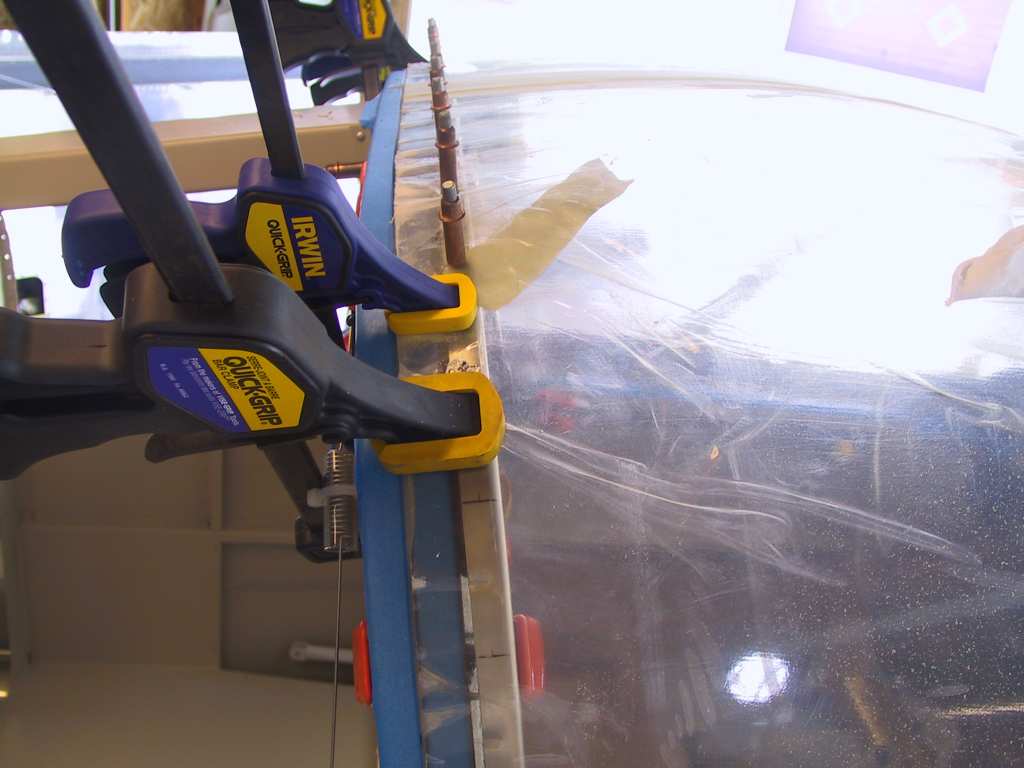
Fit the channels under the bubble with everything just where you want it and then clamp the hell out of the channels, remove bubble and drill the splice plate.

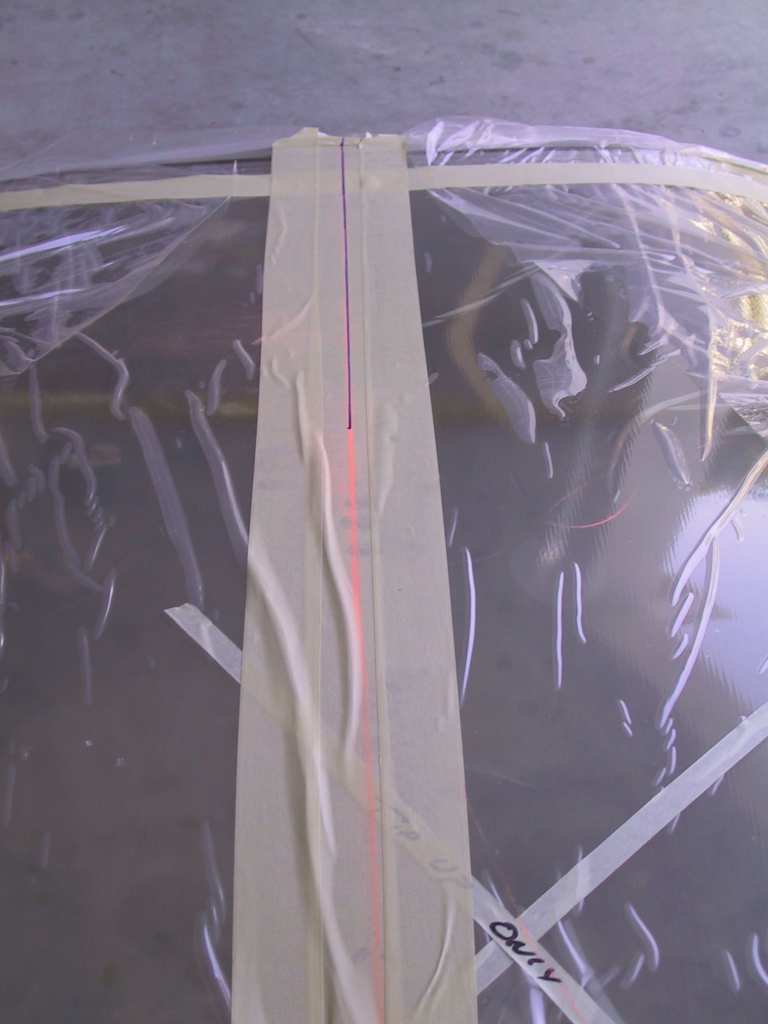
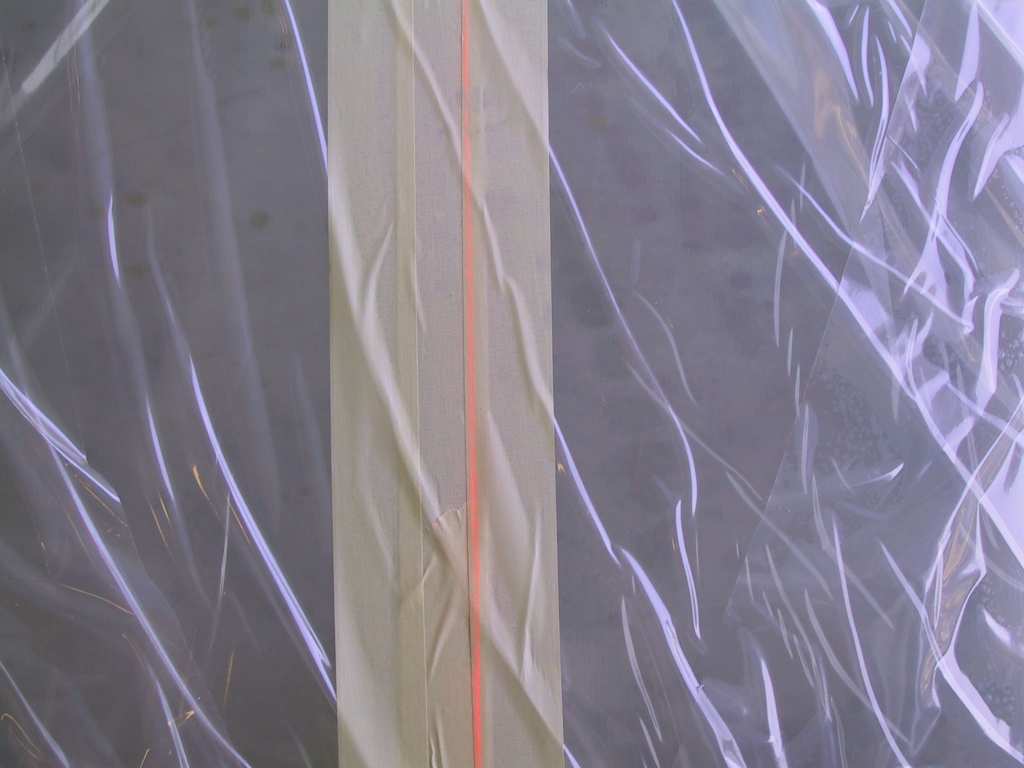
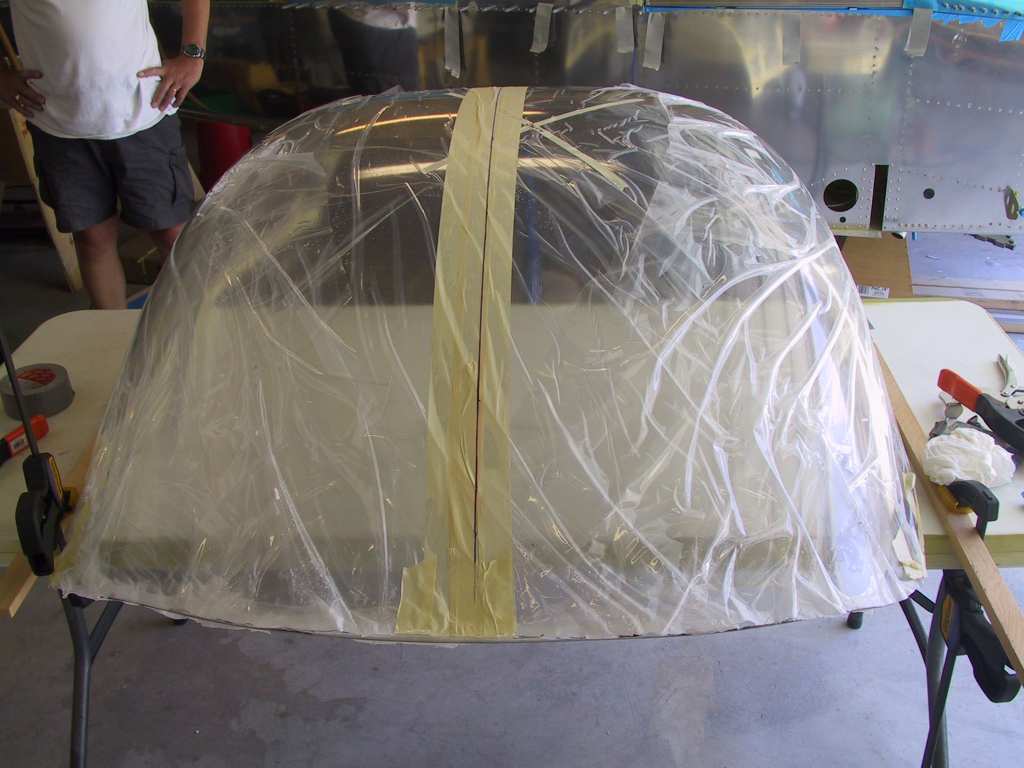
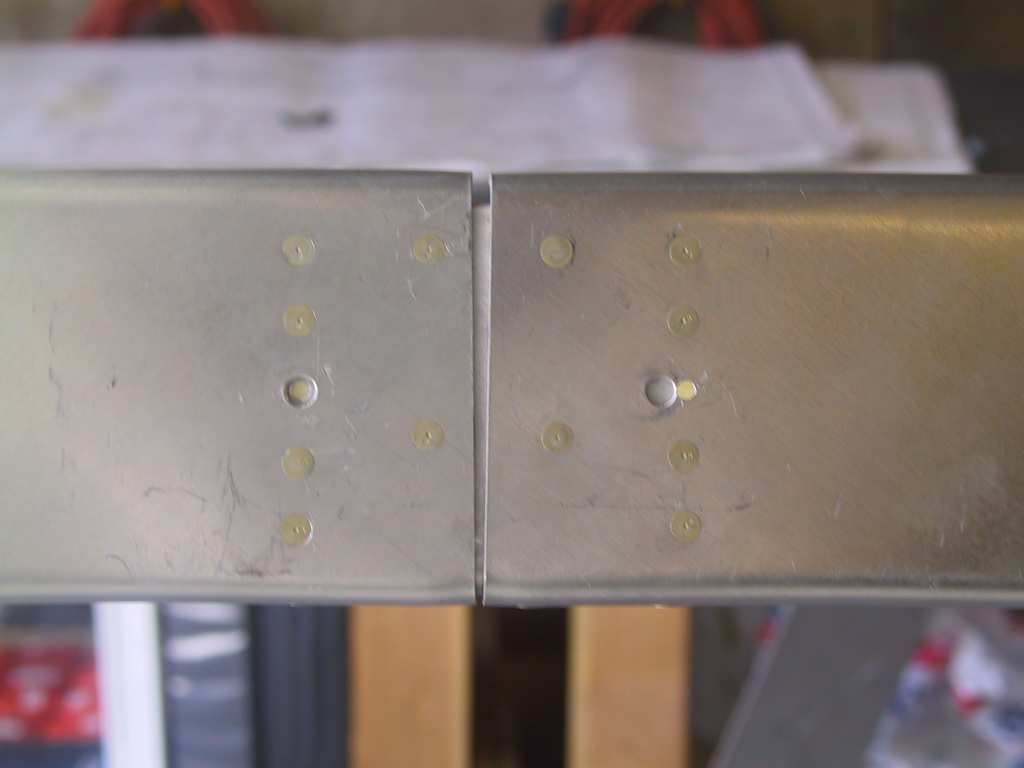
Replace bubble, mark where you want your holes to be drilled.  I used Vans recommended 2.5" spacing starting from the top of the canopy and working down.  I drilled through the plexi with a plexiglass bit and went clear through the canopy channels too.  I used the smallest plexiglas drill bit I had, it was a tad under #30.  Later I would drill 
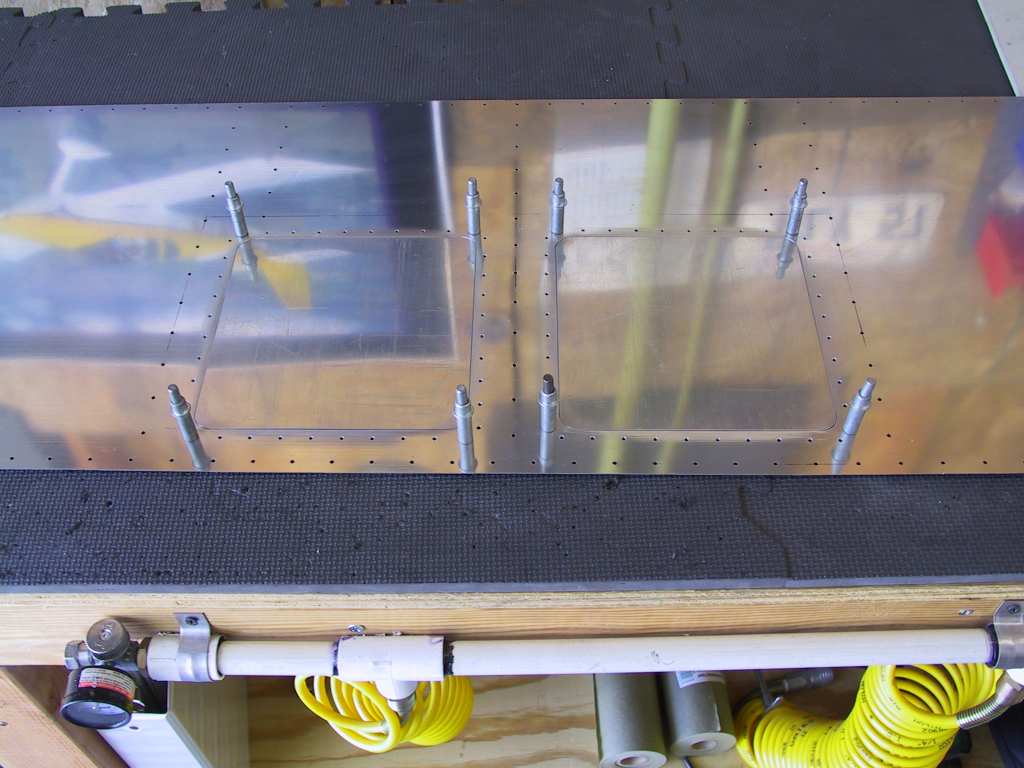
the plexi to #30 for countersinking purposes.  I clecoed each hole as I went along and clamped fore and aft of each hole I was drilling.

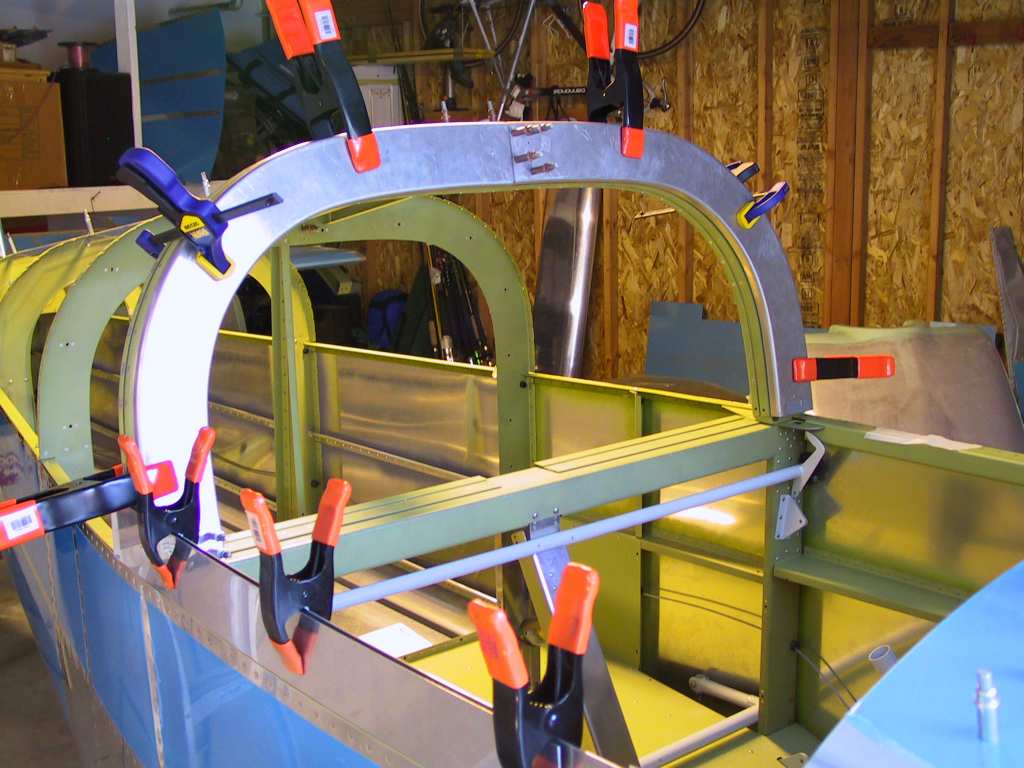
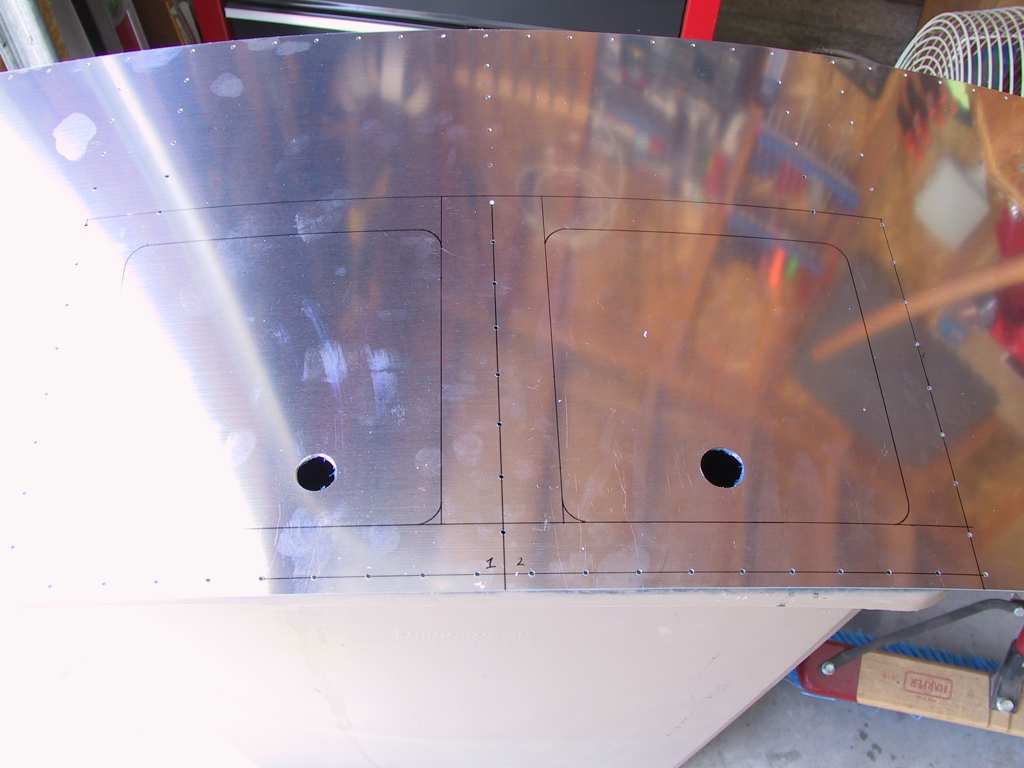
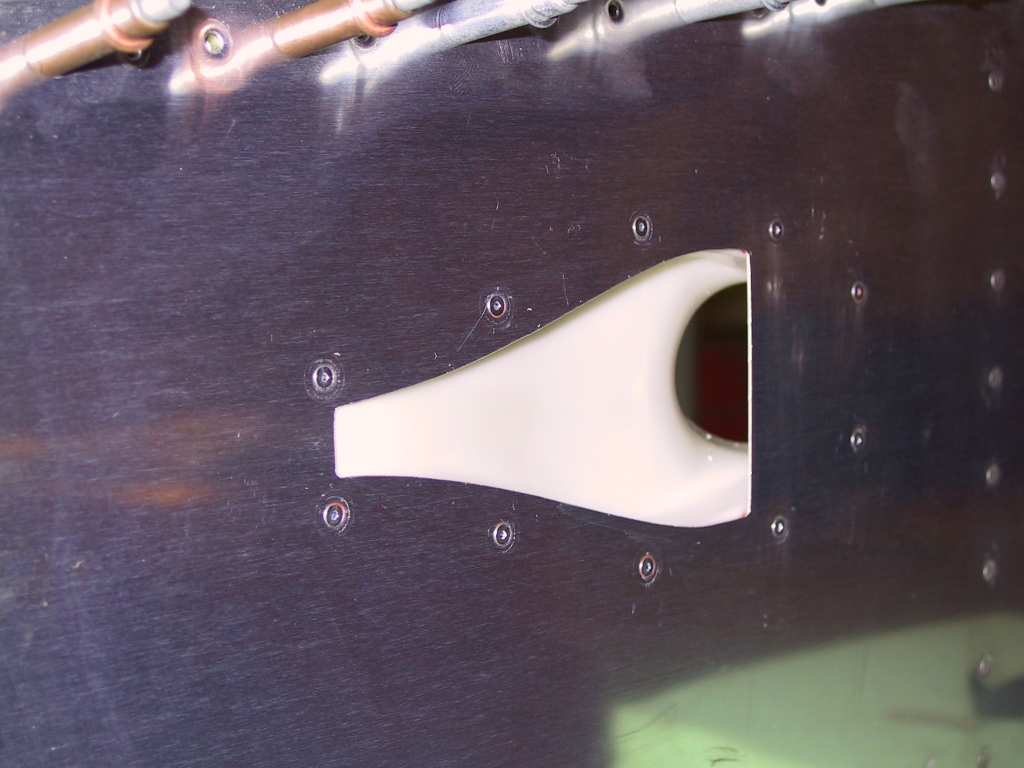
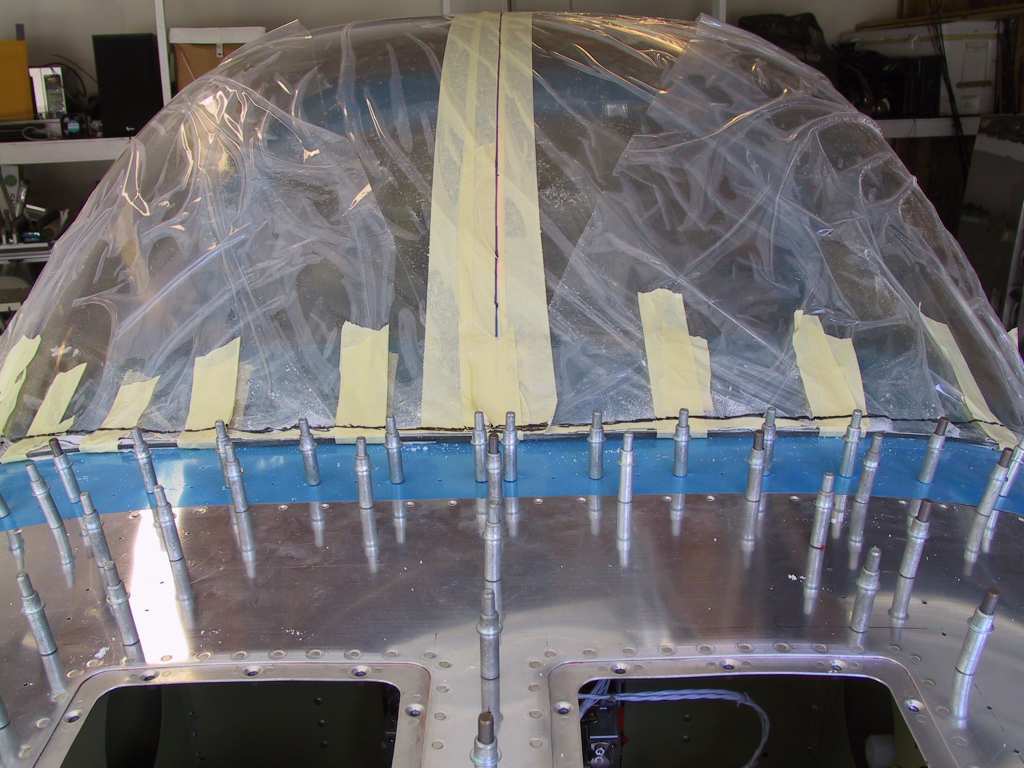
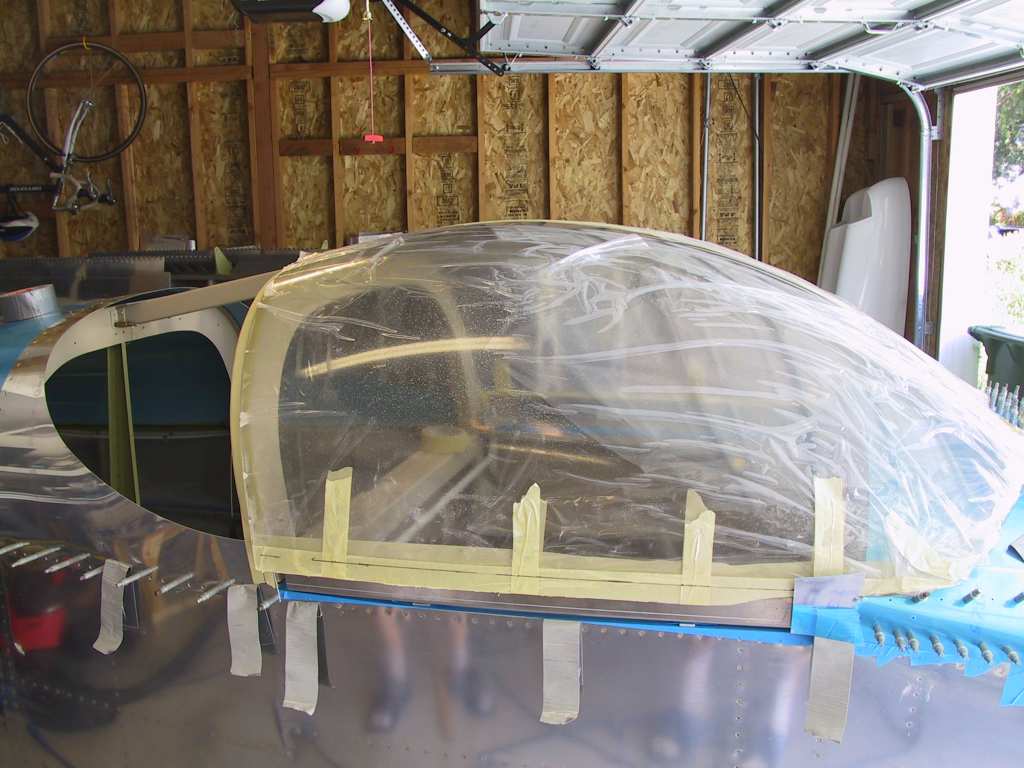
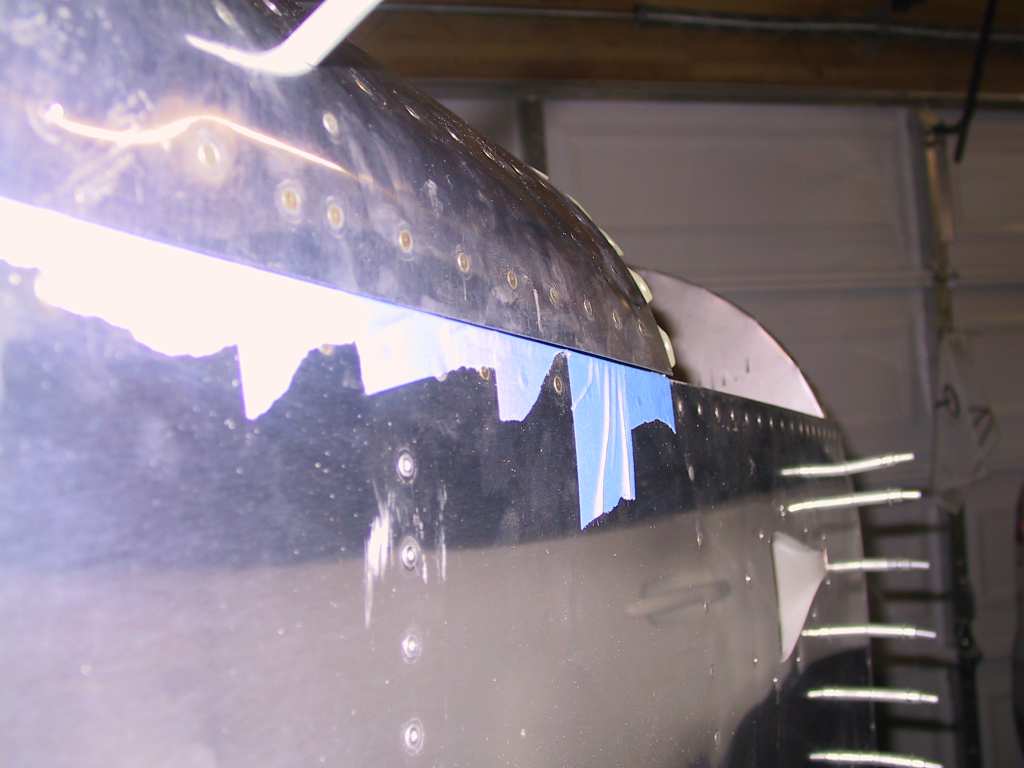
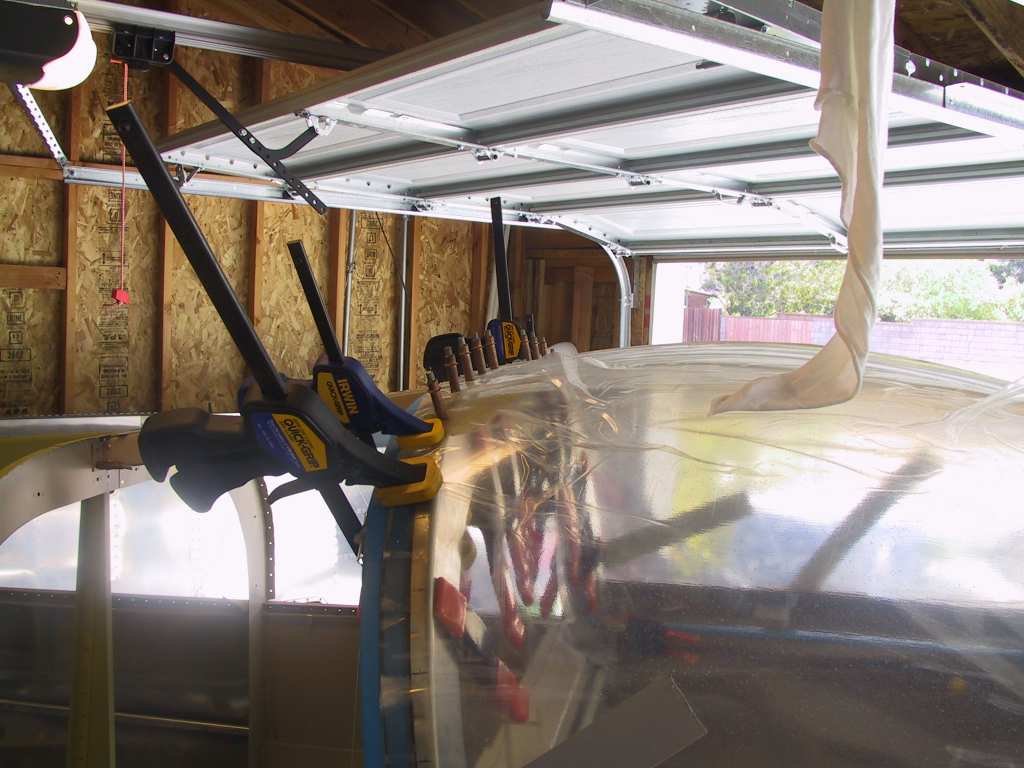
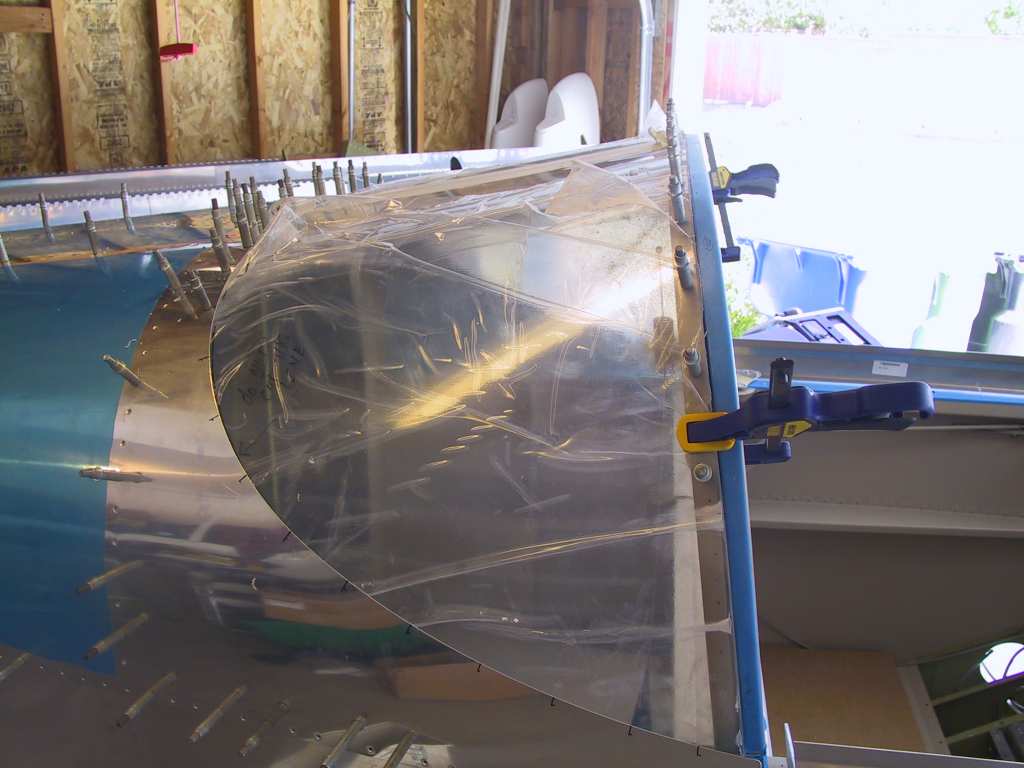
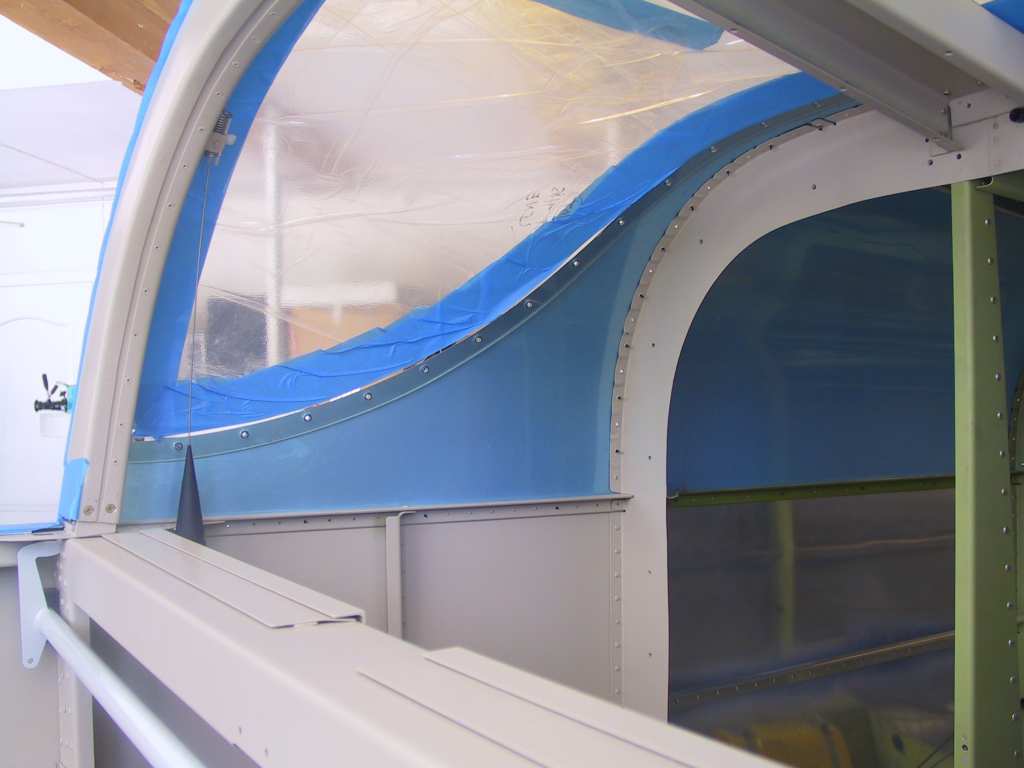
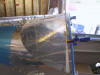
Time for the aft window.  Placed it where it seemed most likely to go.  Marked the aft canopy skin where the holes should be drilled.  Here I drilled all holes with a #40 cobalt drill bit.  I didn't get any cracking.  Hmmm, must be my lucky day.  Dad pushed up from within and I drilled (slowly) from the outside with the leading edge clamped firmly.  We started in the front middle.  Drilled a couple then drilled a couple in the middle of the back.  Then a couple on the front, then the back, repeat...

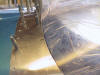
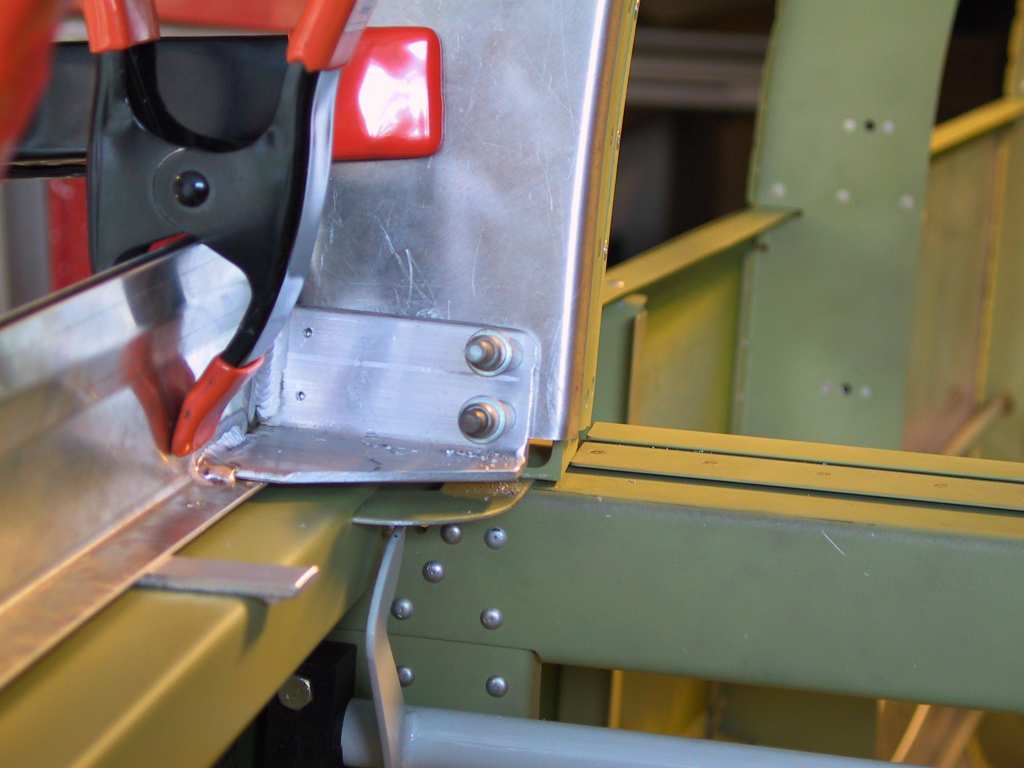
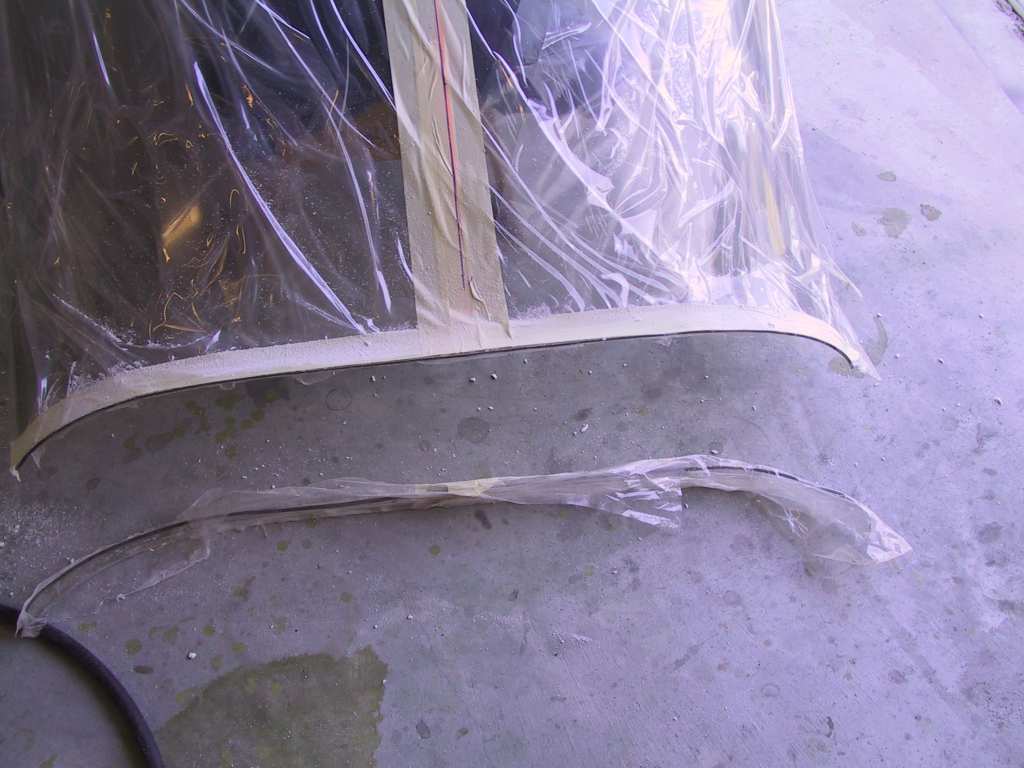
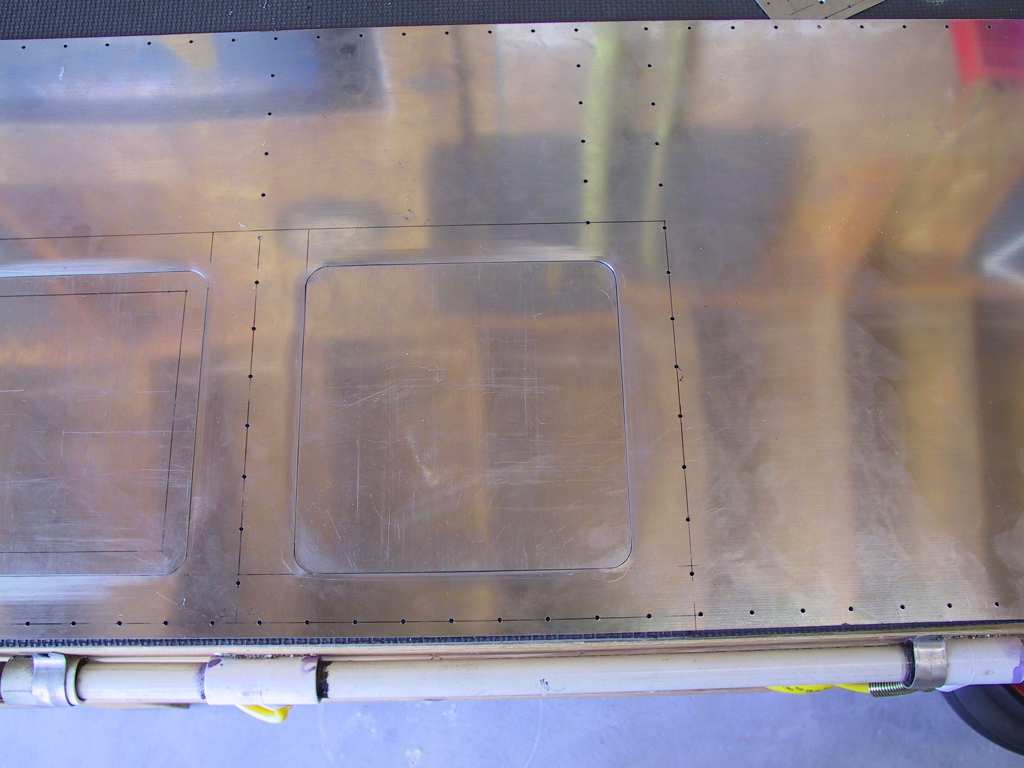
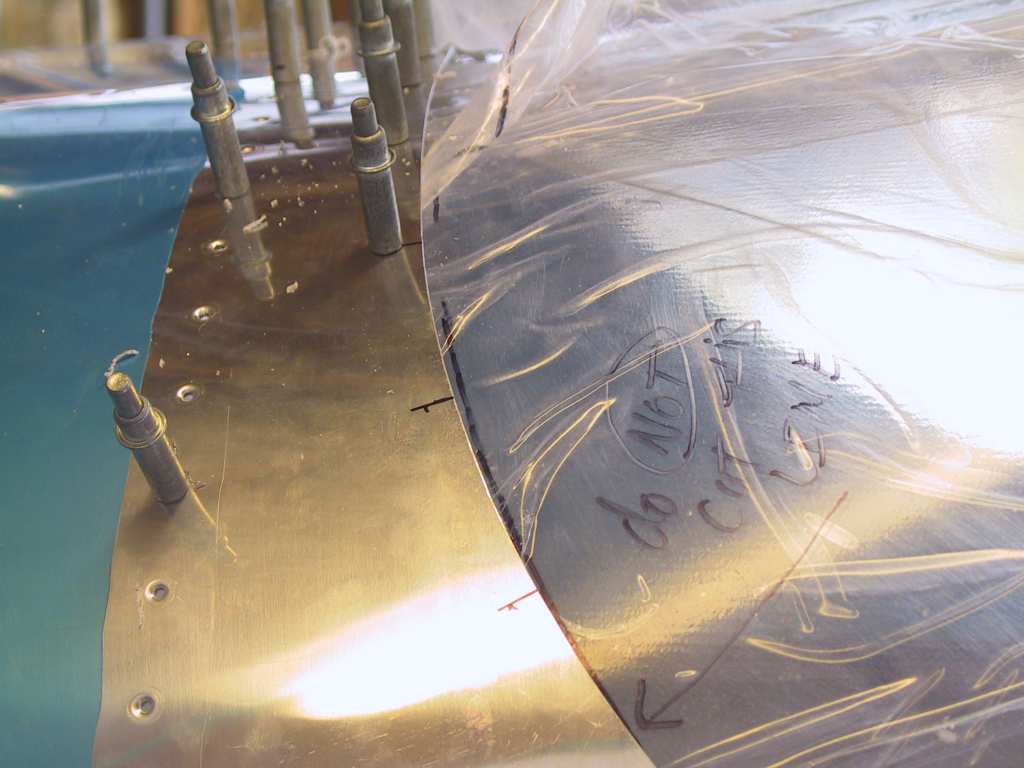
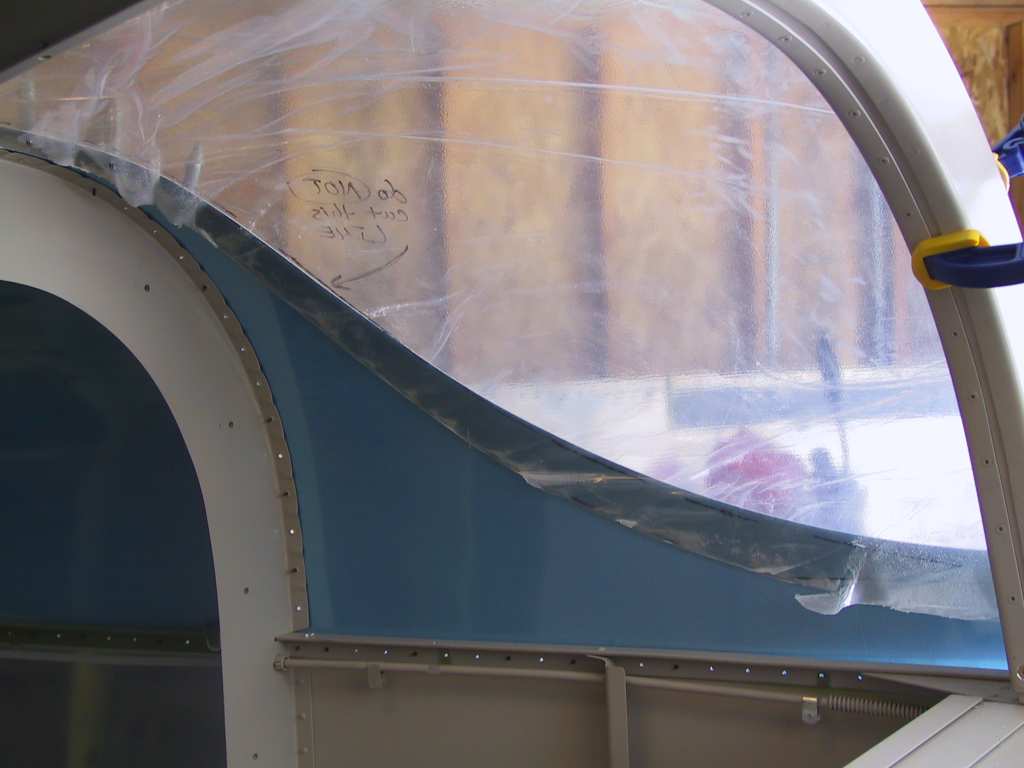
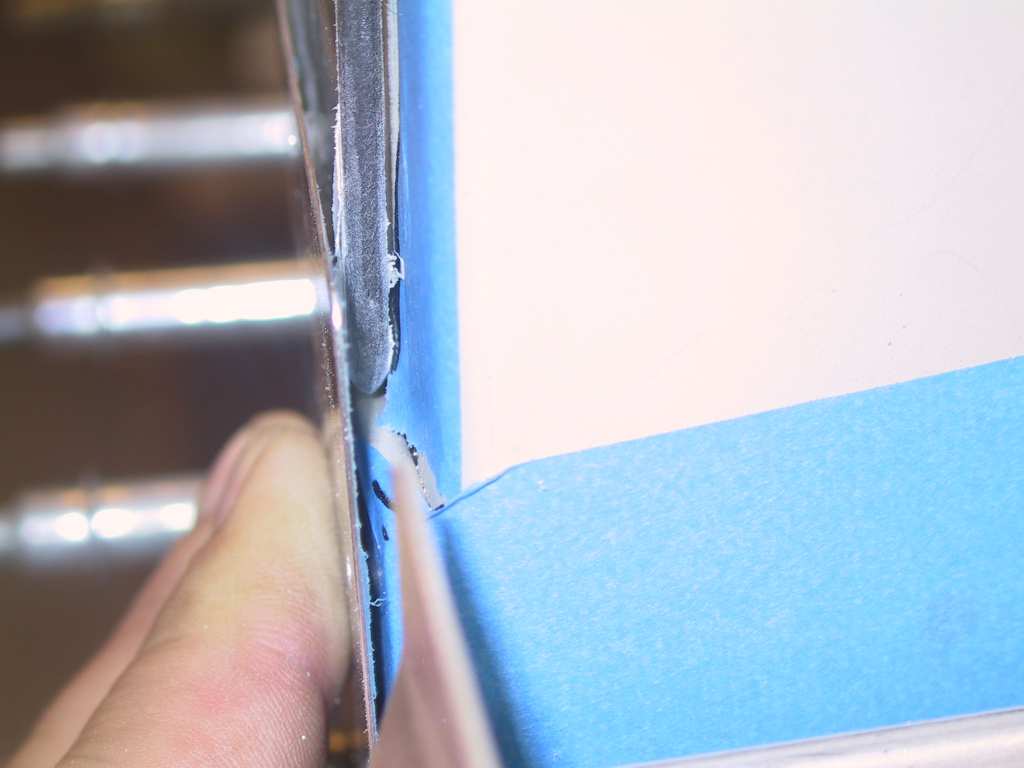
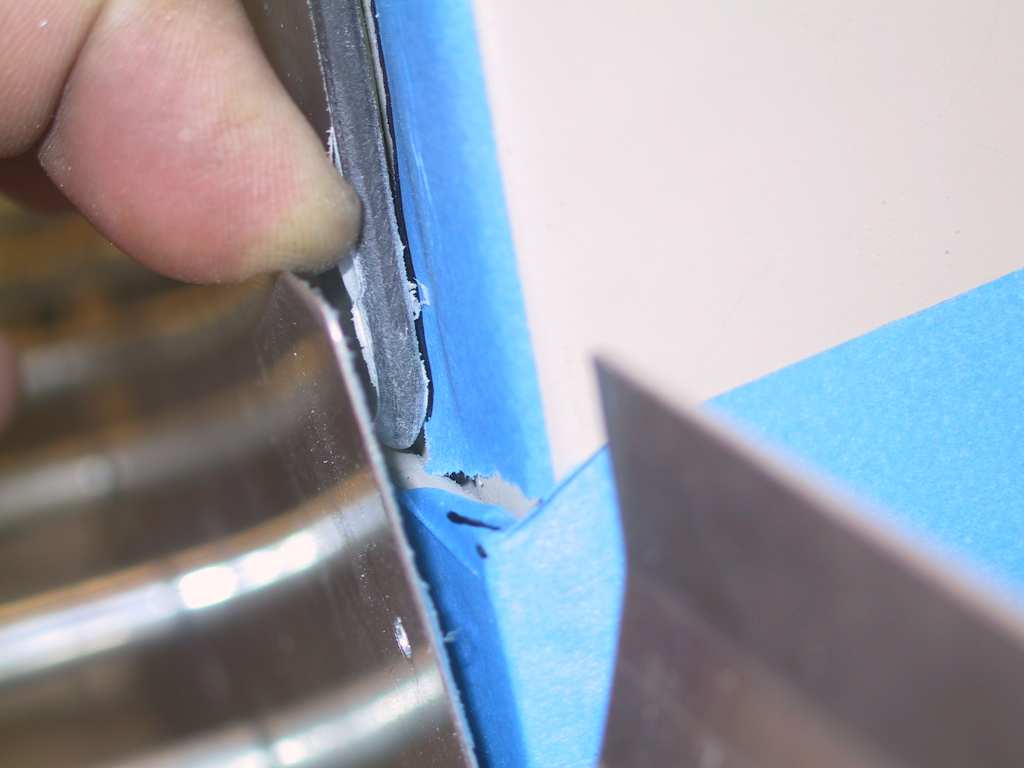
I will have to do some final trimming along the back of the window as there is just too much plastic for my taste.

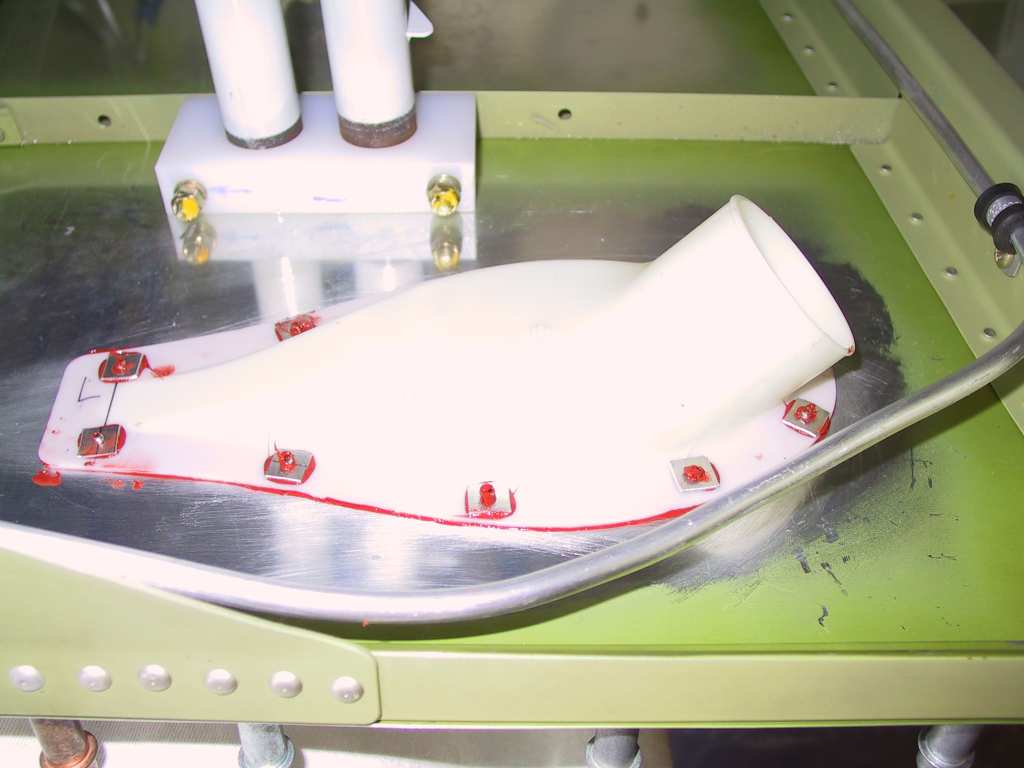
Along the front I used 3" spacing to avoid the existing pop rivets.

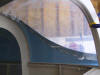
I couldn't drill all the way down since the back window needs to be trimmed to clear the top of the rollbar frame, the piece which you filed down to match the curvature of the longerons.  I waited to cut this until I knew precisely where to cut.  You can only do that if the window is clecoed in place.  Remove the window, cut, place back on the plane.  I cut a straight line all the way back.  Sand all cut edges after cutting too.  Now the fit is great.

Long day but well worth it.  Thanks pops.

8/30/04 Today was spent countersinking the canopy and window.  First the canopy.  I had drill all the holes out to #30 so I chucked my #30 countersink bit into my microstop countersink and went to town.  I precisely measured the depth on some scrap plexi.  Don't throw away your pieces of cut plexiglas, you WILL need it for test drilling.  Finished all the holes and then used the plexi drill to make the hole the proper size.  Remember not to drill the hole to final size before countersinking or your countersink bit will just chatter and eat plexi like you never seen before.  Use a unibit to debur the backside of the holes.  Just get it into the hole until the next step size just touches.  It removes any little crap left behind.

Dimpled the aft window skin.  For the aft window the skin sits on the plexi and the skin is dimpled.  You should make a test dimple on exactly the same thickness material as the aft skin.  Use your scraps of plexi to find the right depth for you countersink so the dimple in the skin sits flush into the plexi hole.  Countersink plexi and final drill to proper size with the plexi bit then debur the back side of the holes with a unibit. 

Afterwards we drill the canopy latch block to the splice plate and countersunk the holes on the forward side of the canopy channels and the bottom of the splice plate.  Don't forget those four holes :)

9/6/04 When I drilled the canopy frame supports I probably should have drilled the frame instead of the vertical curved channels.  I ended up with a edge distance issue with the lower rivet holes.  Here the holes are drilled only to #40.  There is no way to open them up to #30 so I decided to drill a third hole in the middle and leave it at #40.  Plus I decided to countersink the rivets.

Then riveted the channels together.  I haven't drilled the channels out for the canopy latch block yet but the splice plate has already been match drilled with the block and I'll drill the four holes out later.

I hand traced a line on the back part of the rear windows where it attaches to the skin and cut that part off so the cut line follows the contour of the skin.  Then sanded the plexi until it was glass smooth with 400 grit sandpaper.

Jumping around quite a bit now.  There's just so much to do everywhere.  Here the cabin heat line is mounted to a riveted wire tie holder.  There are very neat little devices.


Home | Why an RV? | Choices | Search | Empennage | Empennage Attach | QB Wings | Bulkheads | Aft/Center Fuselage | Forward Fuselage | Cockpit 1 | Cockpit 2 | Cockpit 3 | Tip up Canopy 1 | Tip up Canopy 2 | Tip up Canopy 3 | Avionics/Panel 1 | Avionics/Panel 2 | Avionics/Panel 3 | Avionics/Panel 4 | Firewall | Tricycle Gear | Engine/Prop 1 | Engine/Prop 2 | Cowling 1 | Cowling 2 | Baffling | Ram Air | Last 10 Percent | Last 5 Percent | Last 3 Percent | Last 1 Percent | Phase 1 | Phase 1 pg. 2 | Phase 2 | P-Mag Install | Videos | EFIS Flight Logs | Tips & Mods | Links | Fine Living | Avionics Manuals | N447RV Documents | Helpful Builder Docs | FAA Documents | Contact Information

 For problems or questions regarding this web contact me.
Last updated: 07/06/05.