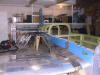
This is a time in the construction where you can get a bit overwhelmed
with the scope of this project. There are just so many things to do
now that the wings are attached. I began the day thinking I would get
to the fuel lines and finish that and the brakes but I can't. I've got
to take the wings off again in order to drill some holes for fuel line
routing. I'll get to that stupid move later. So what can I do on
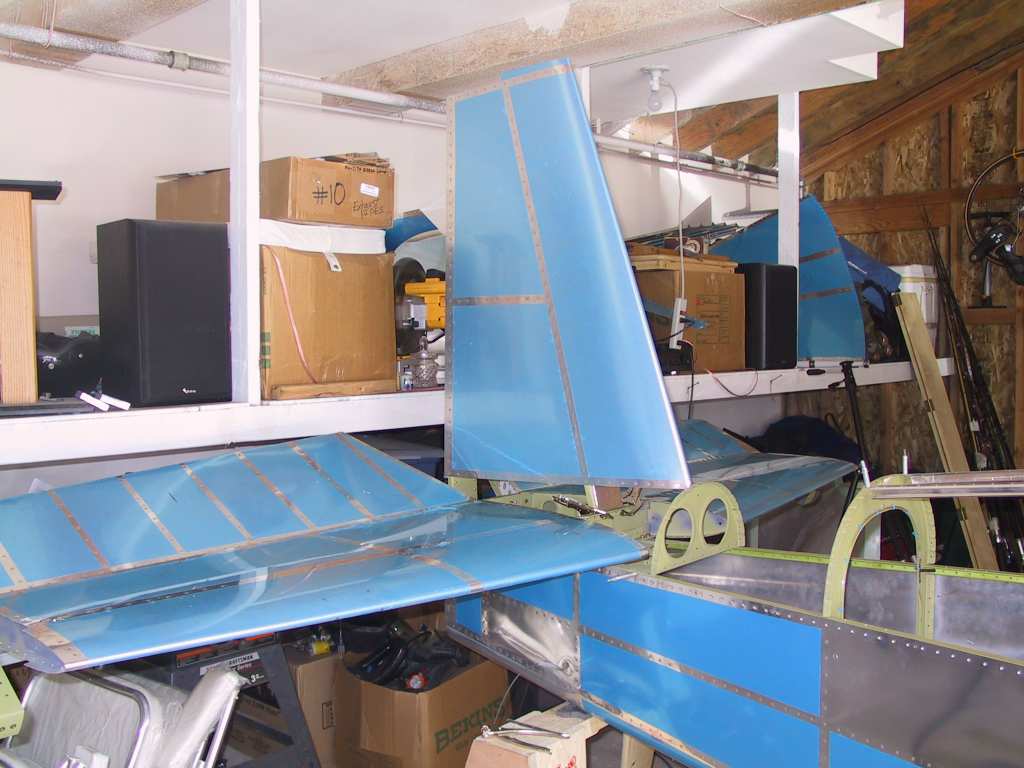
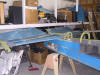
a Saturday? I've got alllll day too. Hey, let's put the tail
feathers on! Managed to get it almost all done too. Big day.
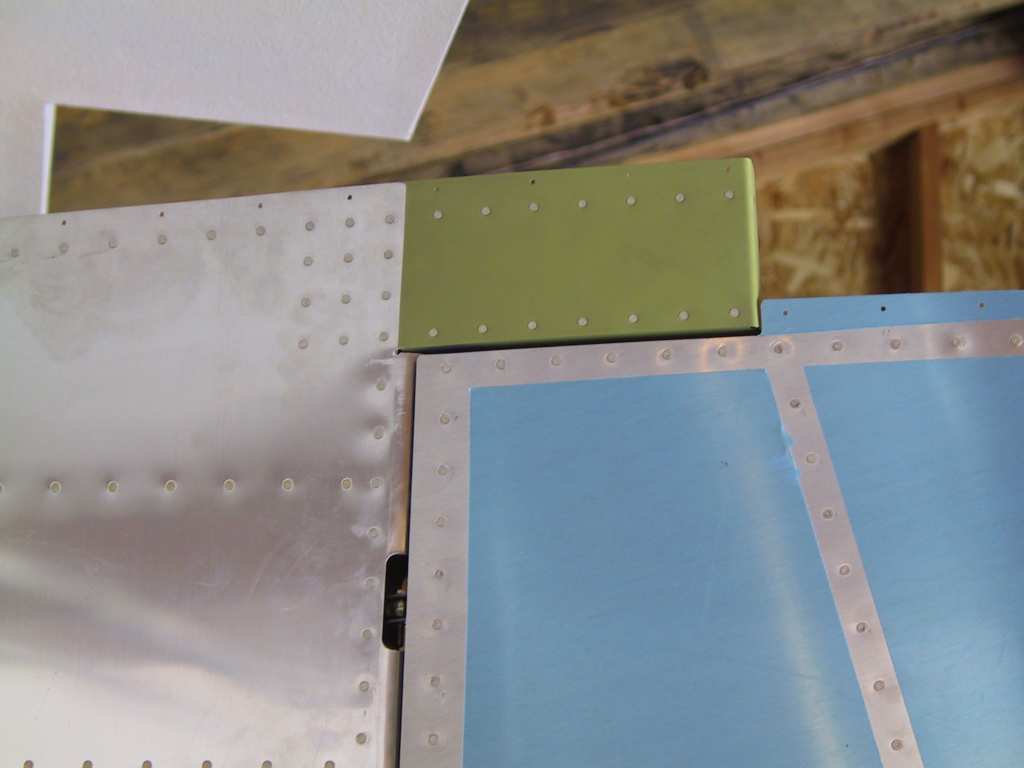
Ok, first cut off 5/8" from the bottom edge of the front spar of the
vertical stab. Now WHY don't they tell you to do this when you are
building the VS???? Morons.

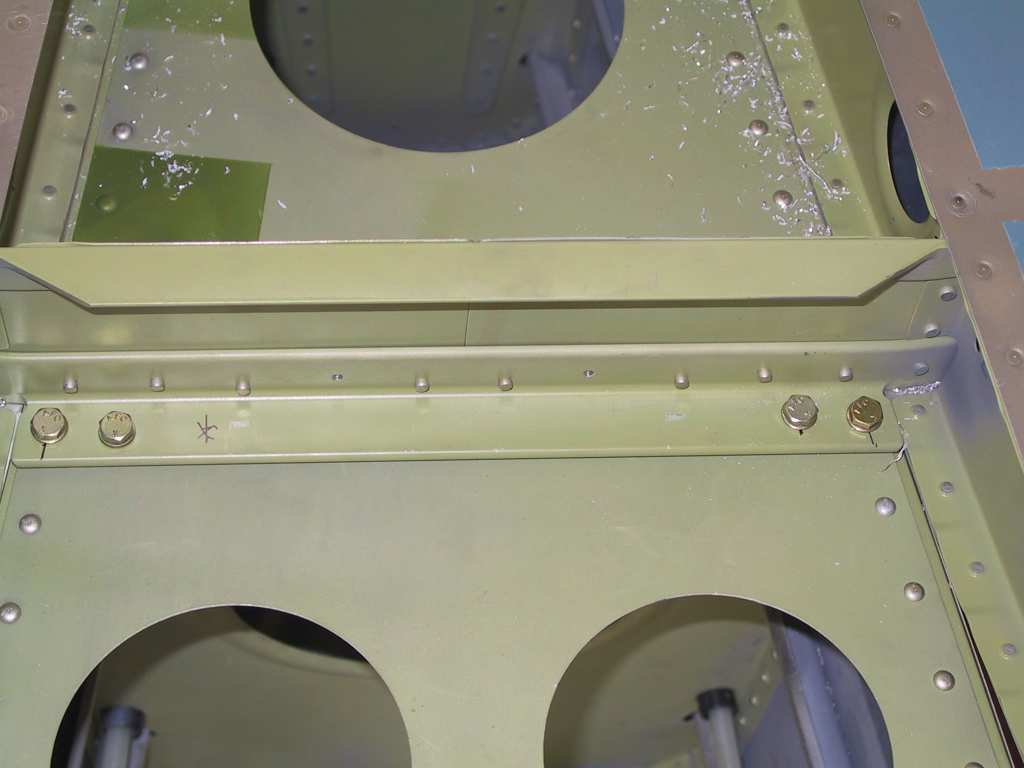
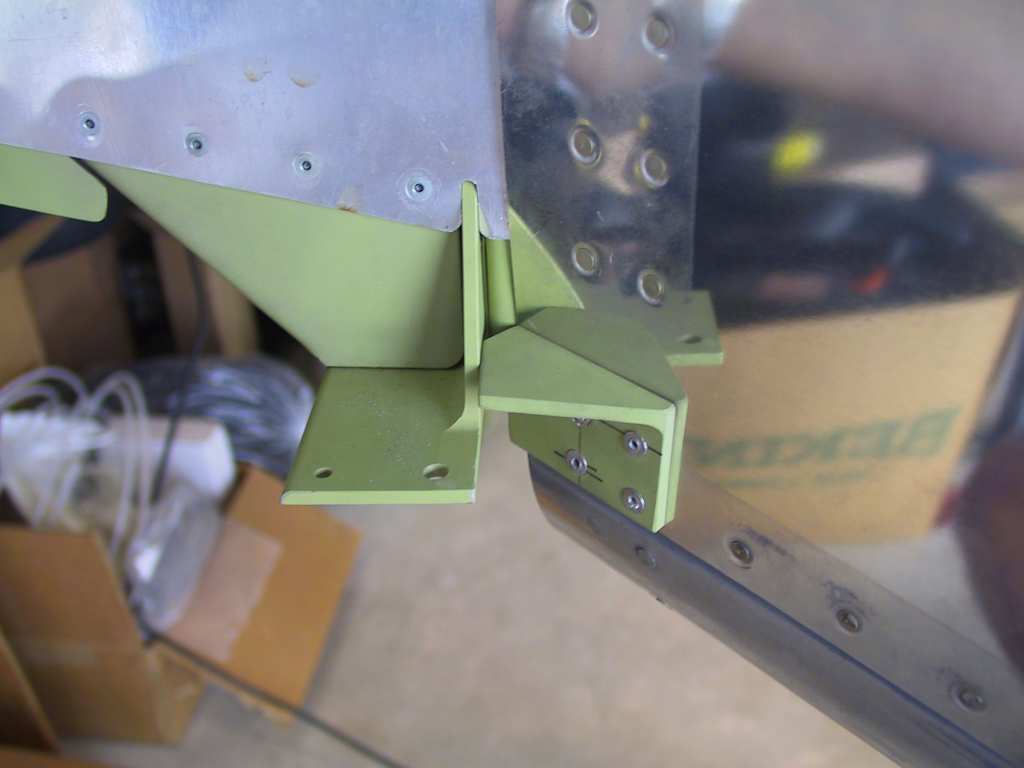
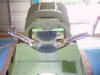
On to the HS. First find the aft most leg of and pilot drill.
Then fabricate a spacer and pre-drill a #30 hole with the drill press.
Clamp it and drill both and enlarge. No sweat.
Lay it on the aft deck. Center it as best as you can.
Really take your time and measure, measure, measure. Stick some shims
under the forward spar and clamp. Measure the distance from the tips
to the firewall. Measure again. Do it again. Repeat till
it's perfect. Now clamp that sucker good.
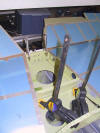
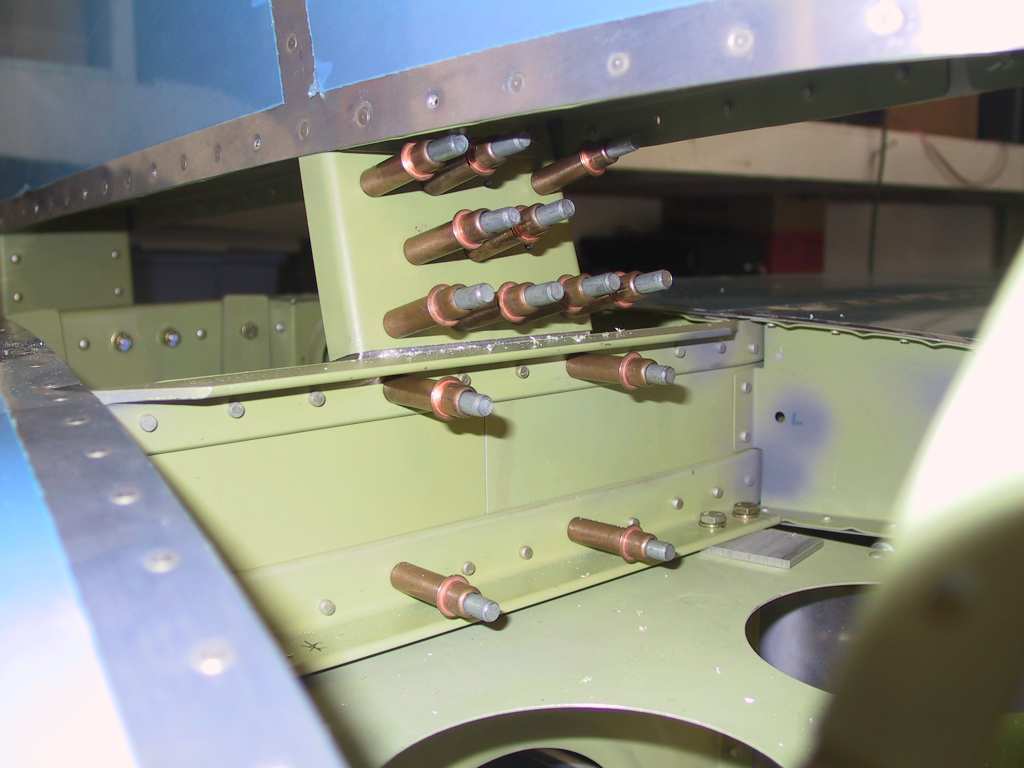
Pilot drill holes through the longerons. Measure well so the bolt
isn't offset too close to the vertical side of the longeron, or you won't be
able to get a nut on there. Just lay a ruler along the existing rivets
on the aft deck and project that line on the angle. The outermost two
holes can be drilled normally but the inner two holes will require a small
angle drill attachment.


Put some bolts in there and some old nuts and bolt it up tight.
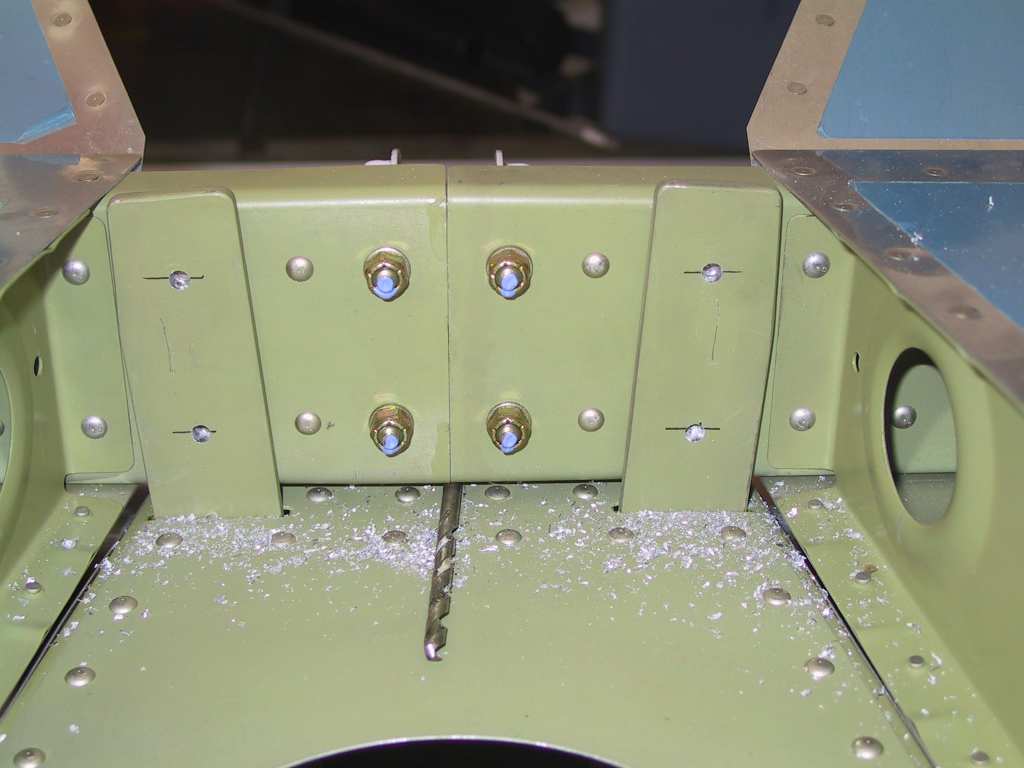
Next, place a 3/16 drill bit in the middle and clamp the vertical bars to
the HS. Drill those holes now, pilot first then enlarge. Once
again here use the existing rivets to make the horizontal line perfect.
Put some bolts in.
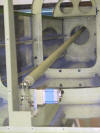
Time to get the pushrod adjusted just right. Plans are dead on
here.
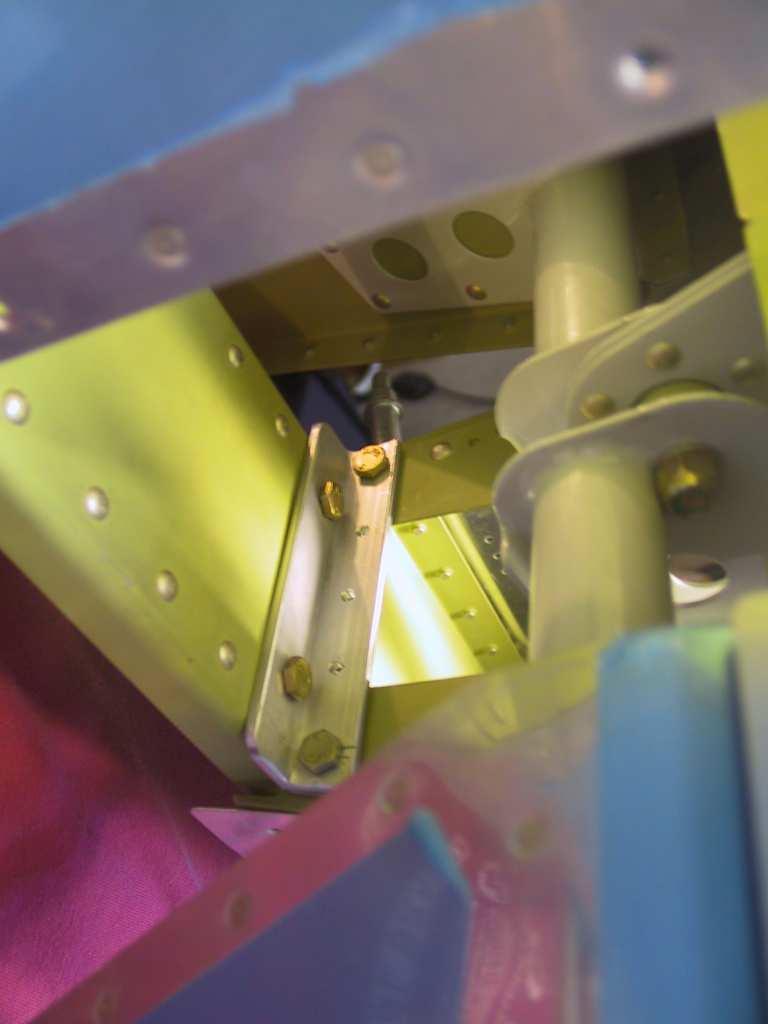
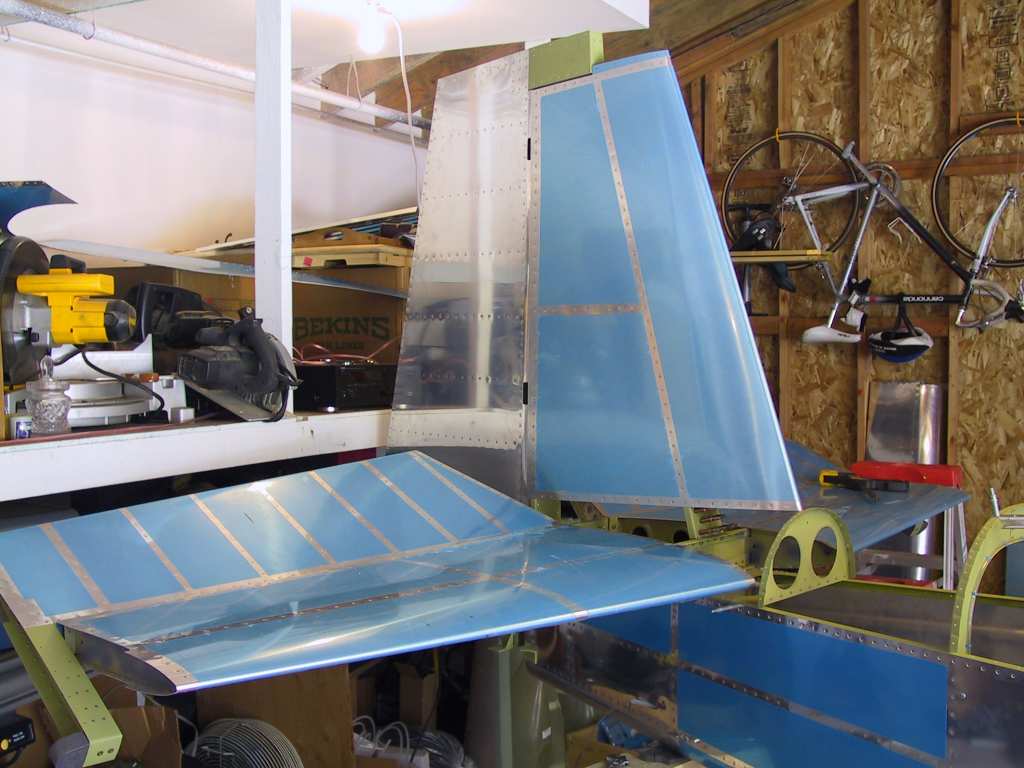
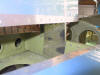
Now for the VS. Mark and align the centerline and the rivet layout
line on the 718 (I think). Clamp very well in place. Now you are
going to put the VS on and off of this assembly many many times to get
everything just right. Remember to measure from the tip of the VS to
the tips of the HS those should be dead nuts. The tip of the VS is off
1/4 inch to the left of center, don't forget that and try to make it
straight.

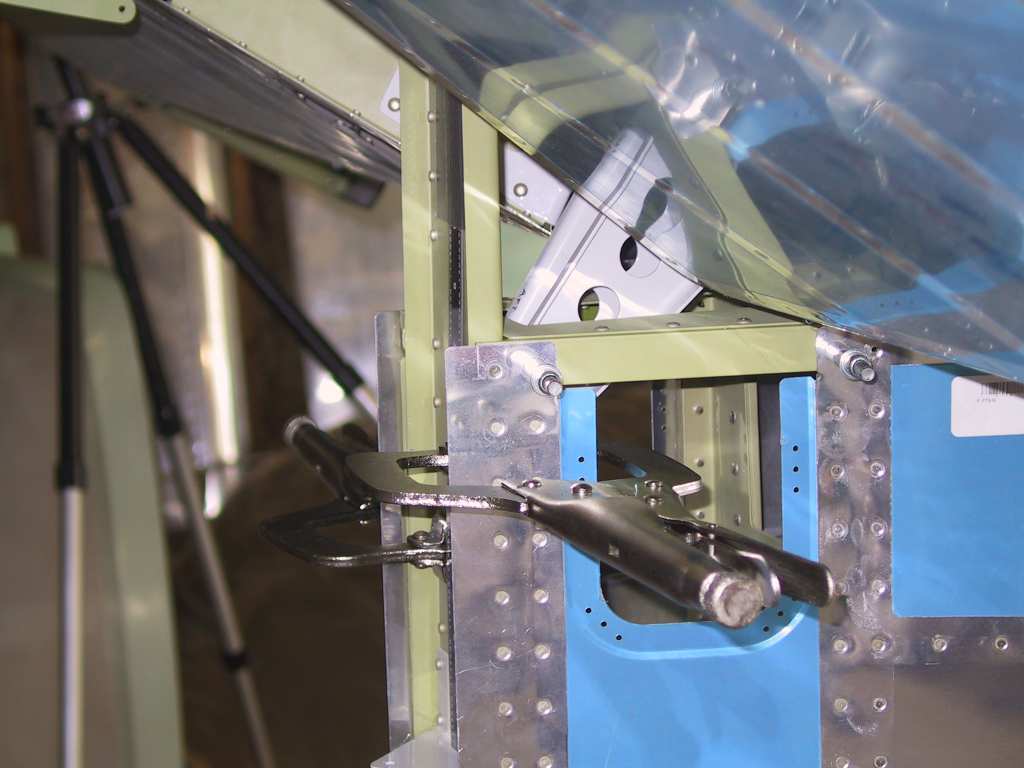
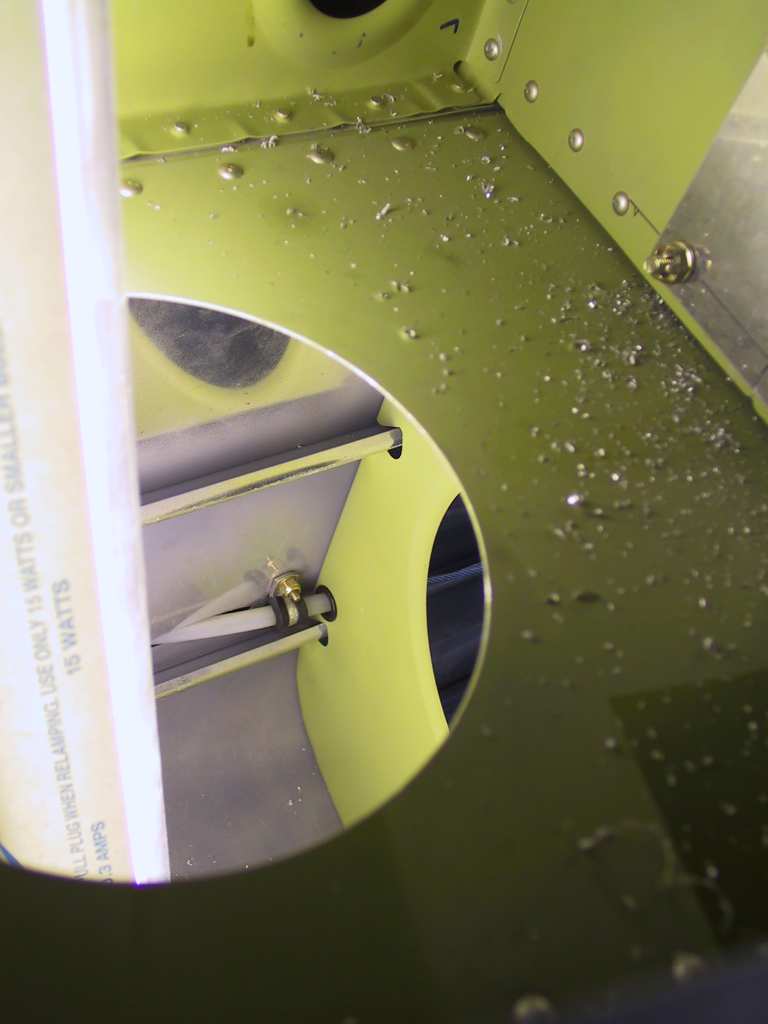
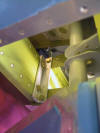
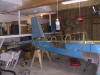
I taped a ruler to the back to make sure the height wise measurement was
on, you can just barely see it here.

Once everything is dead nuts, start drilling. Easy to write but
this took me hours and hours to get everything just perfect. It is a
work of perfection if I do say so myself. I'm very please with the way
it came out.

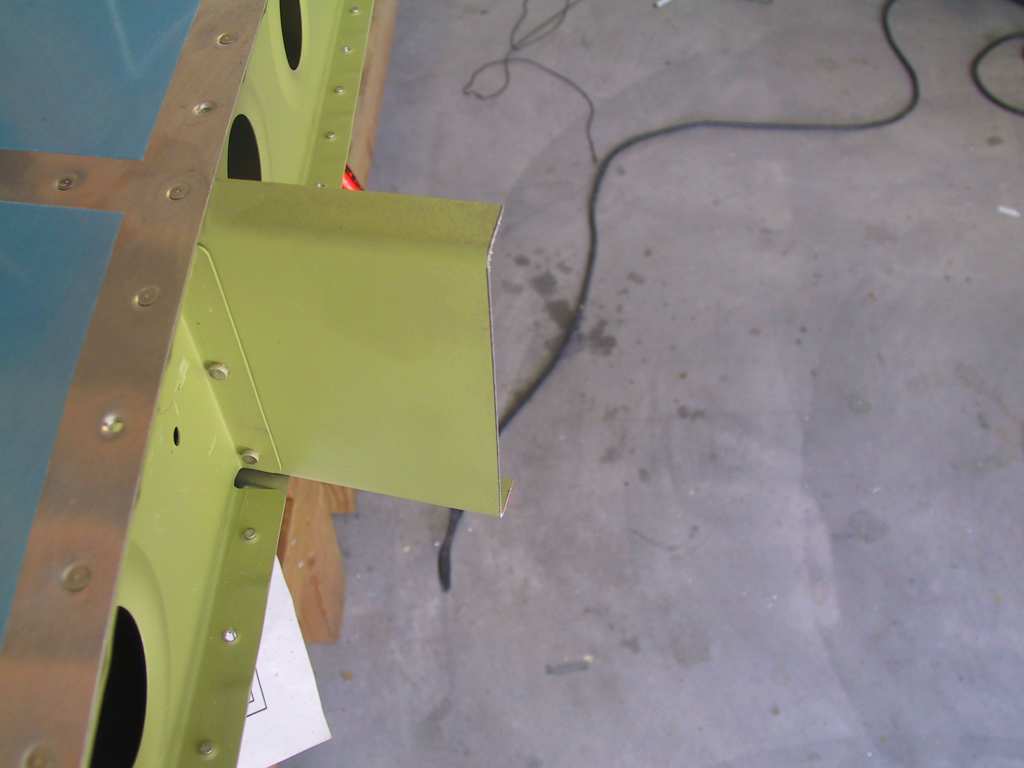
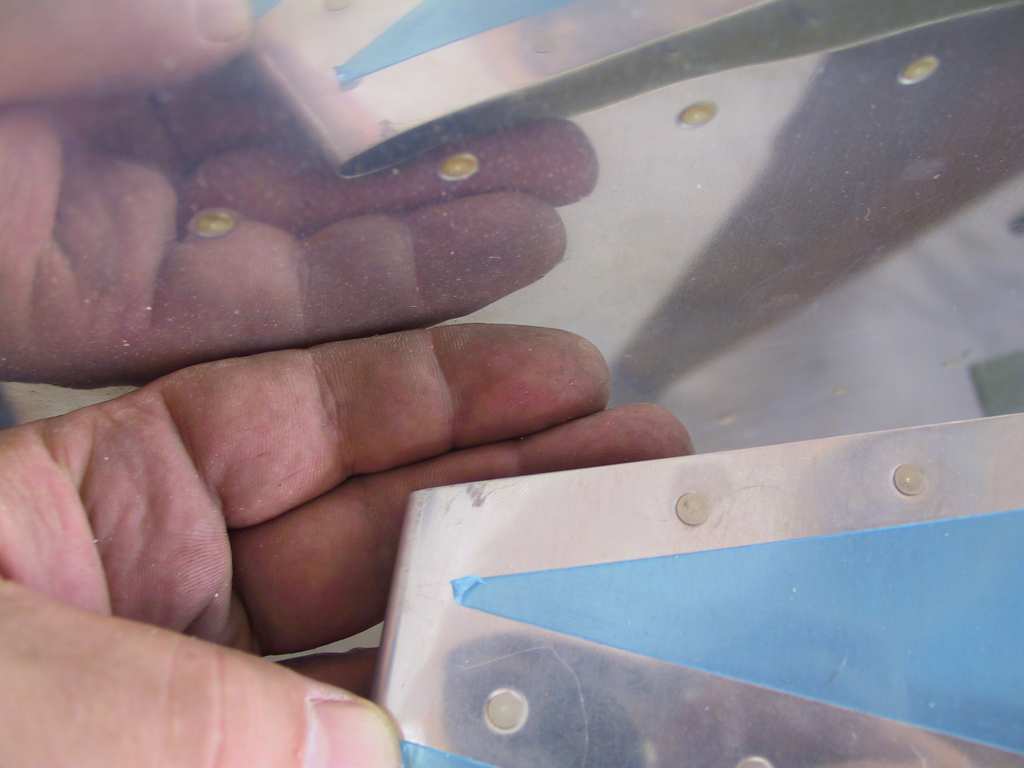
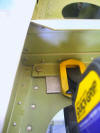
Oh, the plans say something early about not putting on the rear
tie down.
IGNORE, IGNORE, IGNORE. Put it on when you have the earliest chance.
I did and it worked perfectly. I can't imagine trying to put it on
now. What a pain in the ass that would be. Thanks Vans.
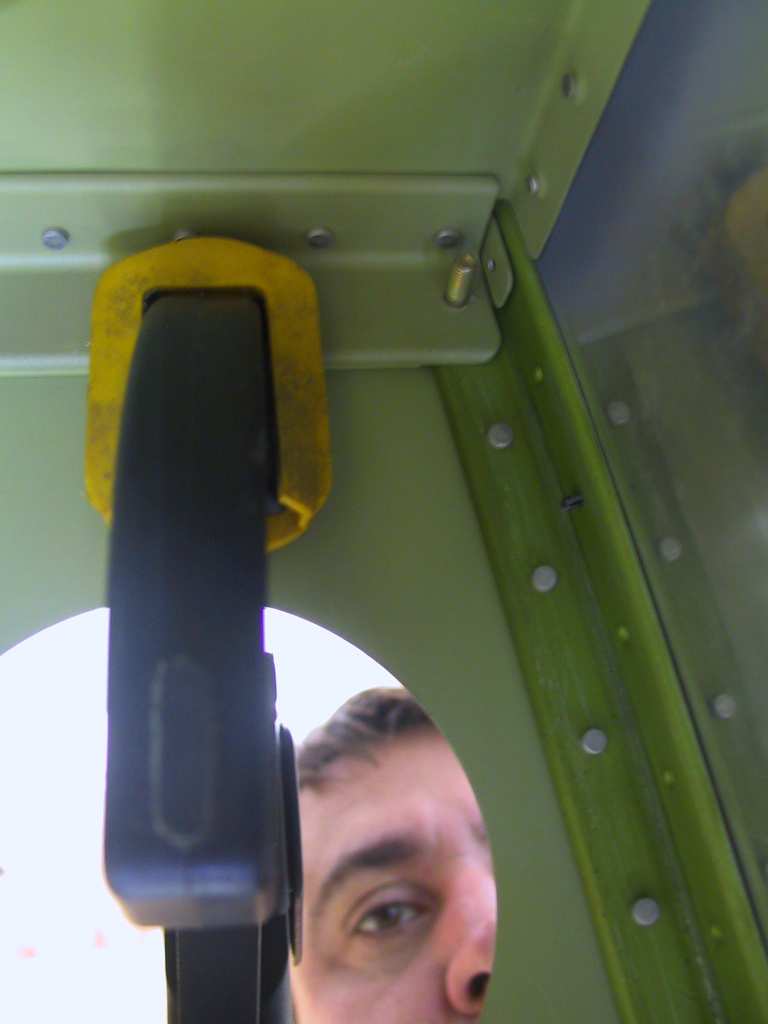
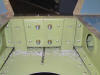
I also installed the thingamabobers for the rudder cables. What a
day... Now what am I going to do tomorrow? Hmmmmmm.