| 3/25/05 |
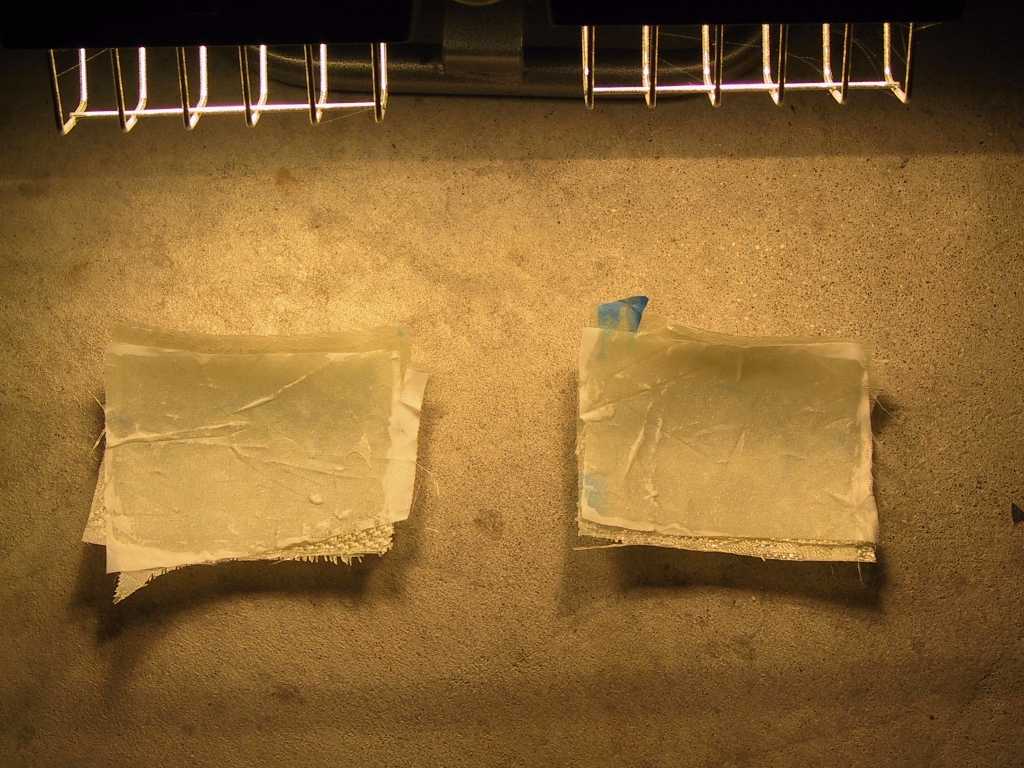
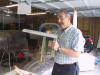
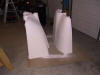
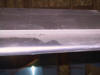
Another layup of glass on the outside of the cowl
for the backing plate of the cowl secure covers. I did a layup of two
layers of glass and laid up another two layers on the inside for a total of 4
layers of BID.
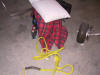
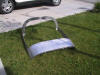
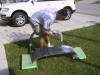
Tomorrow I'm heading to Hungry Valley to meet up with some
other Touareg owners for a 4x4 weekend. Just getting a few things packed,
including a towstrap :)
 |
| 3/26/05 |
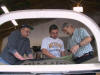
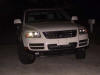
The trip to Hungry Valley was AWESOME. I
can't believe what these Touaregs can do. There were seven Tregs in all,
just having a blast. Here
are some shots of the trip. Warning, these are full sized pictures. |
|
3/27/05 |
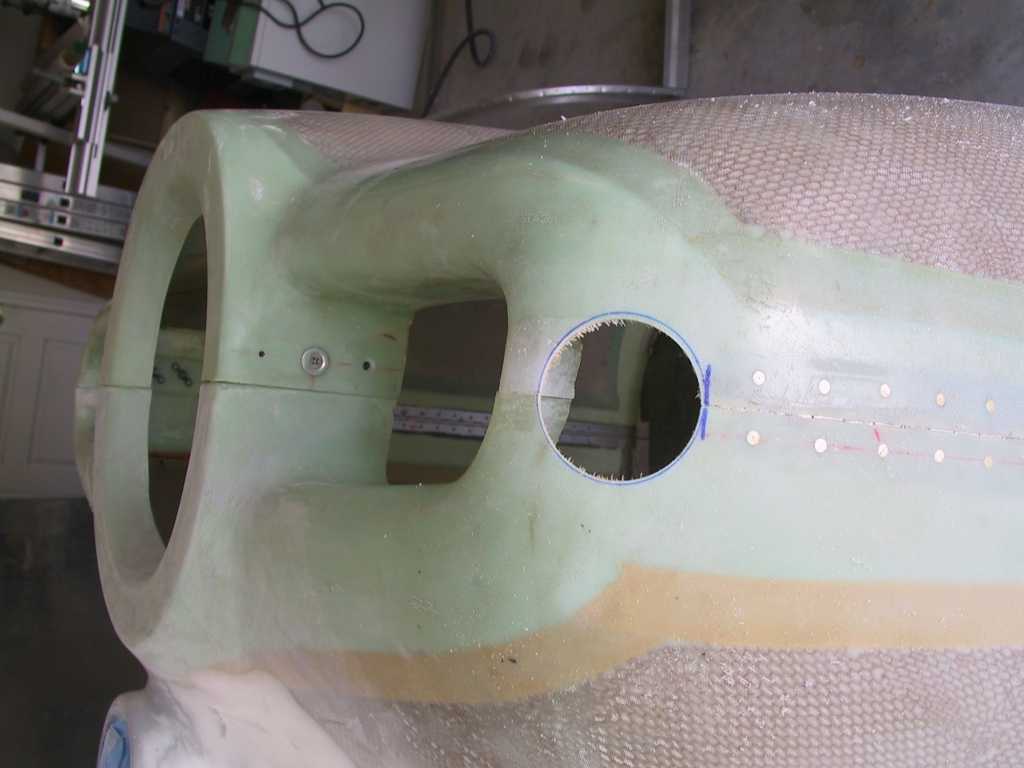
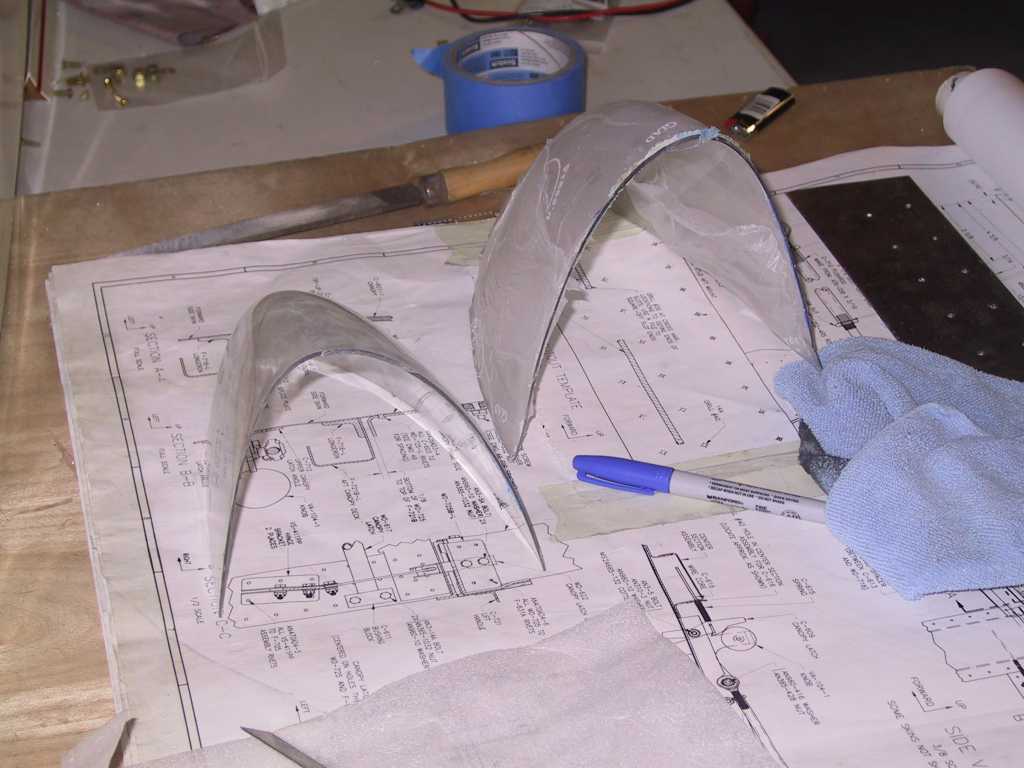
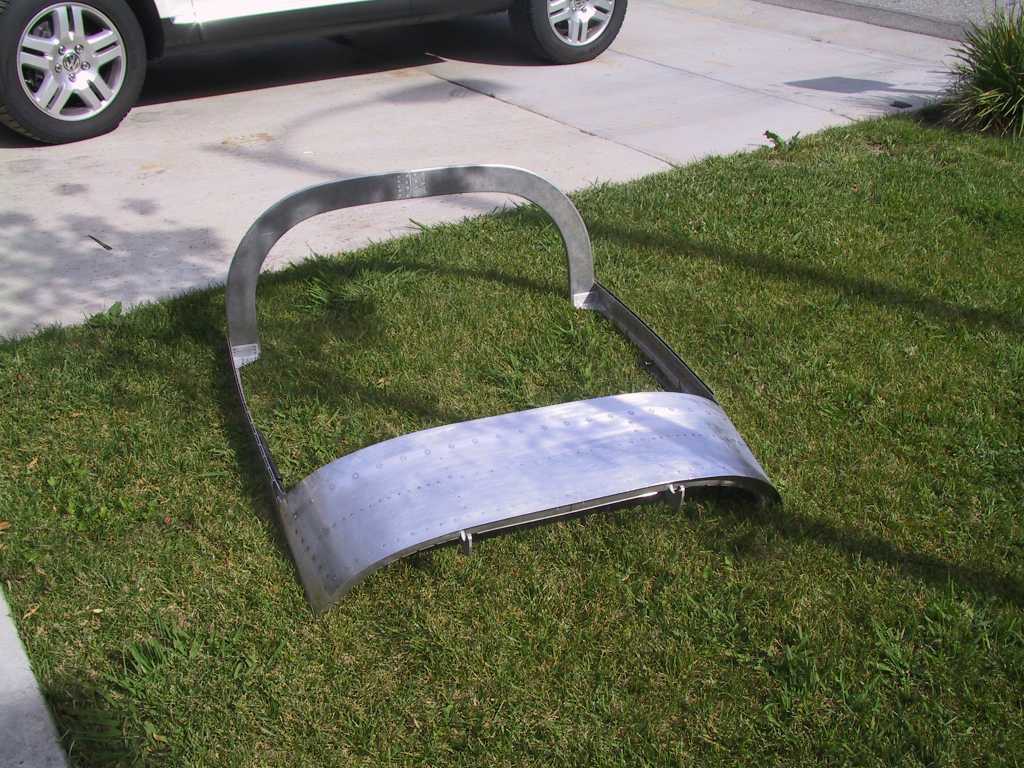
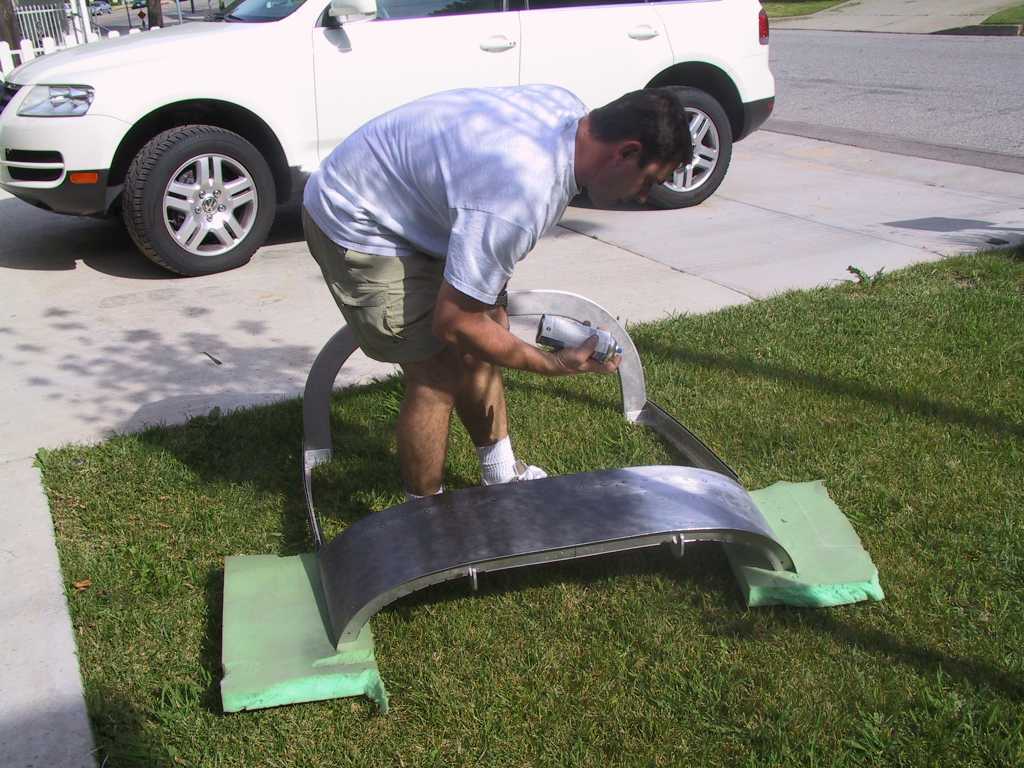
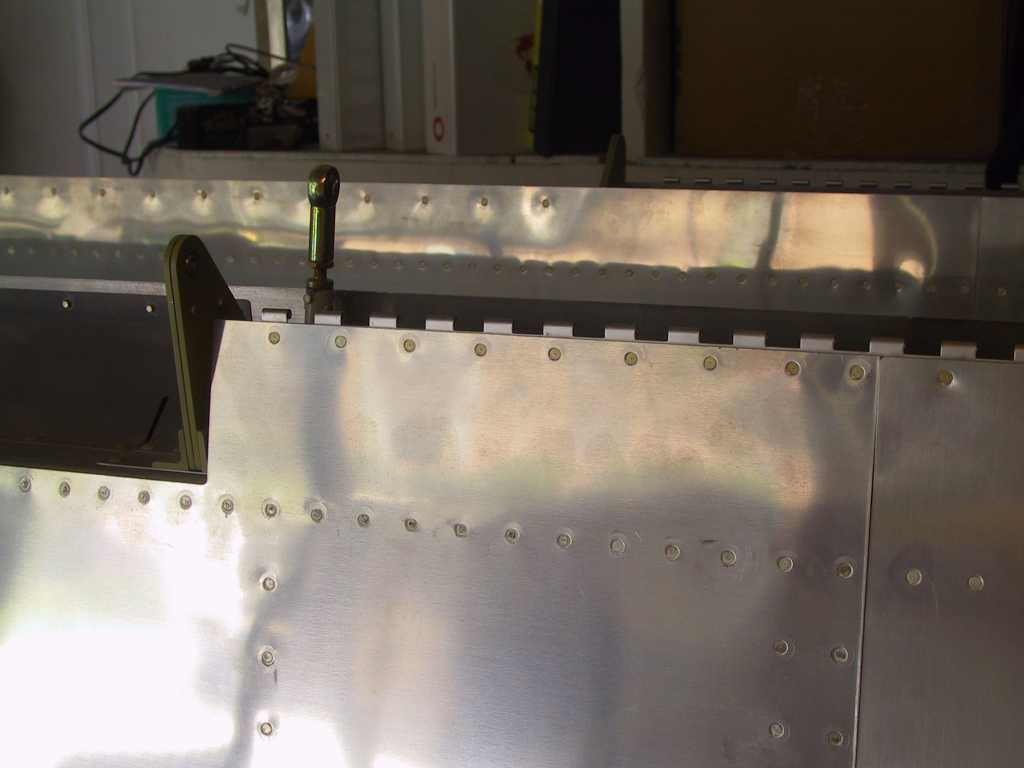
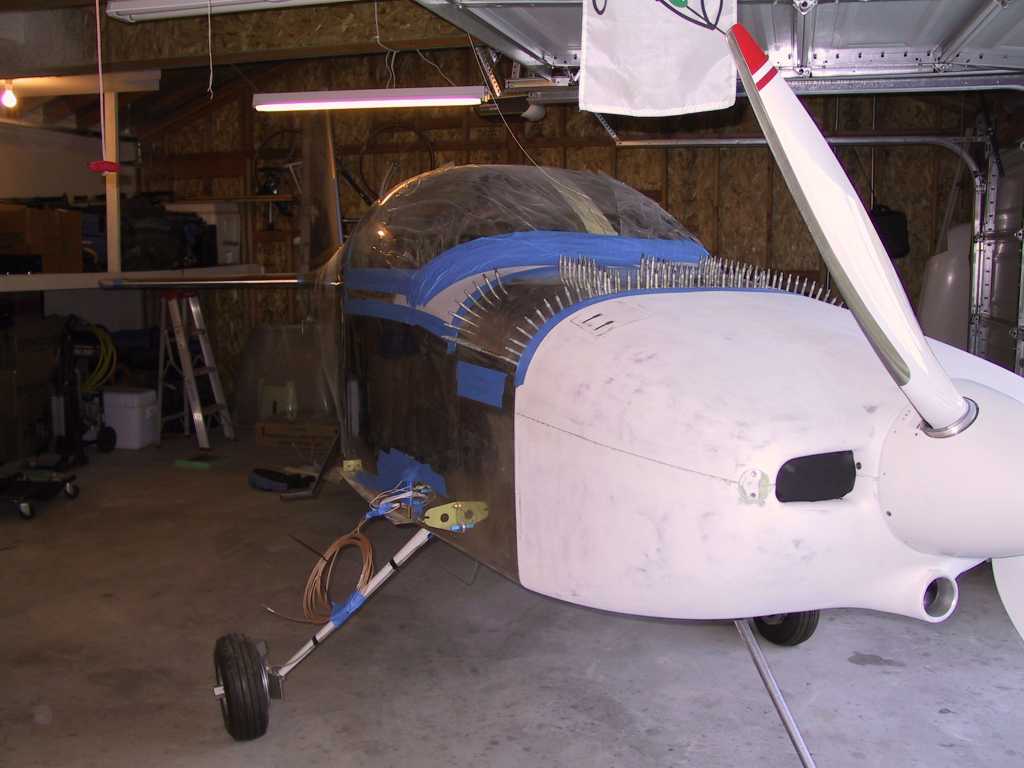
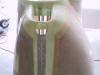
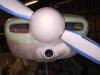
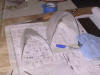
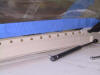
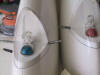
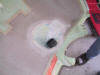
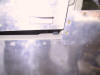
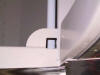
After doing some real work I got down and
basically finished the flush cowl hinge pin covers and structure. Got out
my two inch holesaw and drilled the holes on each side. The holes are
right against the hinges, or as near to them as I could go.
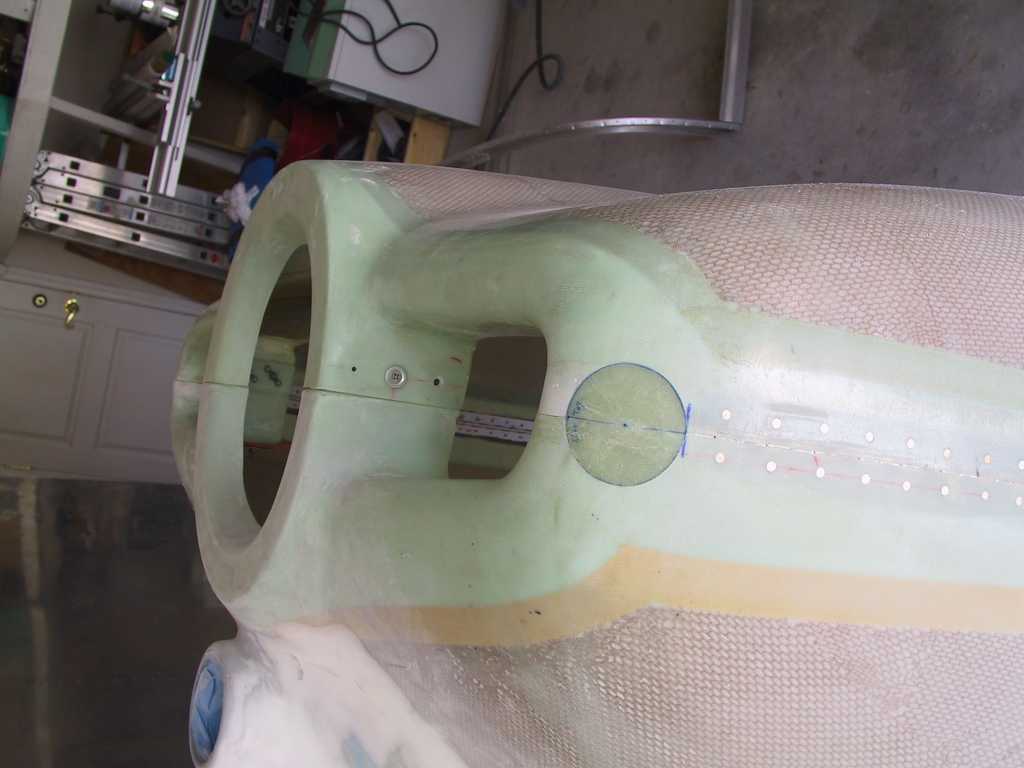
Filed the holes as close to round as possible and test fit the
cover plates.
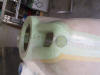 
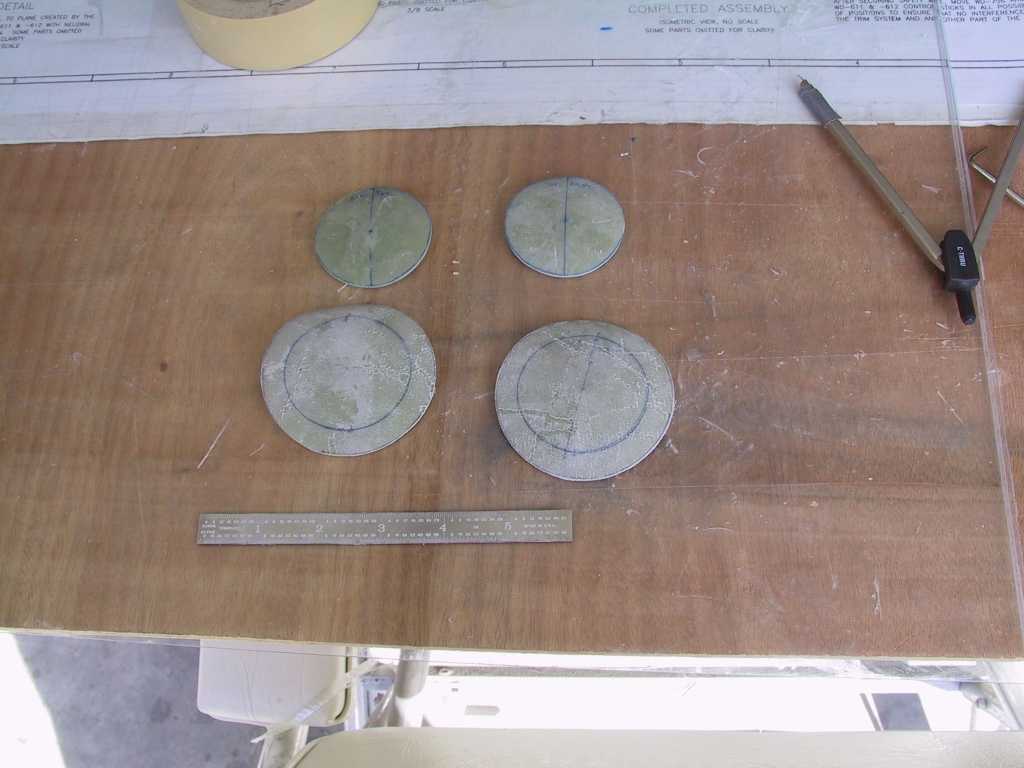
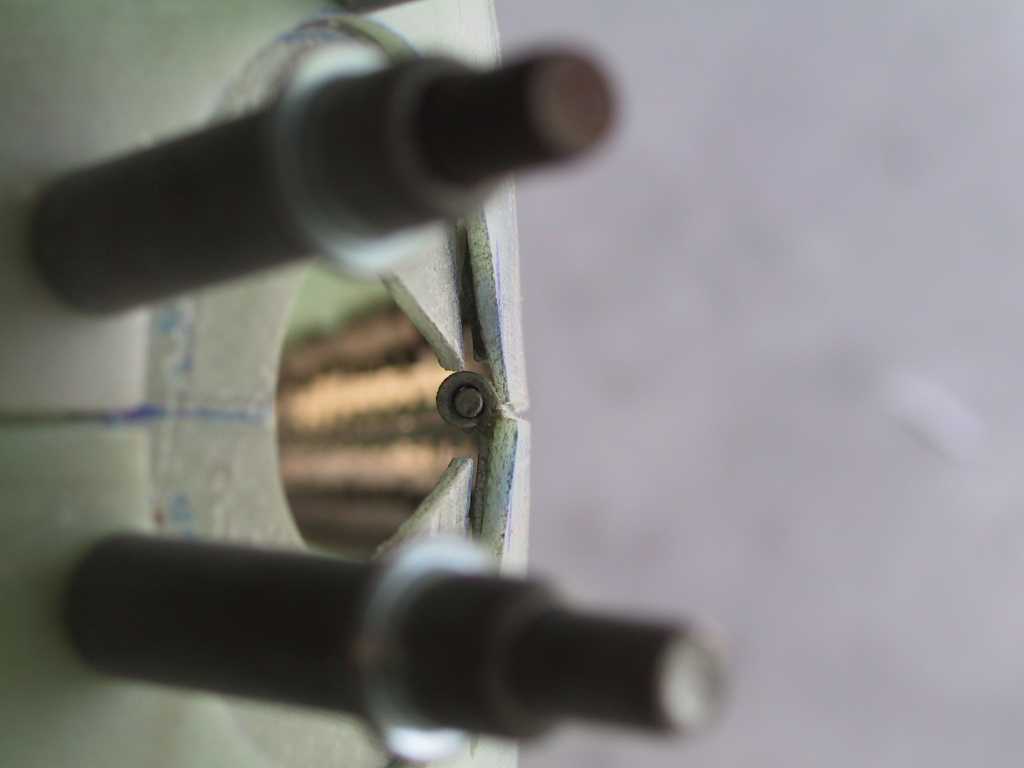
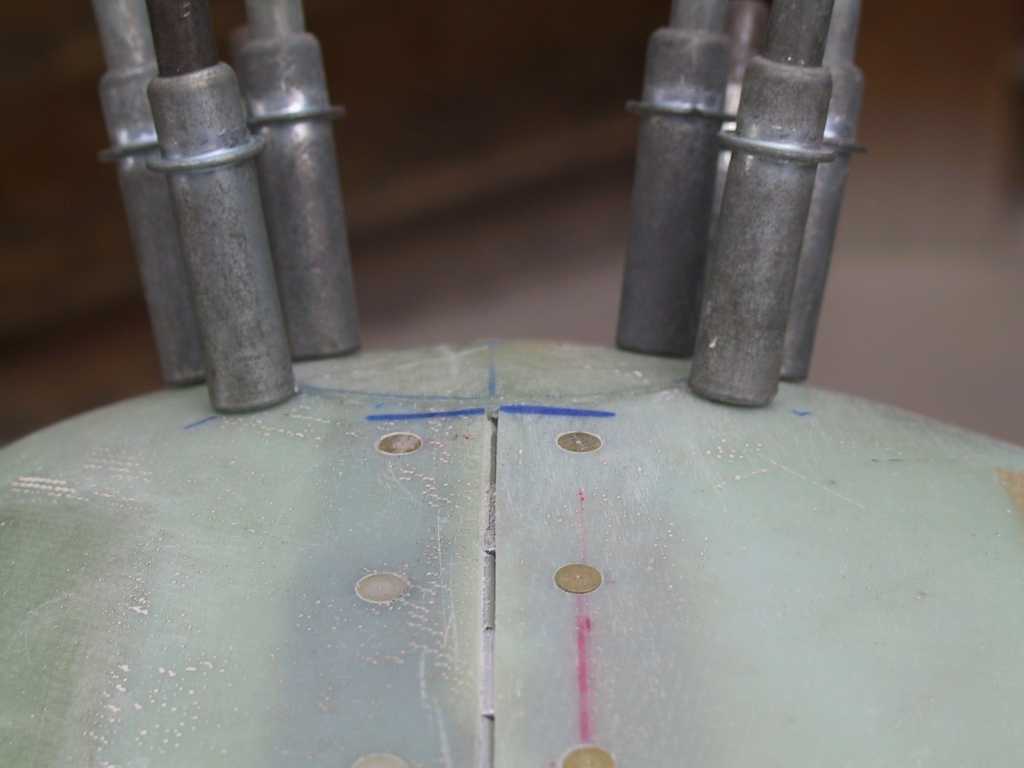
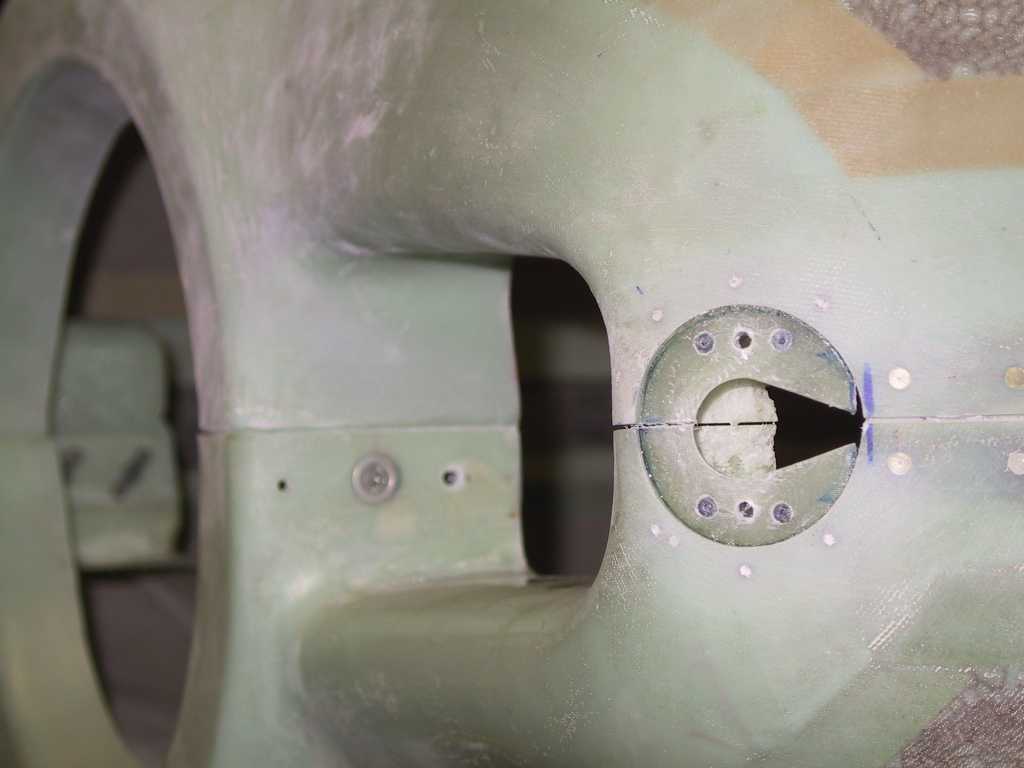
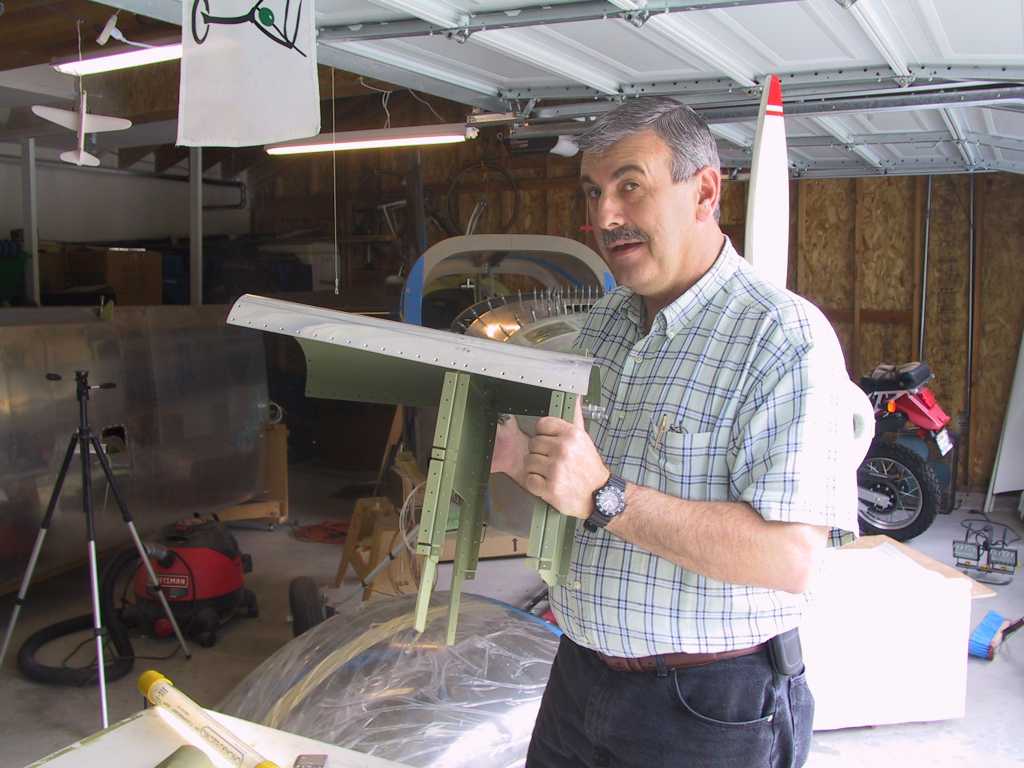
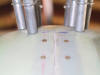
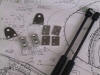
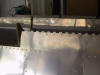
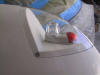
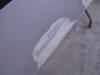
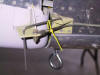
Here's the cover plates on top and the backing plate below.
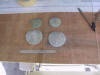
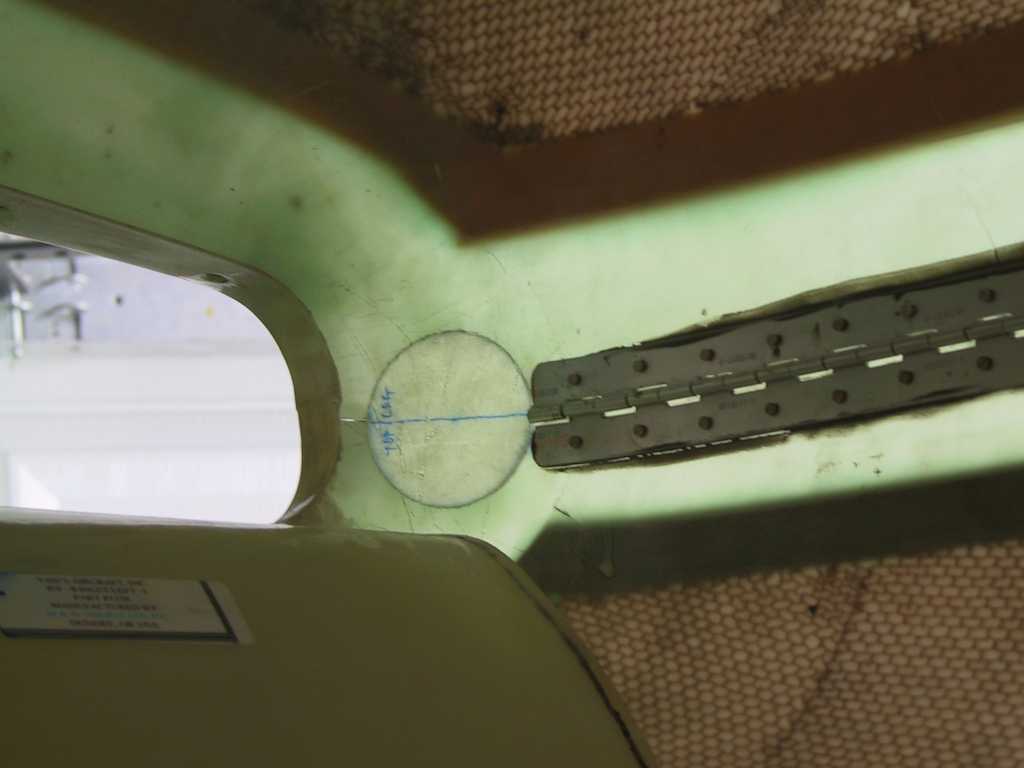
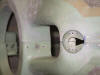
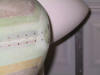
Backing plate got a 7/8" hole in the center with a cut towards
the hinge pin. Drilled and clecoed into place.
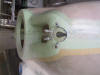
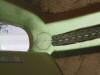
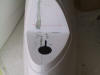
There's plenty of room for the hinge pin to come out even with
the little bend I'll put on it at the end.
I secured the backing plate with flox and let it cure for a
while. Lately I've been using 205 as it cures much faster than 206.
Had I known this in the beginning I would have used 205 exclusively. Cover
in place and holes for the screws. I'll sand it perfectly flush later.
Nutplates installed.
Secured with screws and sanded smooth. I likes.
  |
|
3/28/05 |
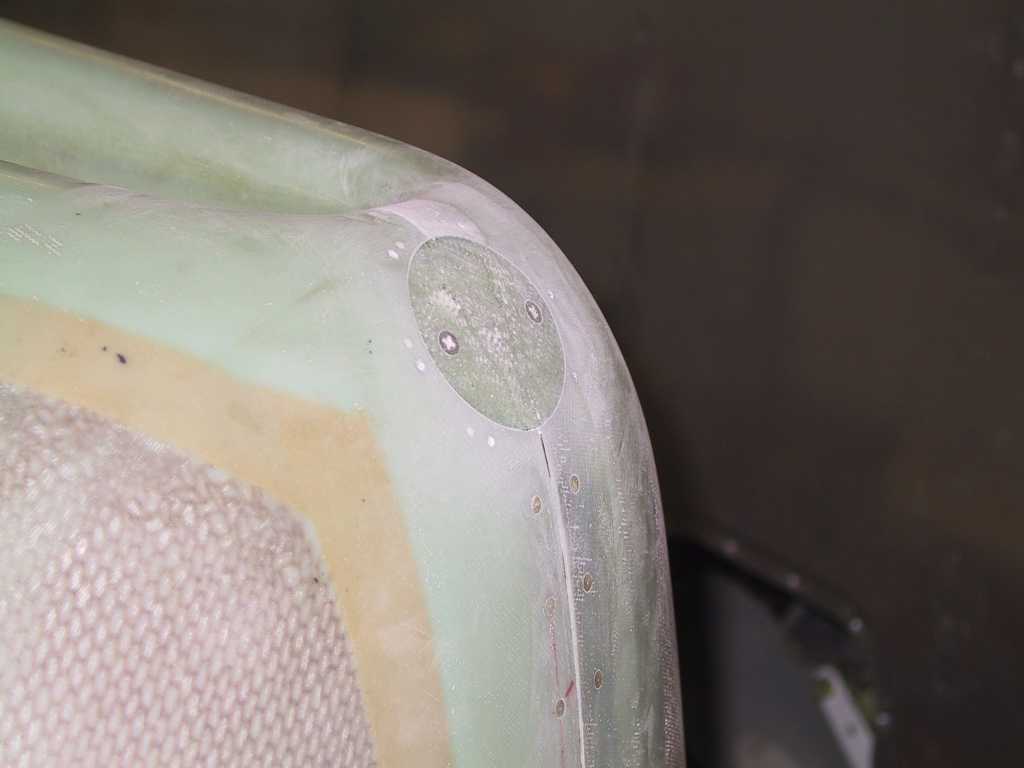
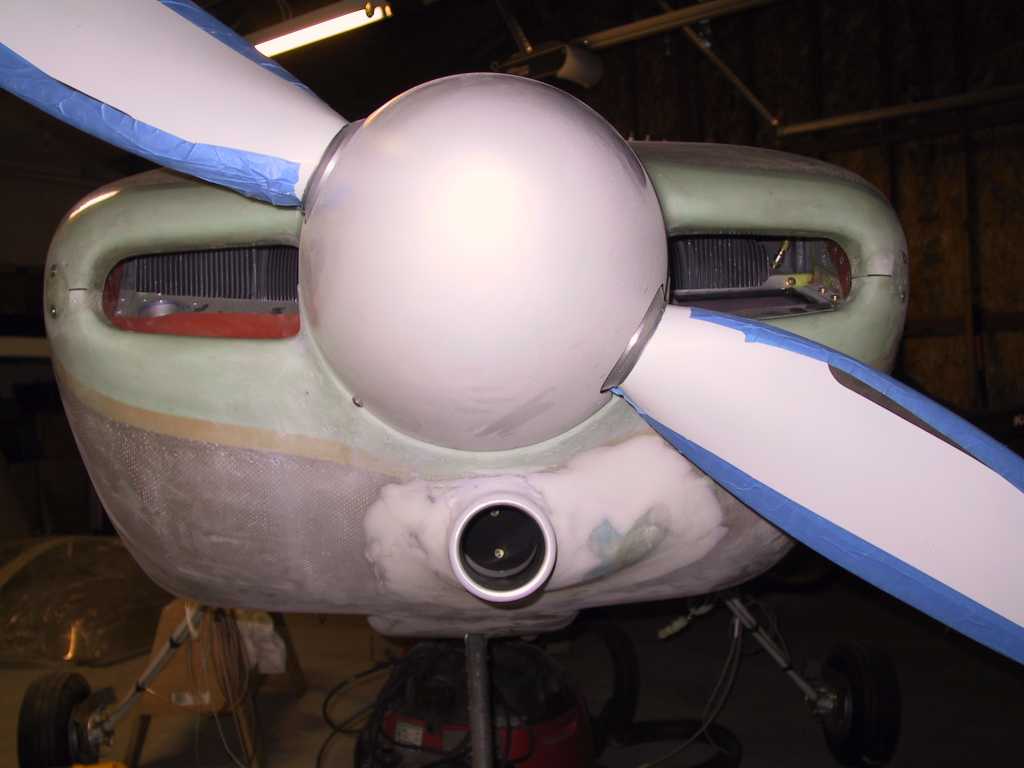
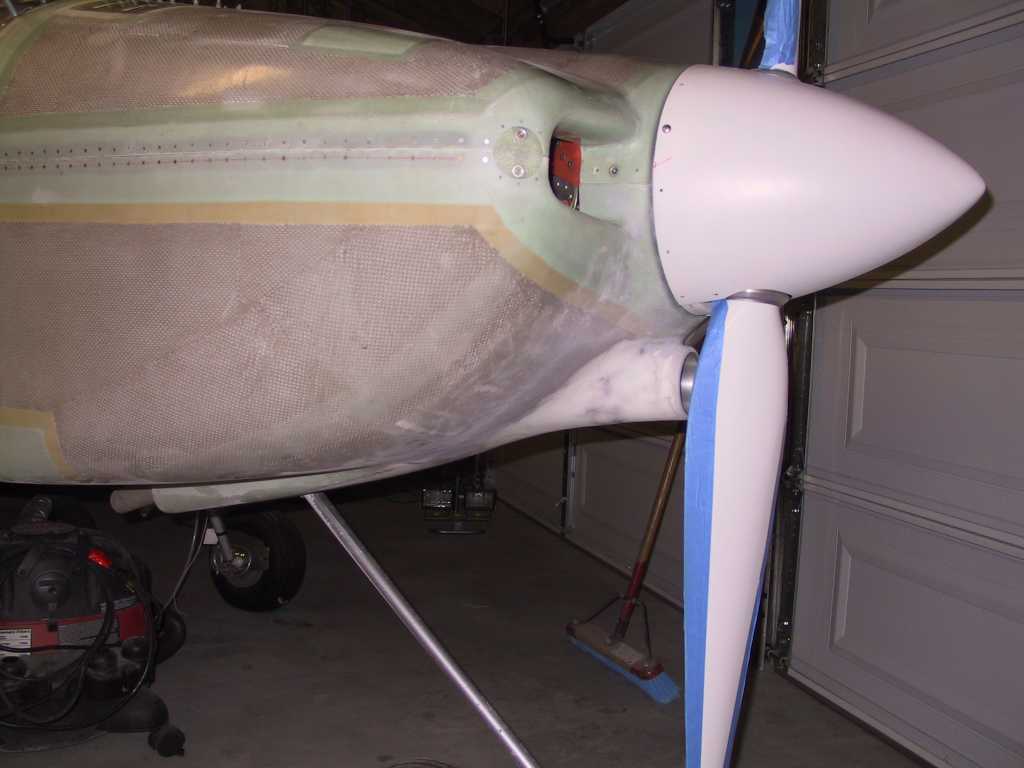
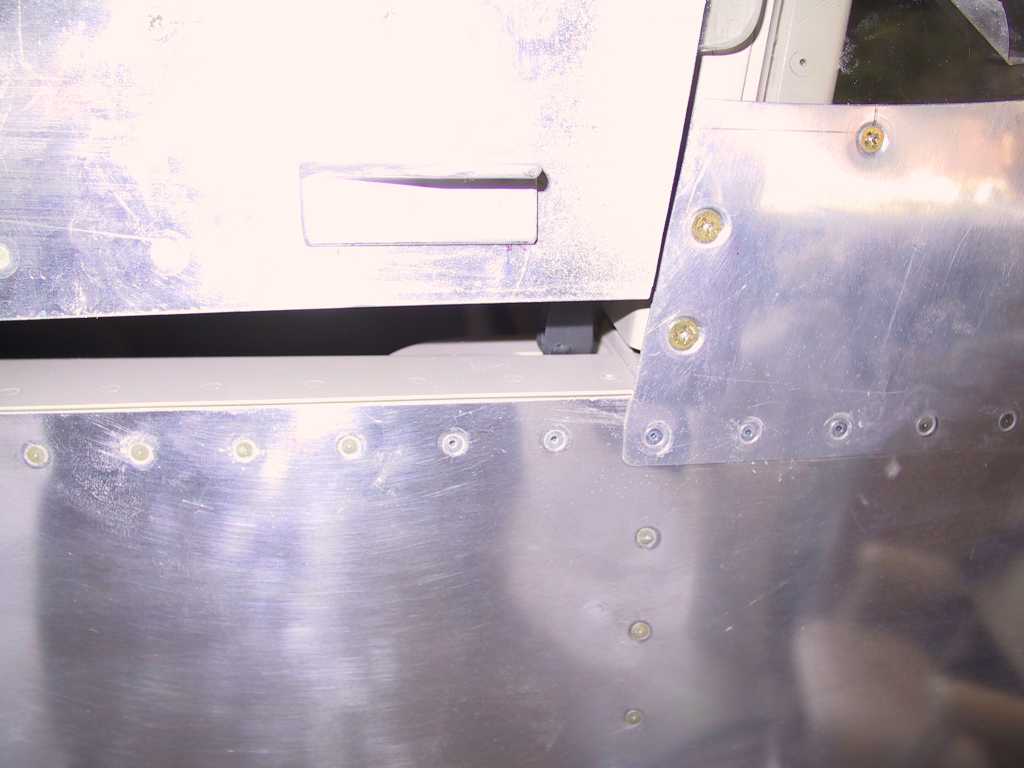
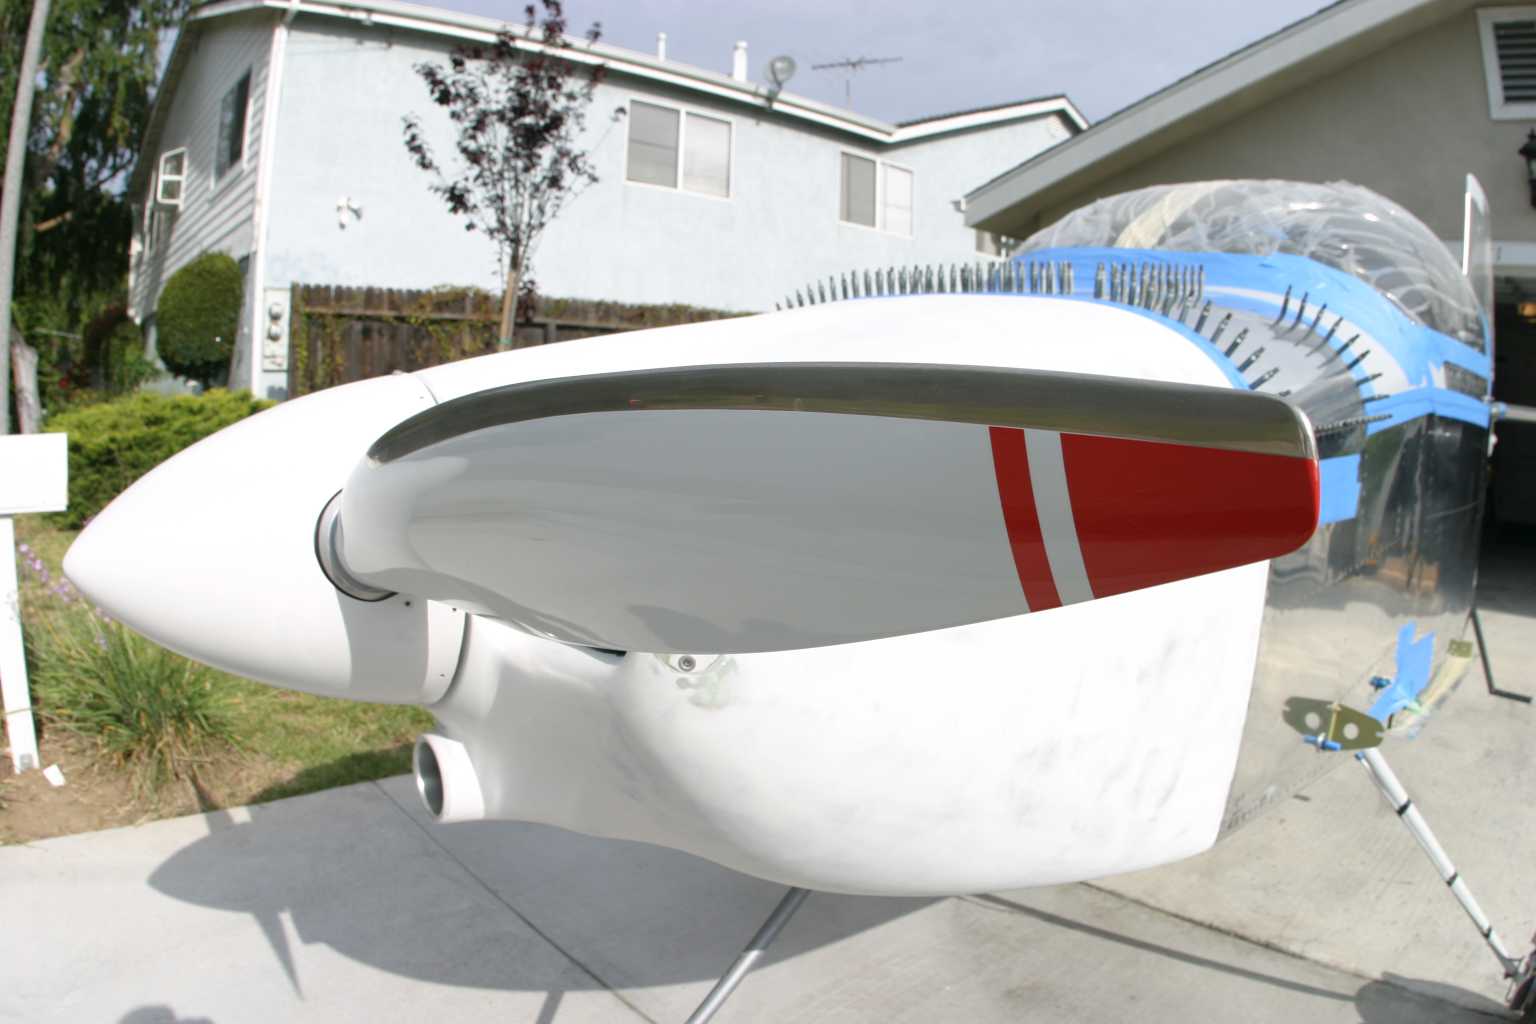
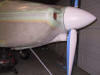
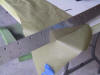
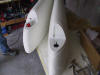
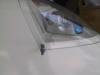
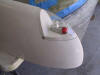
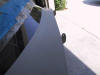
More cowl work. Counter sunk the cover
plates and added tinnermen washers. I still have to trim for paint but
this is how first flight will see it.
    |
|
3/31/05 |
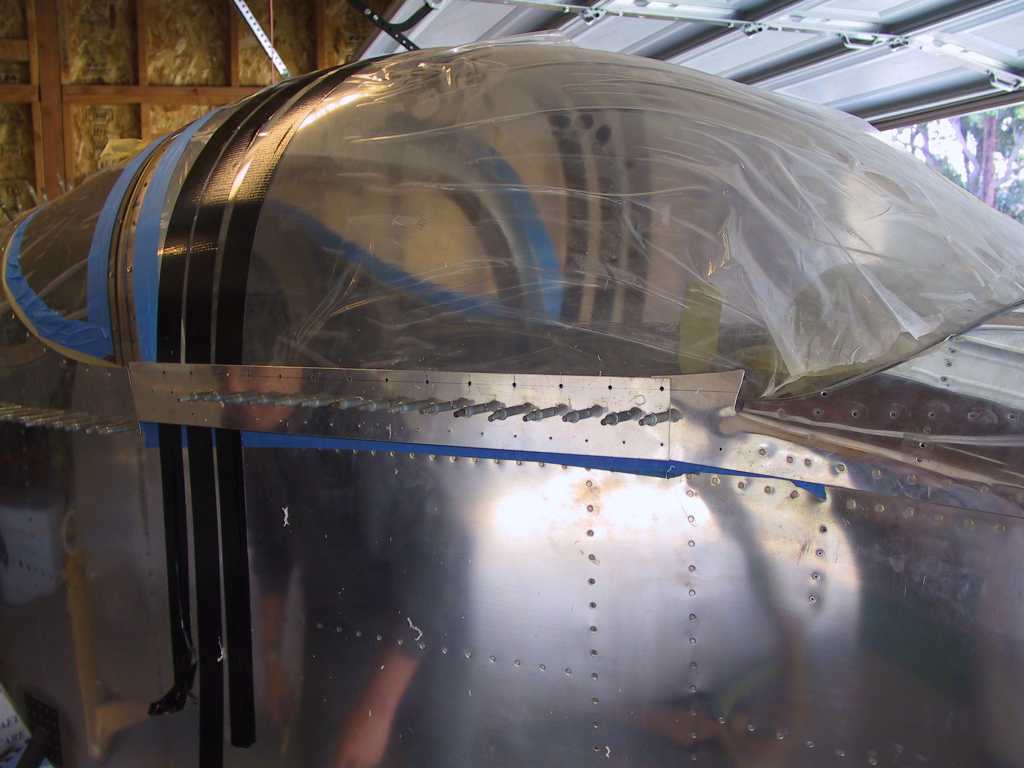
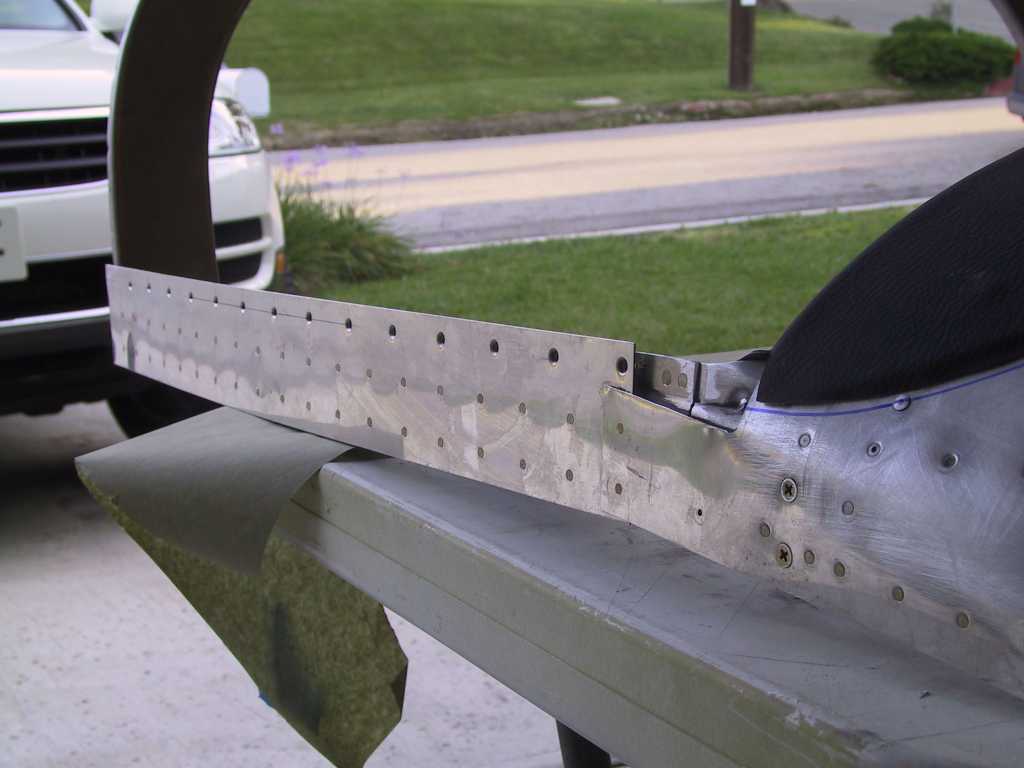
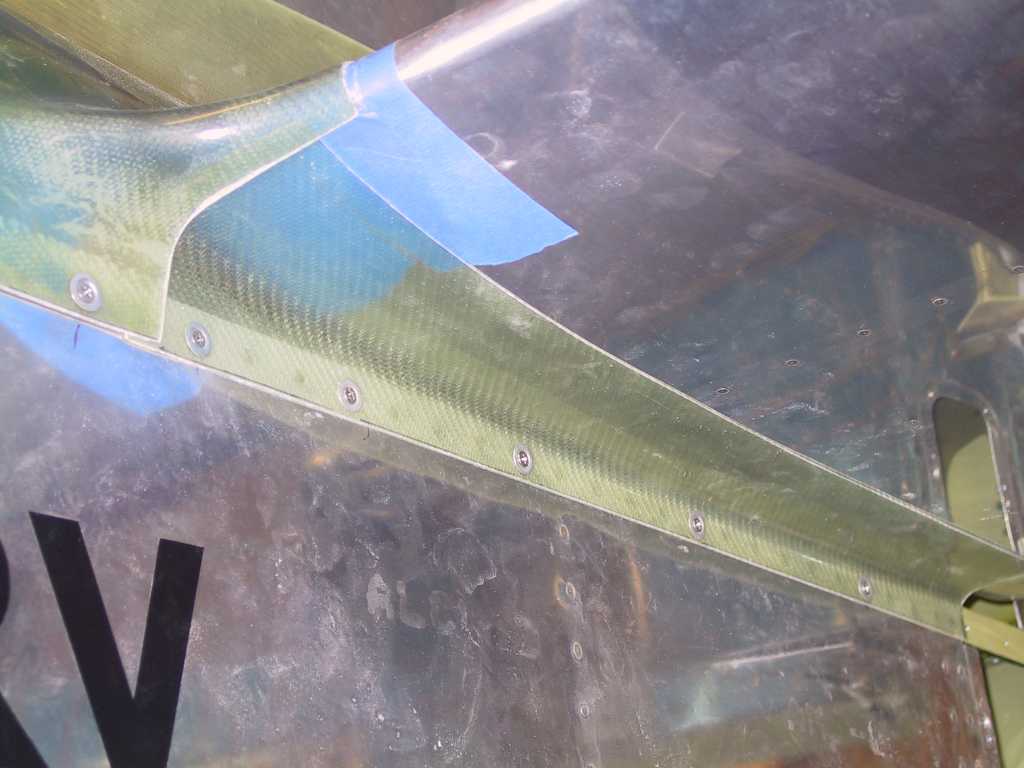
Predrilled the side skirts, laid them up, made
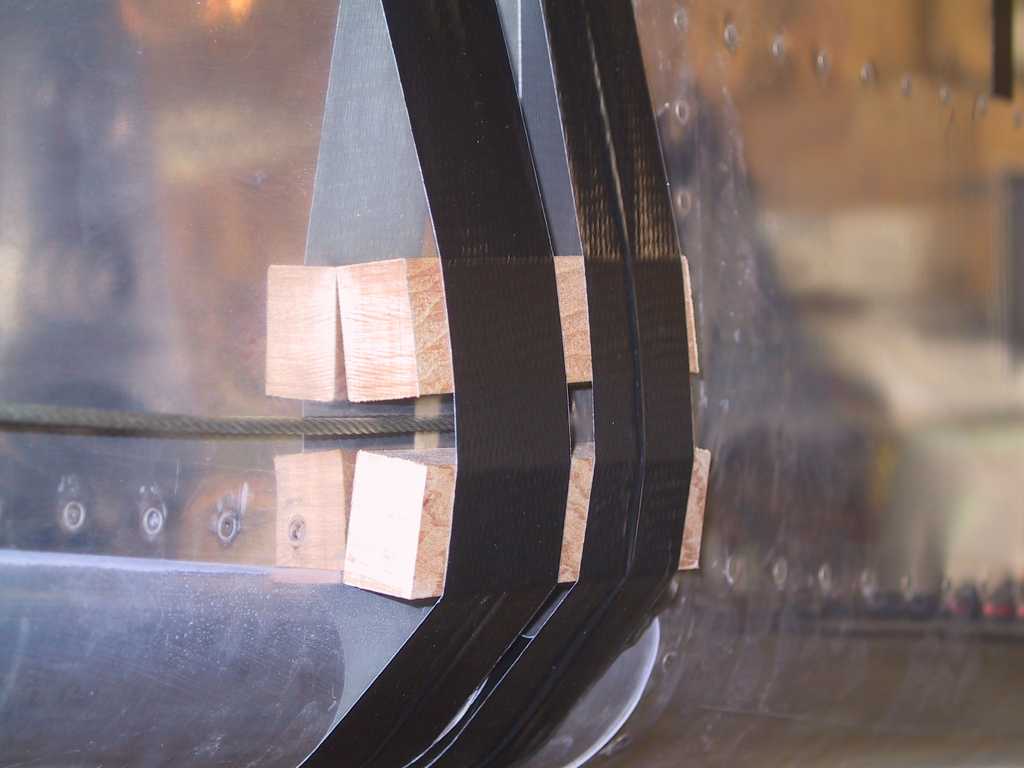
sure the canopy was in place and drilled it. I placed blocks of wood
between the roll bar ad canopy frame roll bar to make sure the gap was the same
as the first time I drilled the canopy. Somehow, it wasn't. I get
the feeling that the three canopy stiffener plates caused a slight misalignment.
It's not that big a deal. Also cut the wingtip lens in half and began
fitting one of them. For a long time now I've wanted to
make the skirts hang down past the longeron but I felt that now was not the time
to do it. I still plan on it but instead of aluminum, they will be
fiberglass.
   |
| 4/2/05 |
Clecoed on the side skins and drilled the side
skirts and plexi. I predrilled the side skirt and using a plexi drill,
drilled through all three parts. Them dimpled the side skins and cs the
plexi.
Fabricated the canopy shock mounts and attached them to the
canopy.
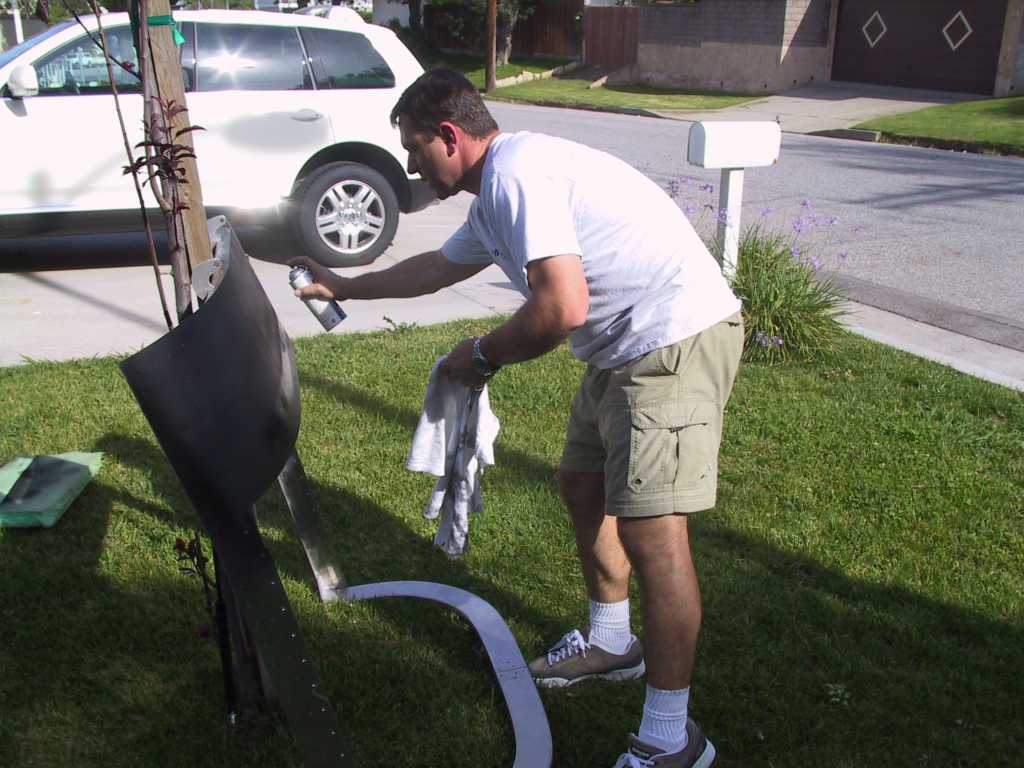
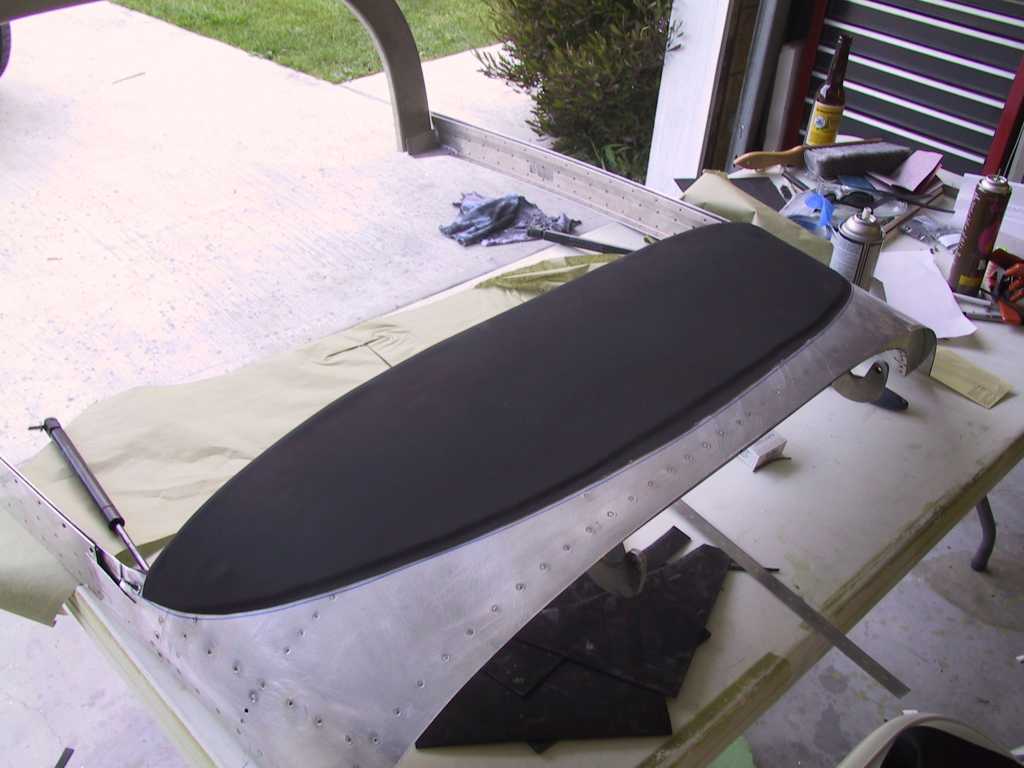
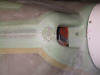
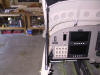
Now the next few pictures I'm getting ready to paint the
canopy dash with some aviation grade flat black enamel.
The next pictures, which I'm not placing on the site, are
pictures of me cussing and swearing up and down the block because the damn
rattlecan kept shooting buggers out instead of paint. I removed all the
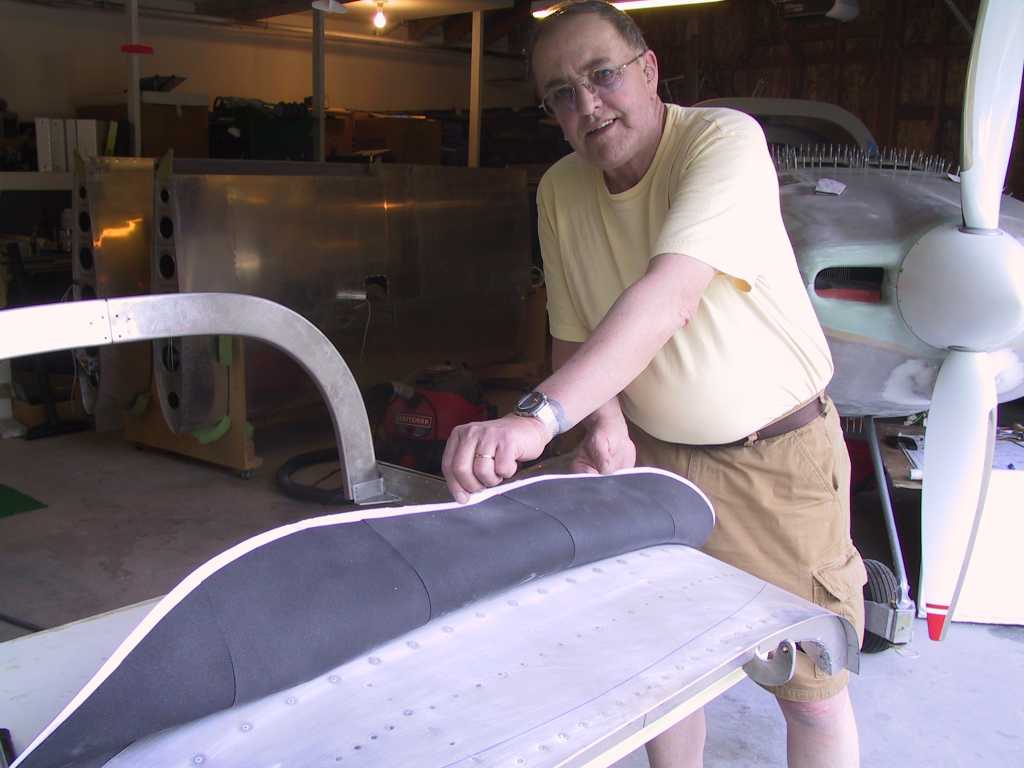
paint and decided to do another approach. The old man suggested we put
some fake leather on the panel. Why not? Got some from JoAnn
Fabrics, some 2mm foam backing, and some spray adhesive. Looking good!
Here you can see how much I trimmed off the ears of the front
skin. I'll just fill this with flox.
  |
| 4/3/05 |
Another huge day. David Richardson came by
after breakfast and we shot his tail cone section. This is where two or
three hands can really be handy. Got a few oops rivets in there, but Who
Doesn't? I do. No shame in that.
Got the JetFlex out again and shot the canopy frame.

Bucked the right side of the top skins. Dads removing
any boogers that were left over from the gun.
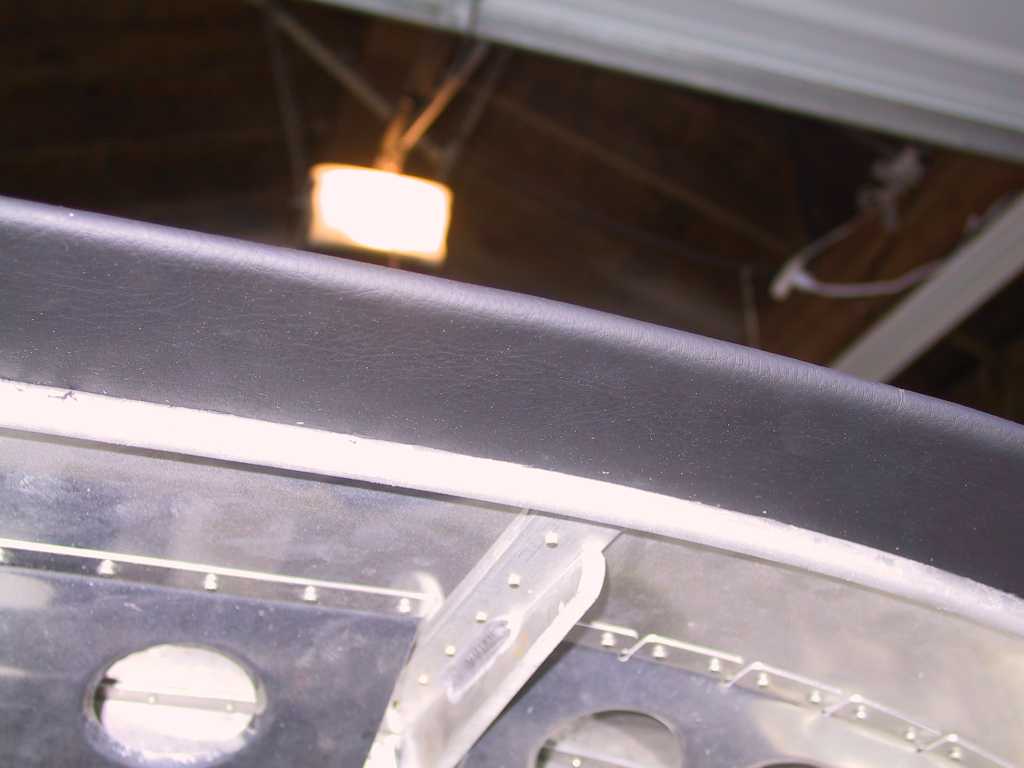
As we were riveting, we left the canopy frame outside in the
sun. Well it turns out that the adhesive spray we used just wasn't cutting
it. The glue was letting go and the fabric was starting to bulge. I
don't like bulges on my dash. So we took all of it off, cleaned off the
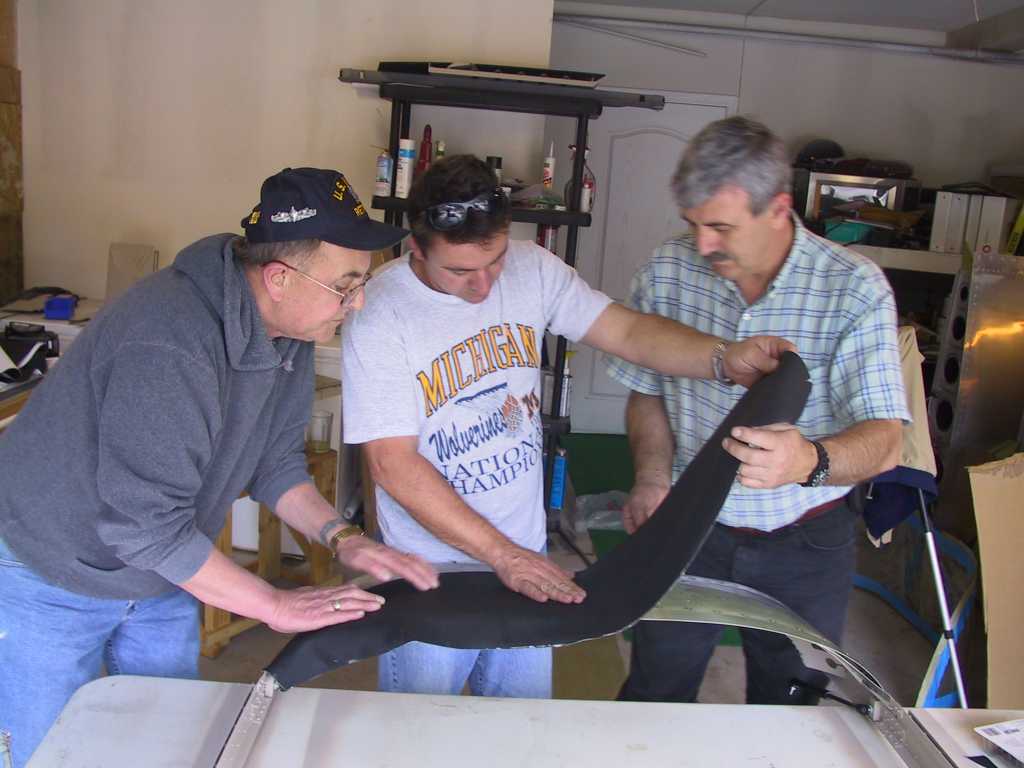
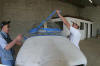
glue and bought some contact cement. This stuff is tough. Here we
are laying up the new piece of fake leather.
Time to get that canopy on for a trial run.
Ok, so I need more pictures of me in the builders log to prove
I made it, well, at least the canopy.
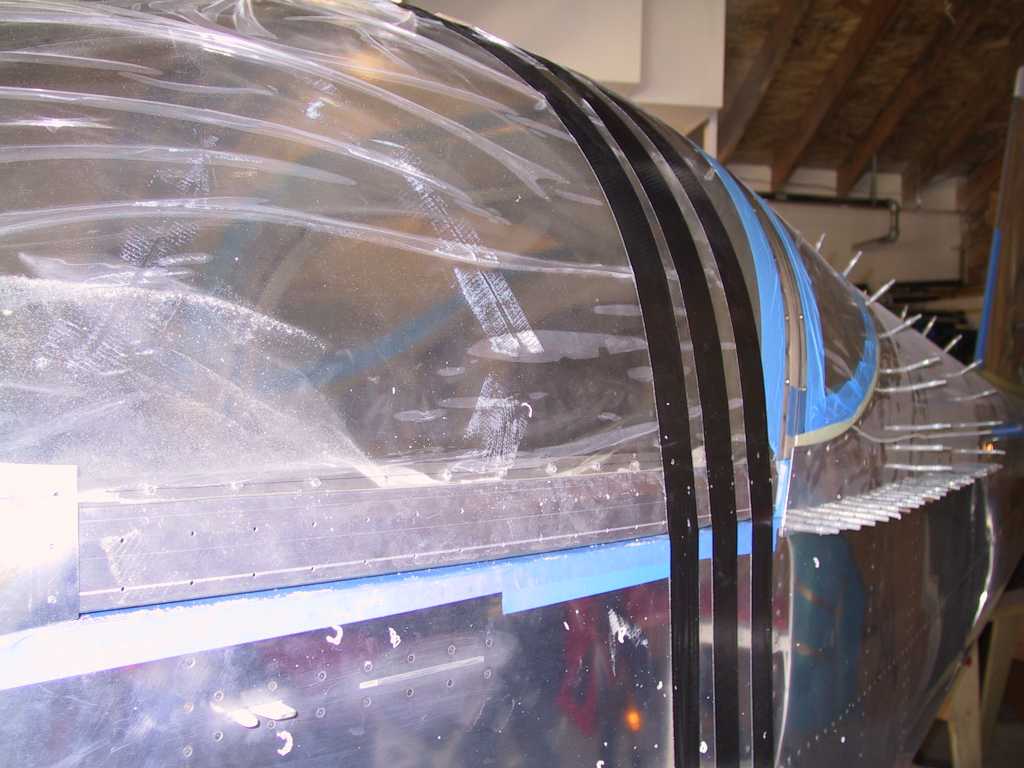
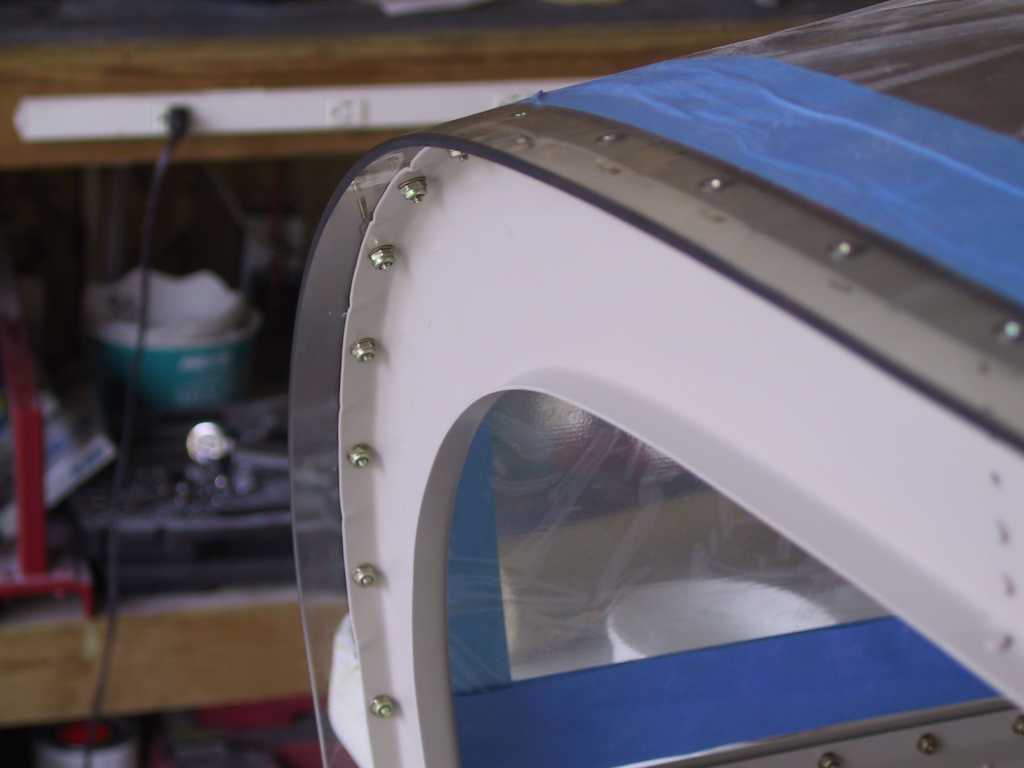
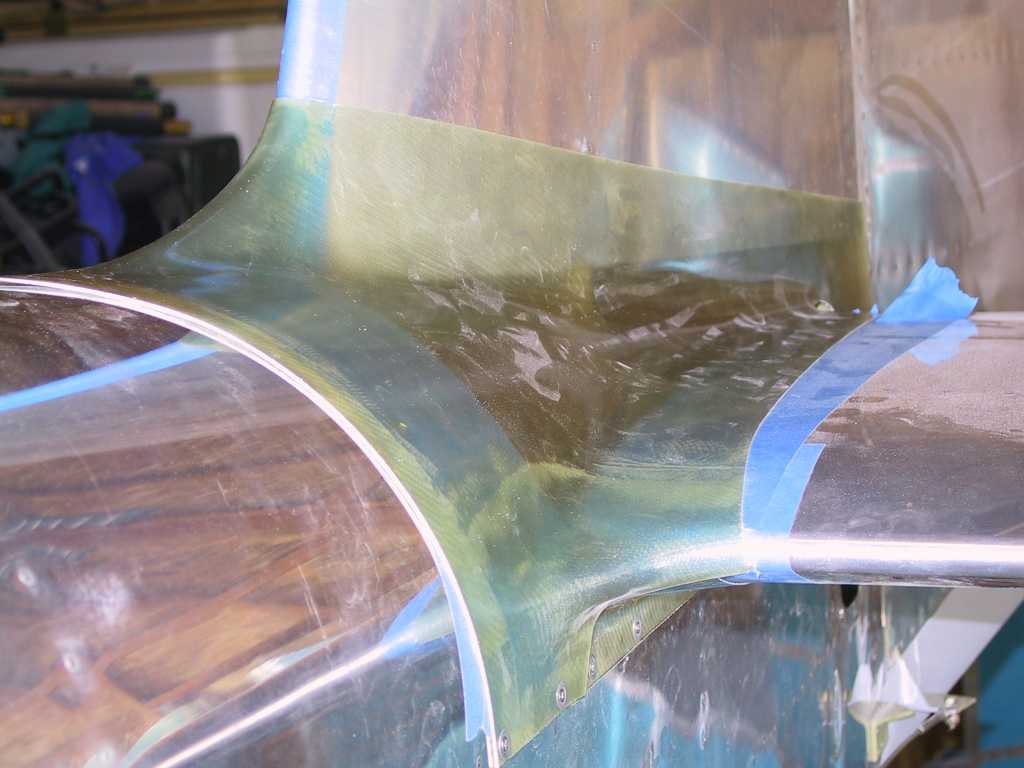
All the nuts are on the canopy at this stage and here's my
tape line for the fiberglass and paint.
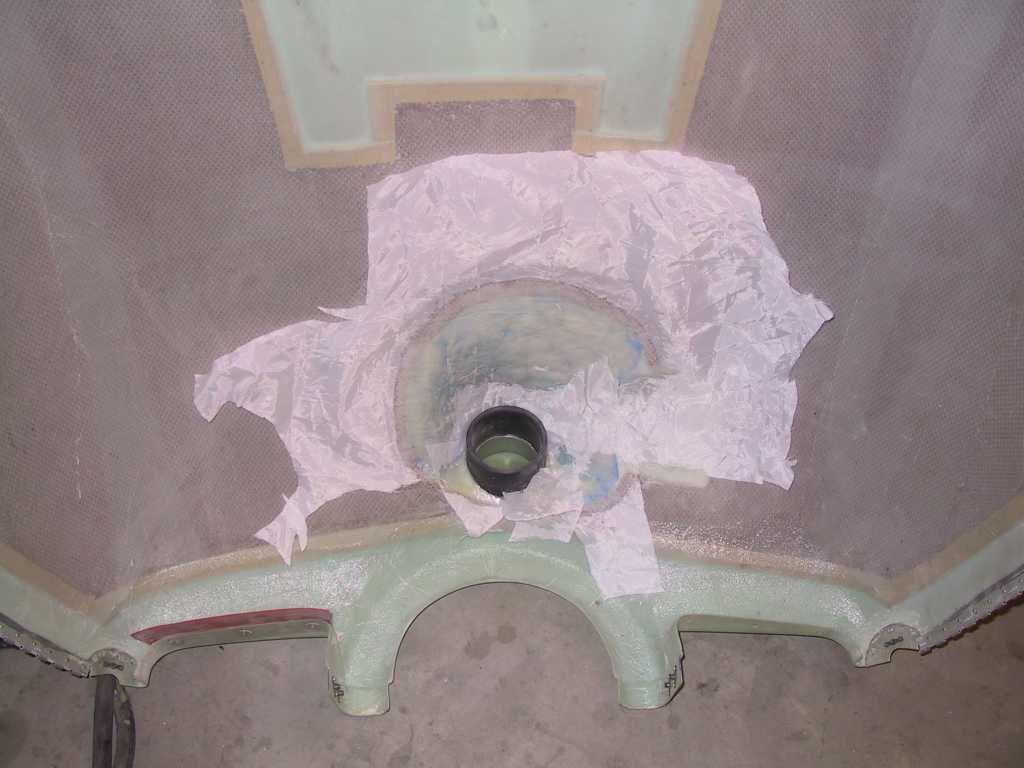
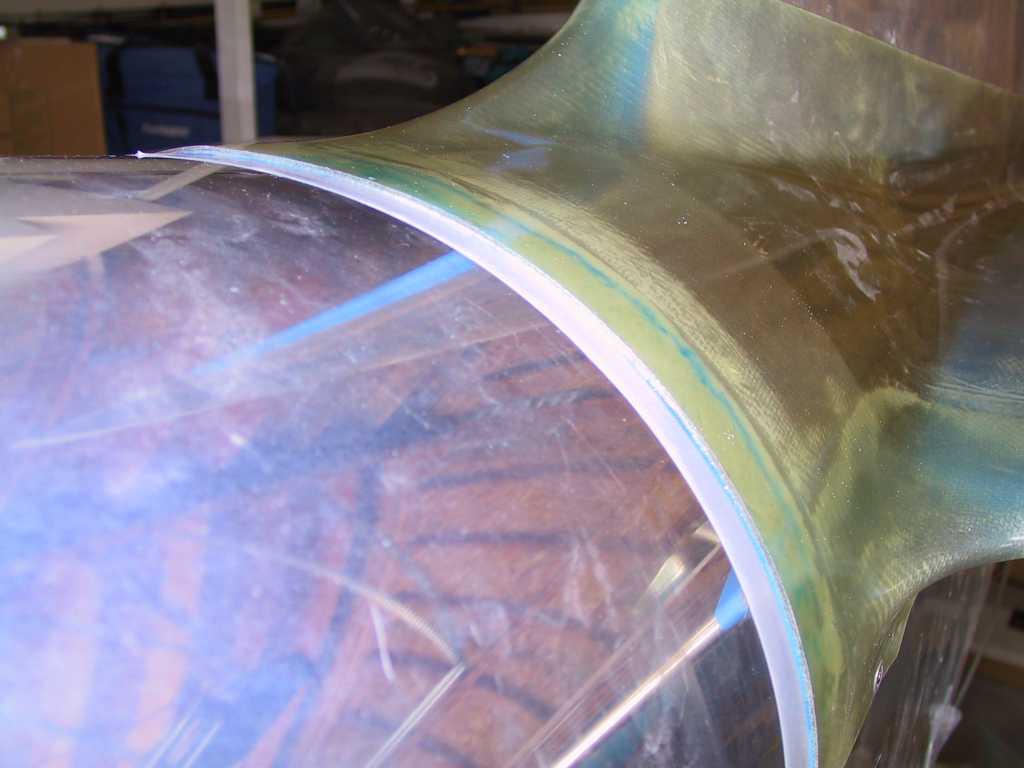
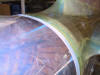
Time for the first layup of BID.
Chopped the matting around the ram air and did a micro balloon
layup to smooth things out.
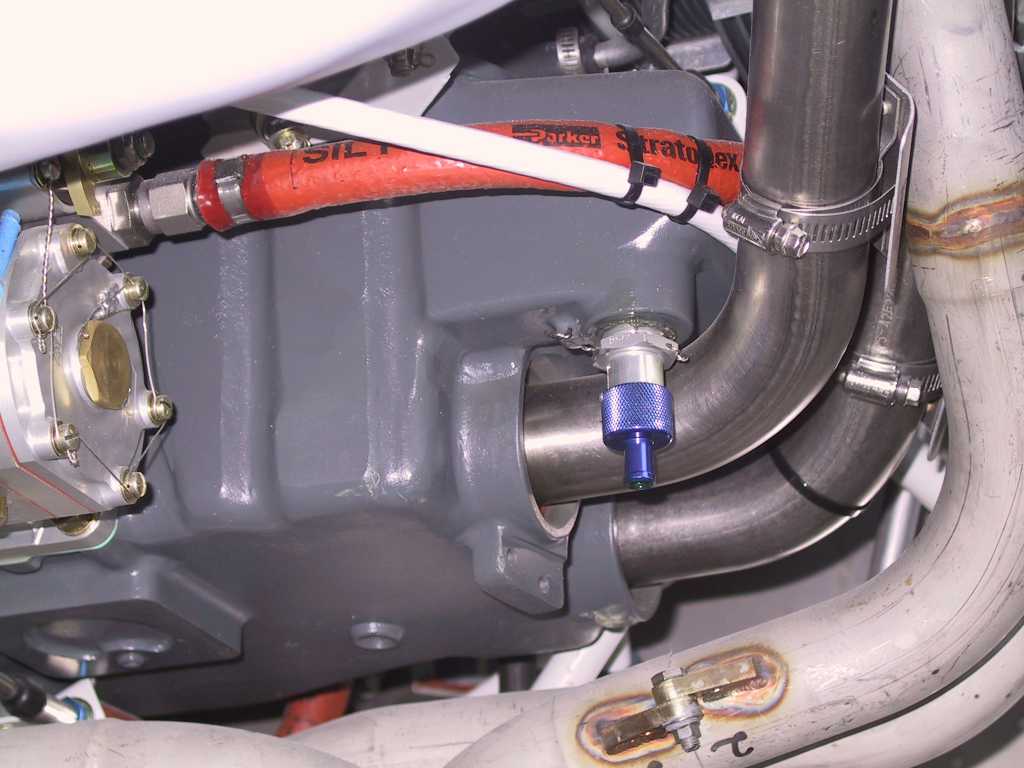
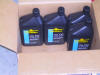
Drained about two cups of oil and installed and wire tied the
oil quick drain. Then added 8 qts of straight mineral oil.
  |
| 4/4/05 |
Decided to JB weld the rudder cable fairings in
place instead of rivets. Seriously scratched both surfaces beforehand.
They look good.
Final rivets in the wing.
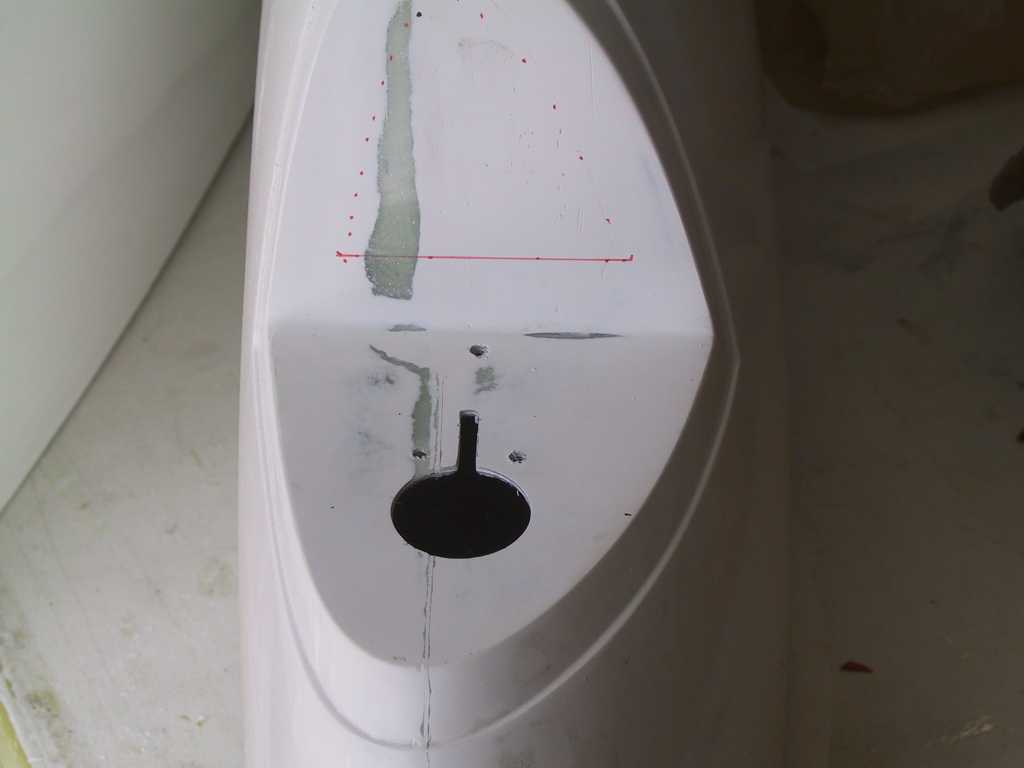
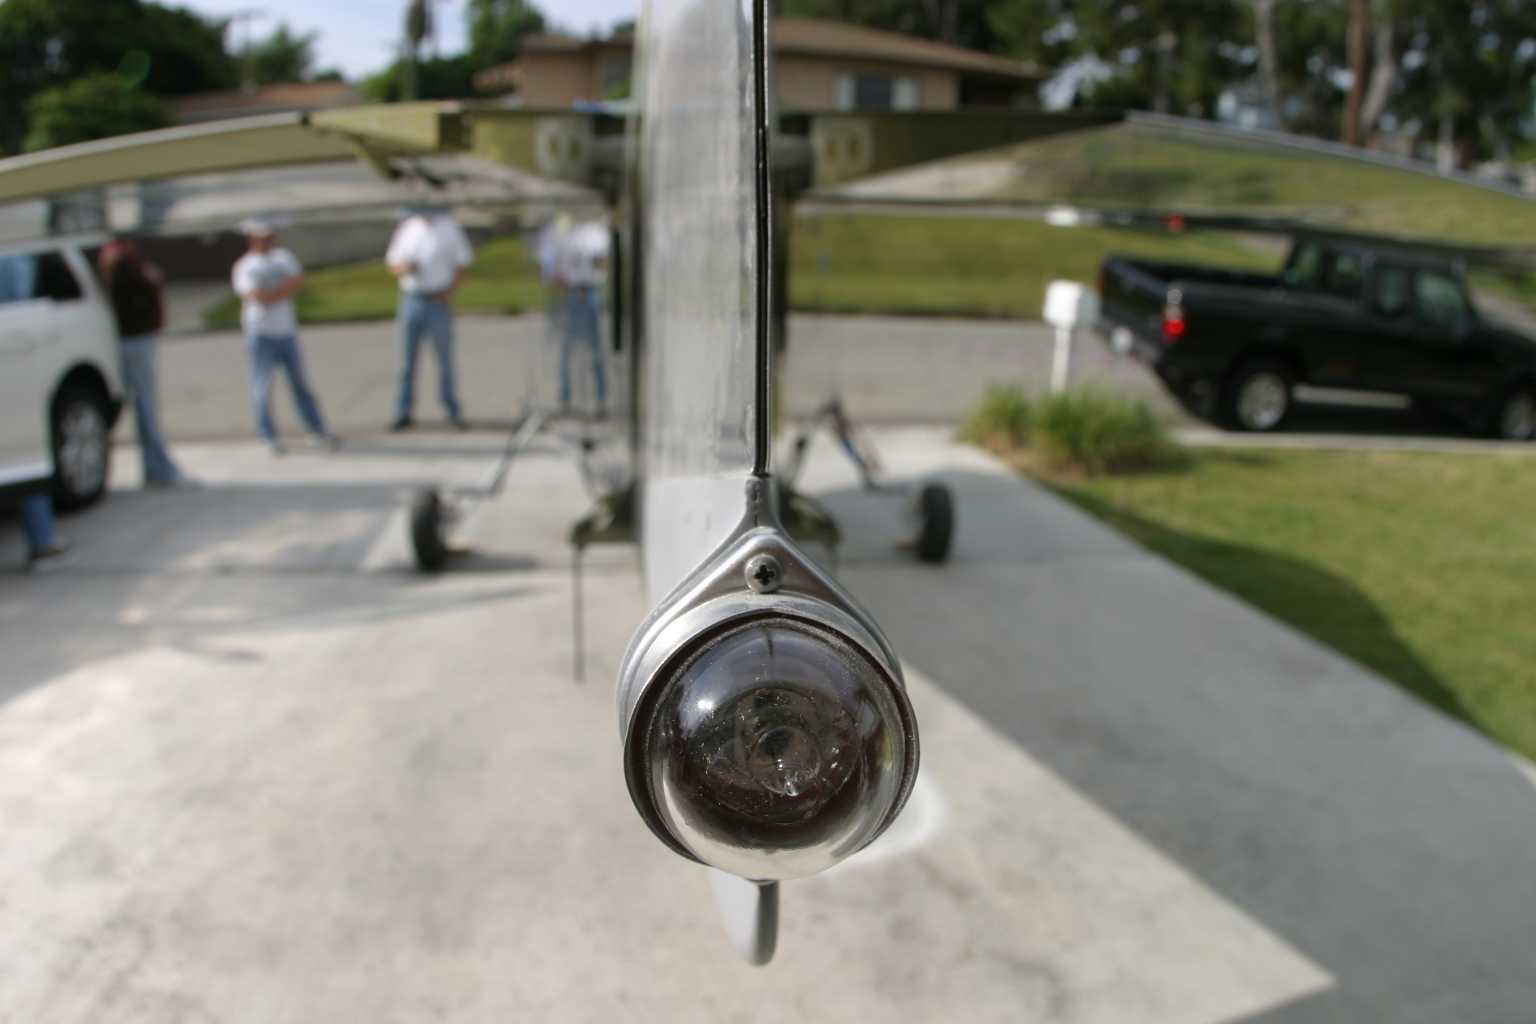
Cut the holes for the nav/strobe lights into the wingtips.
I decided to epoxy (flox) the nutplates for the clear lenses
instead of using rivets which you can see. I got this idea from Dan,
thanks!
   |
| 4/5/05 |
More sanding and filling and sanding and filling
and sanding and filling...
  
  |
| 4/6/05 |
Did some pidly stuff today but I'm not feeling
too hot today. Just getting some planning ready for the big move. |
| 4/7/05 |
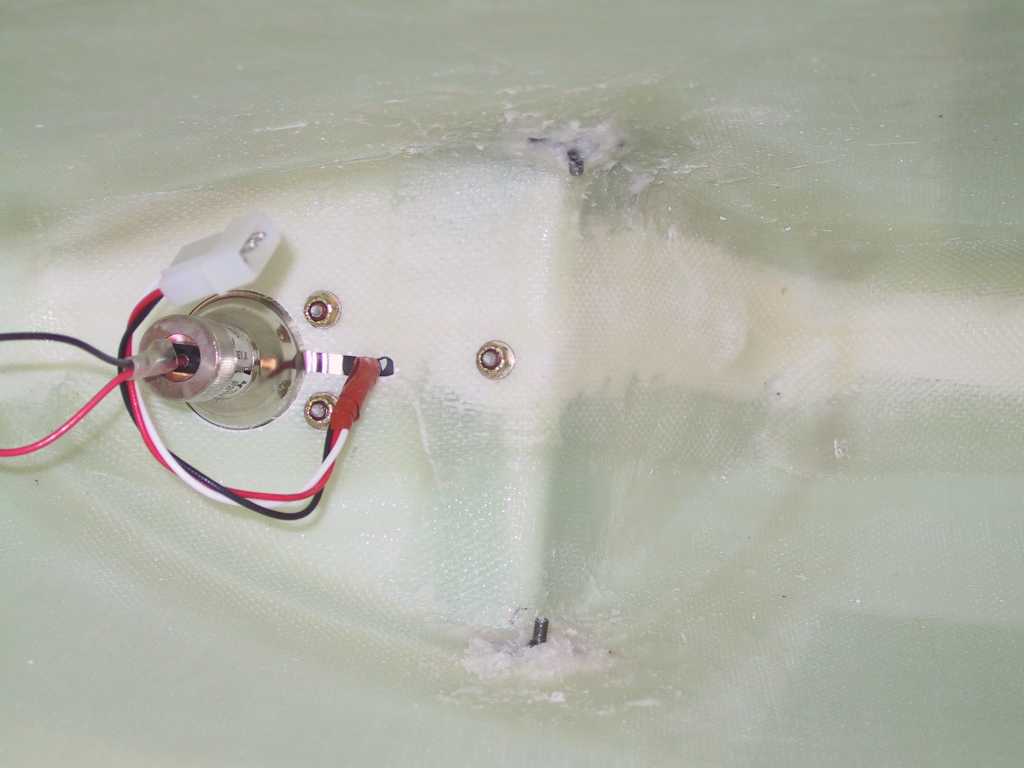
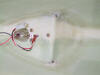
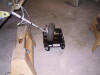
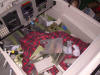
What's this mess you say?
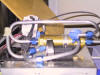
I had taken off the Airflow Performance fuel pump to diagnose
the pump not working and left it on the floor and pops ran it over with the car.
Not. After receiving a ton of very helpful emails on how
to diagnose the fuel pump not working I ended up calling AP and they said to
send it in. I found that the resistance between the pos and neg leads of
the the pump was only 2.2 Ohms. Sounds like an internal fault to me.
I checked and double checked and triple checked my wiring and it's definitely up
to snuff. Bad pump.
One more layer of micro balloons goes on the canopy.
 |
| 4/8/05 |
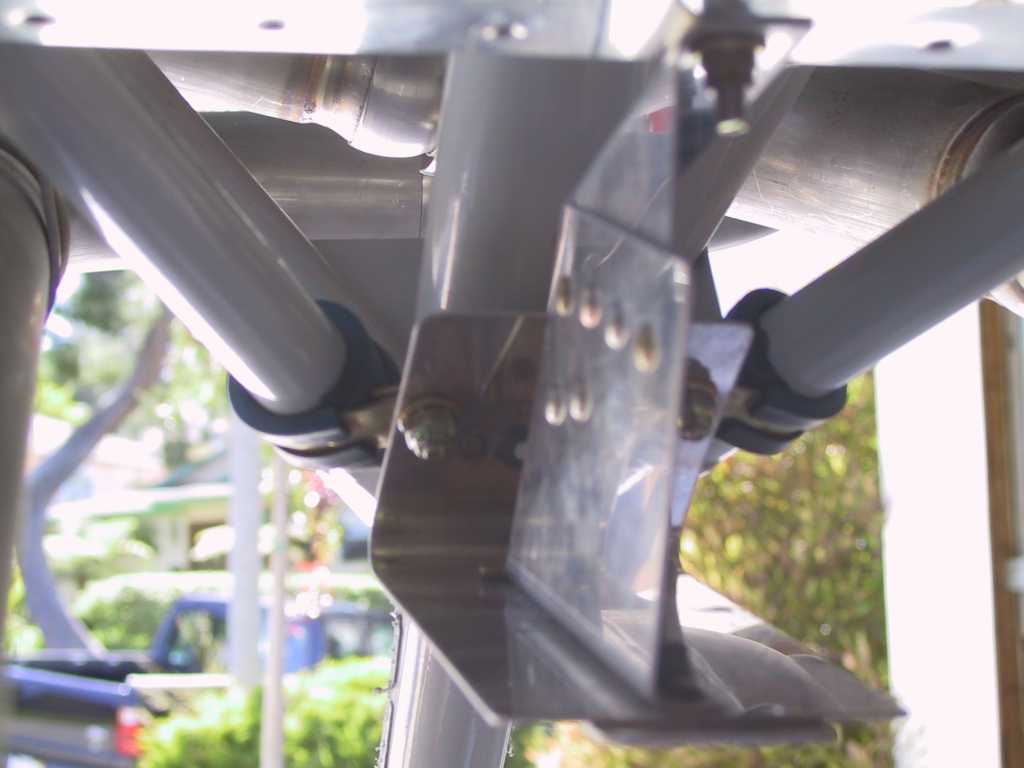
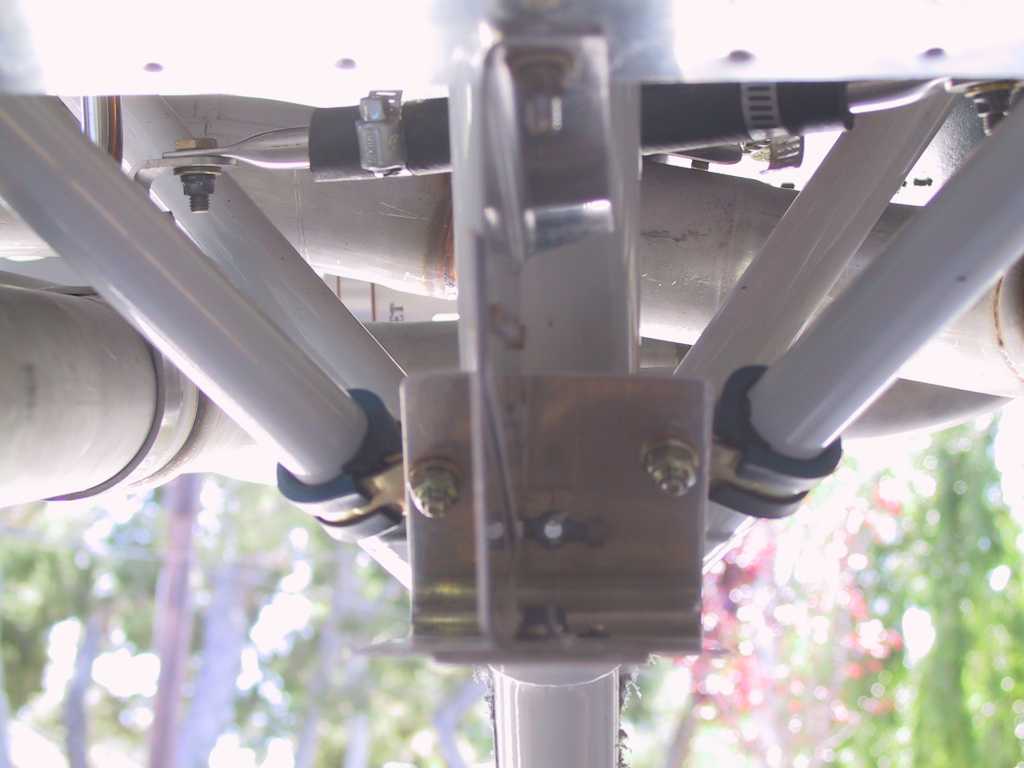
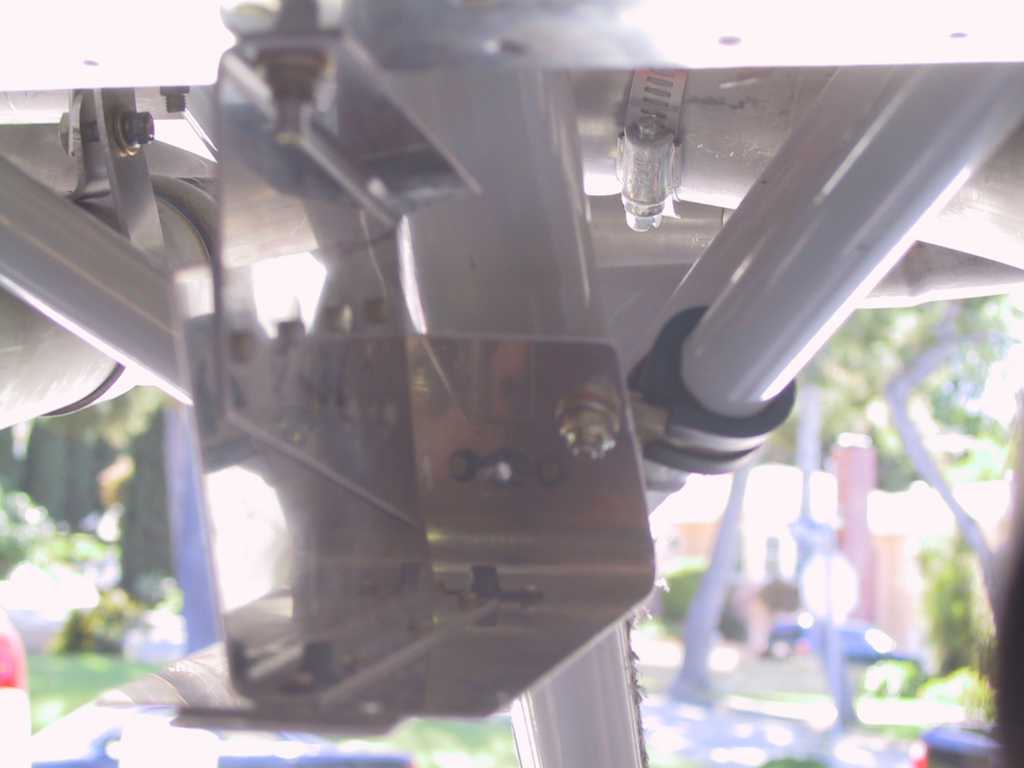
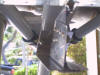
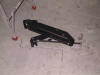
I've been doing some head scratching about how to
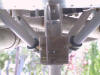
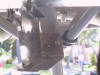
mount the lower cowl attach brackets. Plans call for you to drill two
holes into the engine mount flanges. No can do. Why would I want to
do that? I don't care how strong people say they are. I
devised a way of mounting it with two Adel clamps. I called Vans about
this and Tom said this may actually be a better design since it does provide
some cushioning, and, it's a LOT easier to drill.
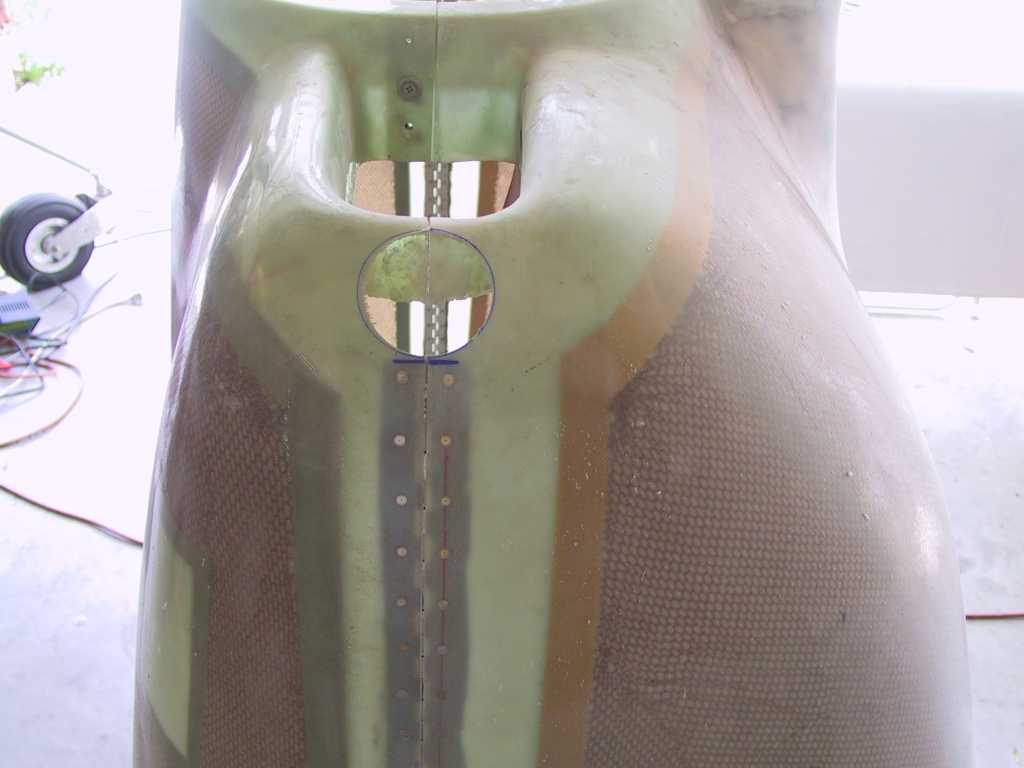
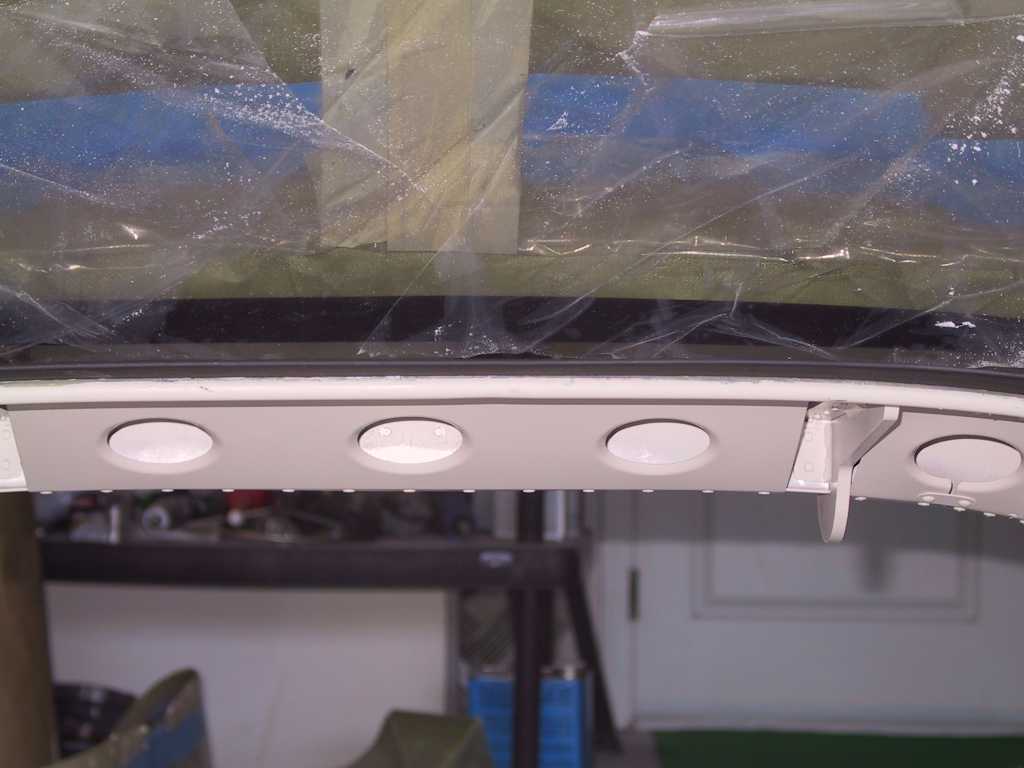
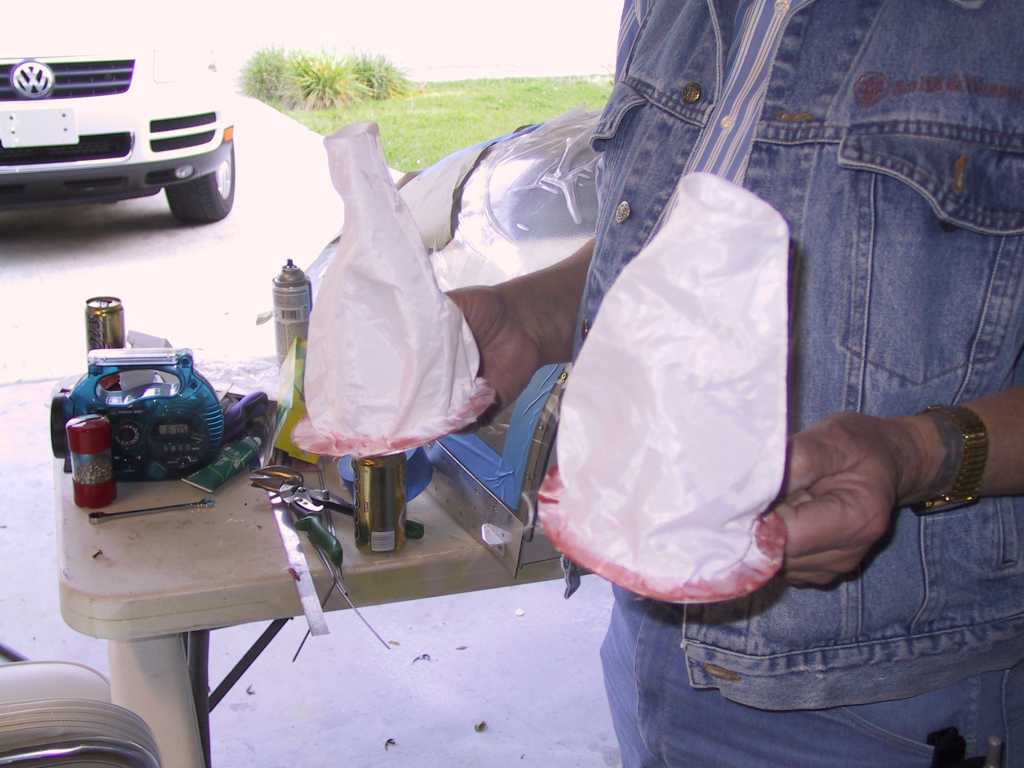
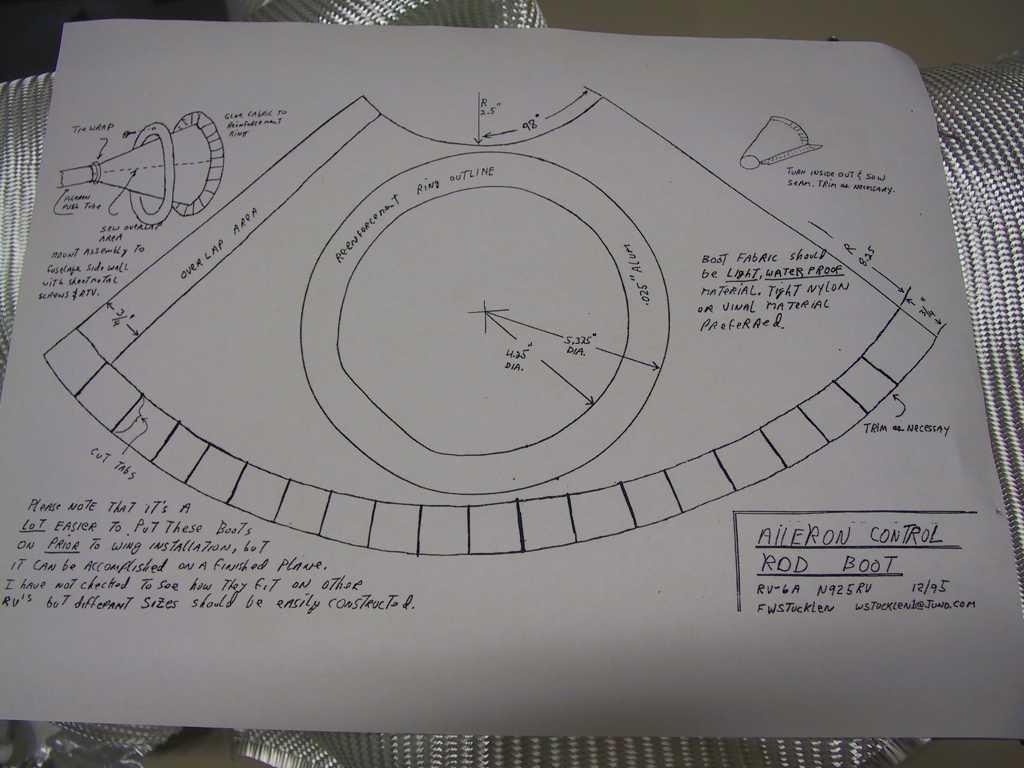
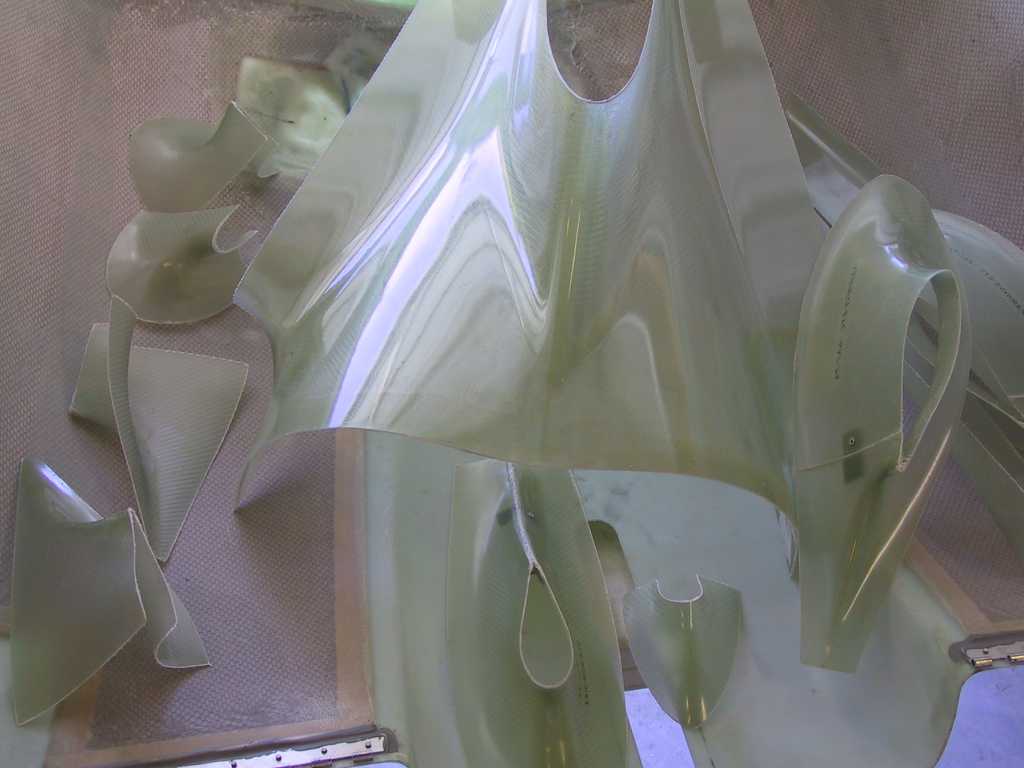
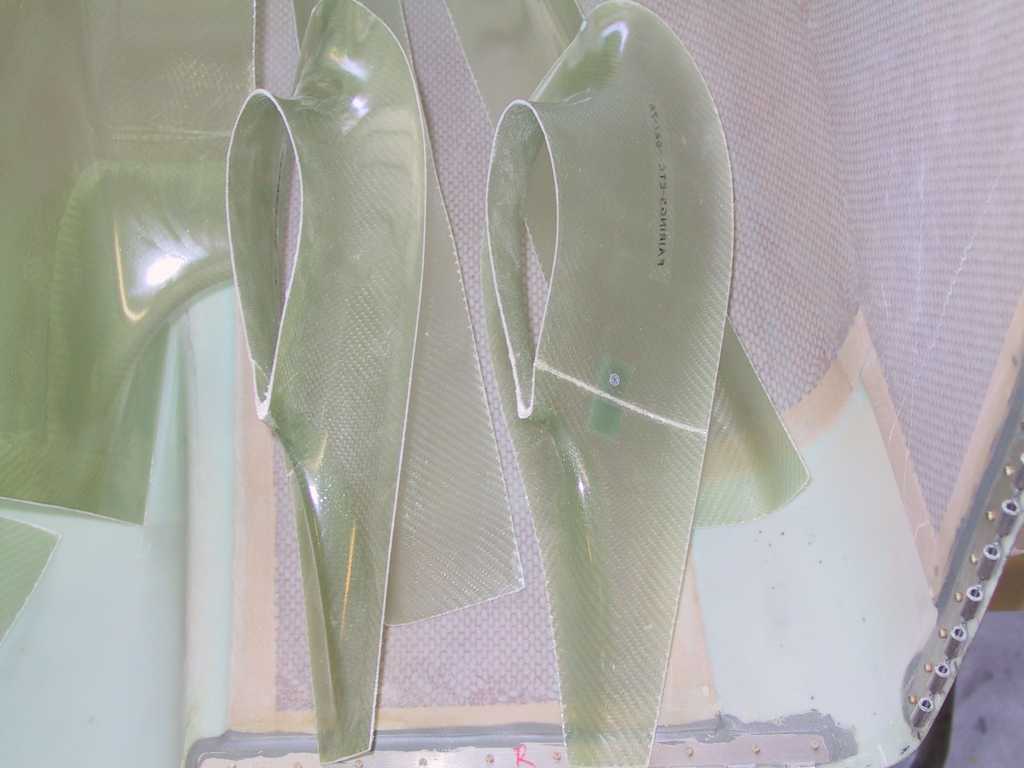
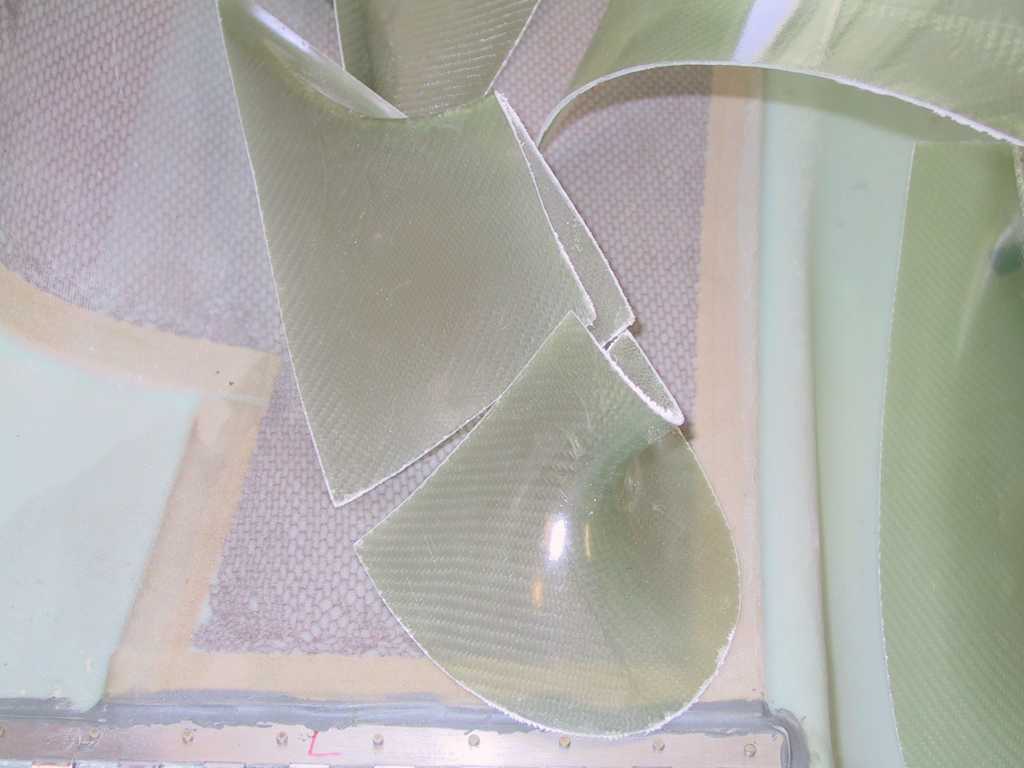
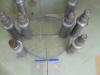
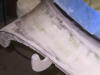
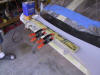
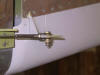
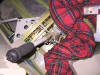
I stole the plans for the aileron pushrod wind breaker from
Sam Buchanan's website and
pops made up a pair of them. He RTV'd the material (dacron) to the
circular aluminum brackets that he made as well. This will definitely keep
a bunch of wind out of the cockpit.
  |
| 4/9/05 |
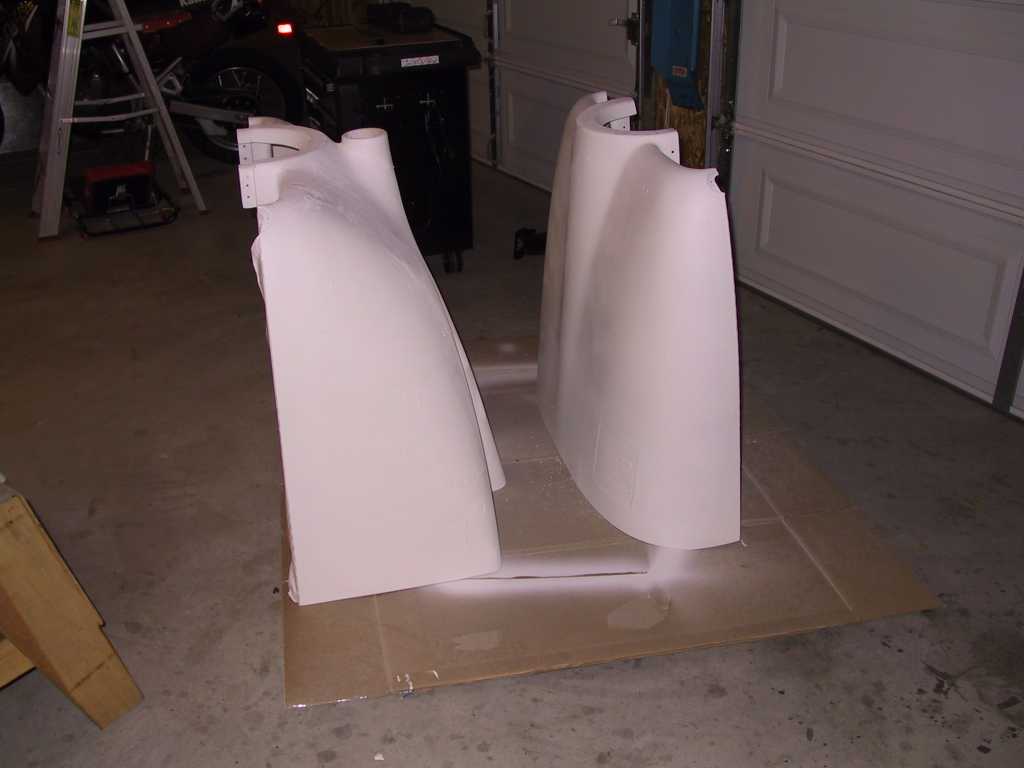
Today I received my order from Bob Snedaker at
fairings-etc.com. I spoke with
Bob at length last week about his fairings and came away very impressed.
And now that I have them I'm Super impressed. They are truly works of art.
I haven't mounted any of them yet but I did a cursory check of the empennage
fairing and it's a beaut. Highly recommended. And get this, you
order, he ships, you receive, *then* you get the bill. How trusting is
that? What an awesome builder community when even the vendors act like
they're your friends, and trust you.
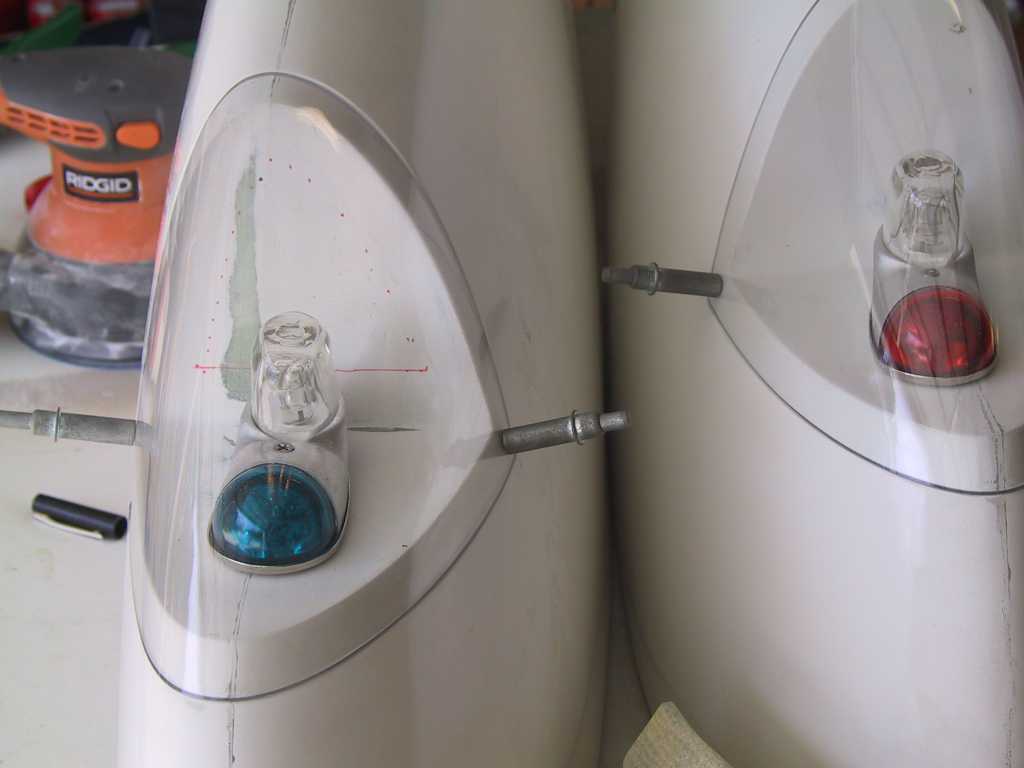
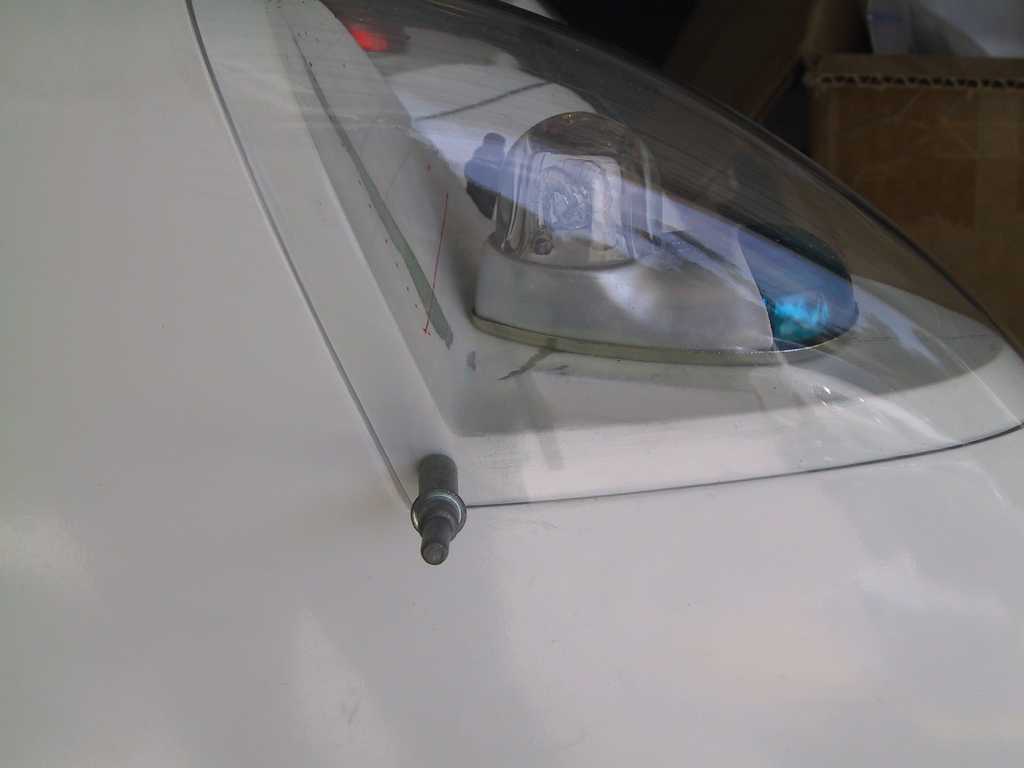
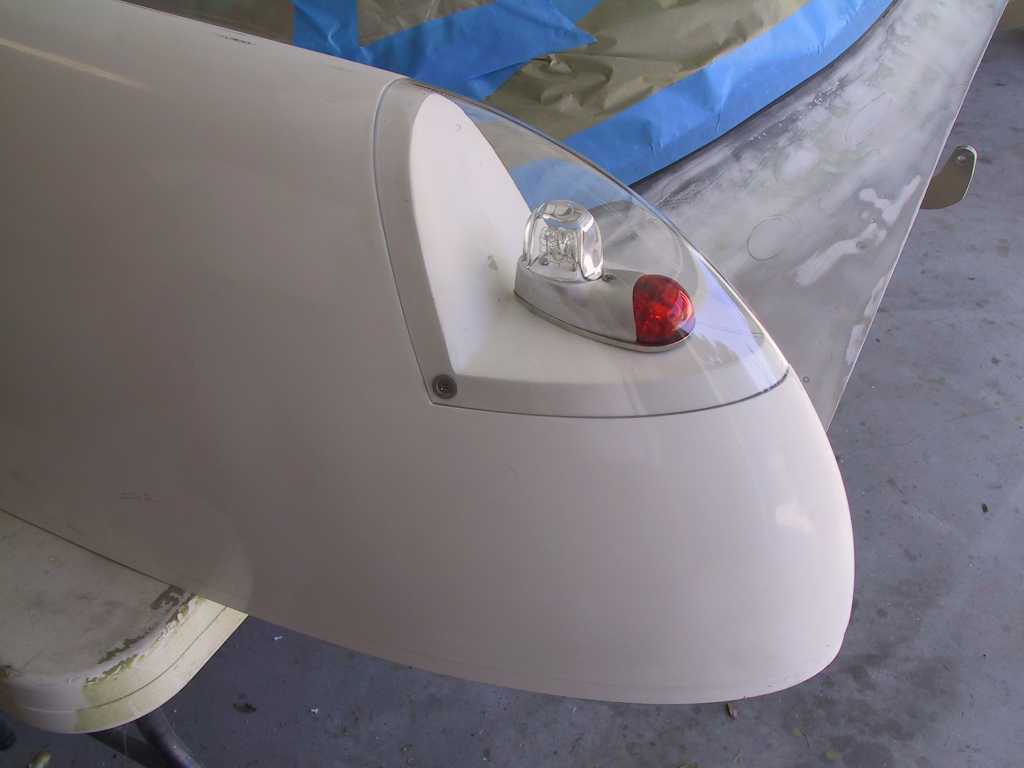
Finally got the wingtip light fairings mounted. The
trick about epoxying the platenuts in place instead of flush rivets really paid
off in a nice clean look.
  |
|
4/10/05 |
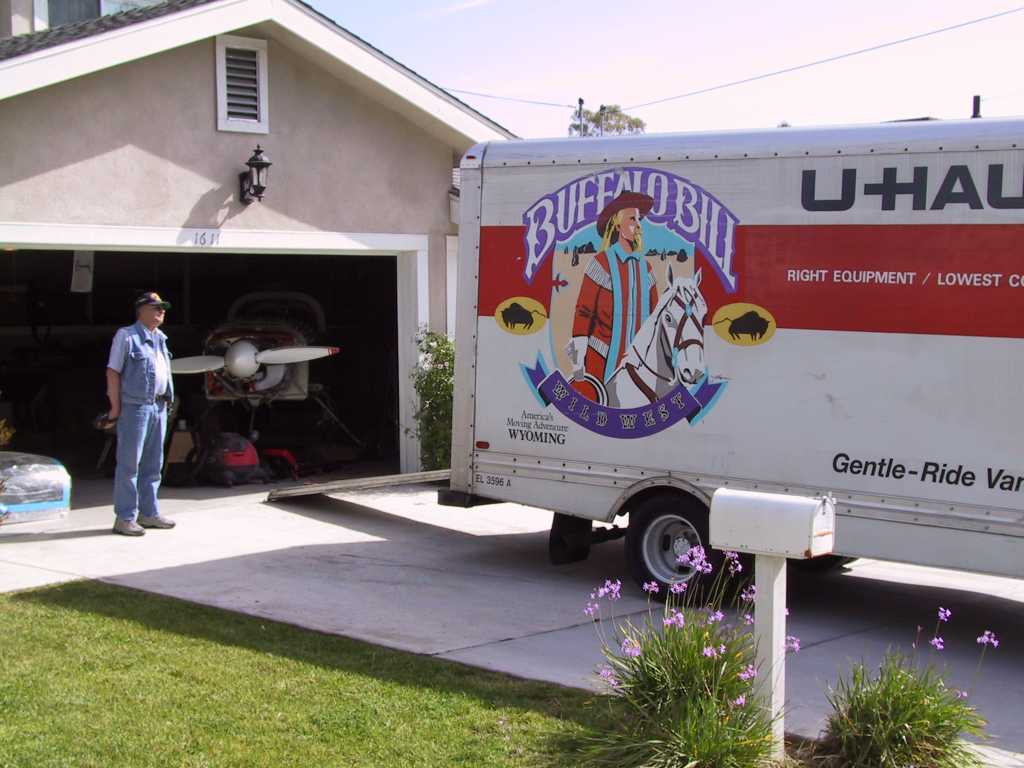
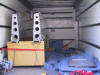
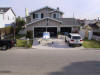
Well today was another step forward. We
moved the wings and large parts to the hangar. I rented a 17' UHaul truck
for the job. It ended up costing around $170 to rent the truck, blankets
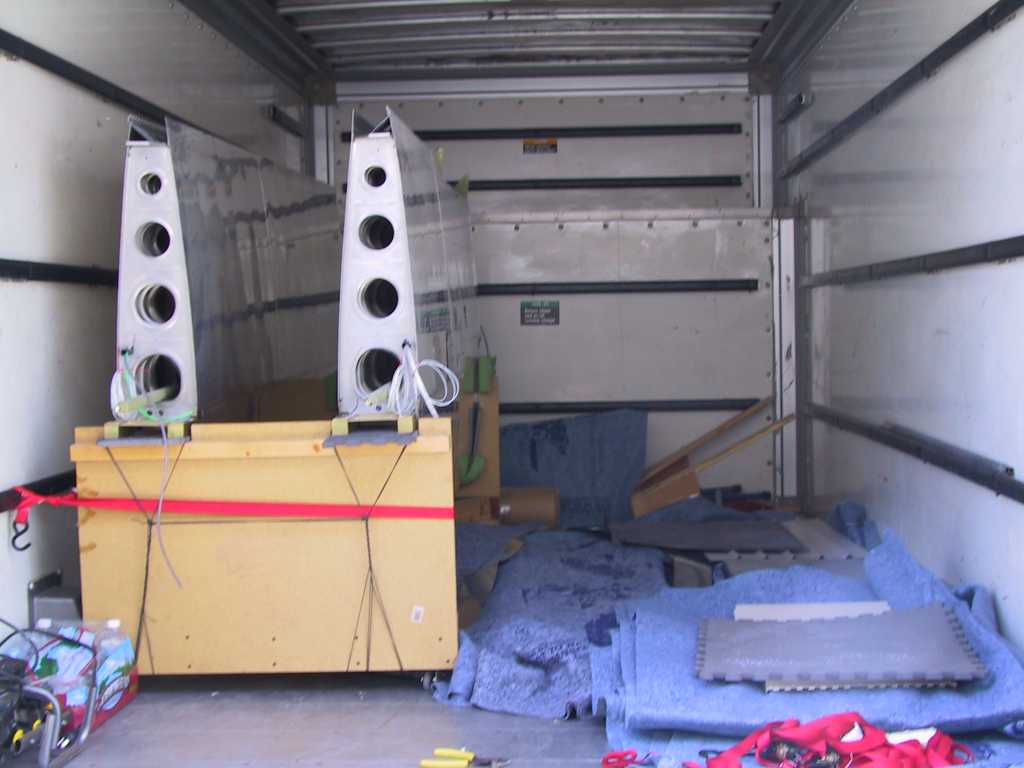
and for fuel. Not bad. We moved the wings in the cradle. All
the rest of the parts were laid out in blankets on the floor. The move
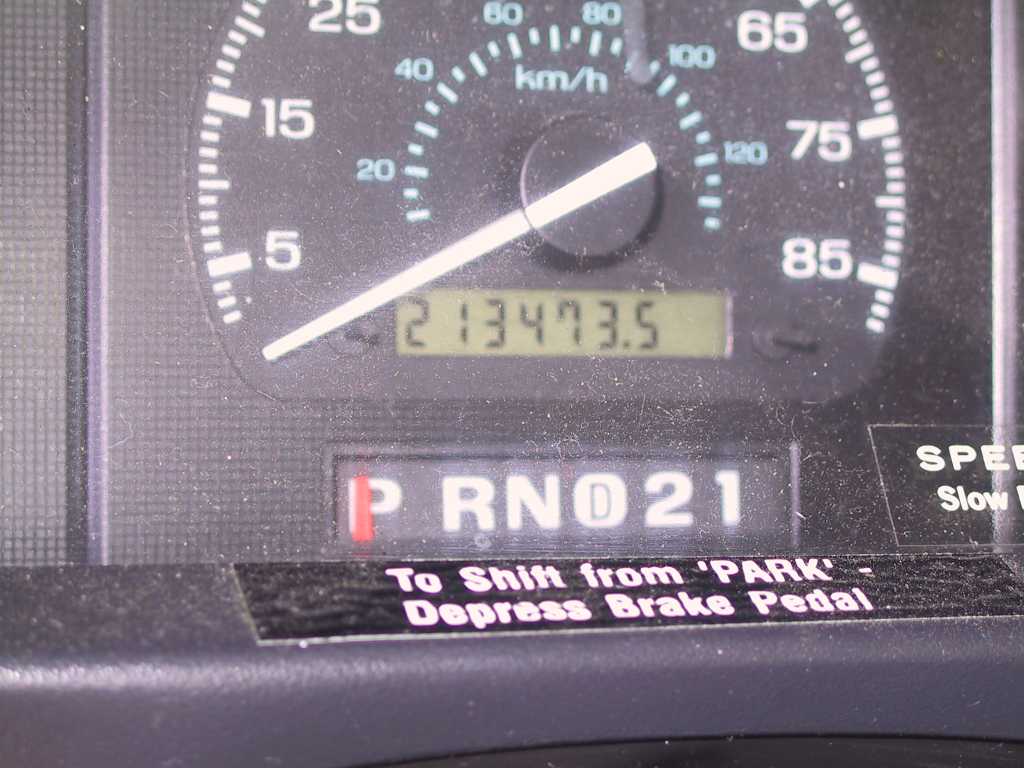
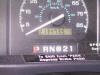
went smoothly abeit loudly and bumpy. This truck had been around the block
a few times as evidenced by the odometer reading. I should have work
hearing protection as well, I didn't know these little diesels got so loud.
What?
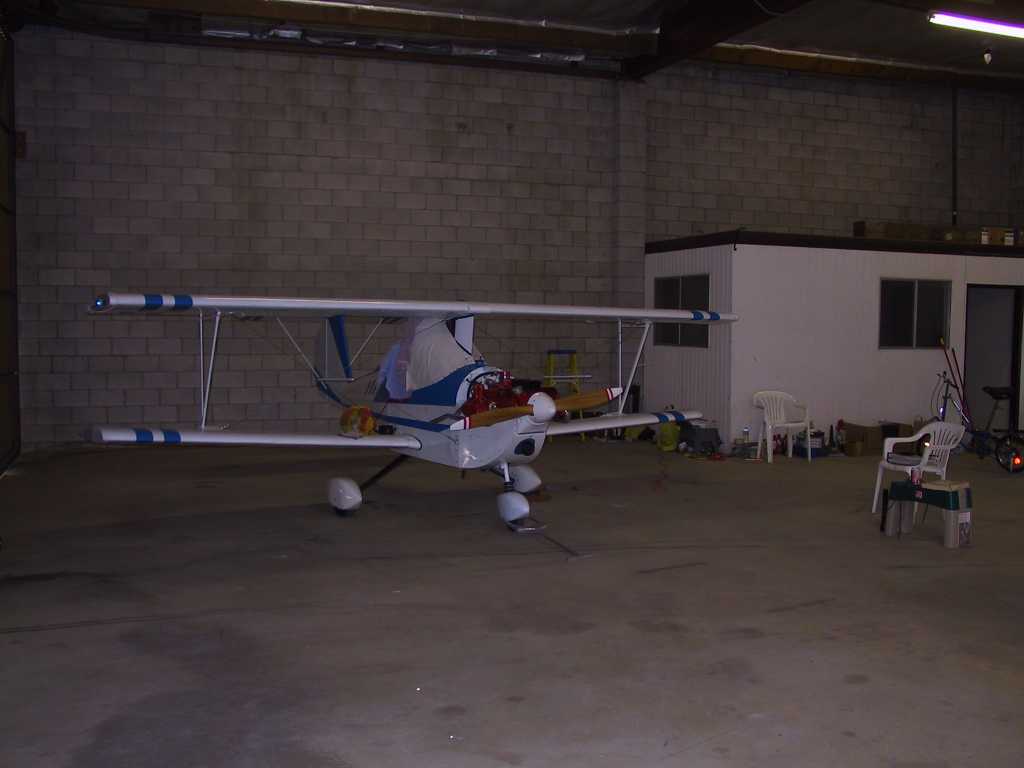
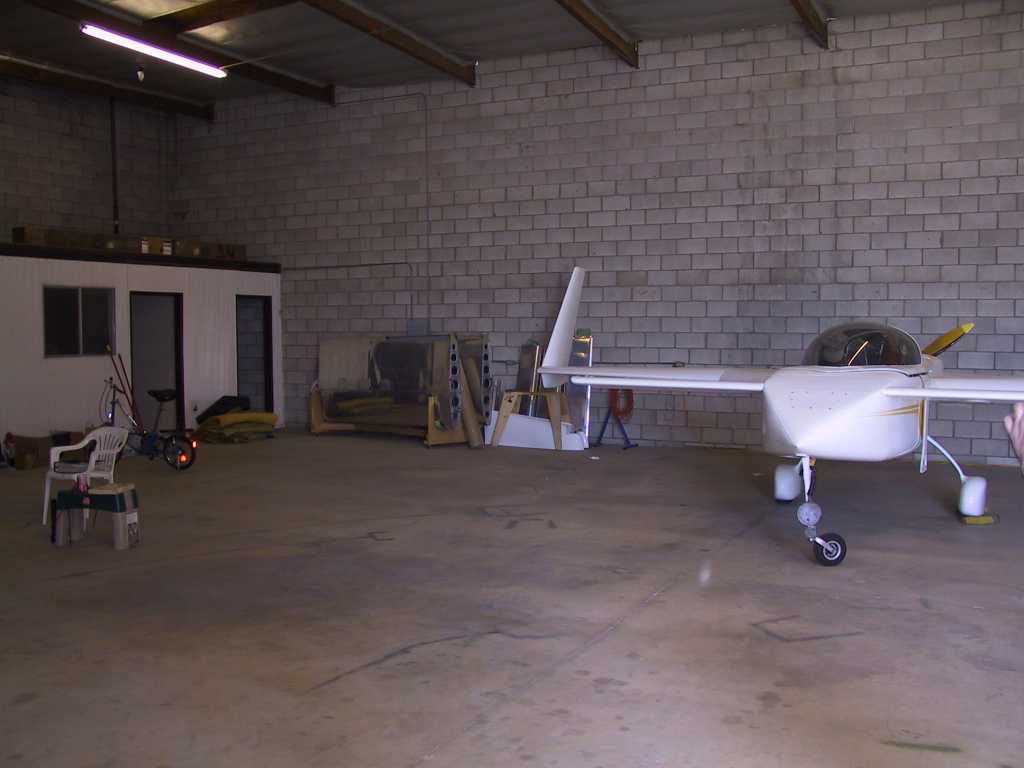
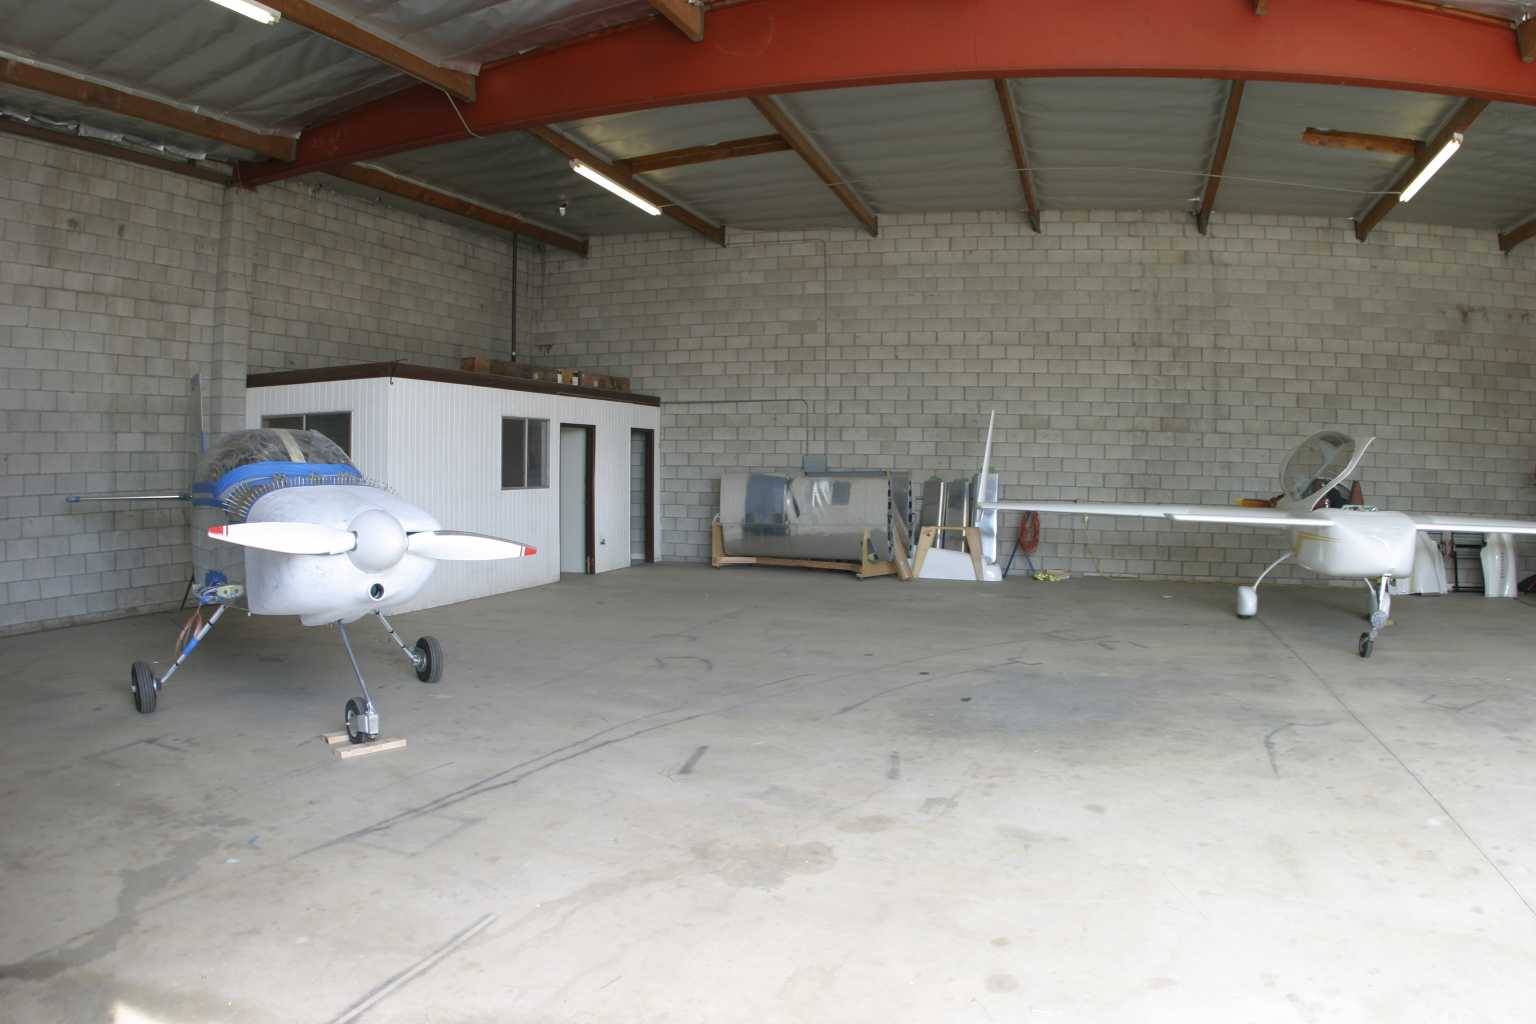
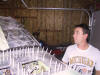
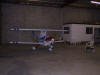
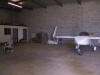
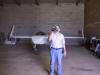
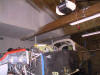
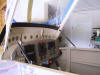
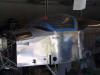
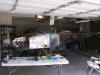
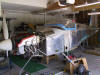
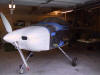
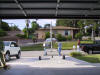
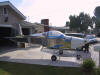
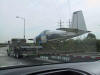
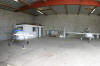
Arrived a the hangar one hour later and everything was quite.
Both my sub-lessors were out. Here's Hal's little Bipe and Asif's Cozy,
and pops documenting the trip.
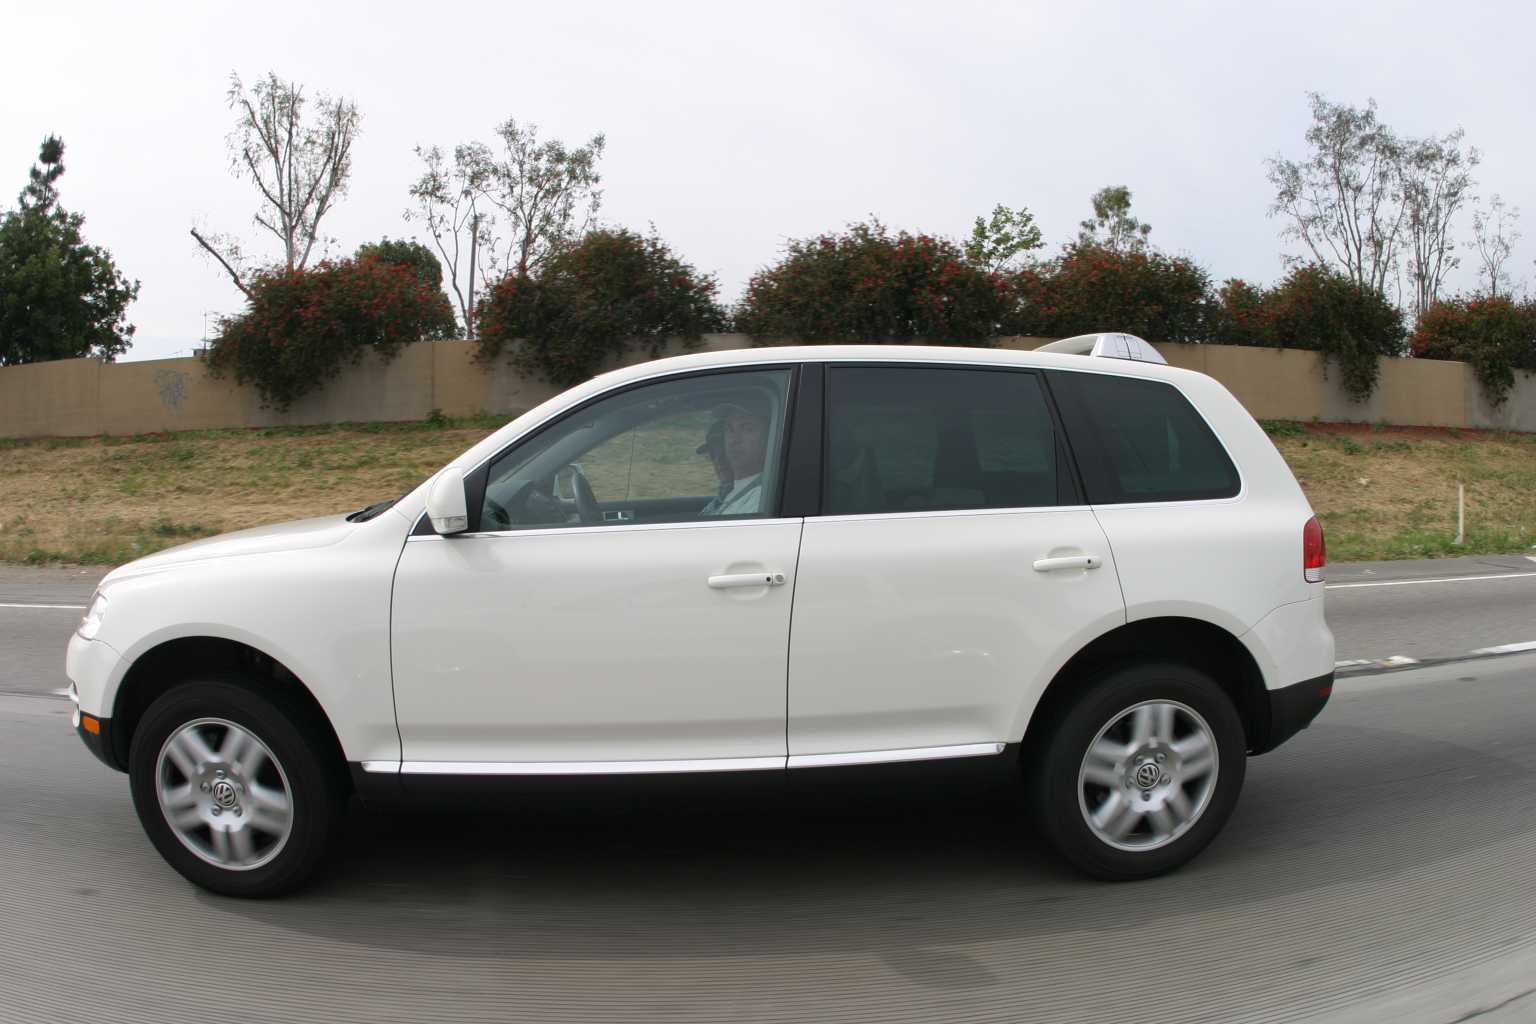
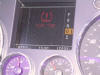
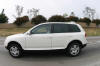
Recently I took Volkswagen of America to task for having my
vehicle in the shop *forever* to fix the Tire Pressure Monitoring system.
They agreed to give me a new vehicle after filing a lemon law claim. I
haven't received the new vehicle yet but here's mine acting up again. I
drove home with the so-called flat, and it drove fine.
 |
|
4/11/05 |
Well the wings are moved and the plan is to have
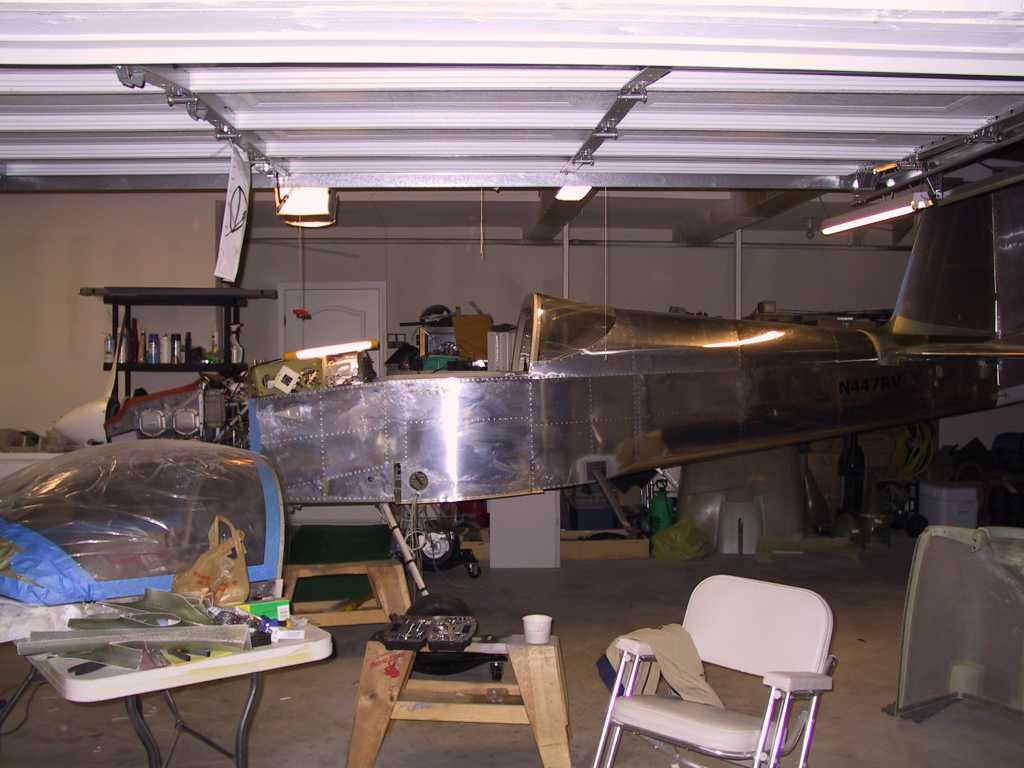
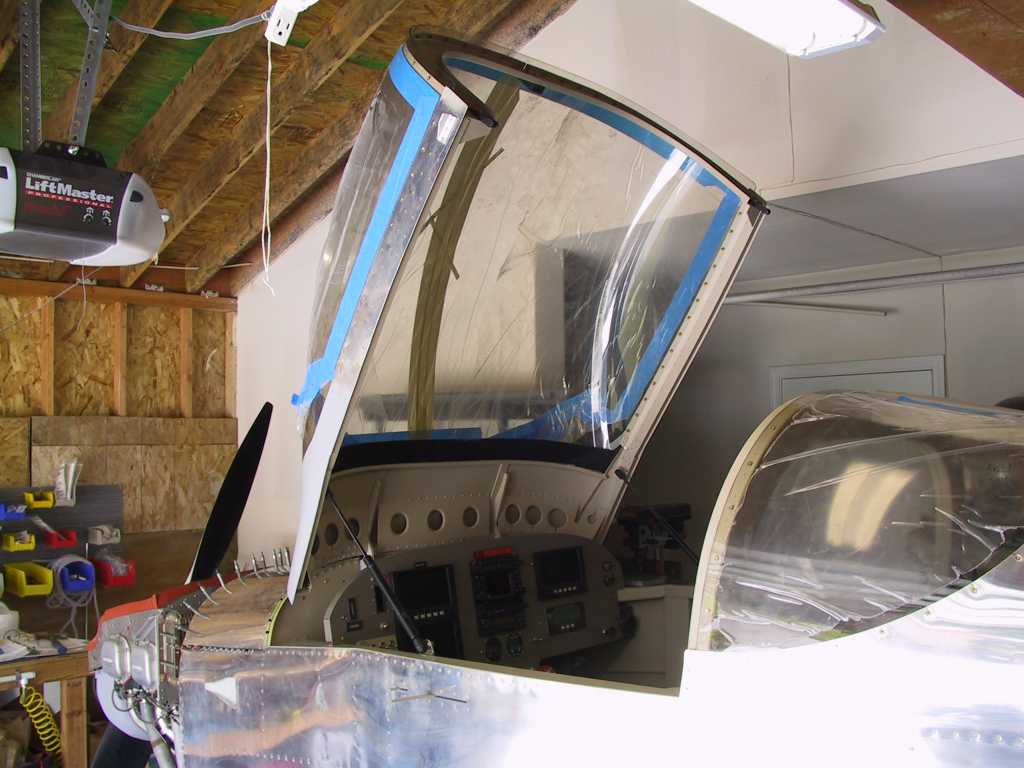
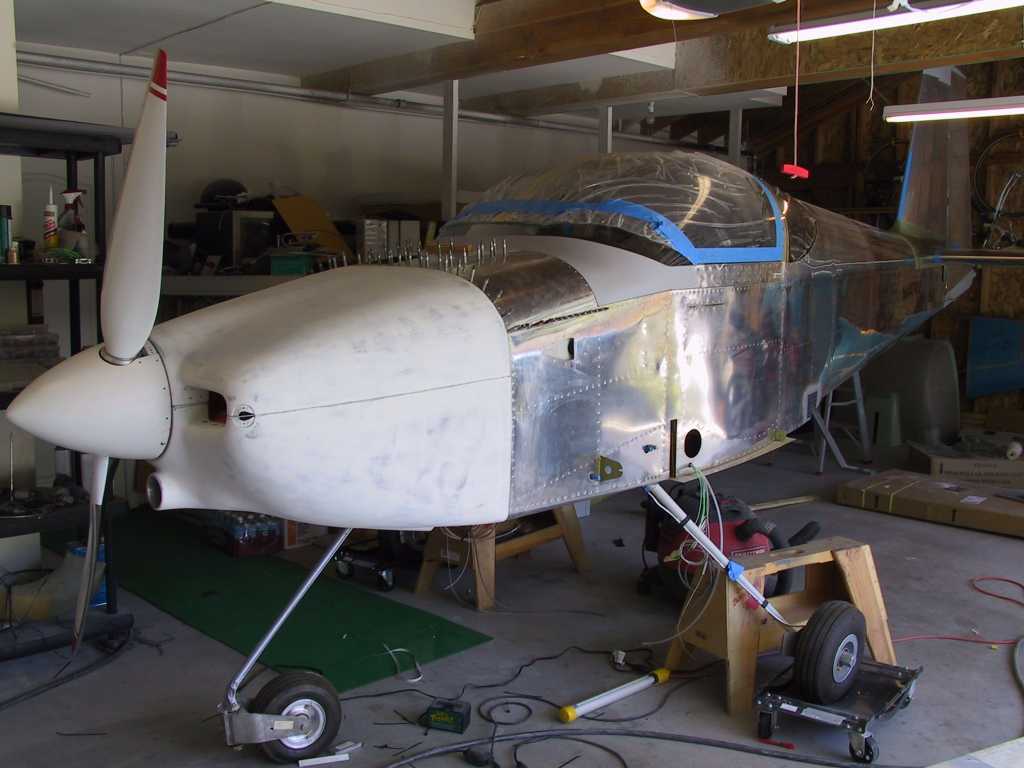
the rest (fuselage) moved next Saturday. I have just one problem. I
do have a three car garage and building the plane in there is great. But,
the way the plane is situated I cannot open the canopy enough to actually get my
fat butt in the plane. And I have to do that in order to get the canopy
latch fingers installed. And I have to do that before the plane can get on
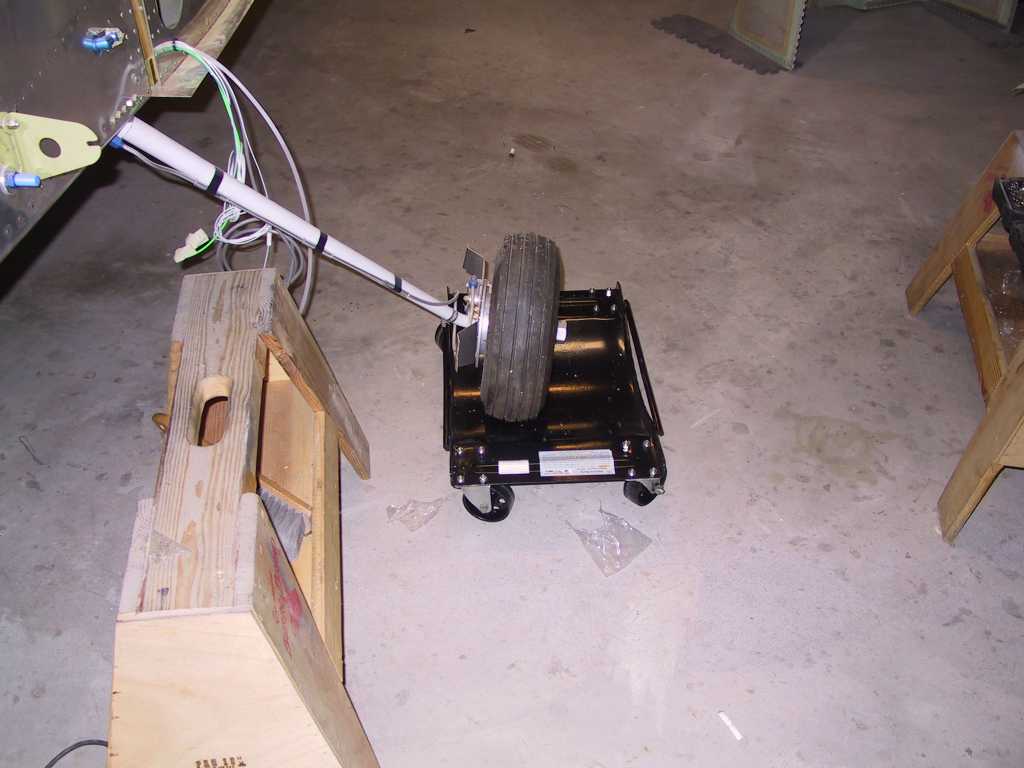
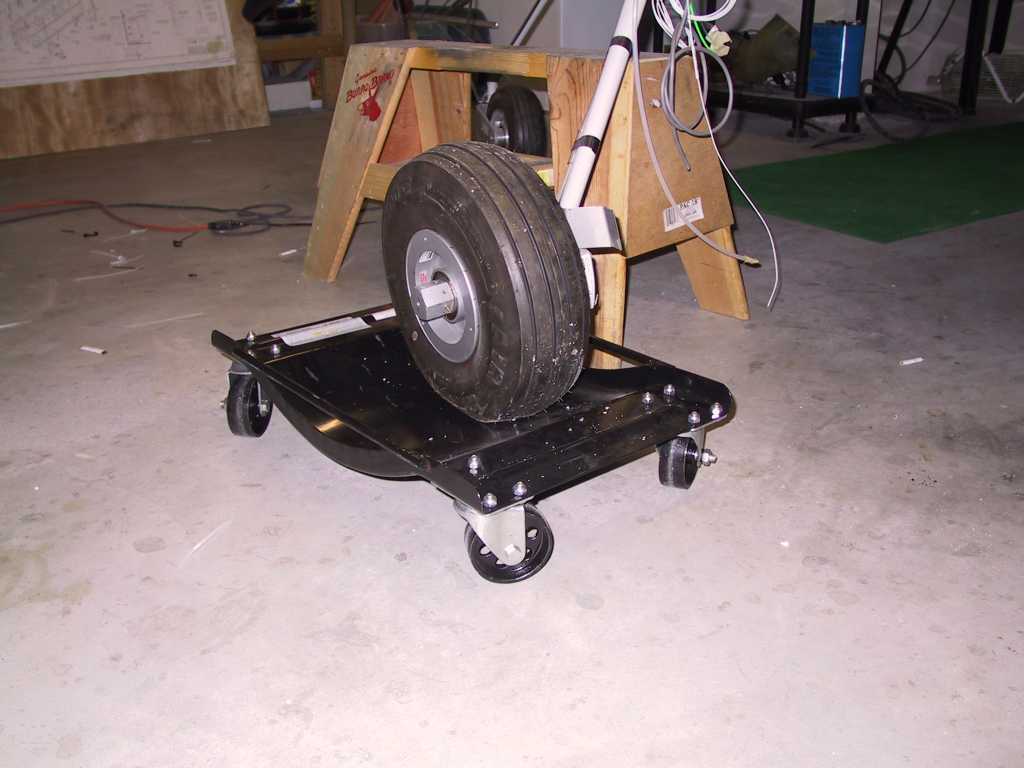
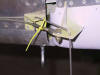
the road. So I went to HFAS (Harbor Freight Aircraft Supplies) and
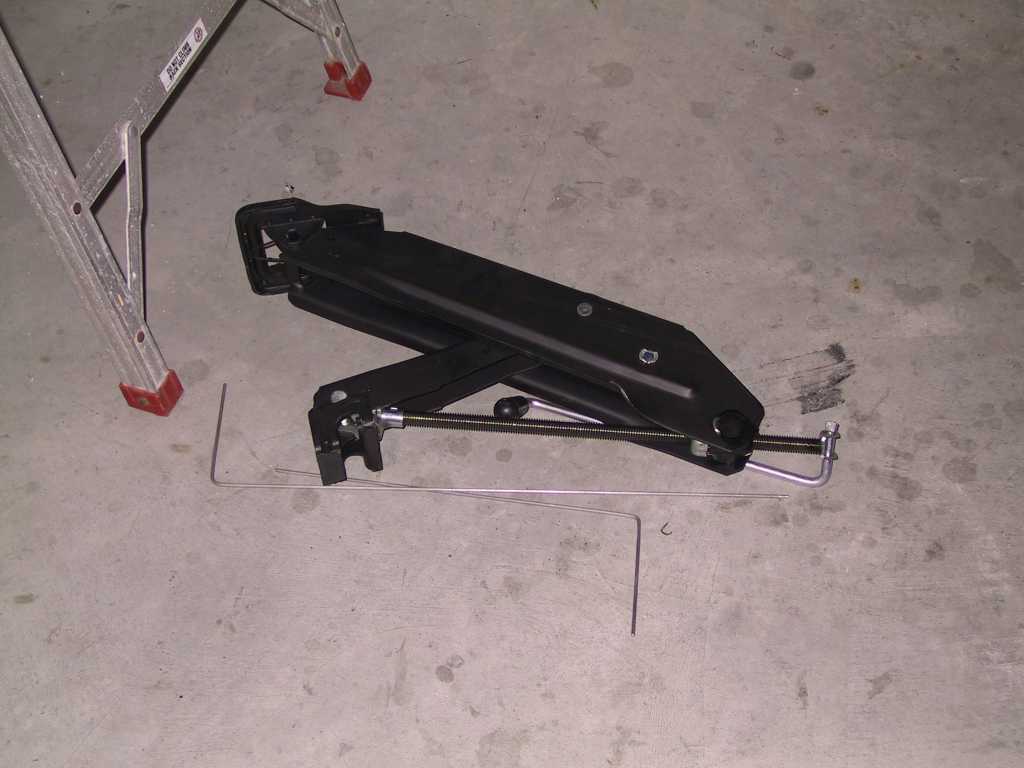
purchased a couple of car wheel dollies. Jacked up the plane with the jack
from my car and plopped the wheels in the dollies and moved the plane to where
ever I want.
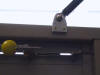
Car and Jack. These side mount screw jacks are awesome
because you don't have to put the jack directly under the lift point.
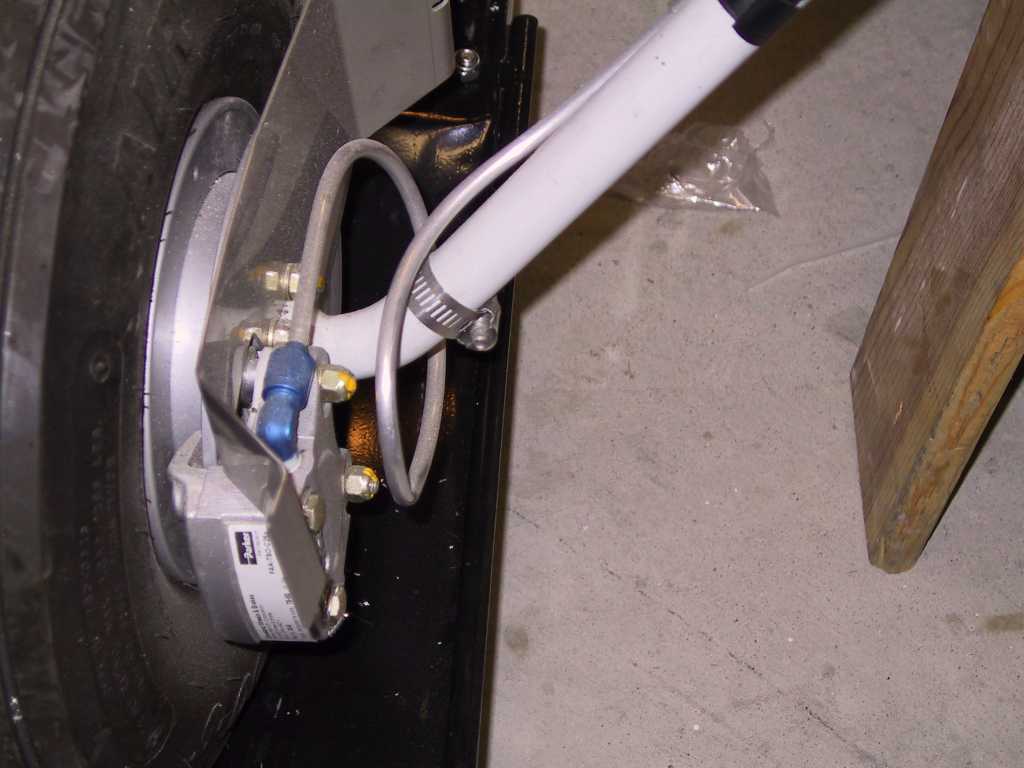
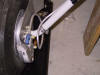
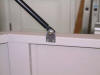
I had previously installed these little screw clamps on each
gear leg, they work beautifully.
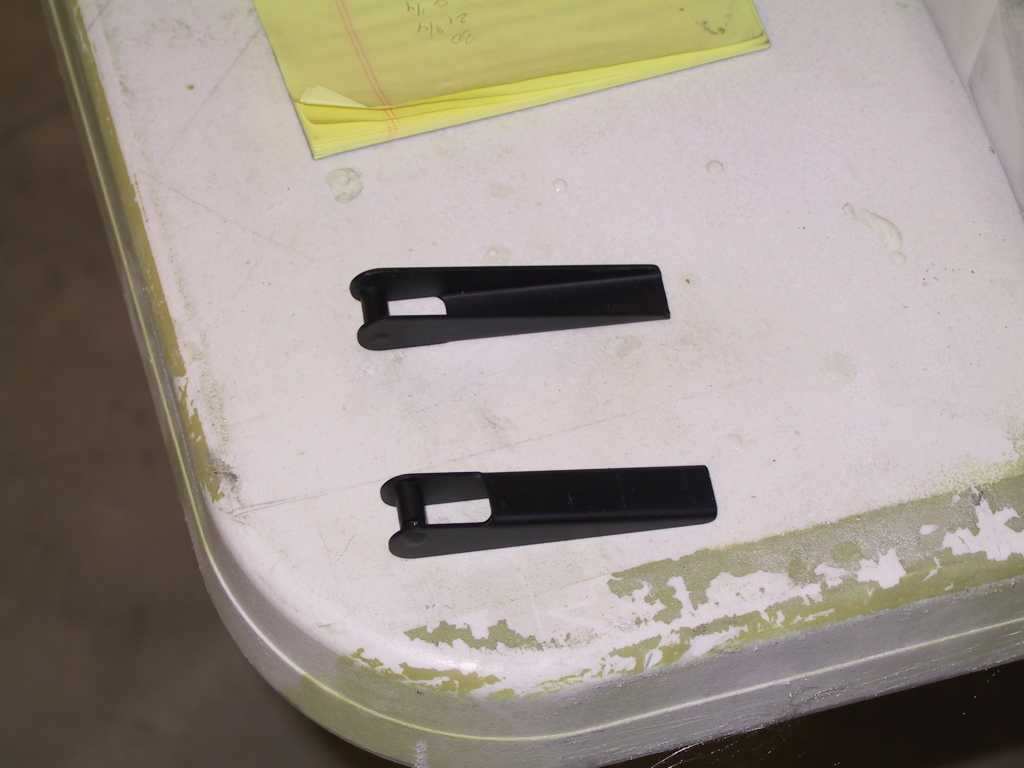
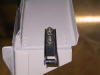
Canopy latch fingers get a coat of paint. I've seen some
planes were these puppies were completely rusted.

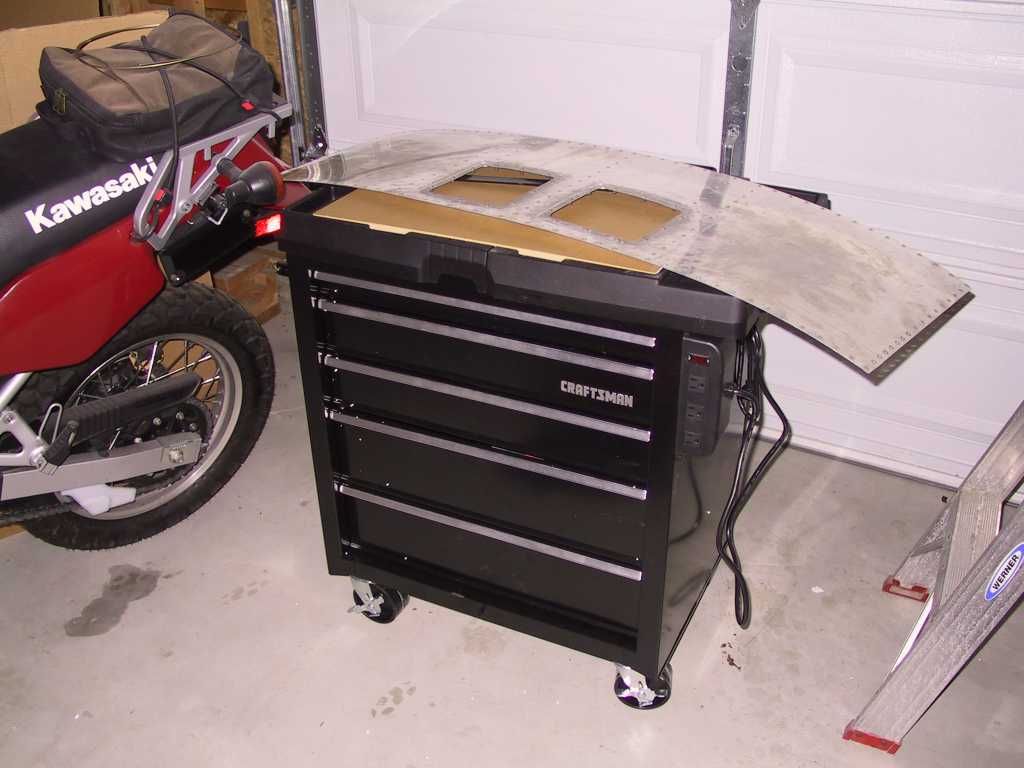
New tool chest for the hangar.

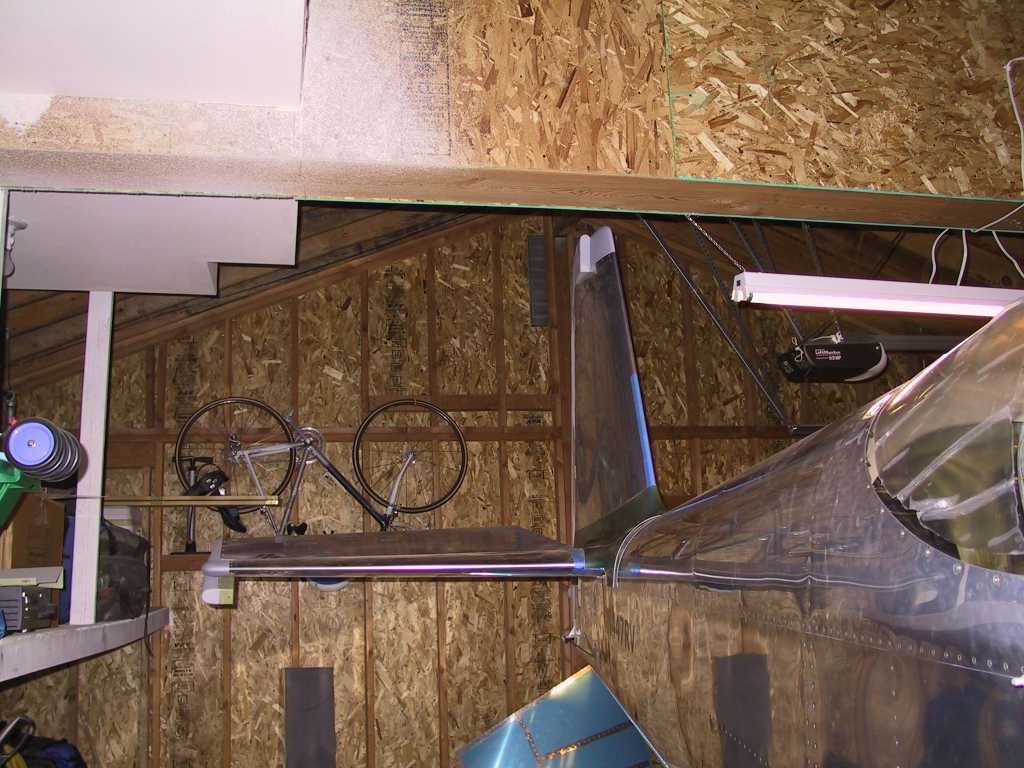
New location of the plane, now it sits laterally in the
garage, with the tail above the beams. Now I can finish the canopy.
   |
|
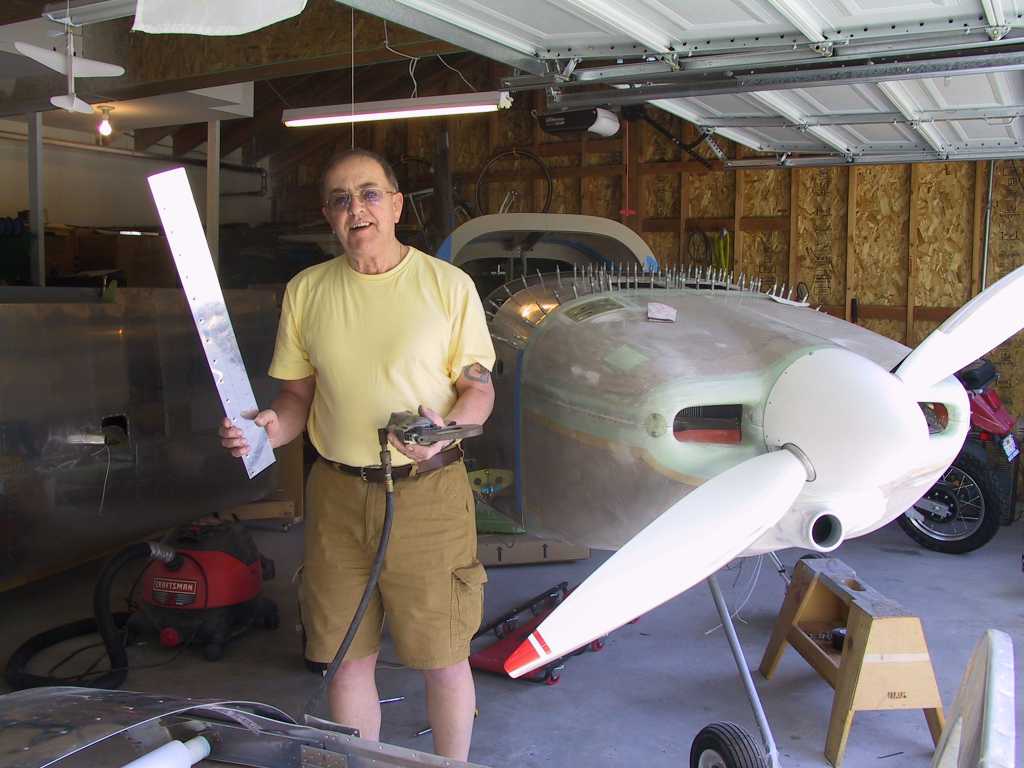
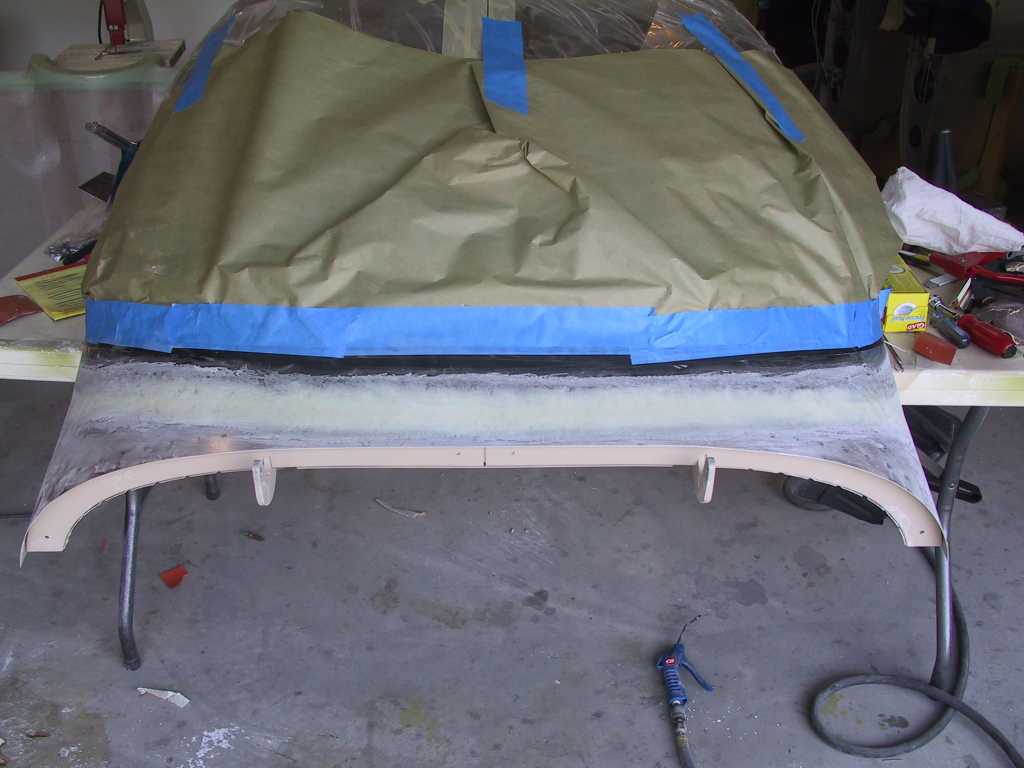
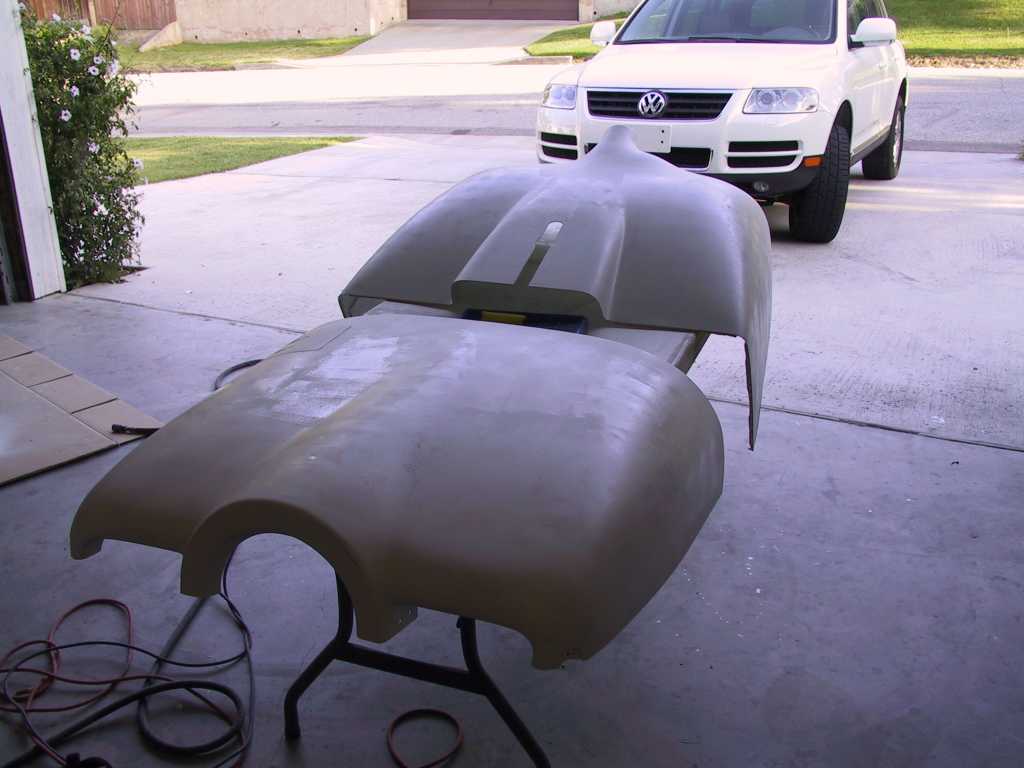
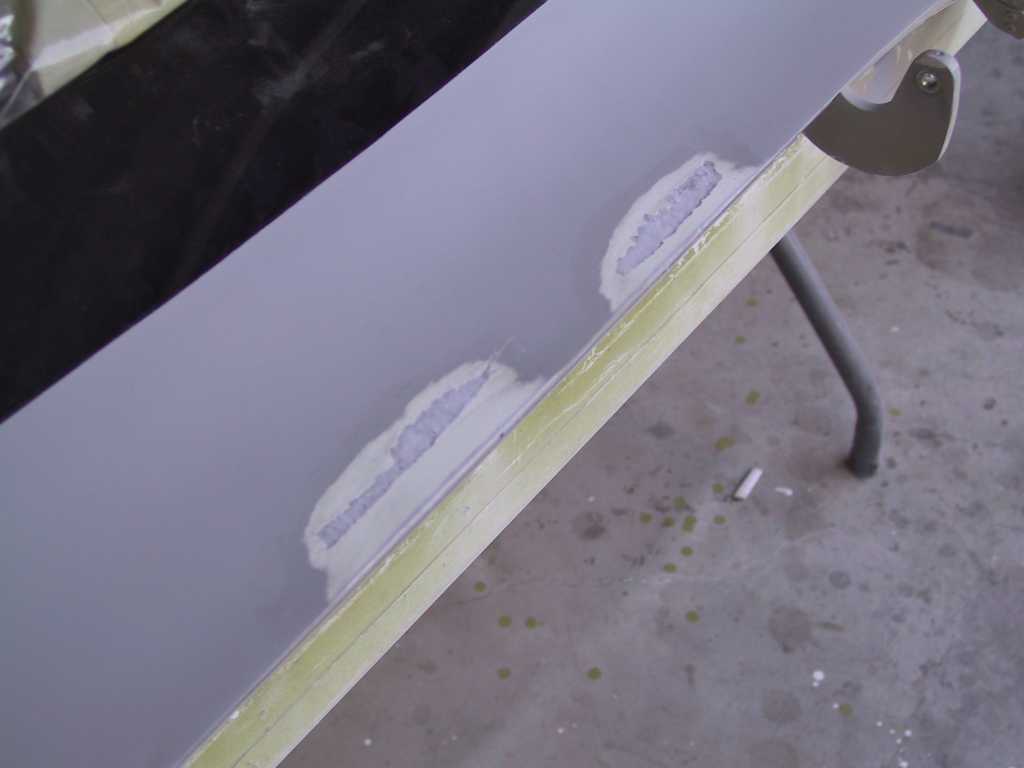
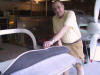
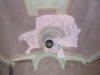
4/12/05 |
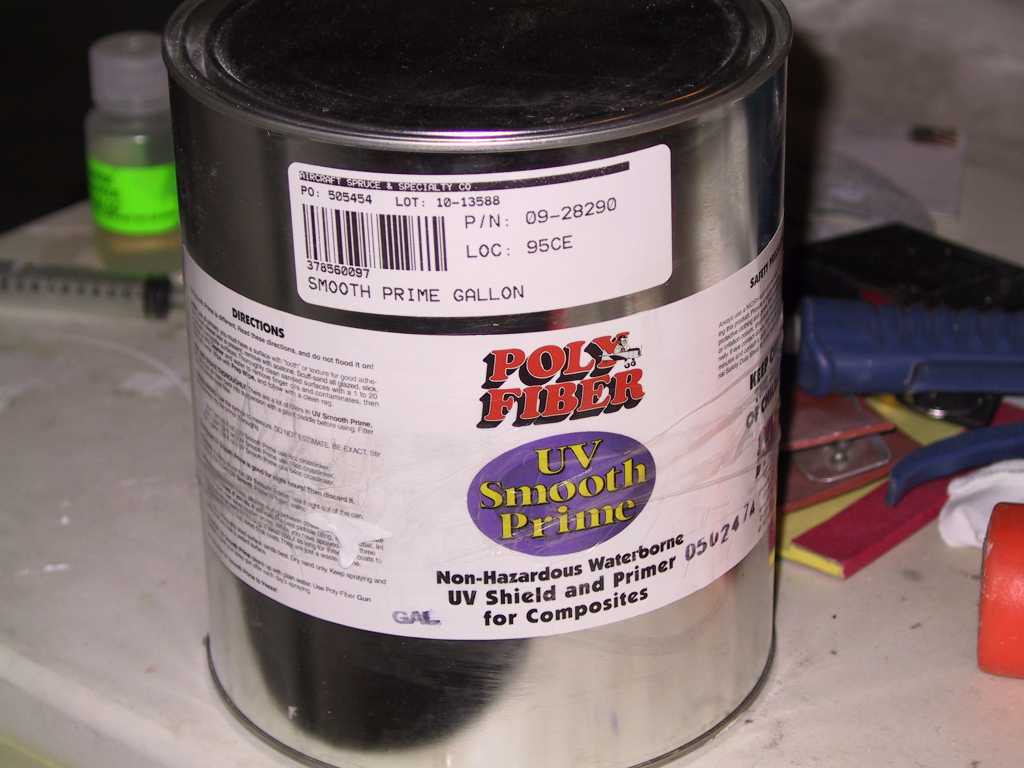
I asked the group what's the best filler for all
these pinholes in the cowling and this is the stuff I was recommended the most;
PolyFiber Smooth Prime. I bought a gallon from AS. It's water
reducible and can be either sprayed on or rolled on. Yep, it's white.
It dries in about 20 minutes and sands pretty easily with 150 or 220 grit.
I sprayed on three coats at first. Pops will sand this out tomorrow while
I'm working.
  |
|
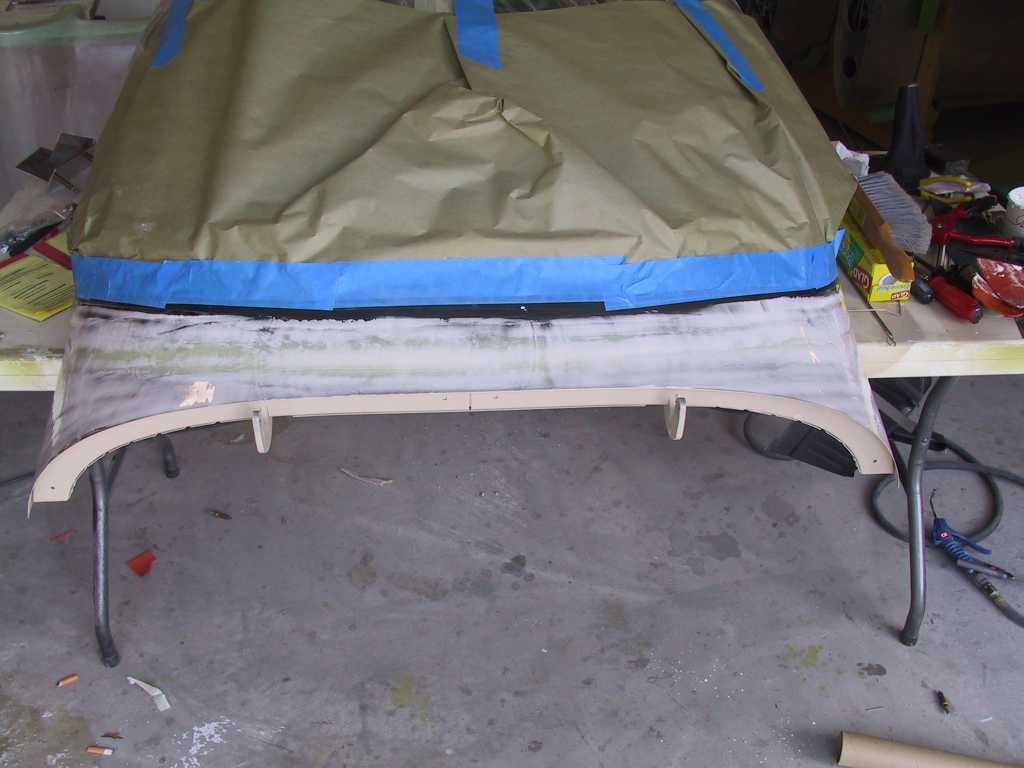
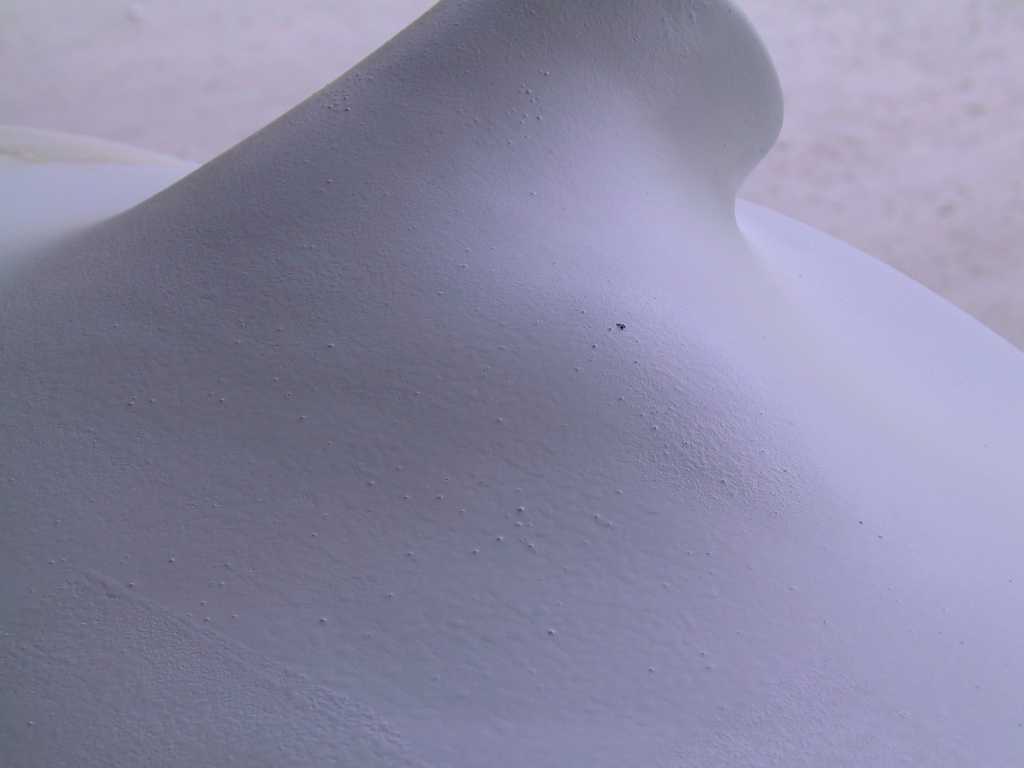
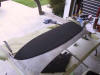
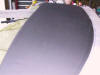
4/13/05 |
Sanded almost down to the bare epoxy then
rollered on two more coats. Also did the canopy front edge. You can
see that it leaves a nasty looking surface but that sands away very quickly,
leaving a nice smooth surface, with darn near every pinhole filled.
   |
|
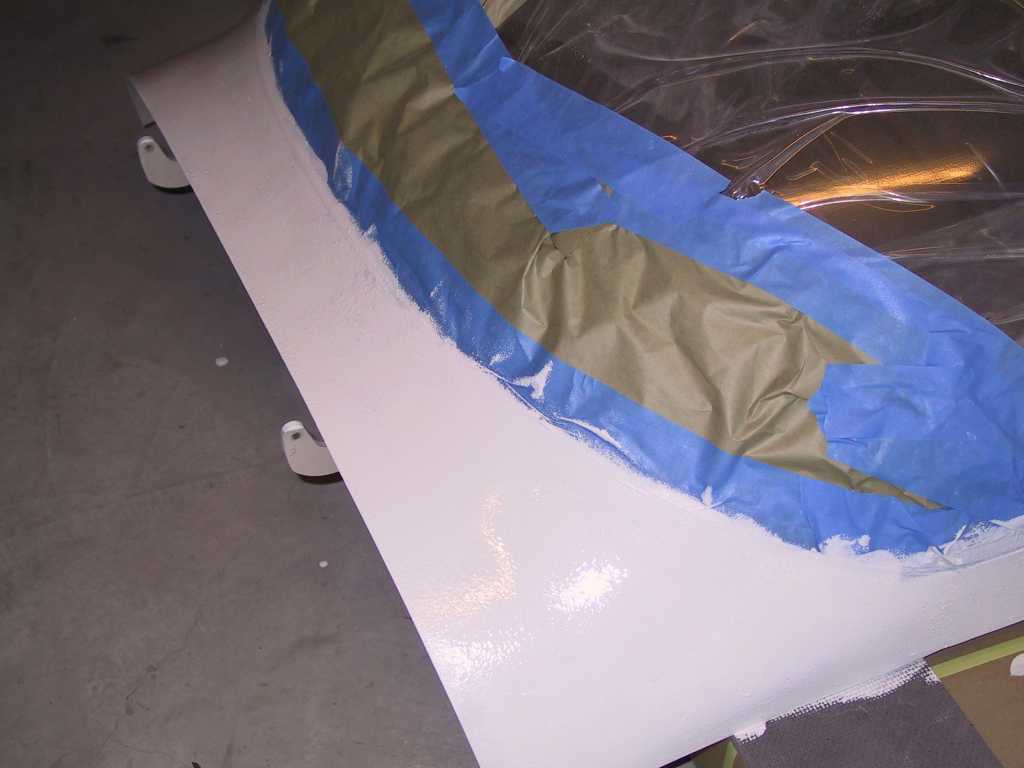
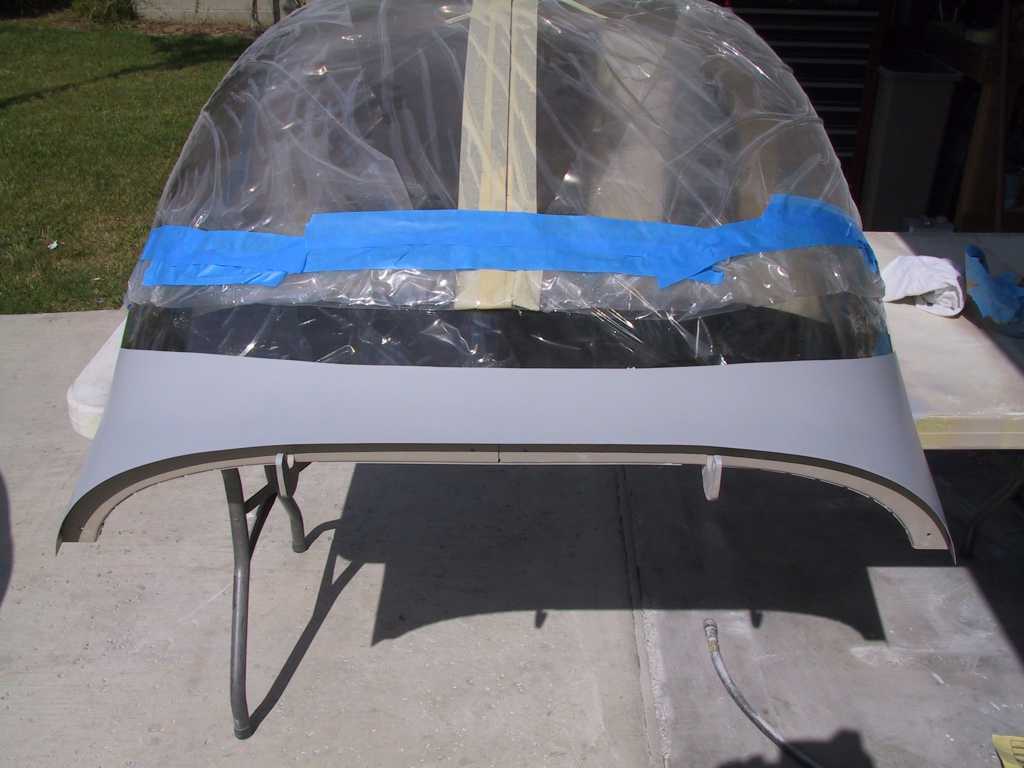
4/15/05 |
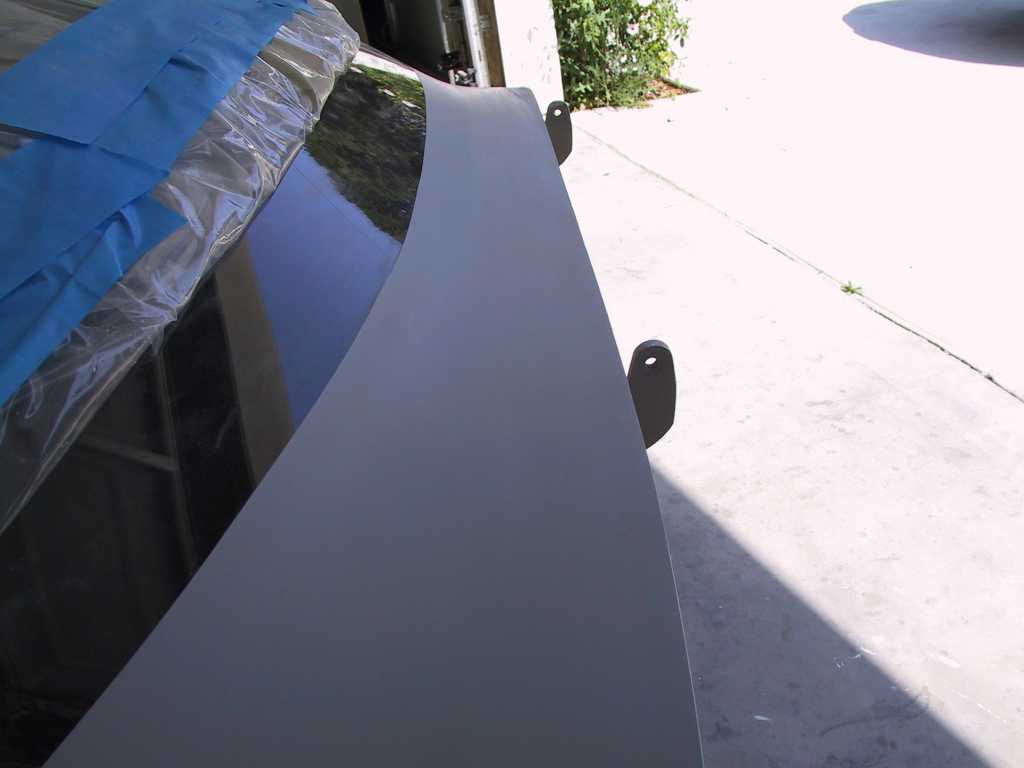
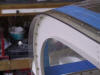
Final sanding and a layer of primer on the
canopy. Masked area turned out great.
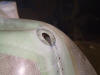
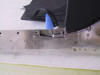
Here is the Bob Snedaker empennage fairing. Fits a whole
lot better than Vans did. There is still about a 3/16th gap on the right
leading edge. I'll fill that in with flox.
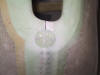
And the lower emp fairing. There a gap at the
intersection of the top and bottom fairings. I may just leave them be.
Kinda getting tired of fiberglass work lately.
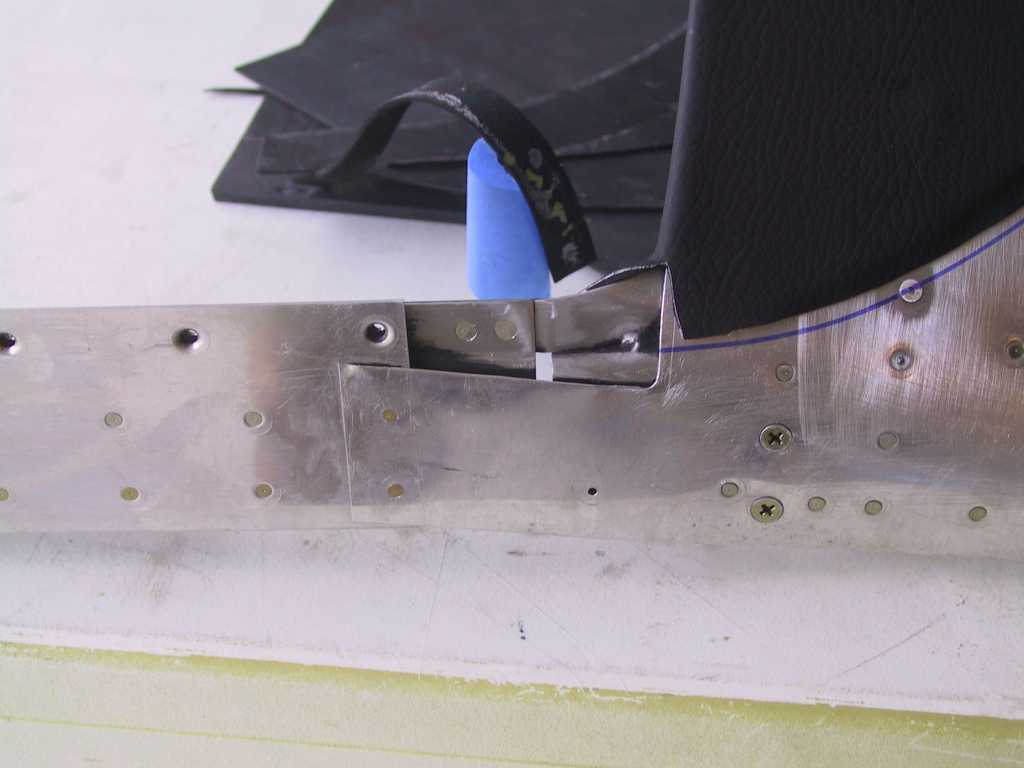
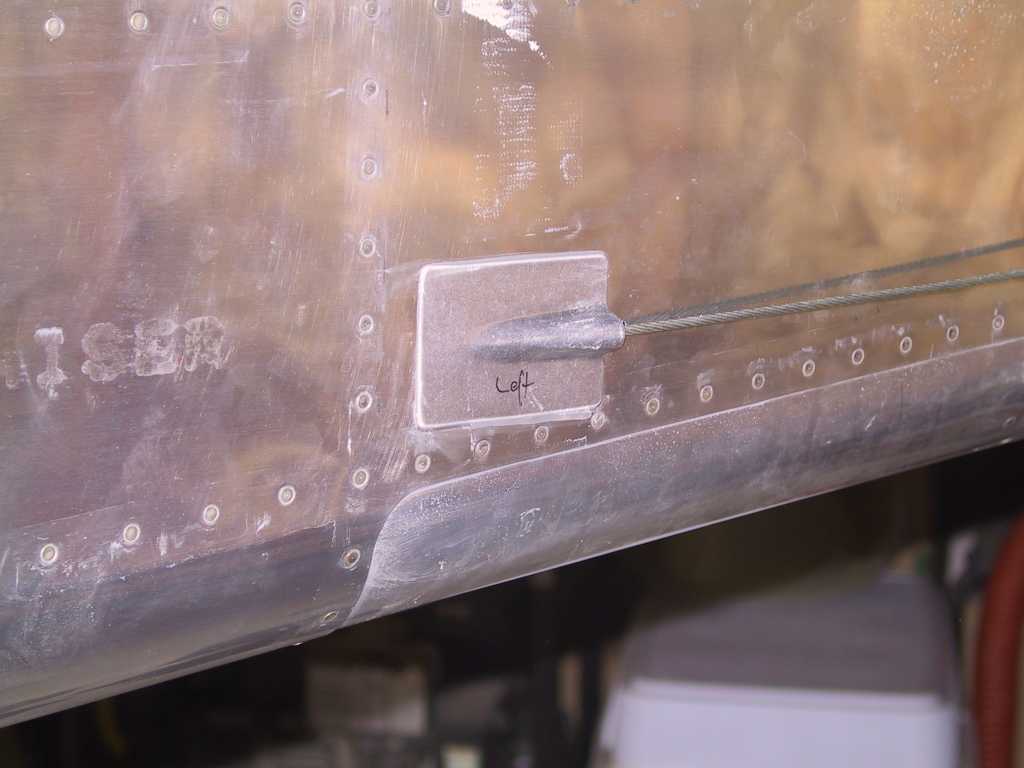
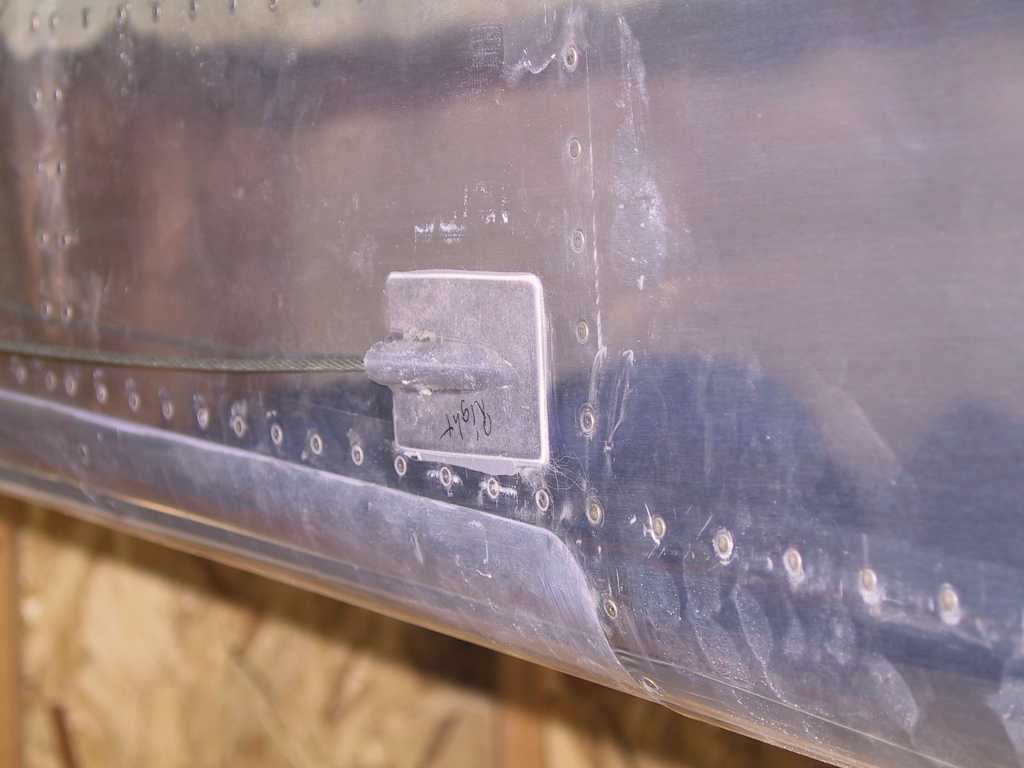
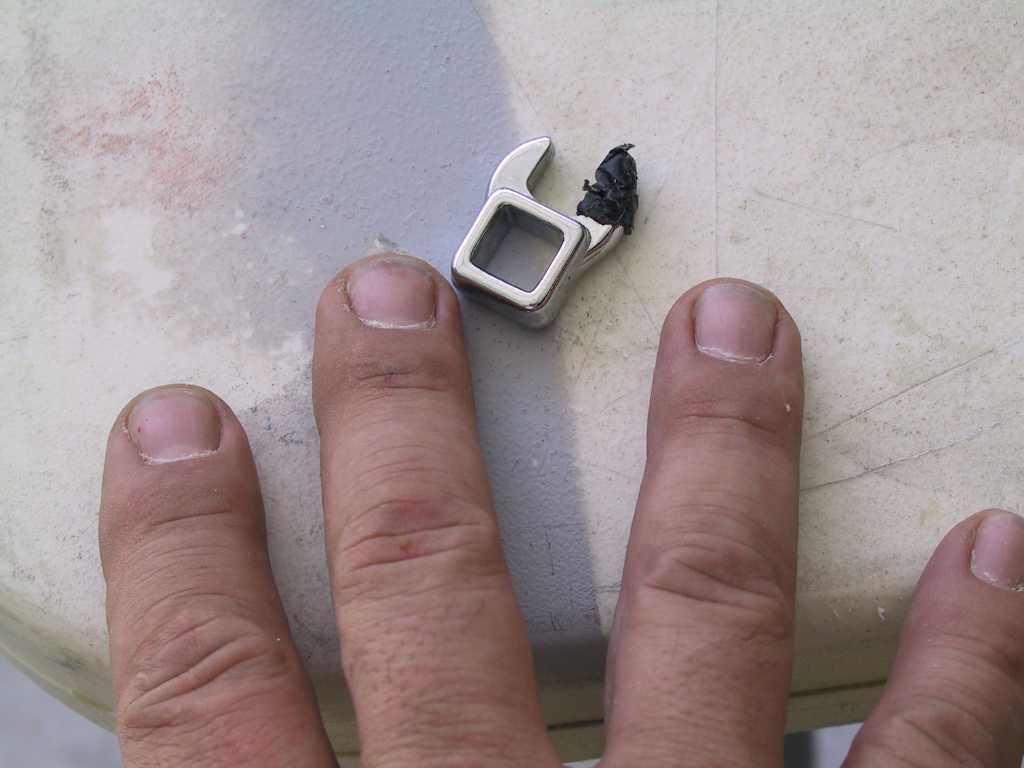
On too the canopy latch fingers. Since you can't see
what is going on in the placement of these I did a multiple run of duct taping
the fingers on then noting if the latch clasped the finger properly.
Eventually I was able to get the left side latch positioned properly and drilled
a #40 hole to retain it. But I ran into a slight problem where the hole
into which it slides through wasn't quite deep enough in the rear. So I
sanded it until it fit perfectly.
Then...... Well, here's the look of my dad knowing that
he created a boo boo on my little friend the airplane.
The canopy has very very little clearance over the front skin
when it's opened initially. I've already trimmed the leading edge skin
back so that it clears. But with just clecos holding the skin in place it
is possible to have both skins fight for the same airspace. Which is what
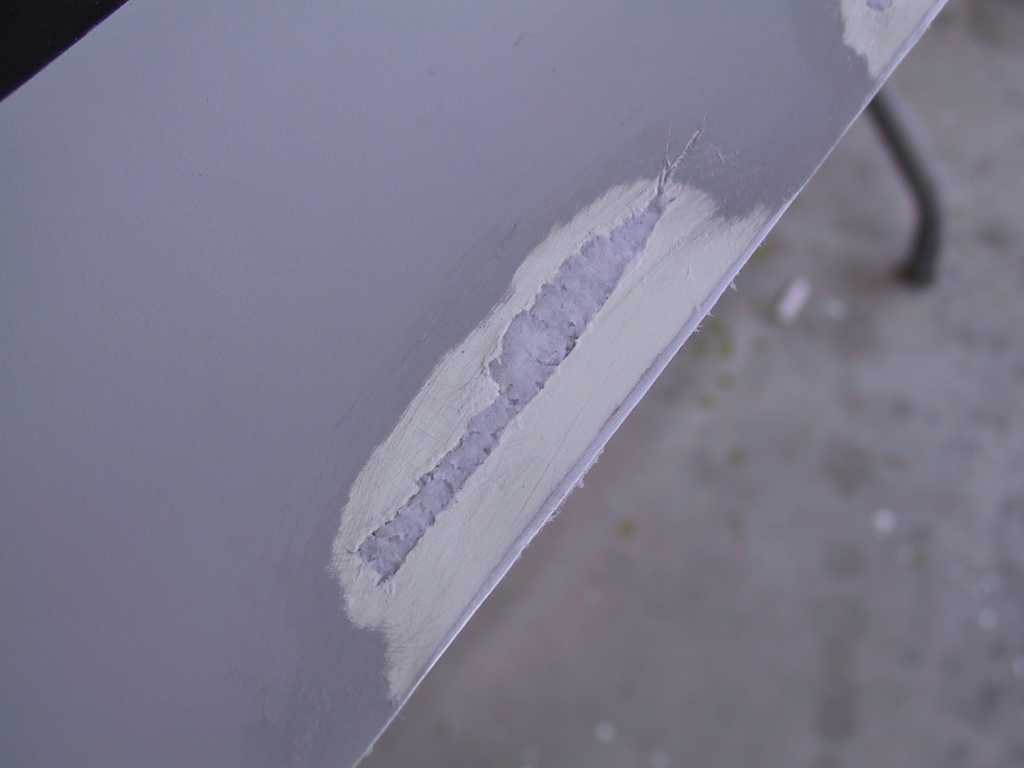
happened. And the canopy fore skin :) lost. It got a little bent.
Easily repairable though. Shit happens.
   |
|
4/16/05 |
All better.
Instead of one large washer taking up the space on the rudder
control horns I used to thin washers on either side of the horn.
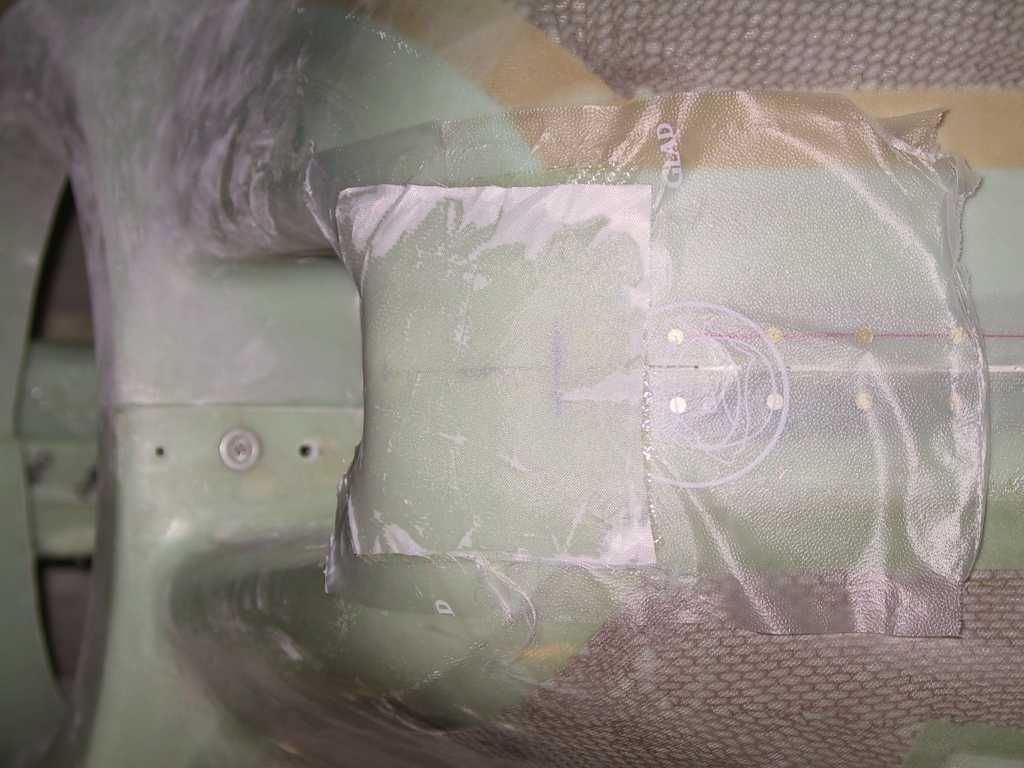
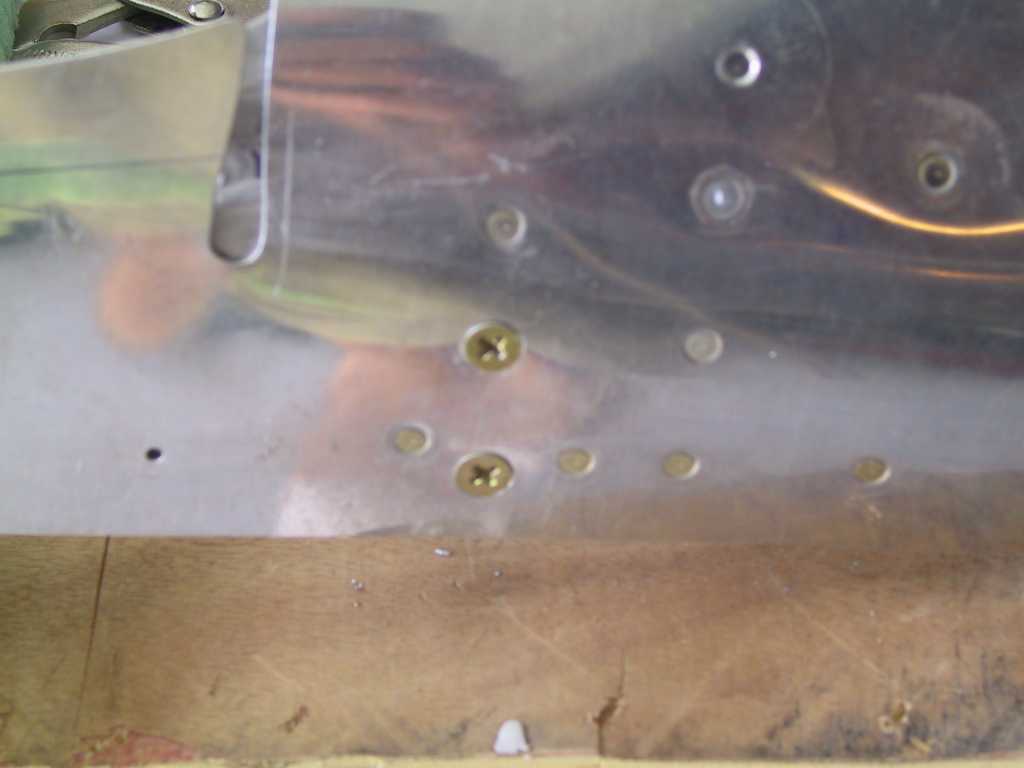
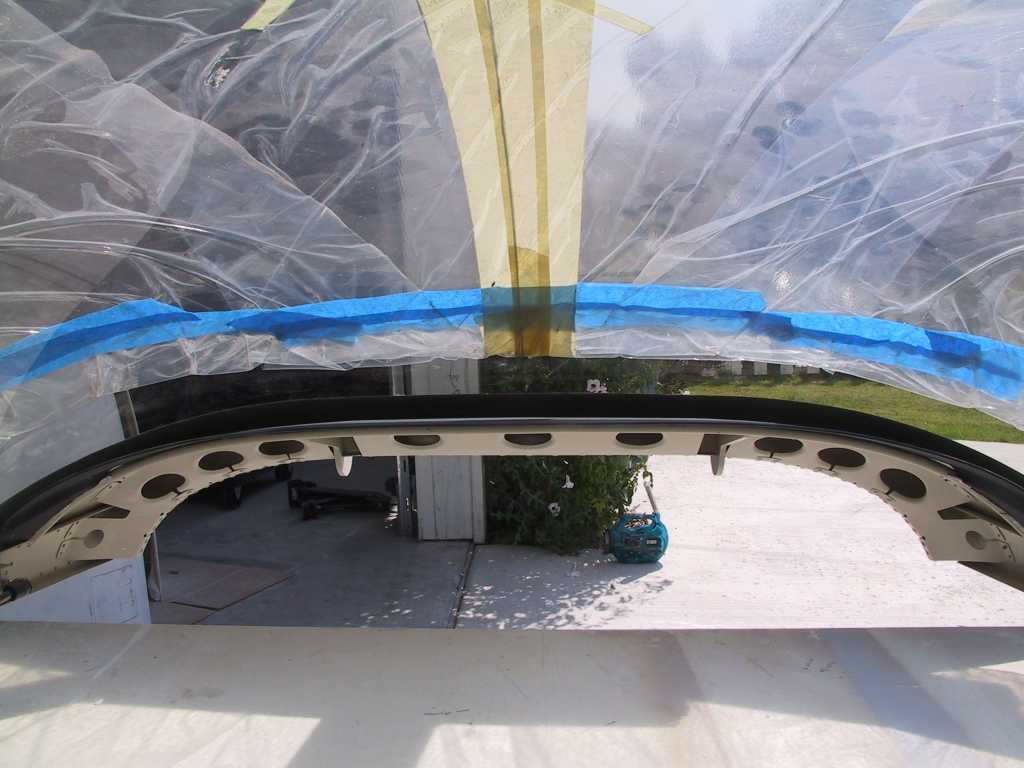
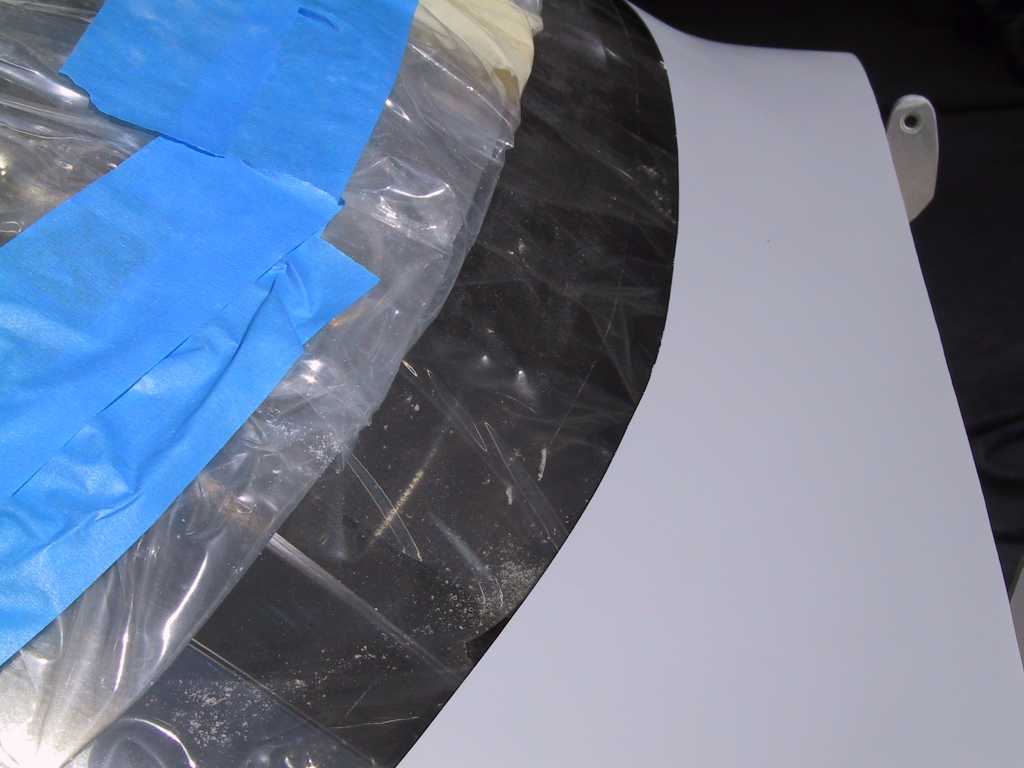
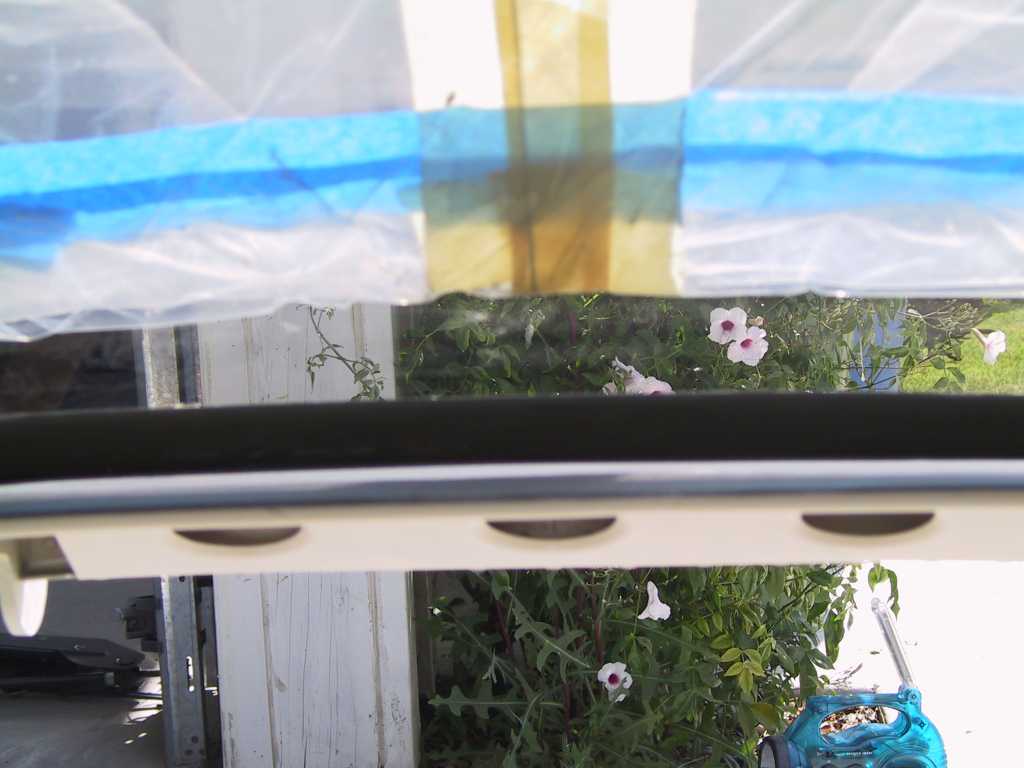
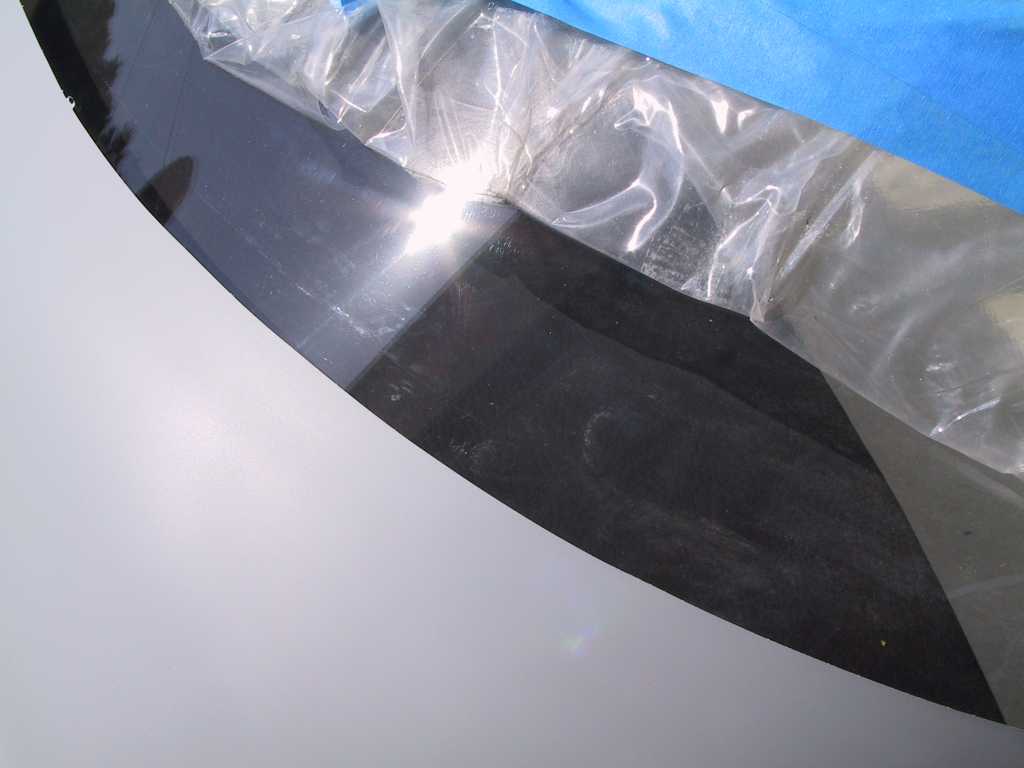
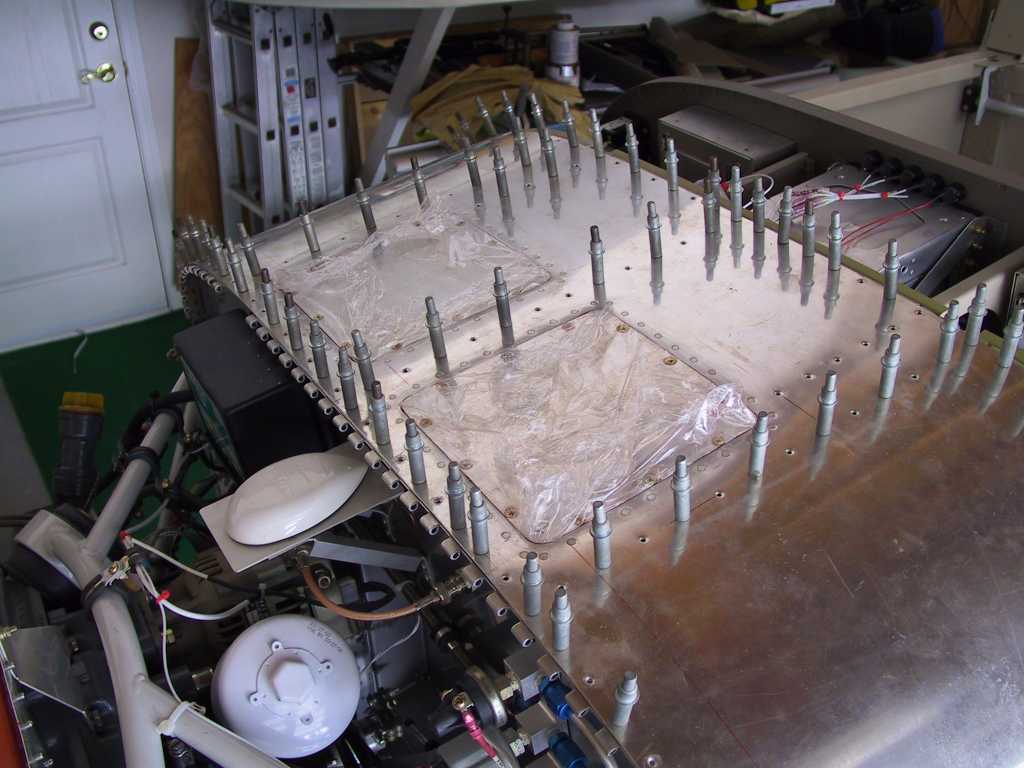
Needing a gasket on my access cover plates I experimented with
RTV sticking to saran wrap. Yep, doesn't stick. Laid up a thin layer
of RTV and then plastic then the covers and screwed them together. We'll
see tomorrow how it works out.

Since there was a small gap in the leading edge of the
fairings-etc.com emp fairing I placed a layer of UHMW tape on the fuselage under
the gap, all around the fairing. Mixed some flox and spread it evenly
about 1.5 inches wide and screwed everything together. We'll see how this
turns out tomorrow too.
Here's something I will be happy to not see anymore, friggen
sanding dust.
And by the way, I was telling everyone that I would be moving
the plane to the hangar today. Not. Next Saturday is the ticket.
|
| 4/17/05 |
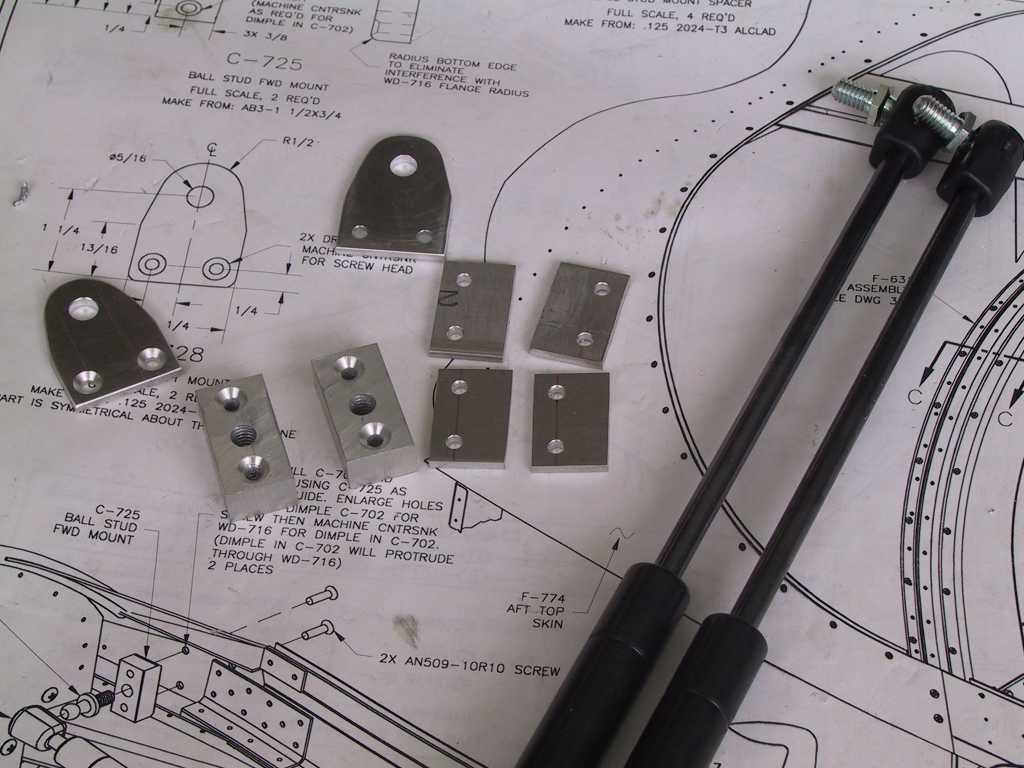
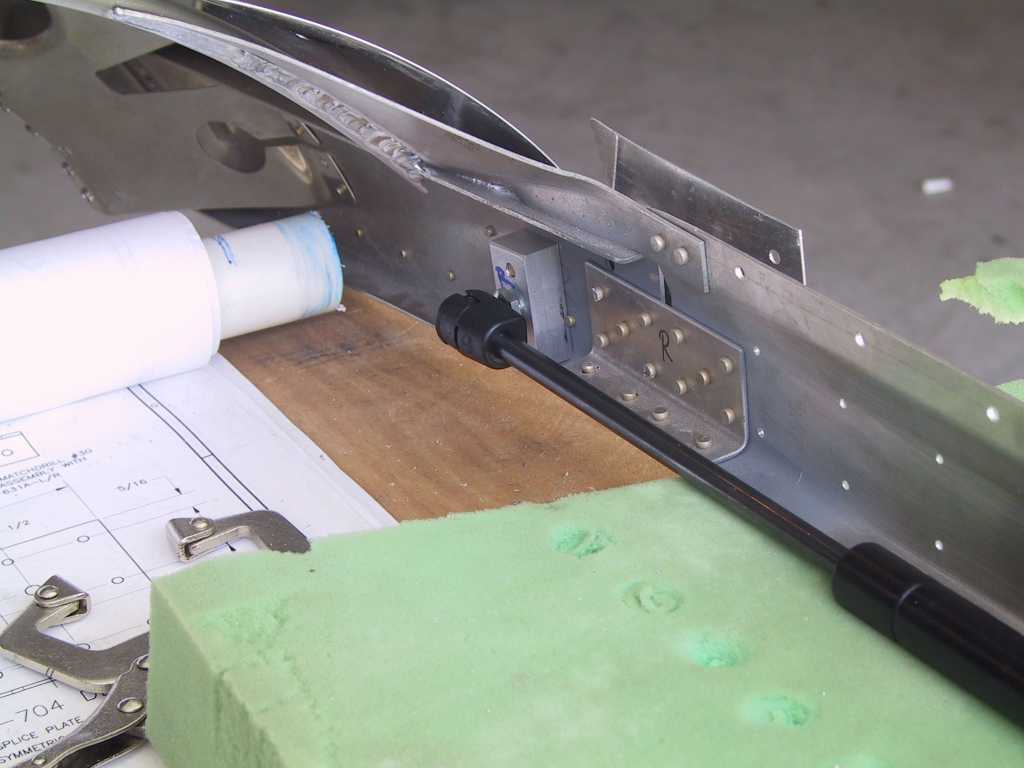
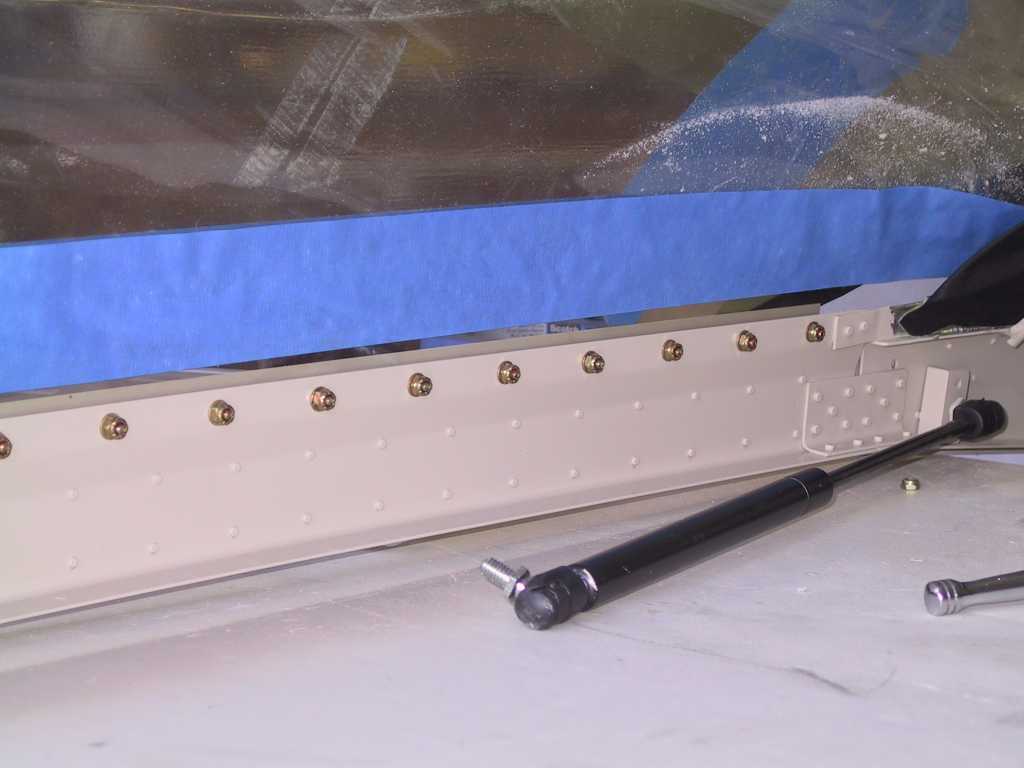
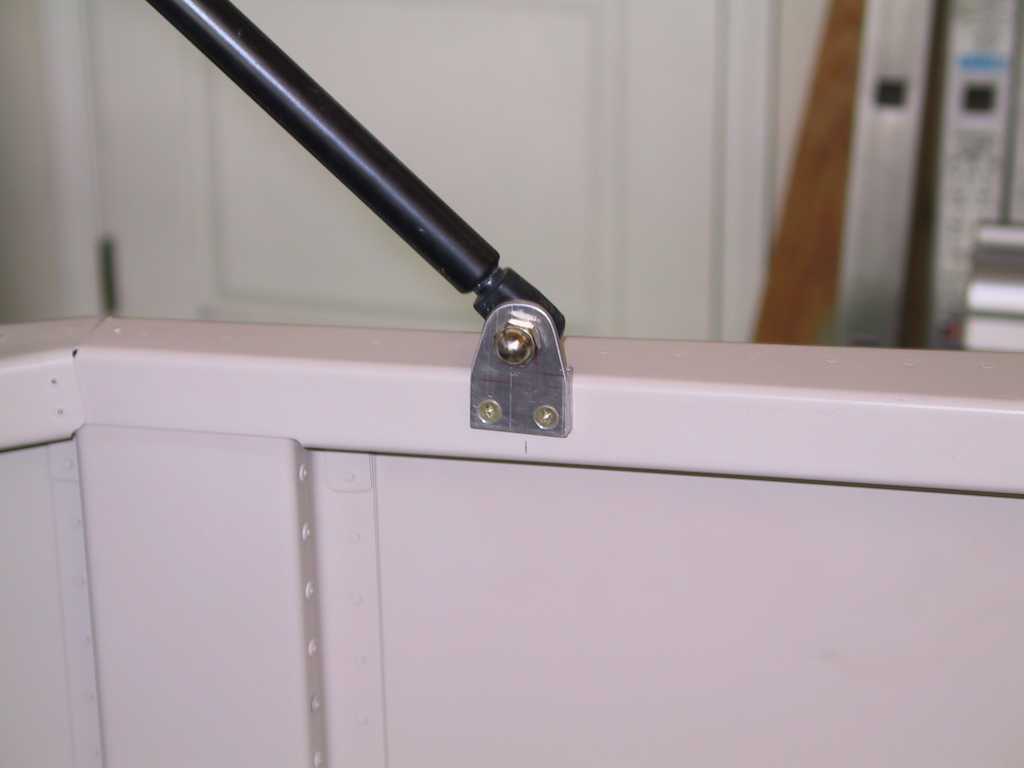
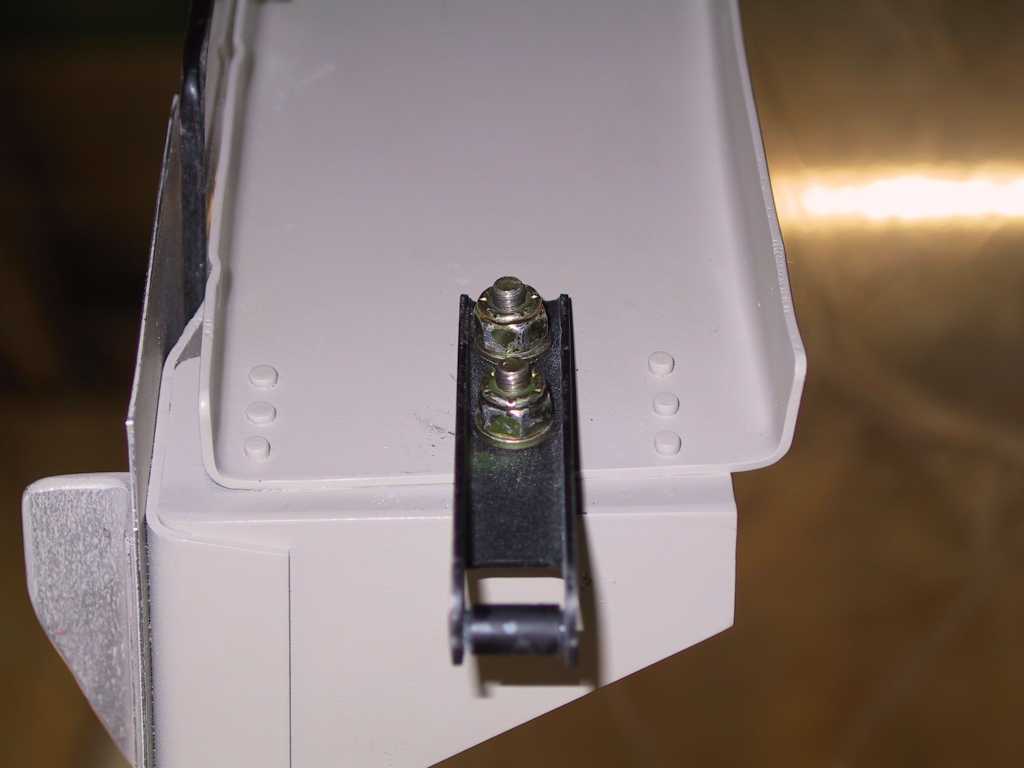
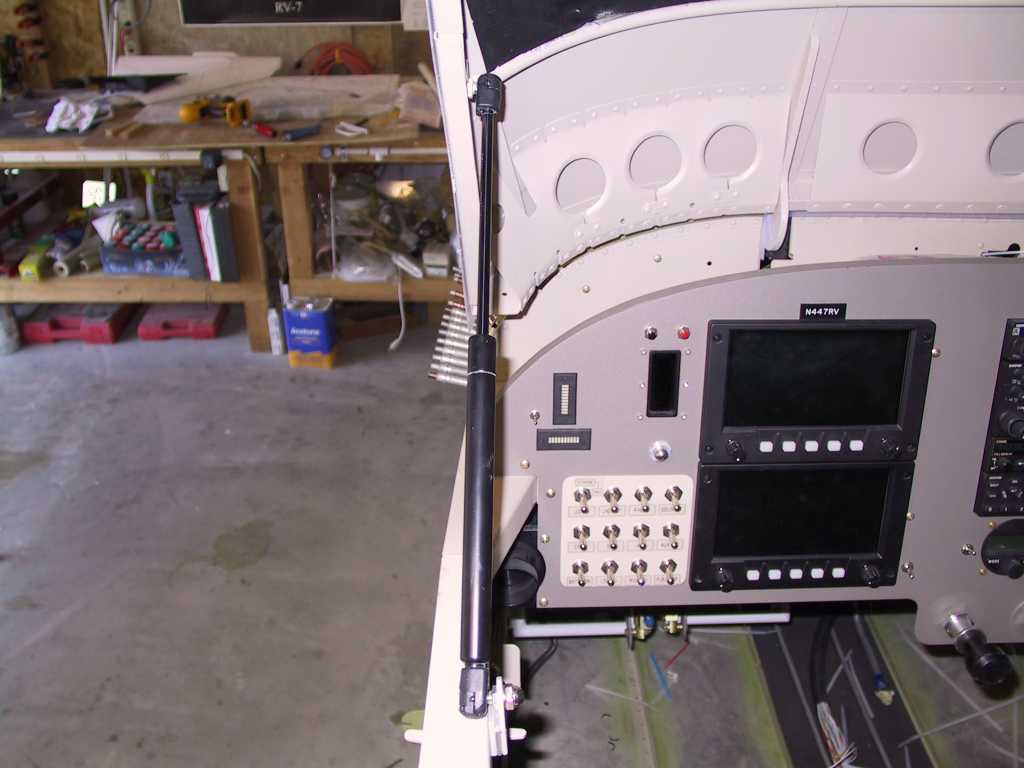
Today was another excellent day of building, lots
of stuff accomplished. I had made the parts to mount the canopy struts
some time ago. I knew this was going to be a job for someone with small
fingers but I couldn't find an 10yr olds willing to help. There's not much
room to get a socket or wrench on the little 11/32nd nuts behind the strut
mound. And since I didn't have any 11/32 tools I could cut down to size I
used a 3/8th offset socket and put some tape on it to fit the nut. Managed
to bang my fingers really good too. The worst part was the pilots side
since I also have my static line running back there. It took the better
part of an hour but they're in there.
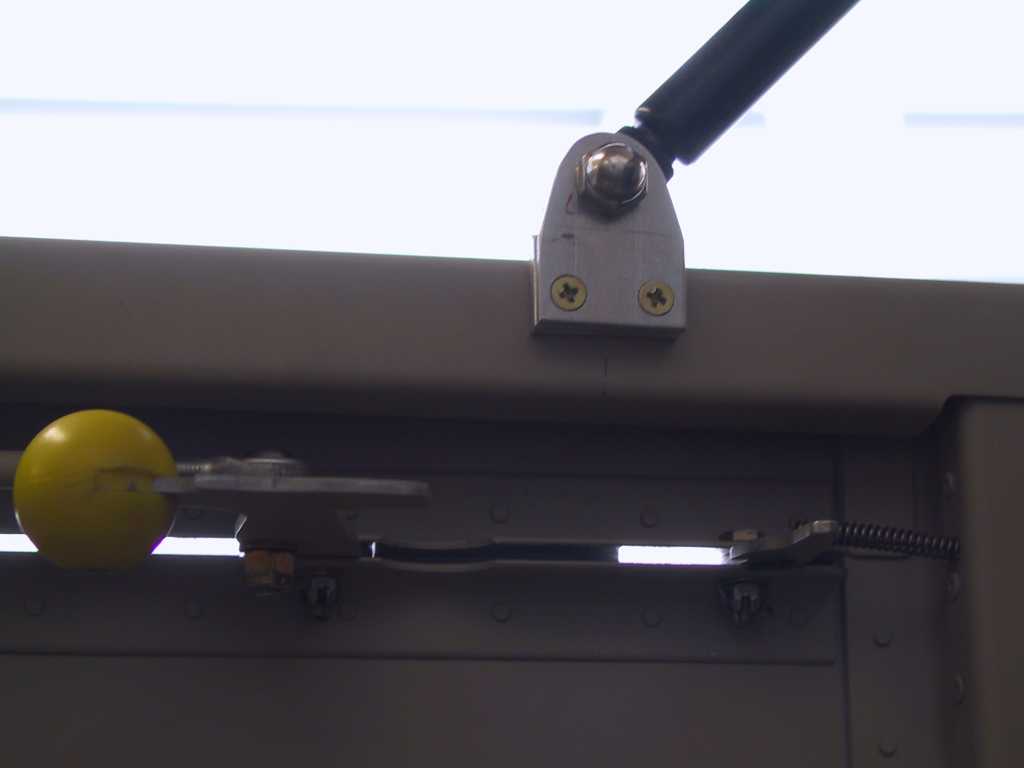
The canopy goes up. The canopy comes down.
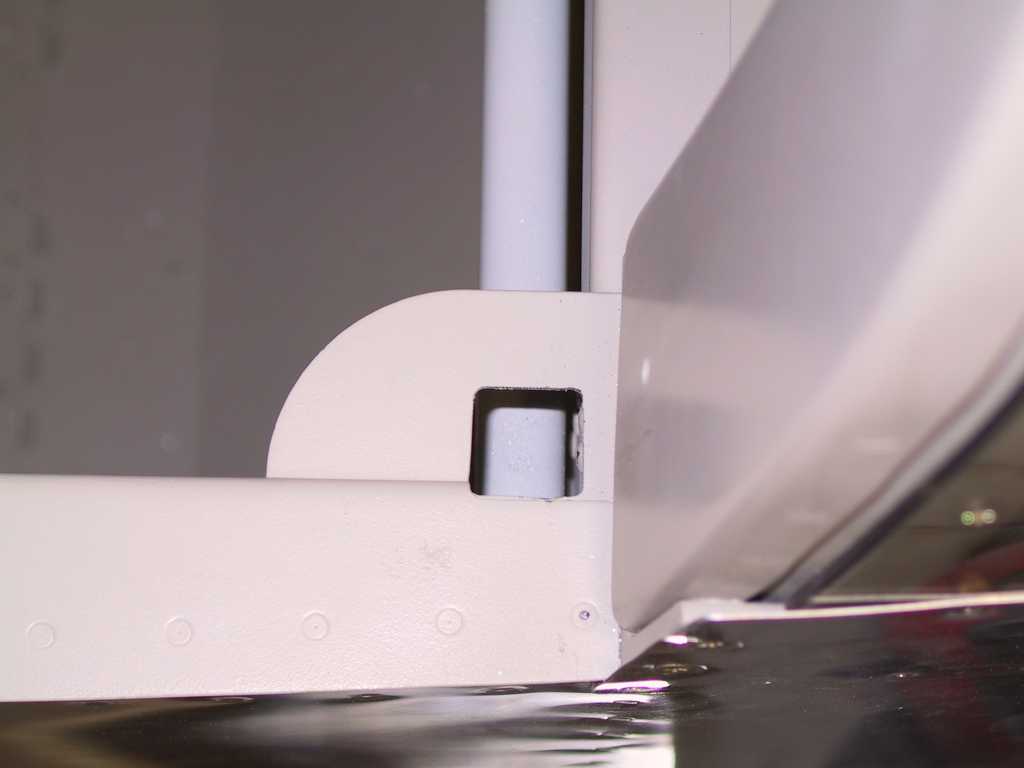
I had to file a bit of the metal on the inside of the square
holes for the canopy latch fingers. When the canopy is lifted using the
outside lift handle, the canopy flexes some and the latches can catch on the
aluminum. I just took off enough to allow it to lift more smoothly.
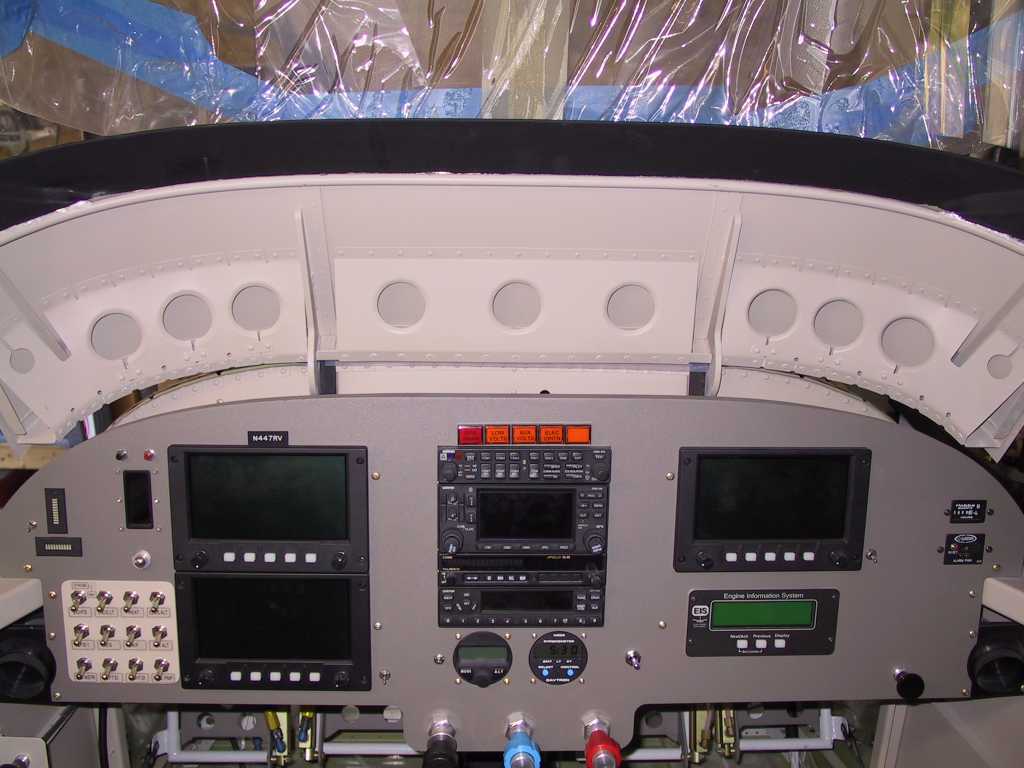
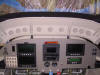
Gratuitous shots of the plane.
   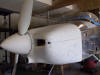
And some views of the struts and panel.
  |
|
4/18/05 |
Today was a lesson in research and what not to
do. I received my Airflow Performance fuel pump back from the
manufacturer. I had sent it in to check it out as I kept blowing 10A fuses
when turning on the fuel pump. I check and rechecked and rechecked my
wiring and I could find nothing wrong. I check the switch too, over and
over. Well, the fuel pump checked out OK. Damn. So, I decided
to start swapping out the wiring. I though that I should swap out the
switch first since that's much easier at this stage than running new wires.
Guess what? It was the switch. I cannot find anything wrong with it
but the new one works perfectly and the pump works well. Obviously, you
can make the correct assumption that I am NOT an electrical engineer. But
at least the problem is solved, on to the next issue.
The next few days we'll be preparing for the big move to the airport. |
|
4/23/05 |
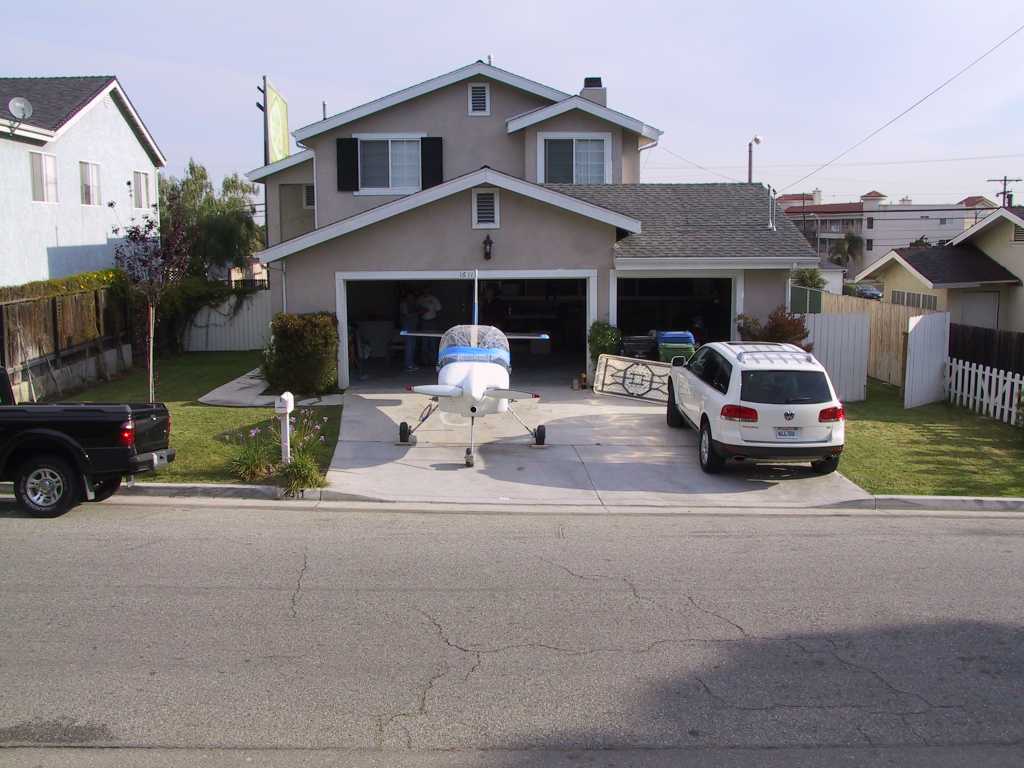
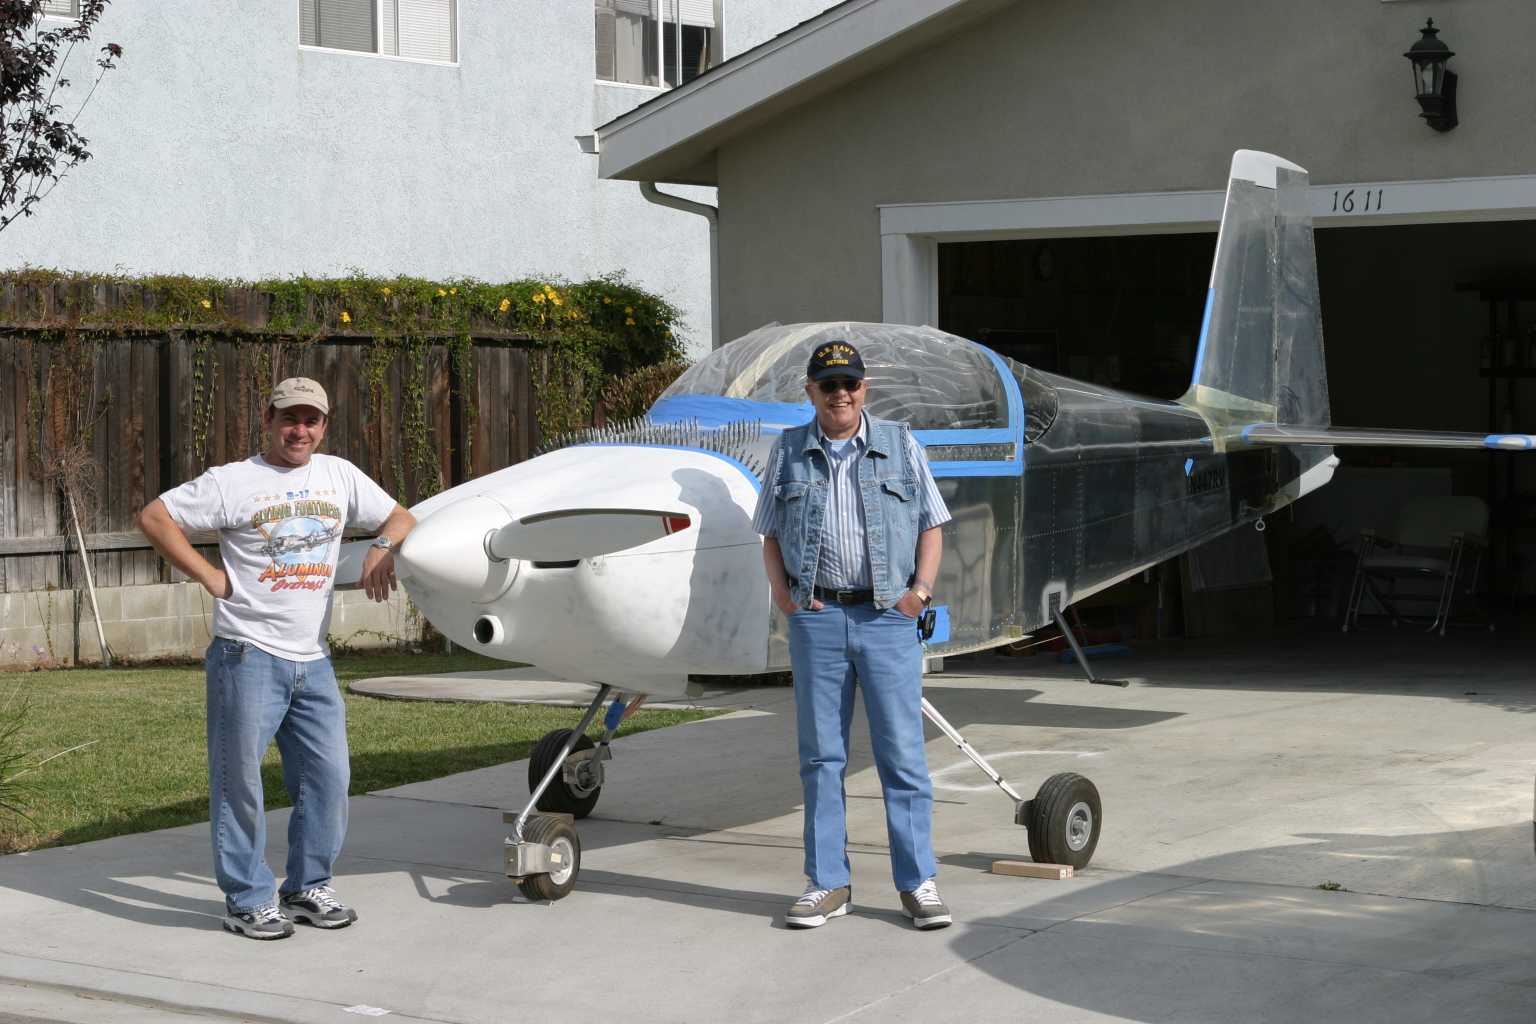
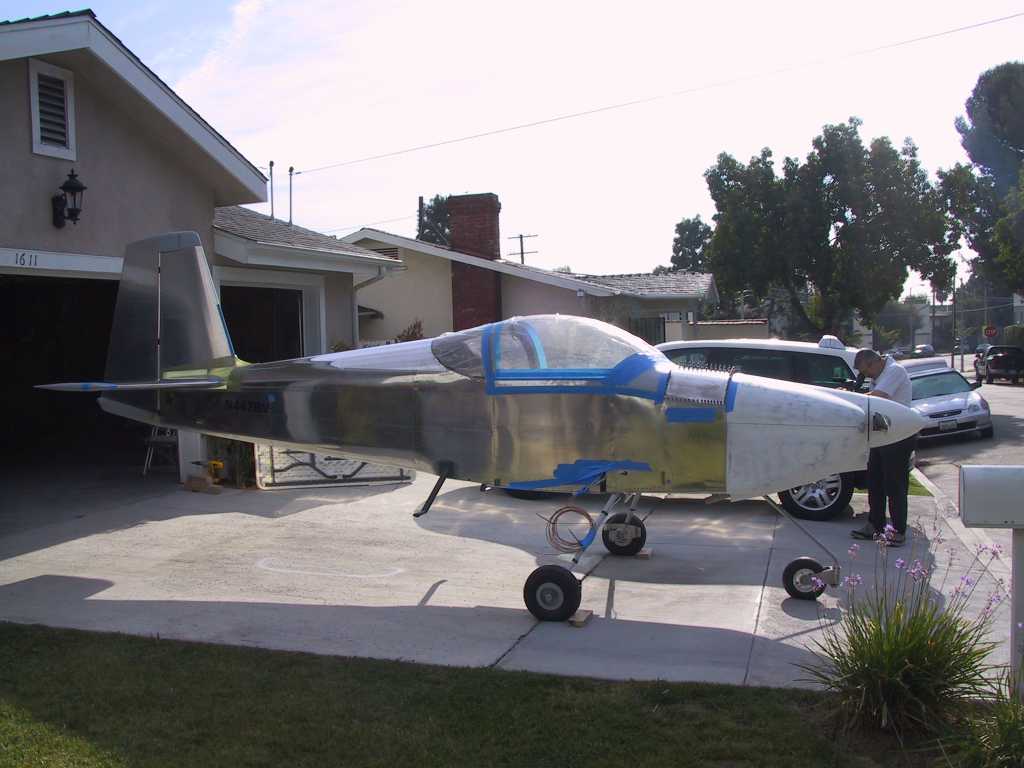
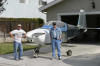
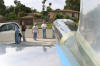
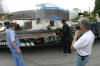
Today is the day, the big move. I had
plenty of help today. My Dad, David, Mike, Walter, and whomever was
walking by, they just pitched in without any prompting. I guess it's a bit
unusual to see this in your driveway.
I spent the prior two days getting tools ready, cleaning the
shop, placing parts into the car and plane, securing the rudder and elevators
and basically going nuts trying not to forget anything.
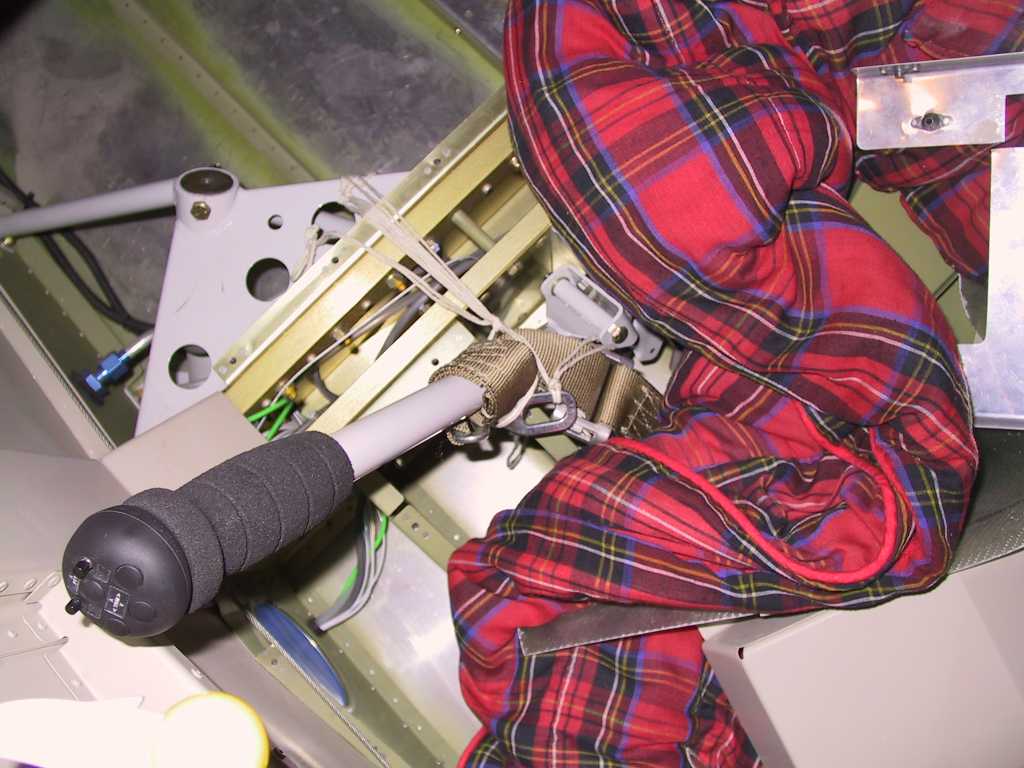
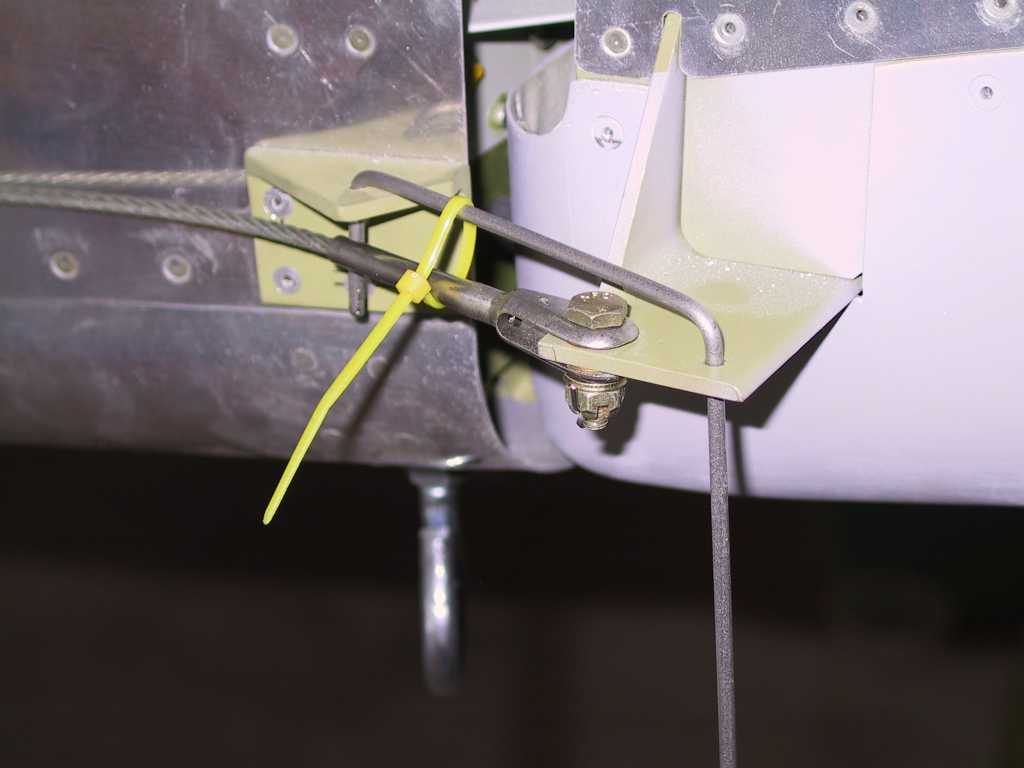
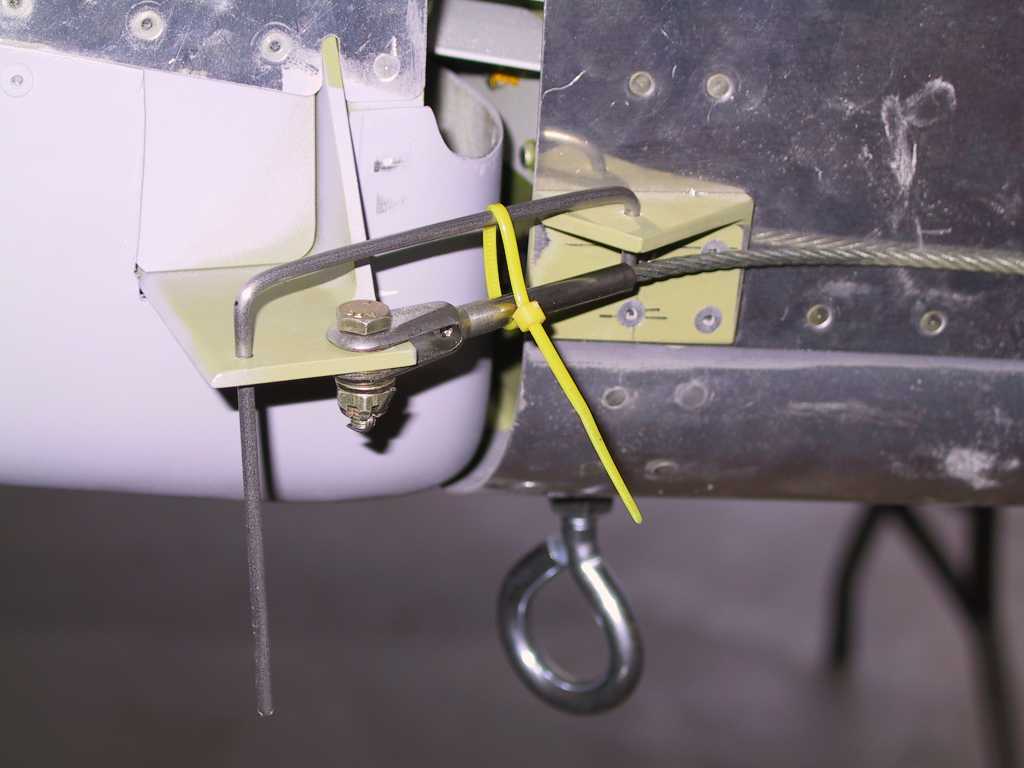
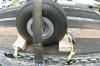
Made some rudder stops by drilling a hole into the rudder
stops and made a U shaped piece of wire to fit each side. Works well and
I'll probably make a couple of nice pieces for when she has to sit outside
overnight sometimes. Tied them down with wire-ties for the trip.
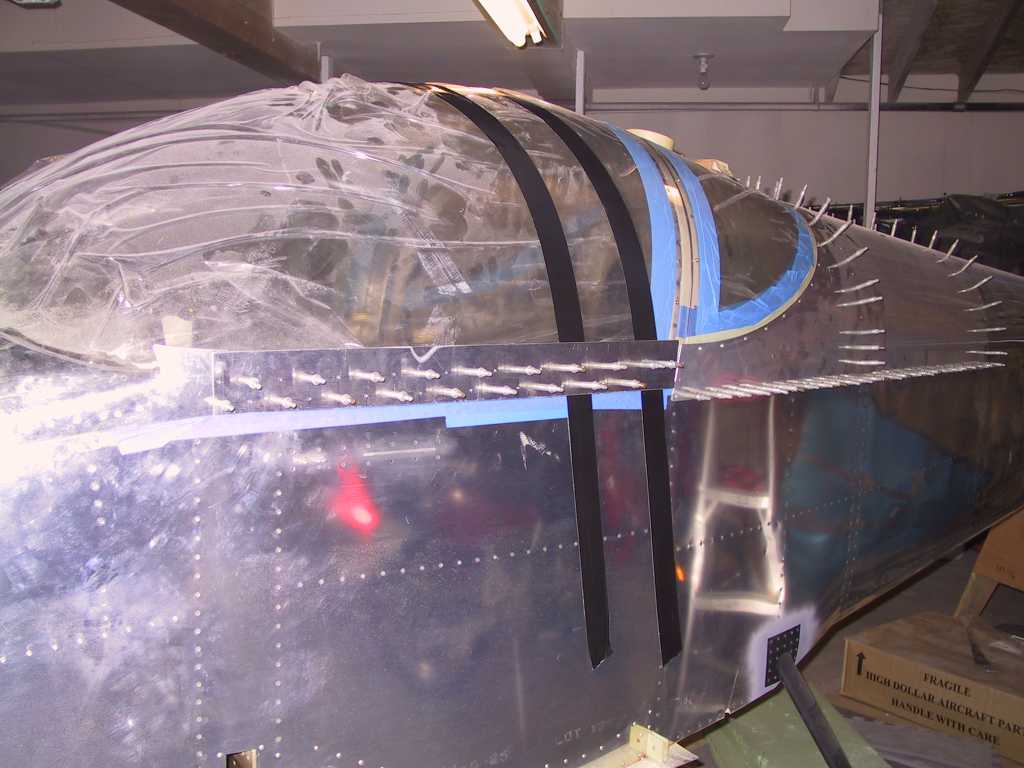
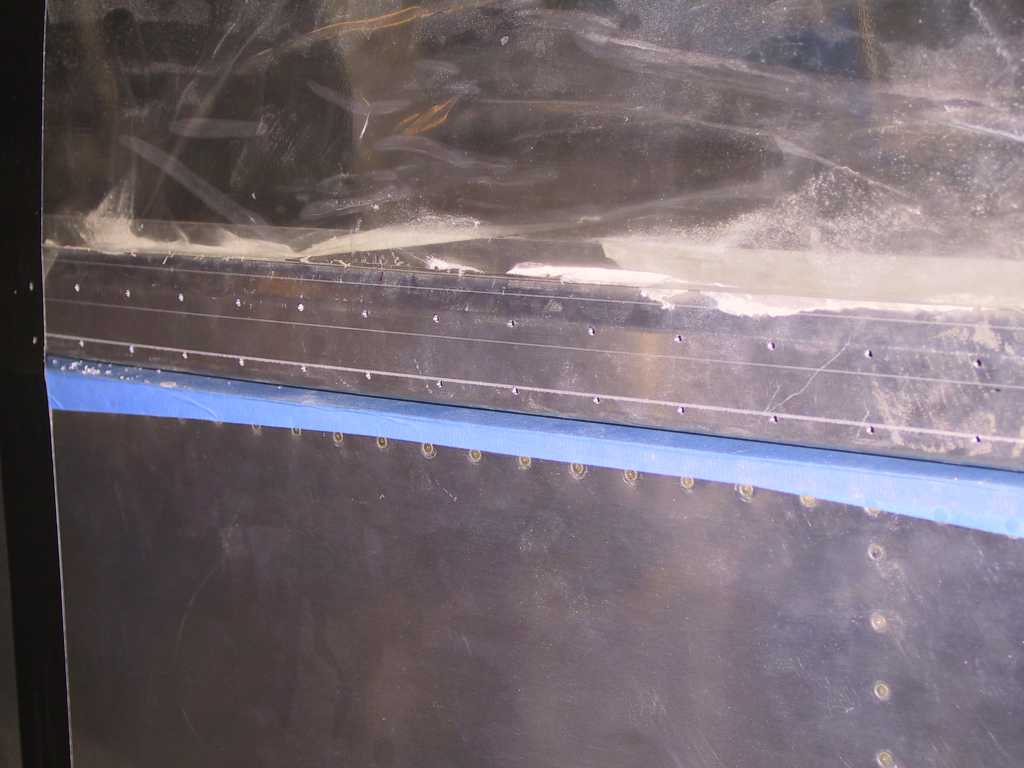
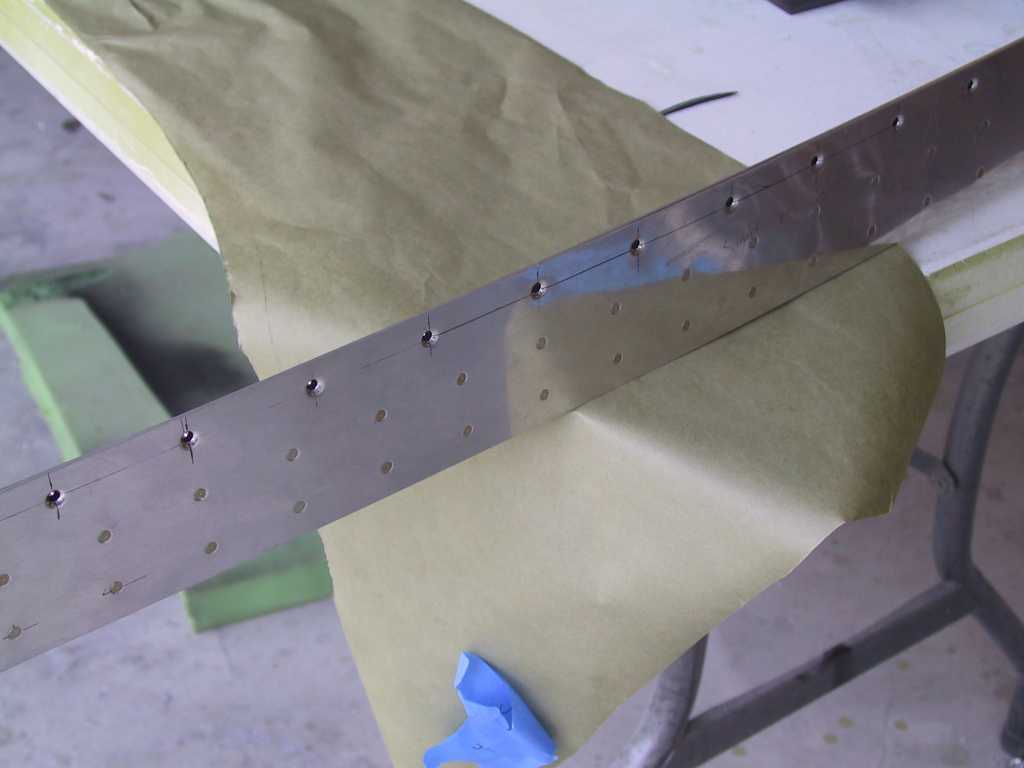
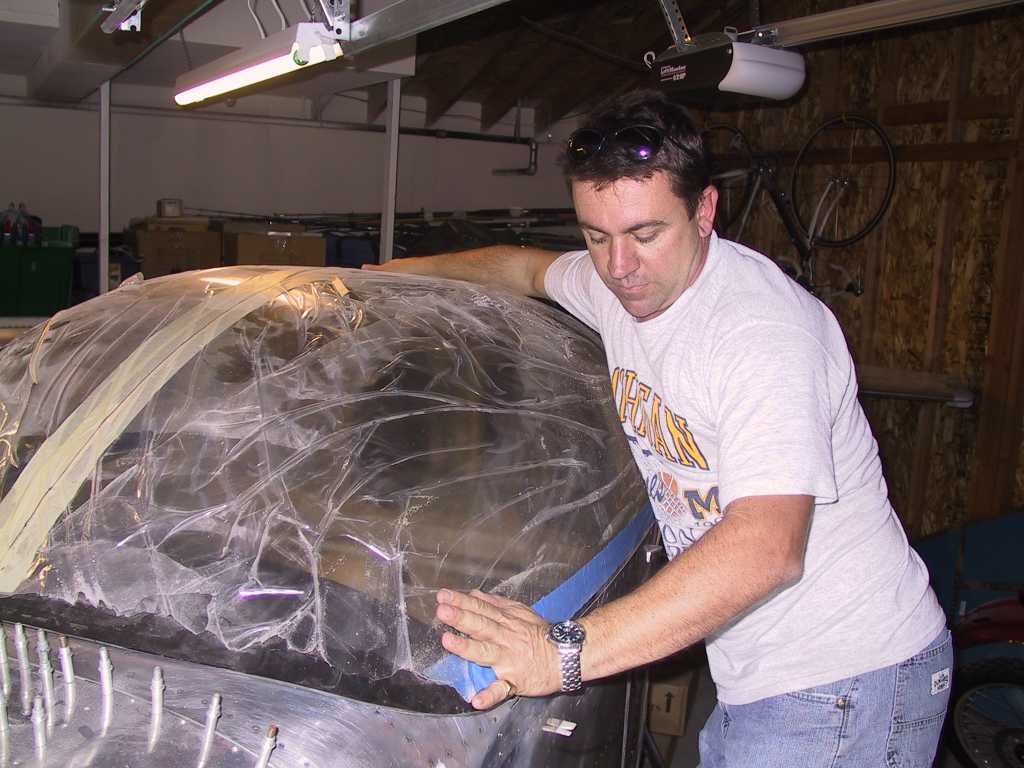
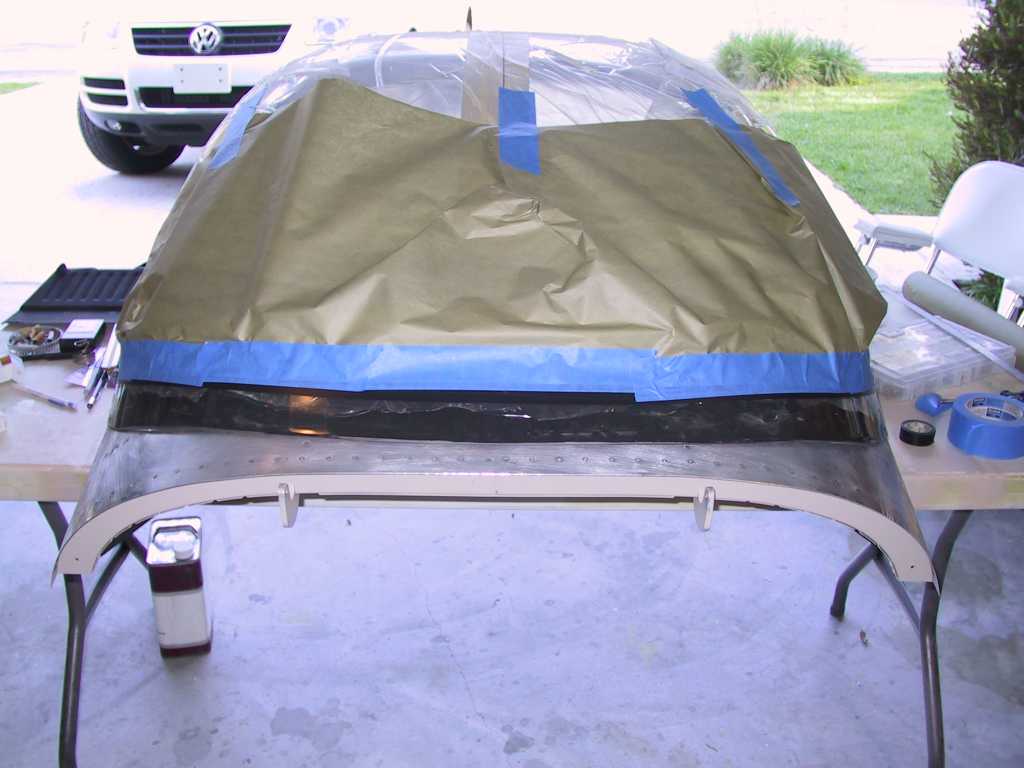
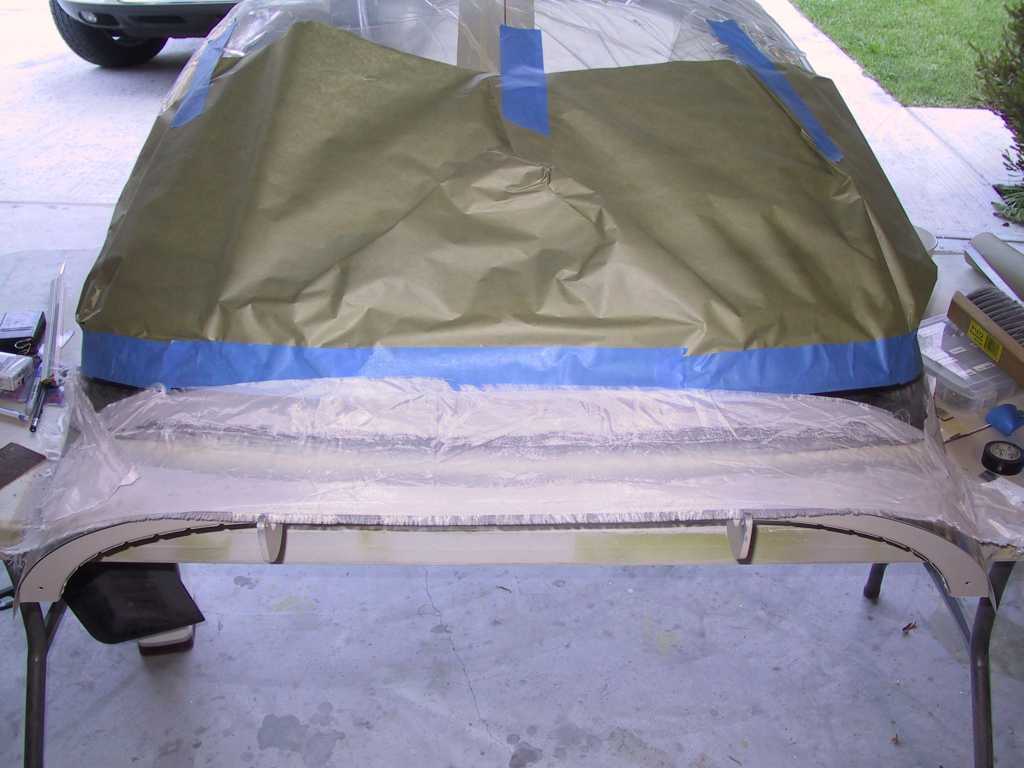
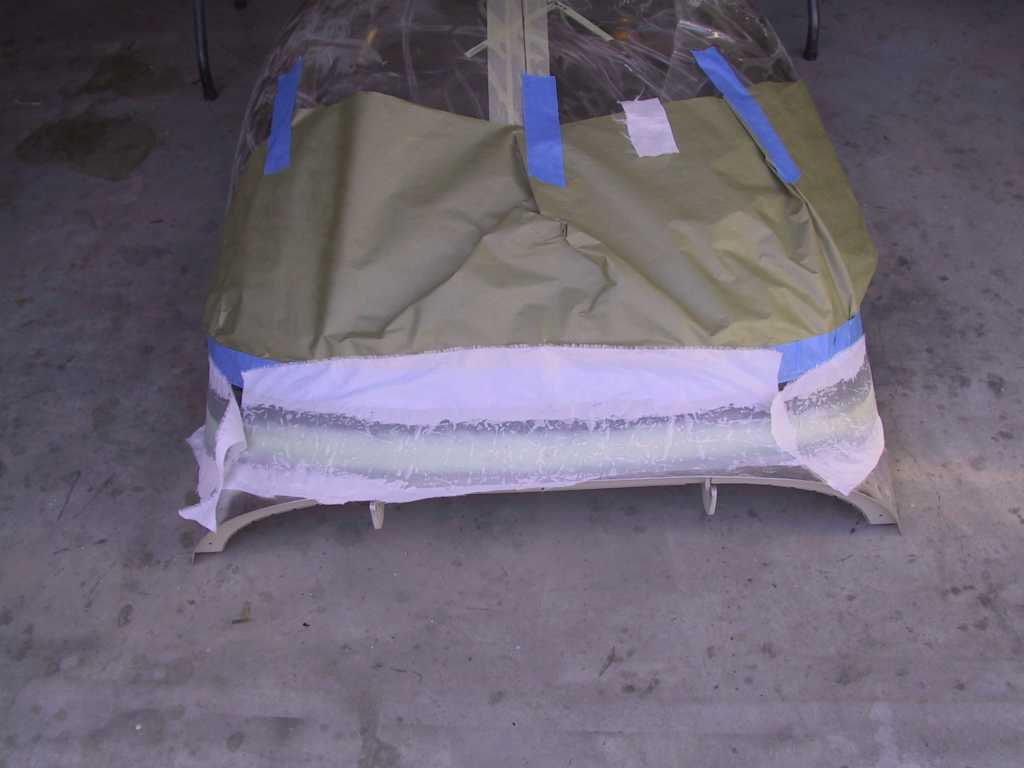
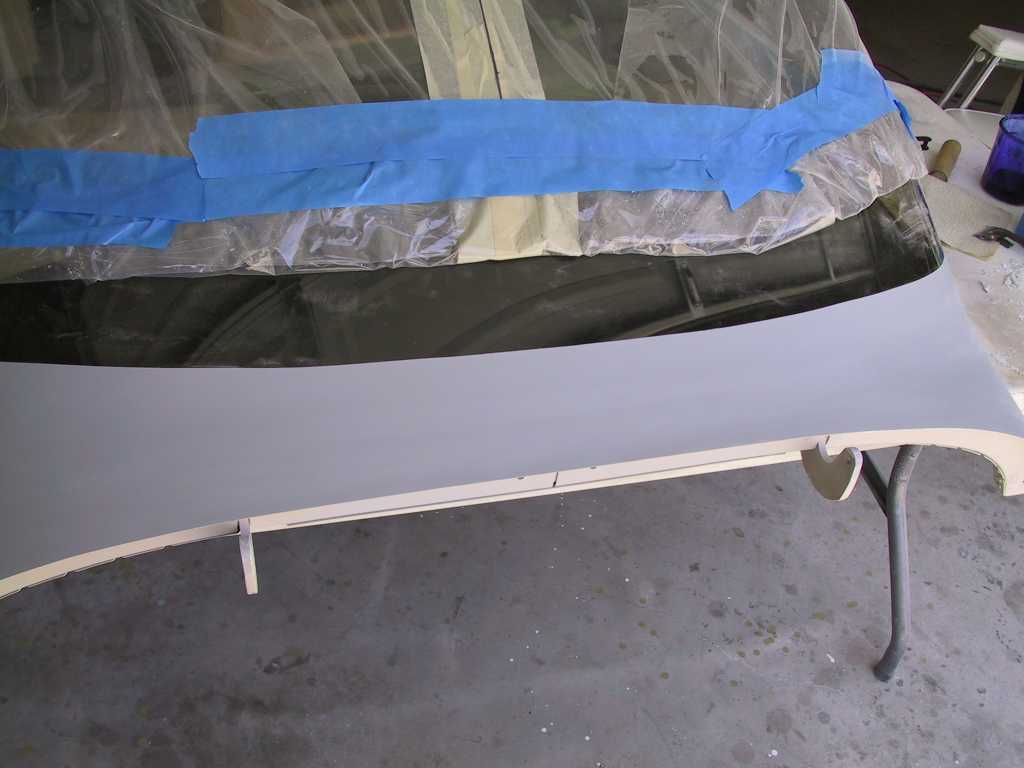
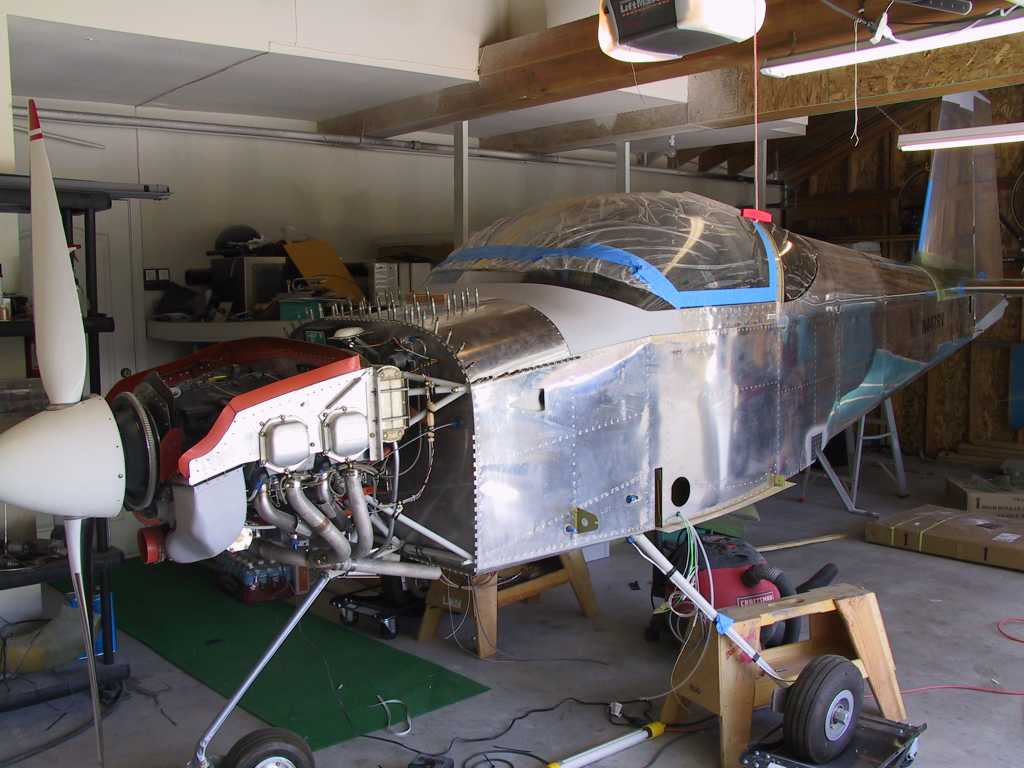
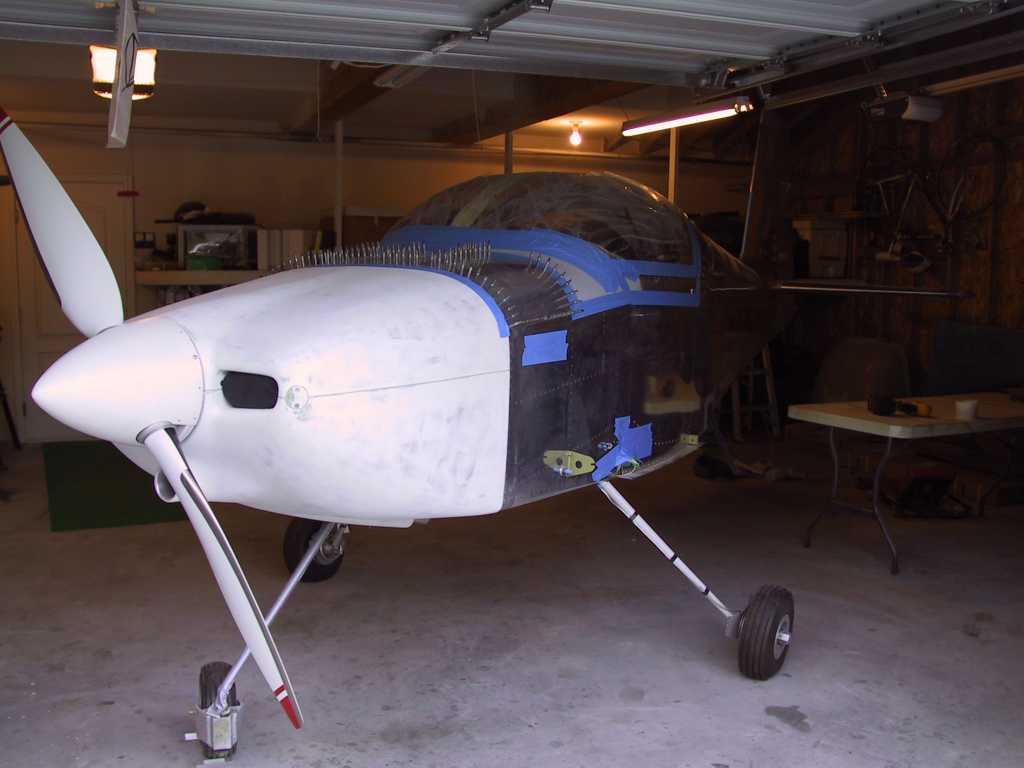
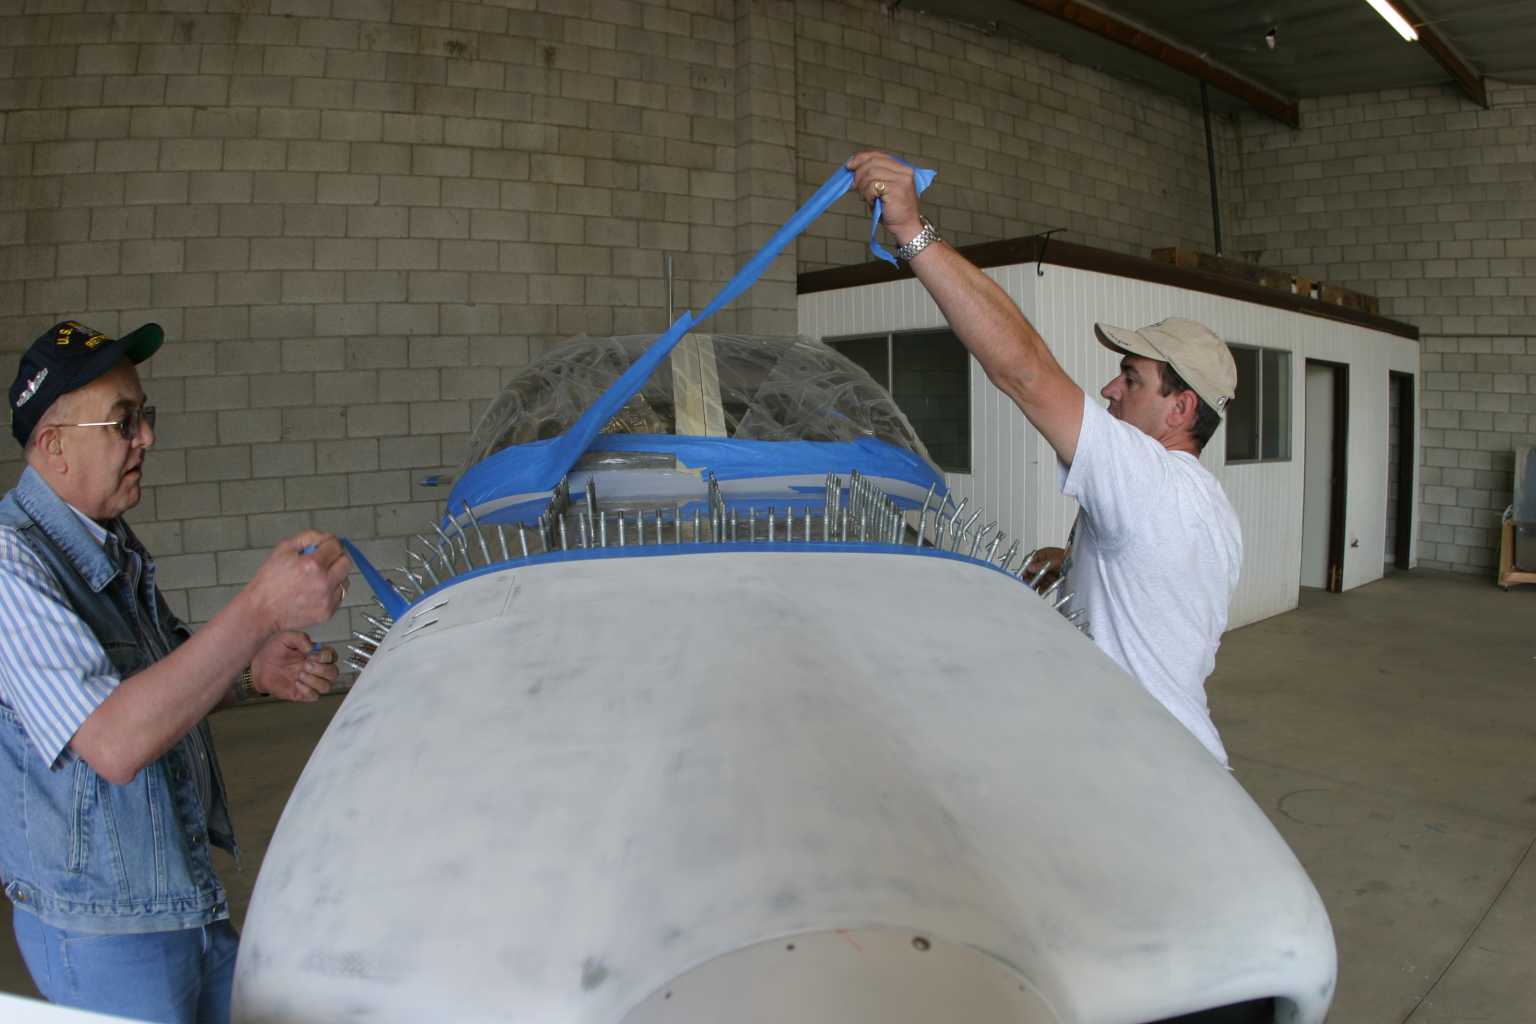
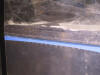
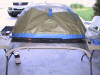
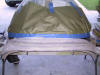
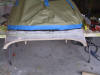
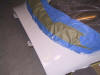
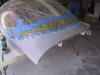
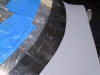
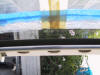
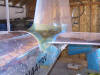
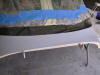
I plastered the plane with blue painter's tape to cover every
crack and crevice. It was supposed to rain today and I didn't want to end
up with a soaking wet interior, especially since I haven't riveted the top
forward skin on yet, I'm saving that for last.
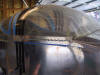
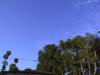
Wouldn't you know it, the weatherman was totally incorrect.
Here's what I saw, don't know what he was smoking the night before but it must
have been good stuff.
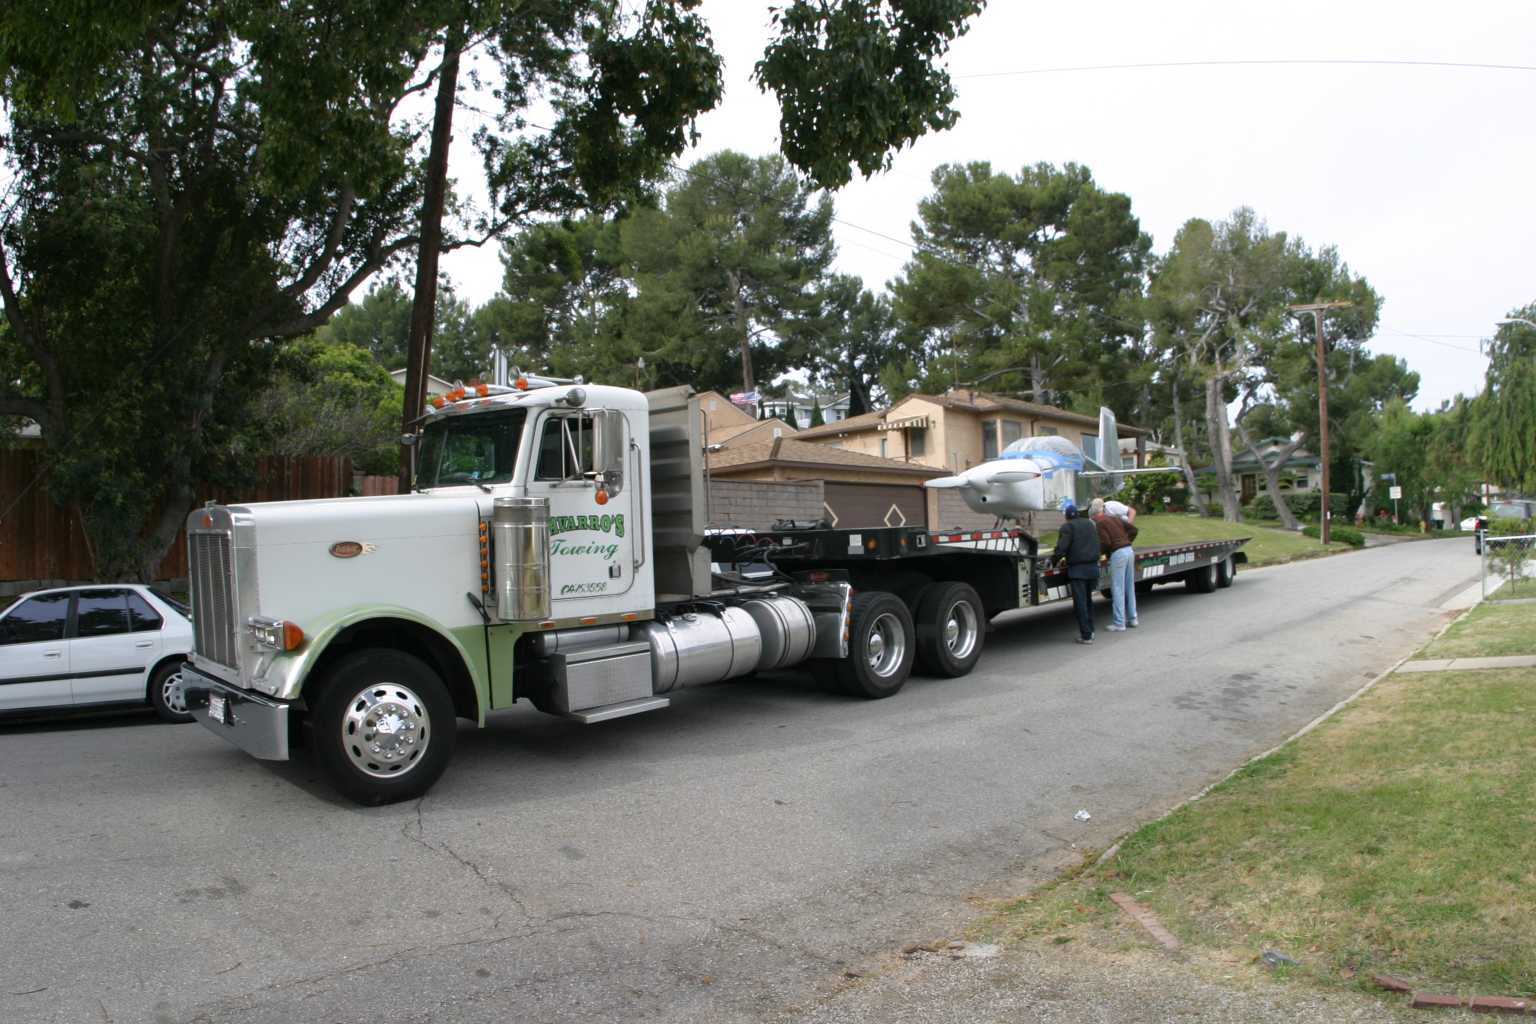
Also, trying to find a suitable rig to haul this to the
airport was a pita as well. I probably called about 30 u-rent places.
None of them had a trailer wide enough (91"). And I didn't want to take a
chance on a regular tilt-up car hauler. This is an A model. Add the
height of the VS and the car hauler and even if it's close I didn't want to take
any chances running into an overpass or low slung wires. I finally
found the perfect rig, but I'll get to that in a minute.
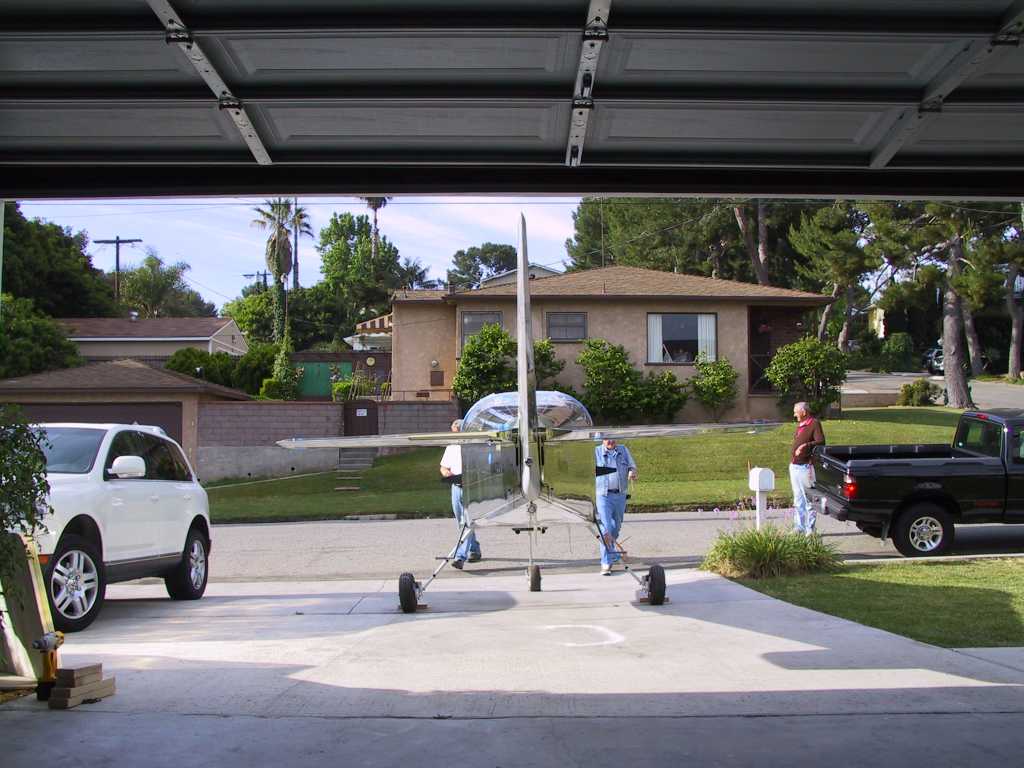
Every gathered around at 8:00 and we proceeded to get the
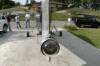
plane out of it's temporary (almost 2yrs) shelter. I placed a tie down eye
bolt into the aft tie down fixture and added two bags of lead shotgun shell shot
and a 33lb dive belt to the eyelet. These were all connected with big
heavy wire-ties. It was a perfect amount of lead so that one person could
easily push the tail down so that it would clear the garage door. With 5
people, we slowly tilted down the ass end and rolled her outside so she could
gleam in the sunlight for the first time. What an awesome sight. Was
I happy? YOU BET!
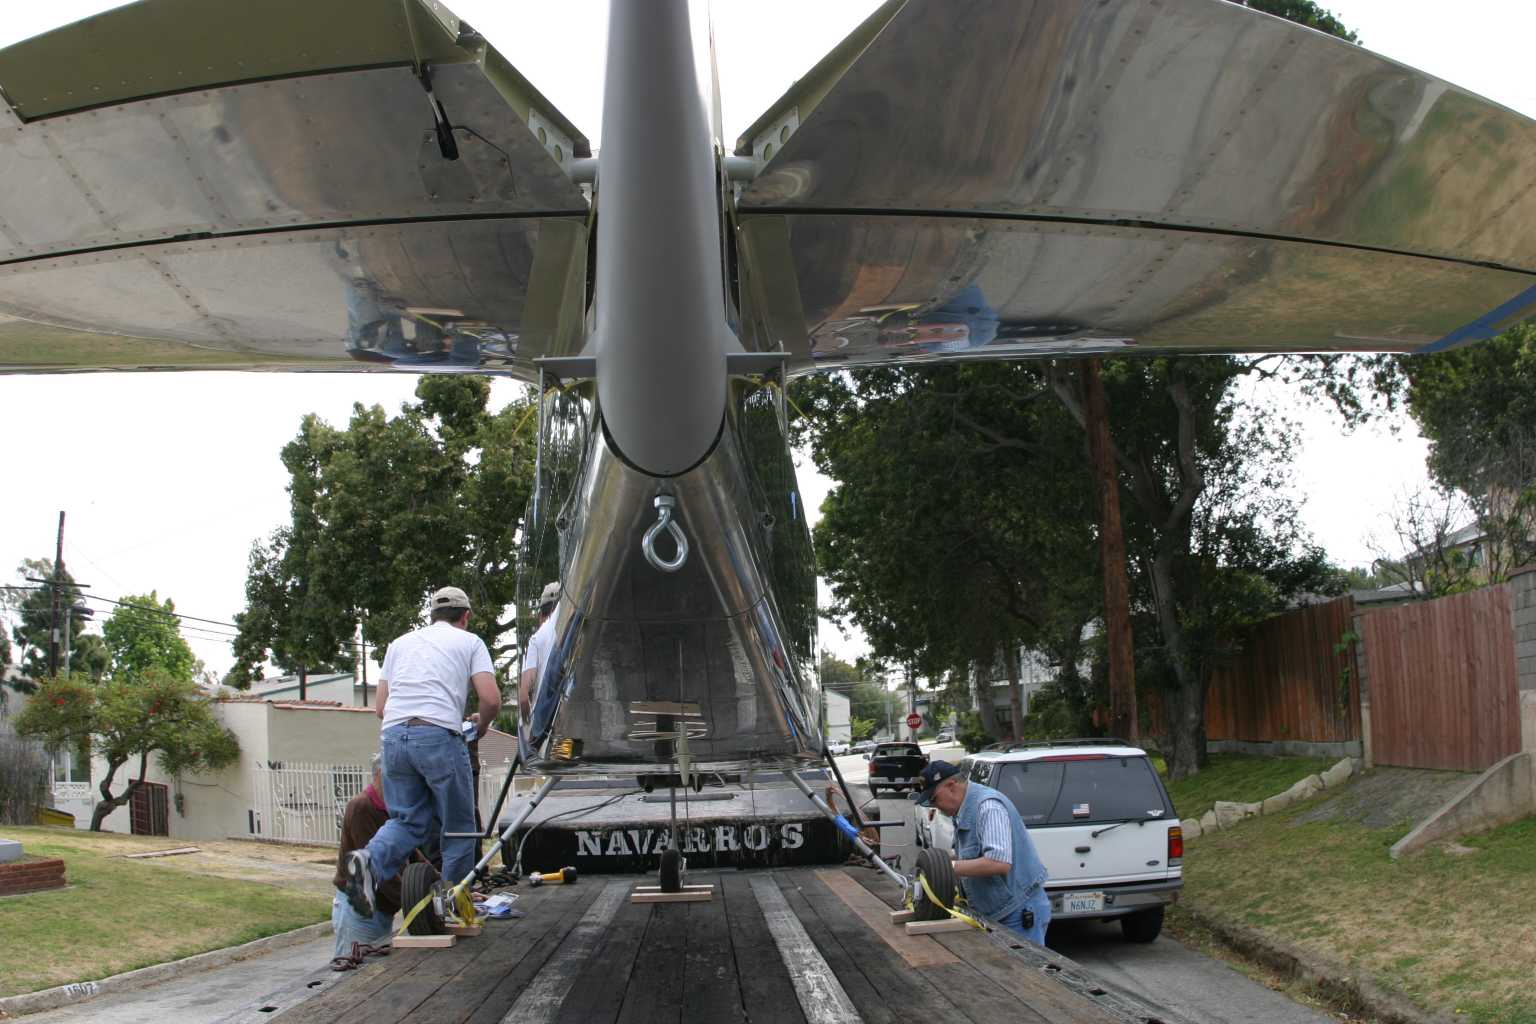
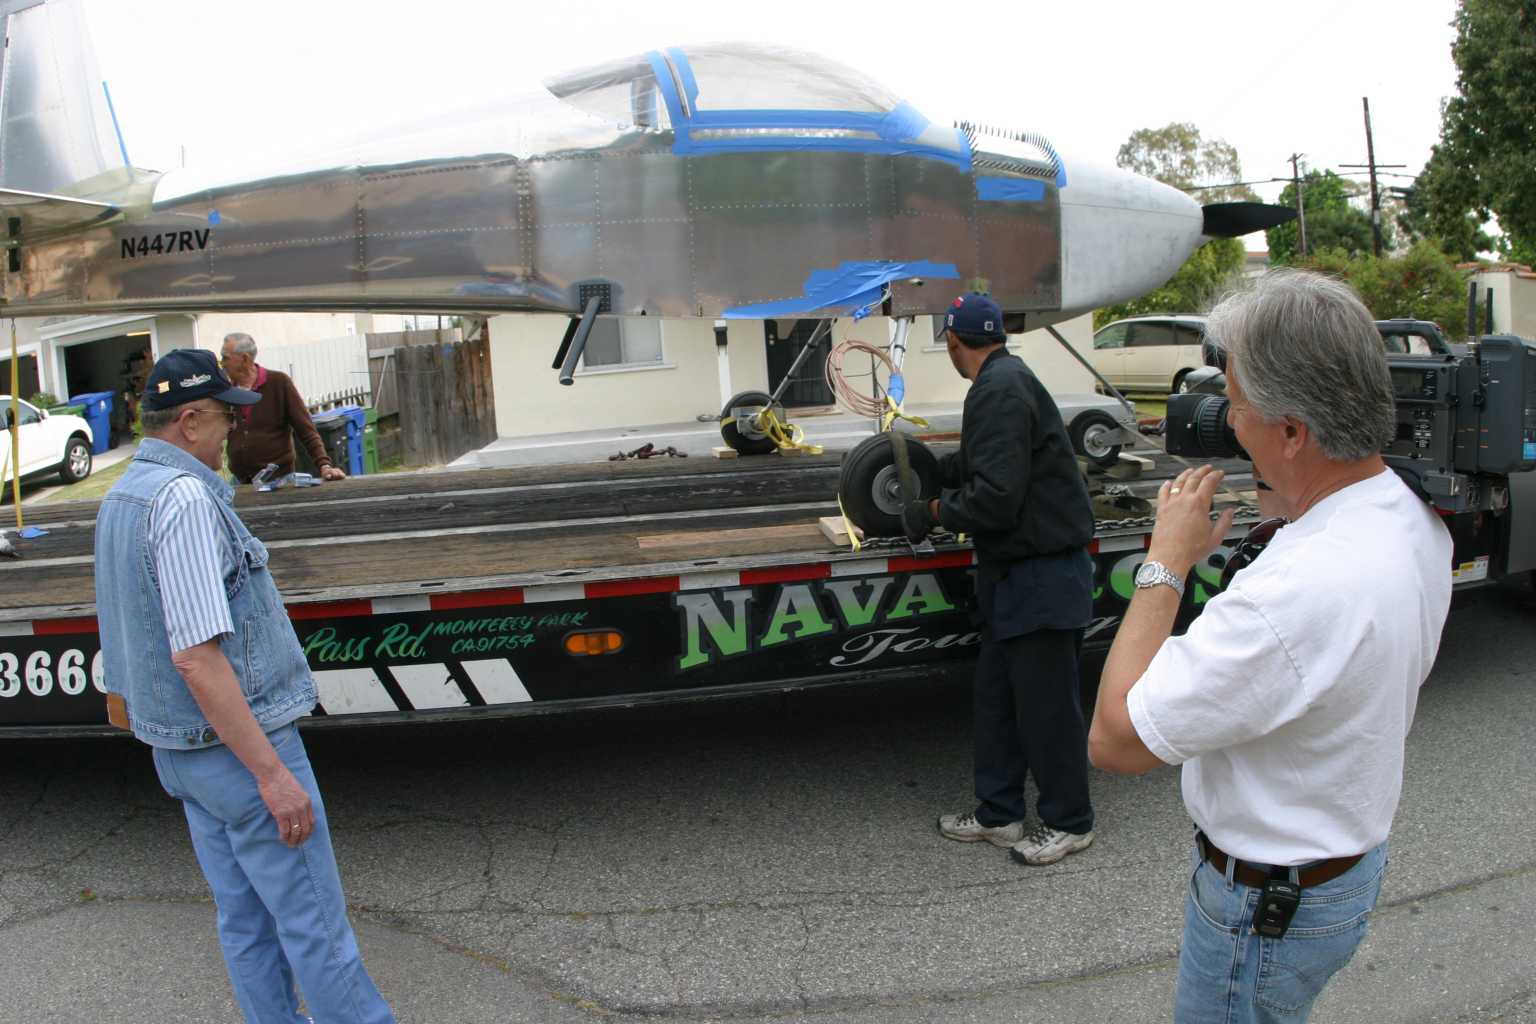
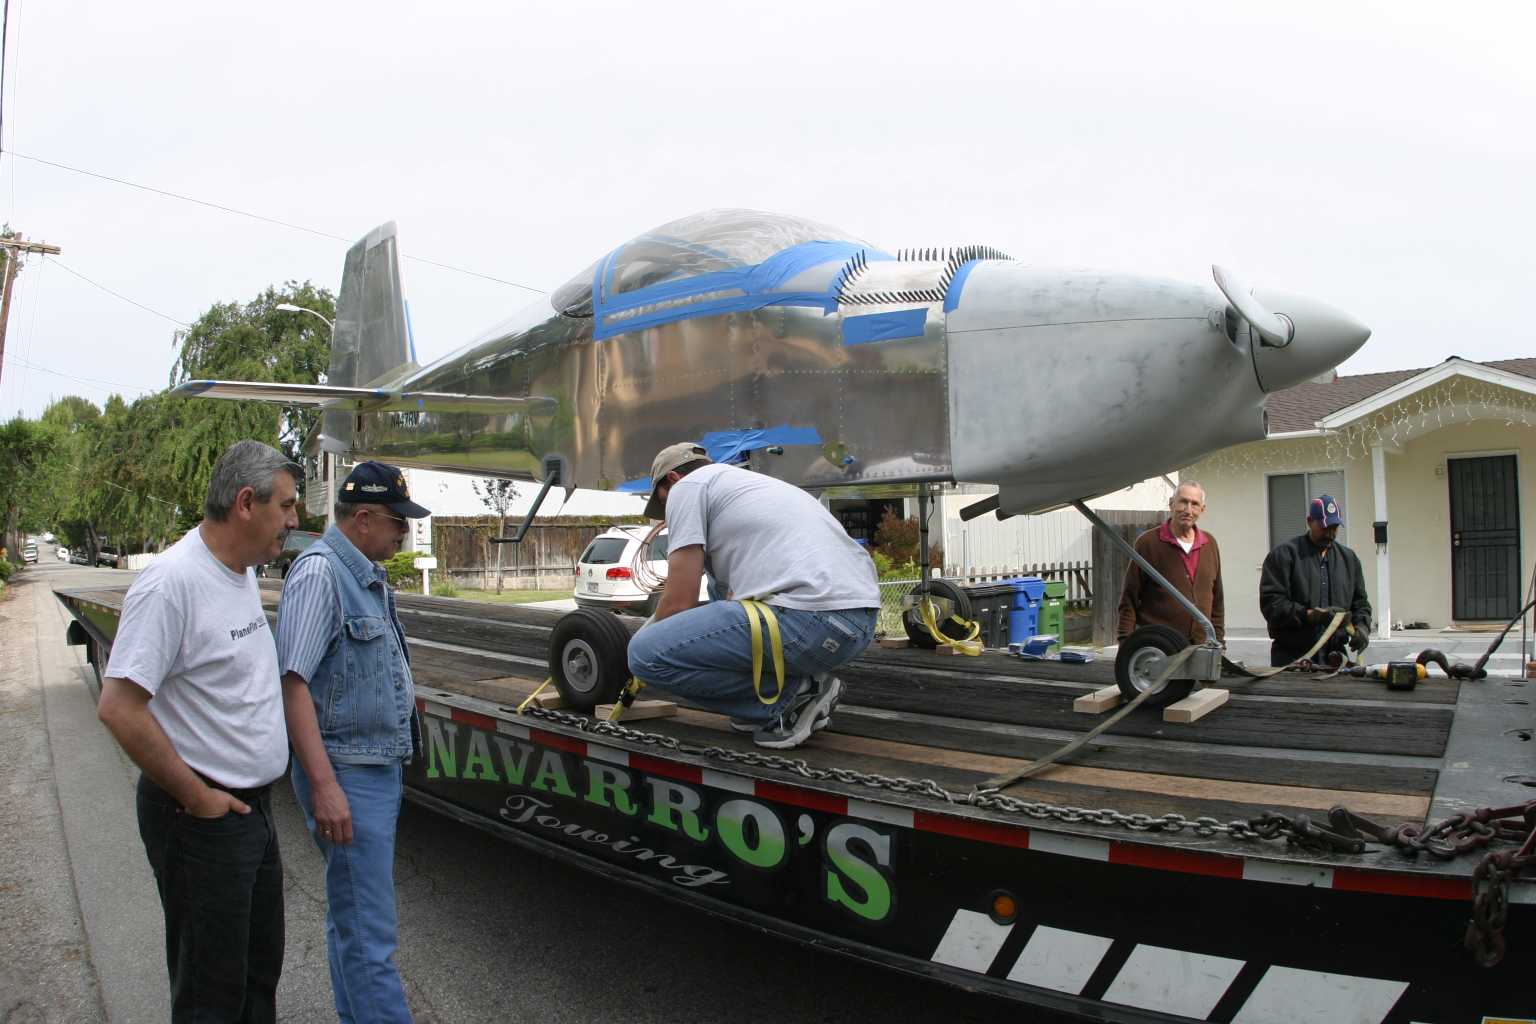
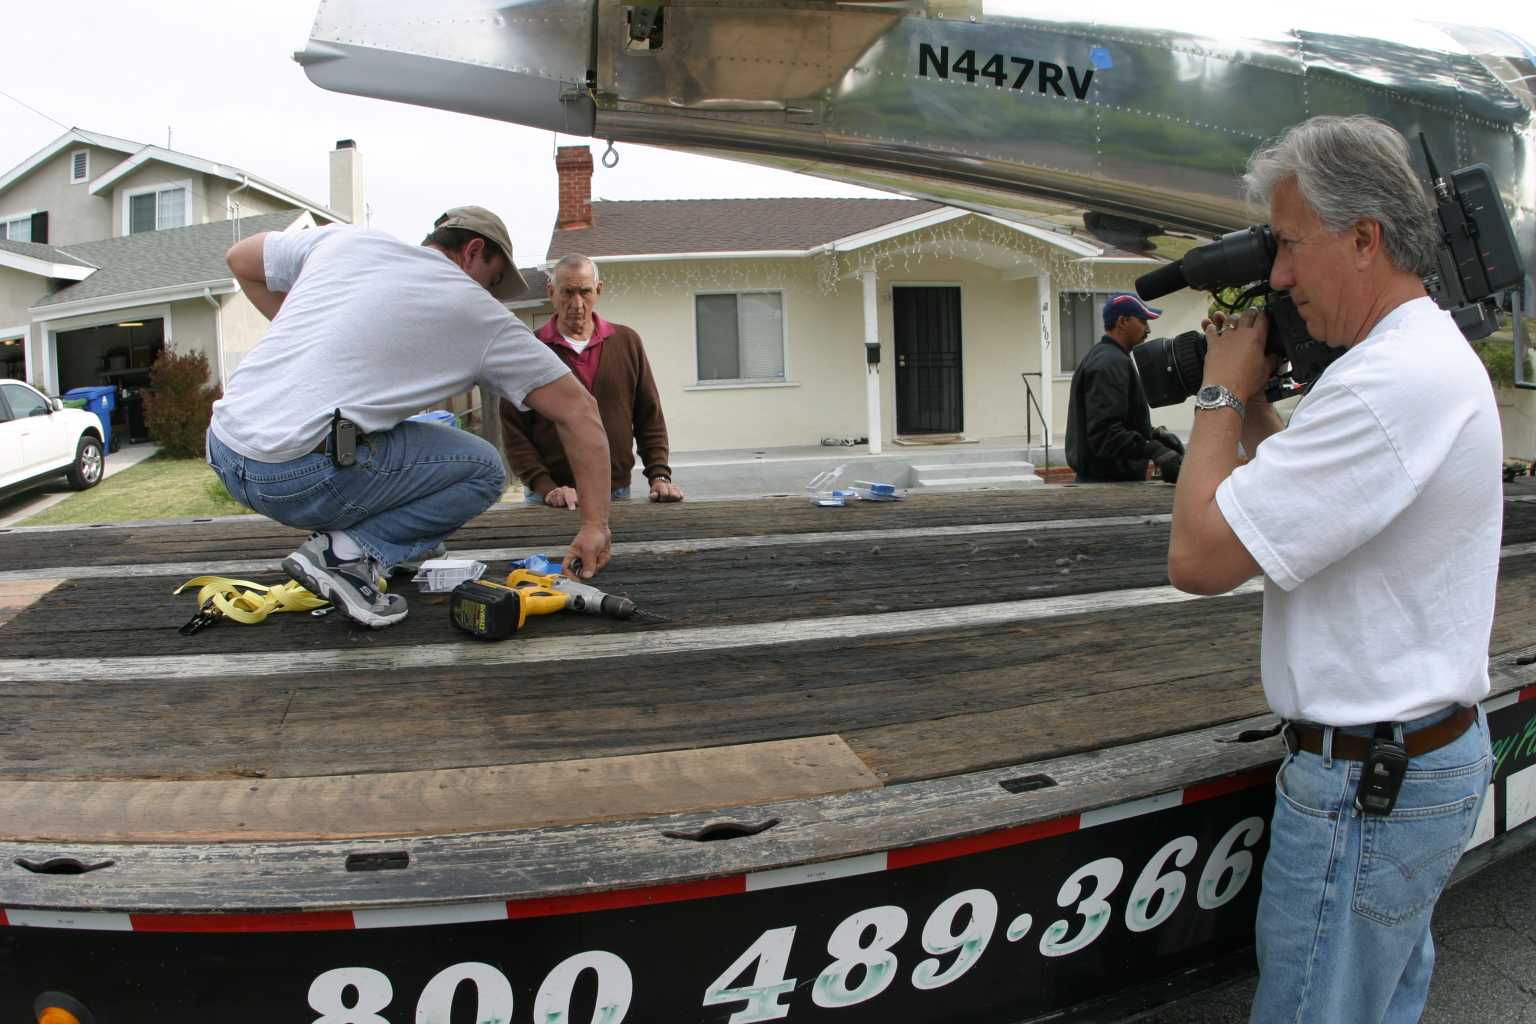
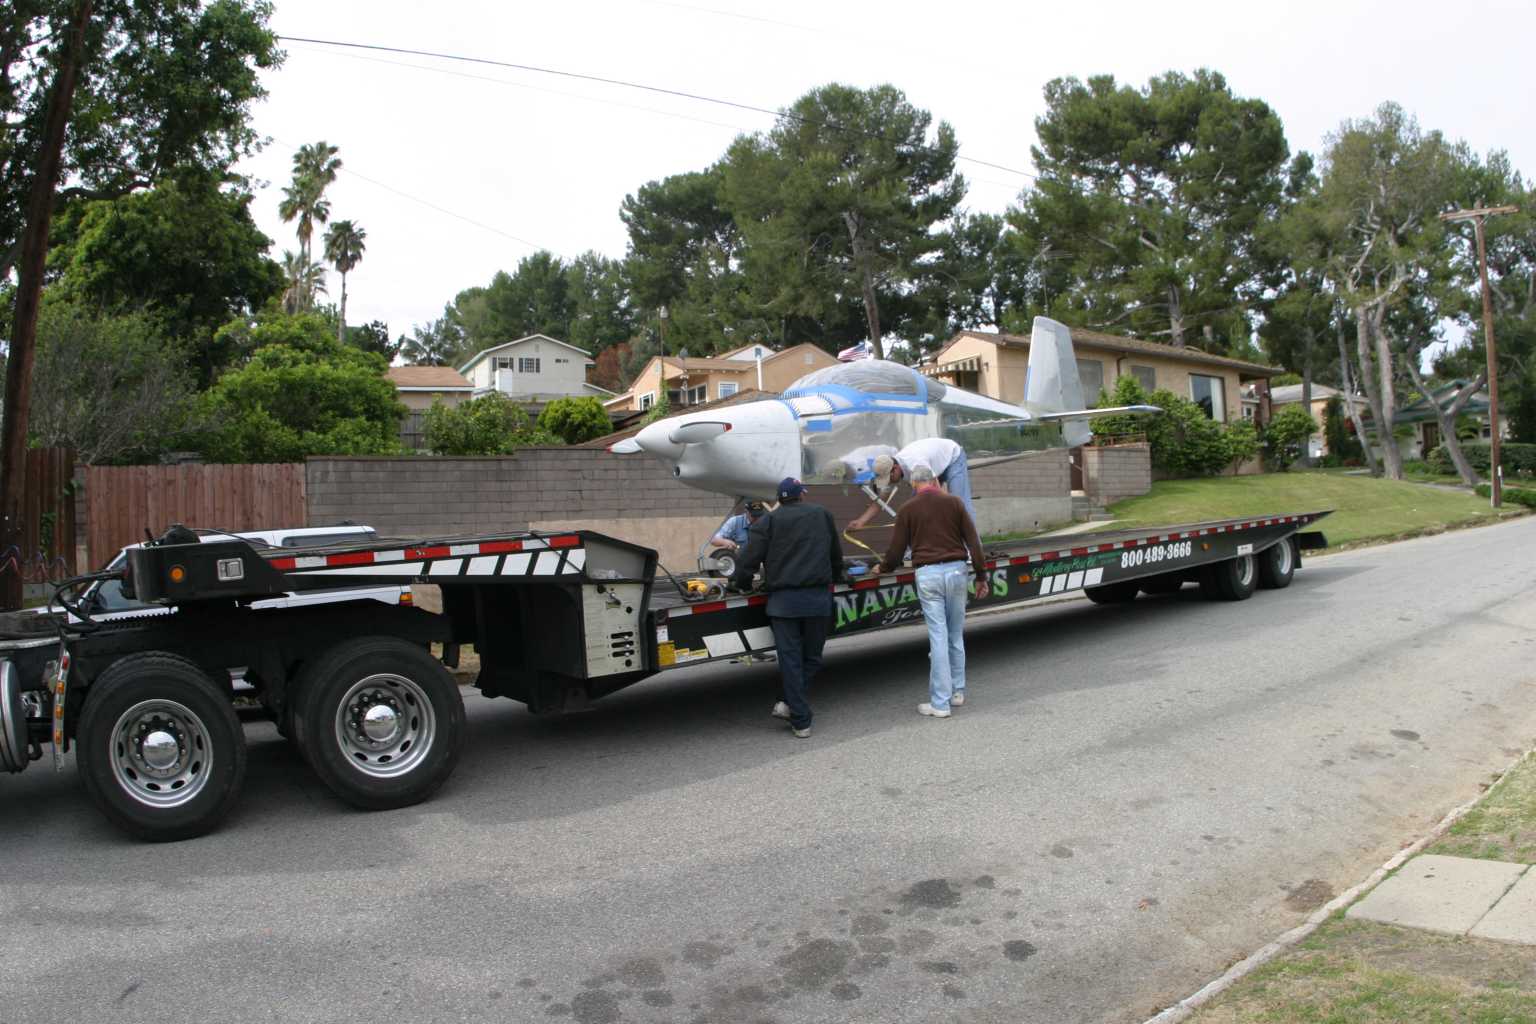
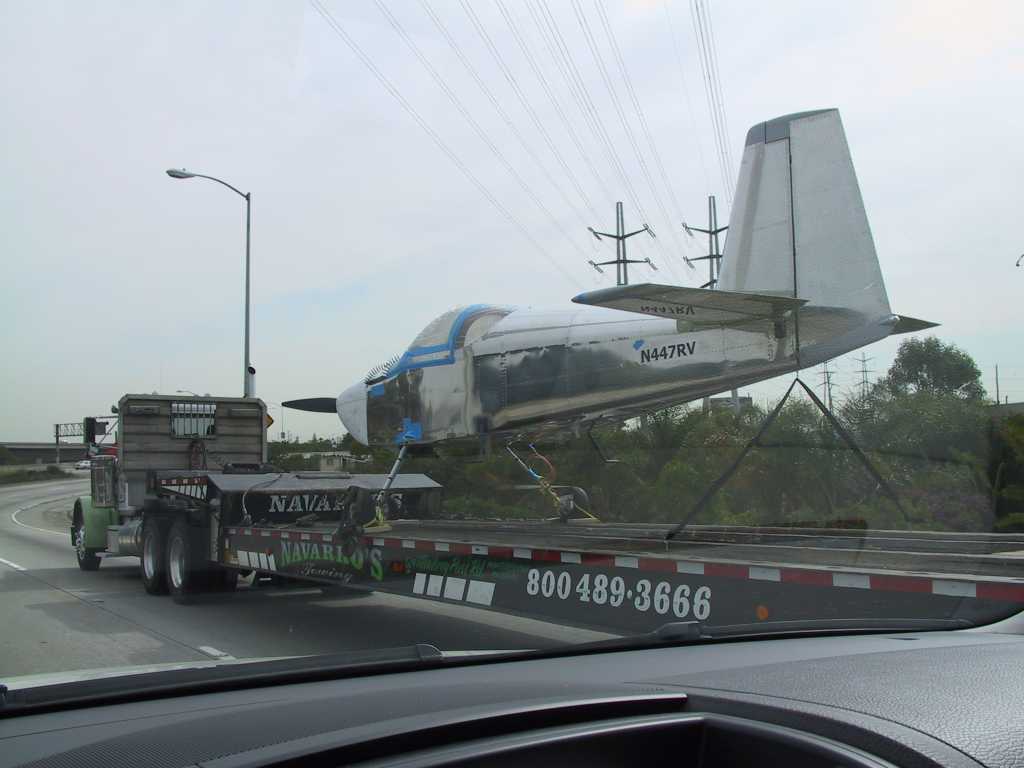
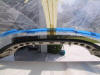
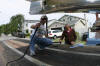
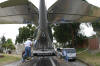
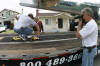
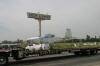
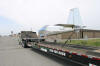
Ok, the truck, oops, I mean Semi! If you every need to
move an airplane anywhere in the LA Basin, with or without wings on Navarro's
Towing is who you want 1-800-489-3666. Turns out they do this kind of
stuff all the time. And I can say that they did an absolutely fantastic
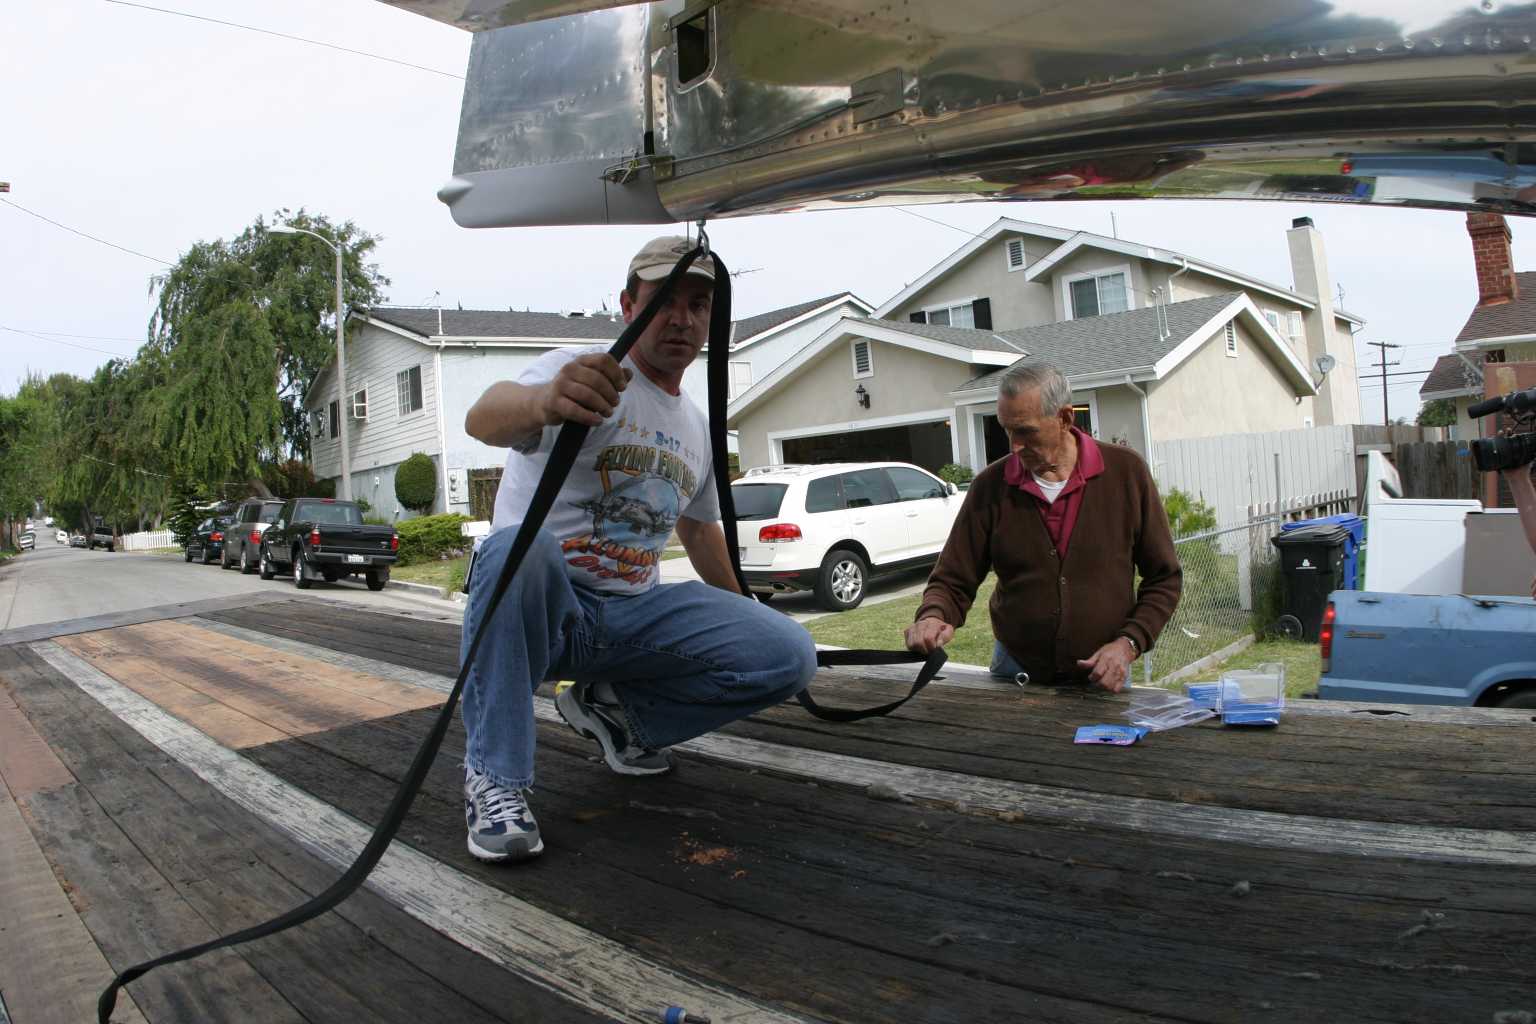
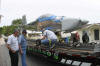
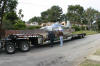
job. Here's what you get; A semi towing a tilting bed, low-boy
trailer, with a wood deck so you can drill and screw tie downs into it until you
are blue in the face. The trucks on the trailer move forward hydraulically
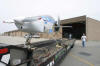
and the rear end comes down flush with the street. It's so low that it
only took three of us to drag the plane up onto the ramp and all the way
forward. We drilled wood 2x4 blocks in front and behind each wheel.
Strapped down each wheel with giant straps and tied down the rear to keep it
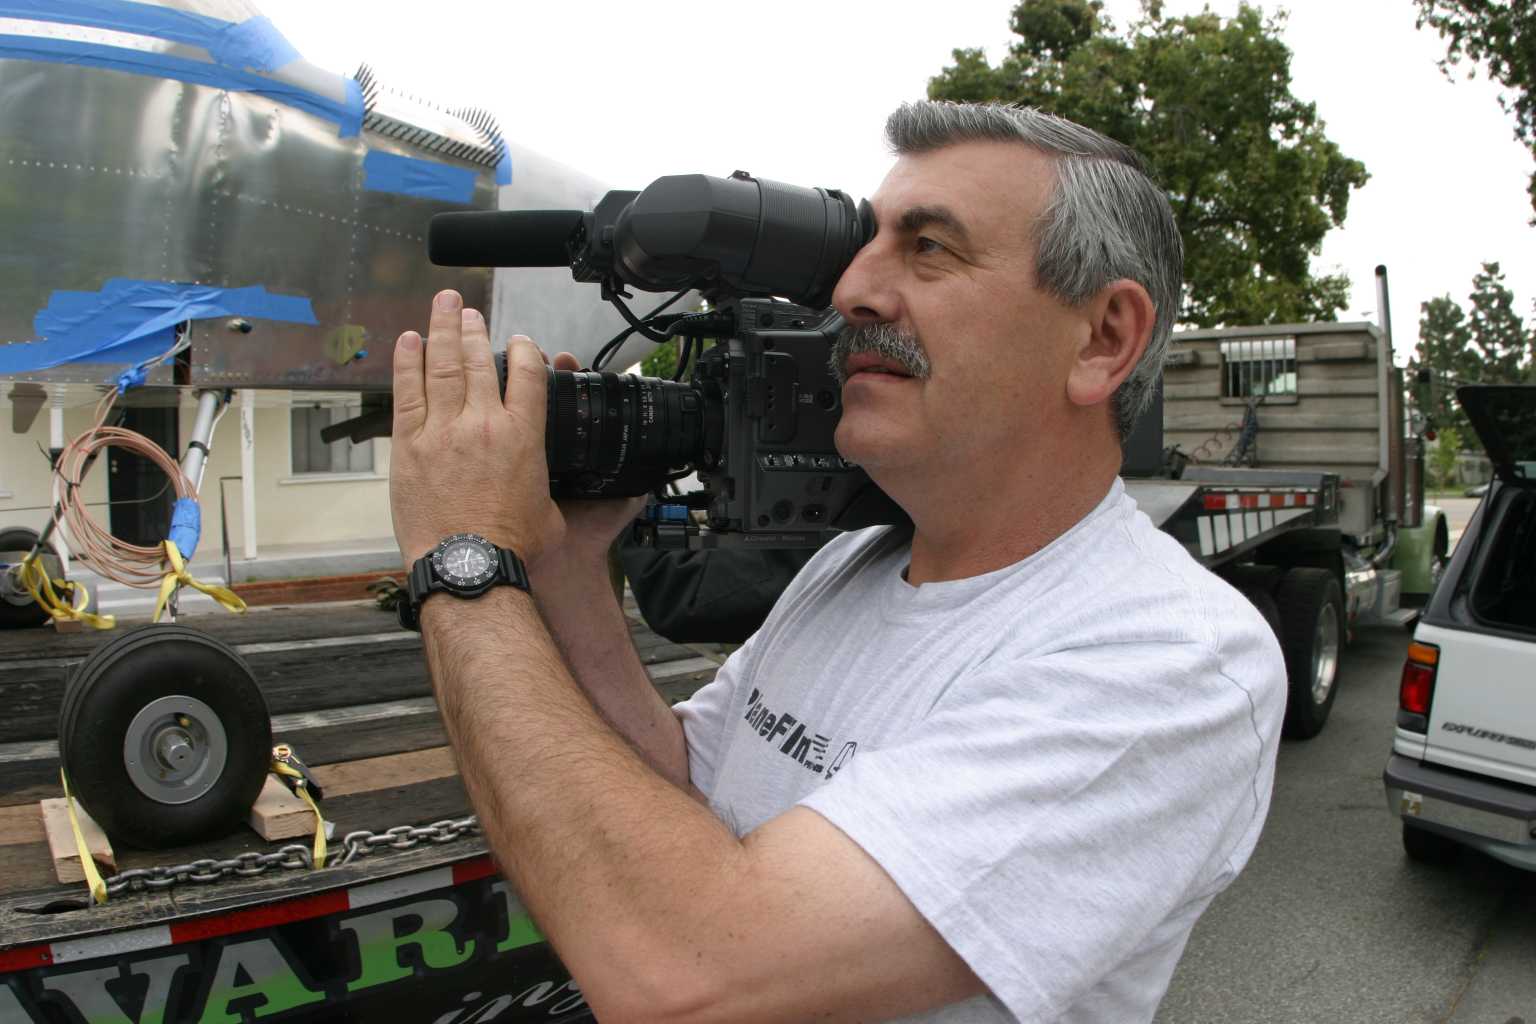
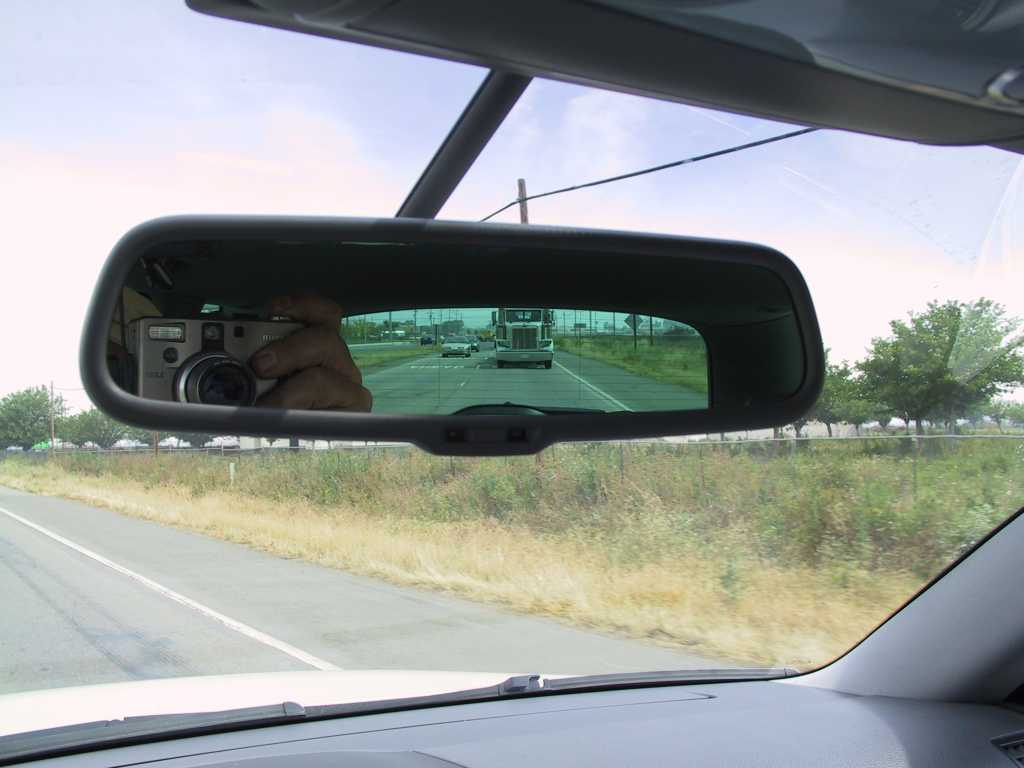
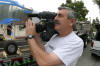
from swinging from side to side. Of course, with David and Mike and my dad
on the job, there was a lot of cameras snapping and some heavy duty filming gear
spinning away.
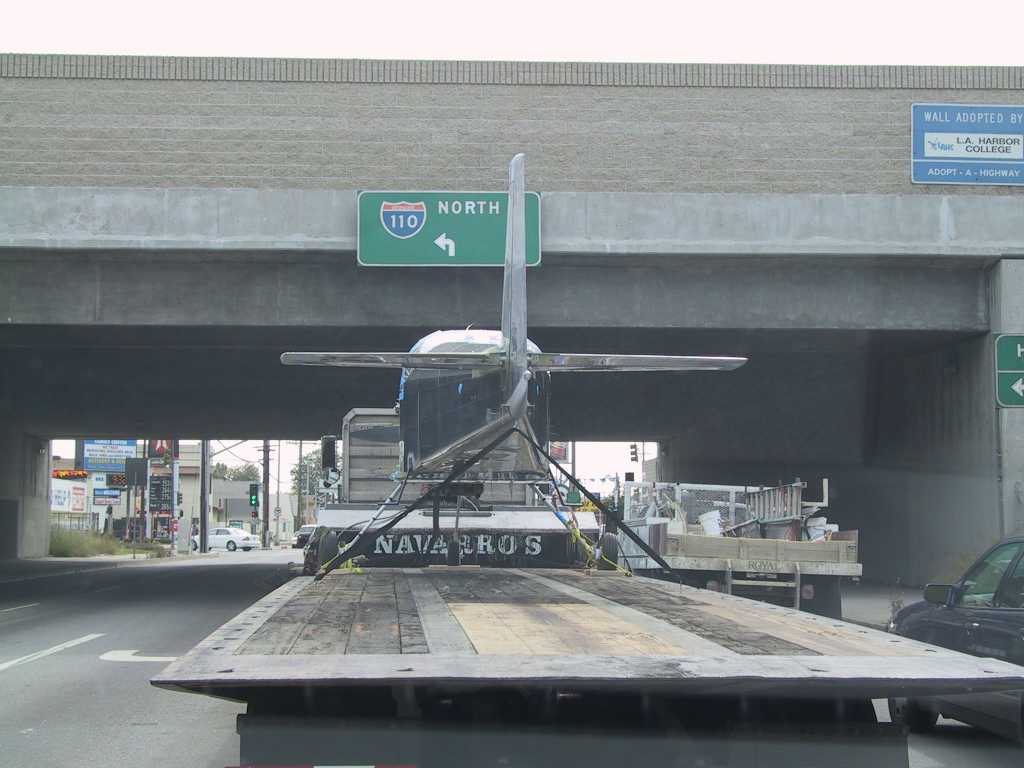
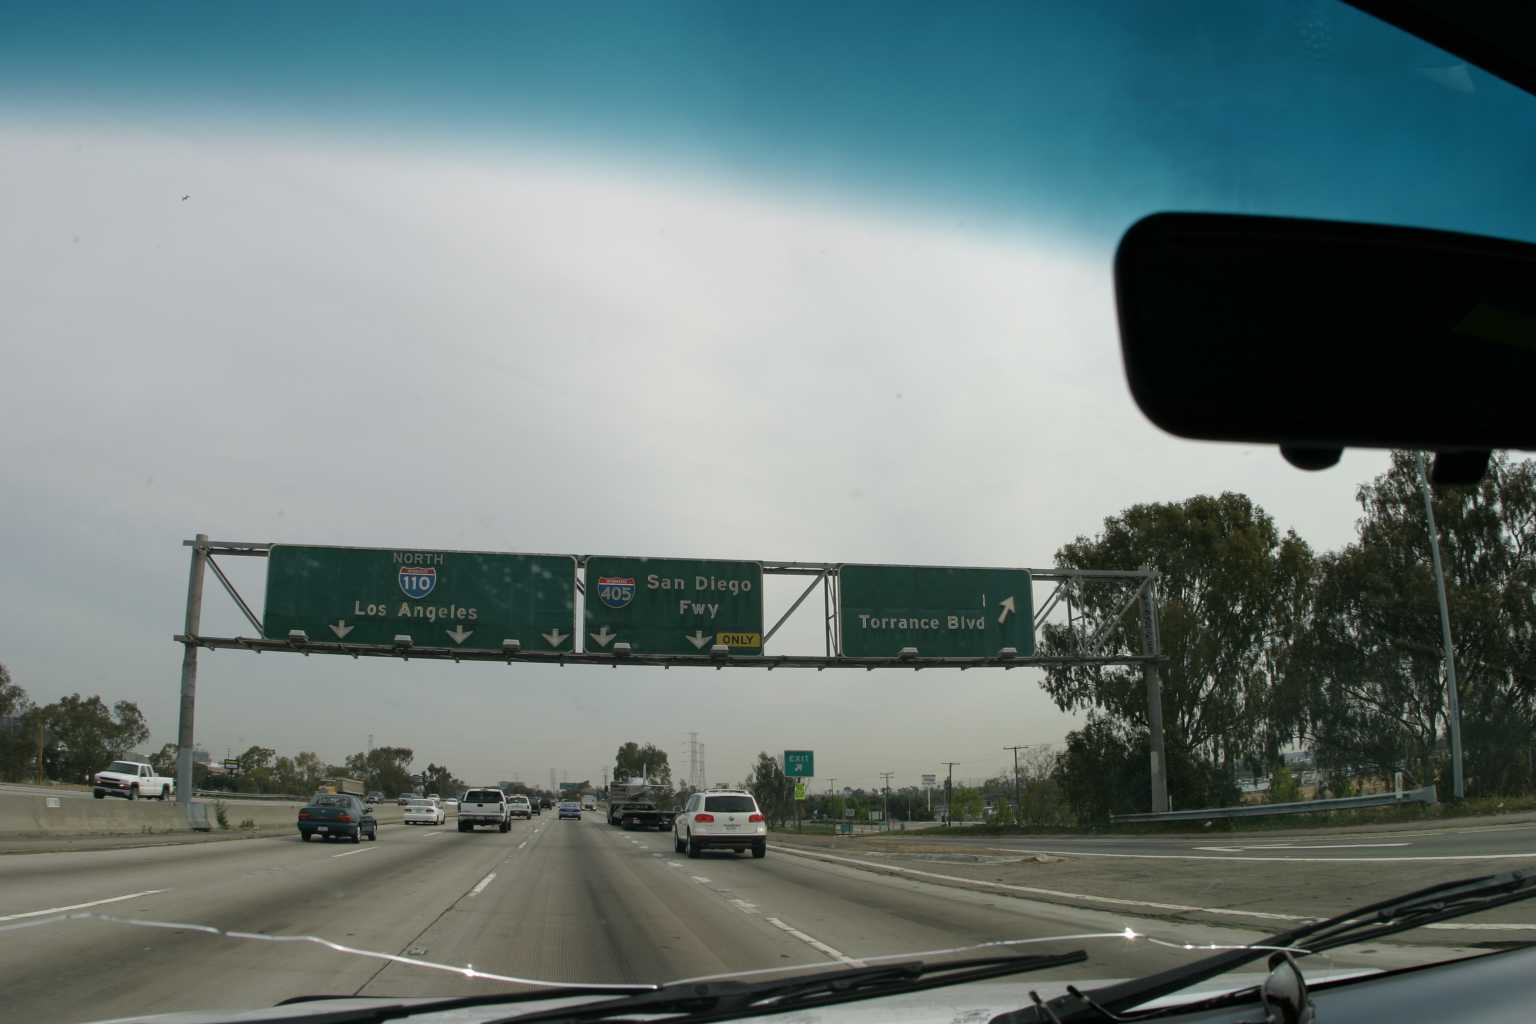
Ok, lets get on the road.
 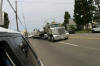 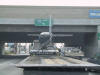 
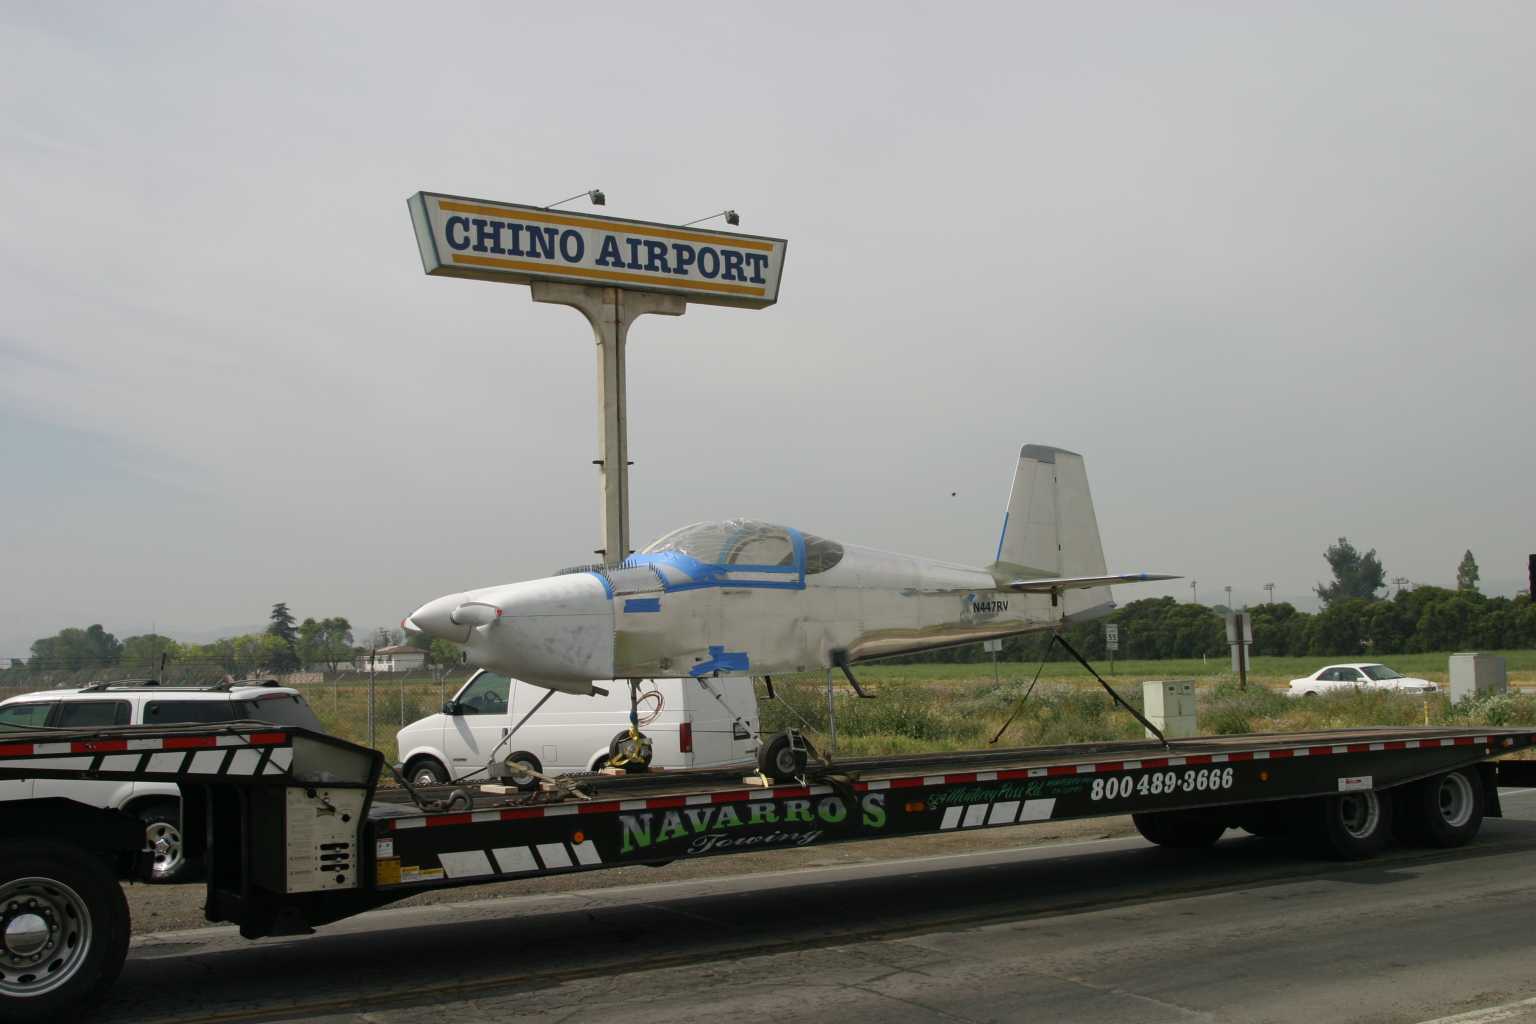
Guess where we are now!
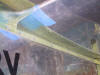
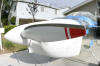
Taking off all that blue tape and the plastic on the bubble
too.
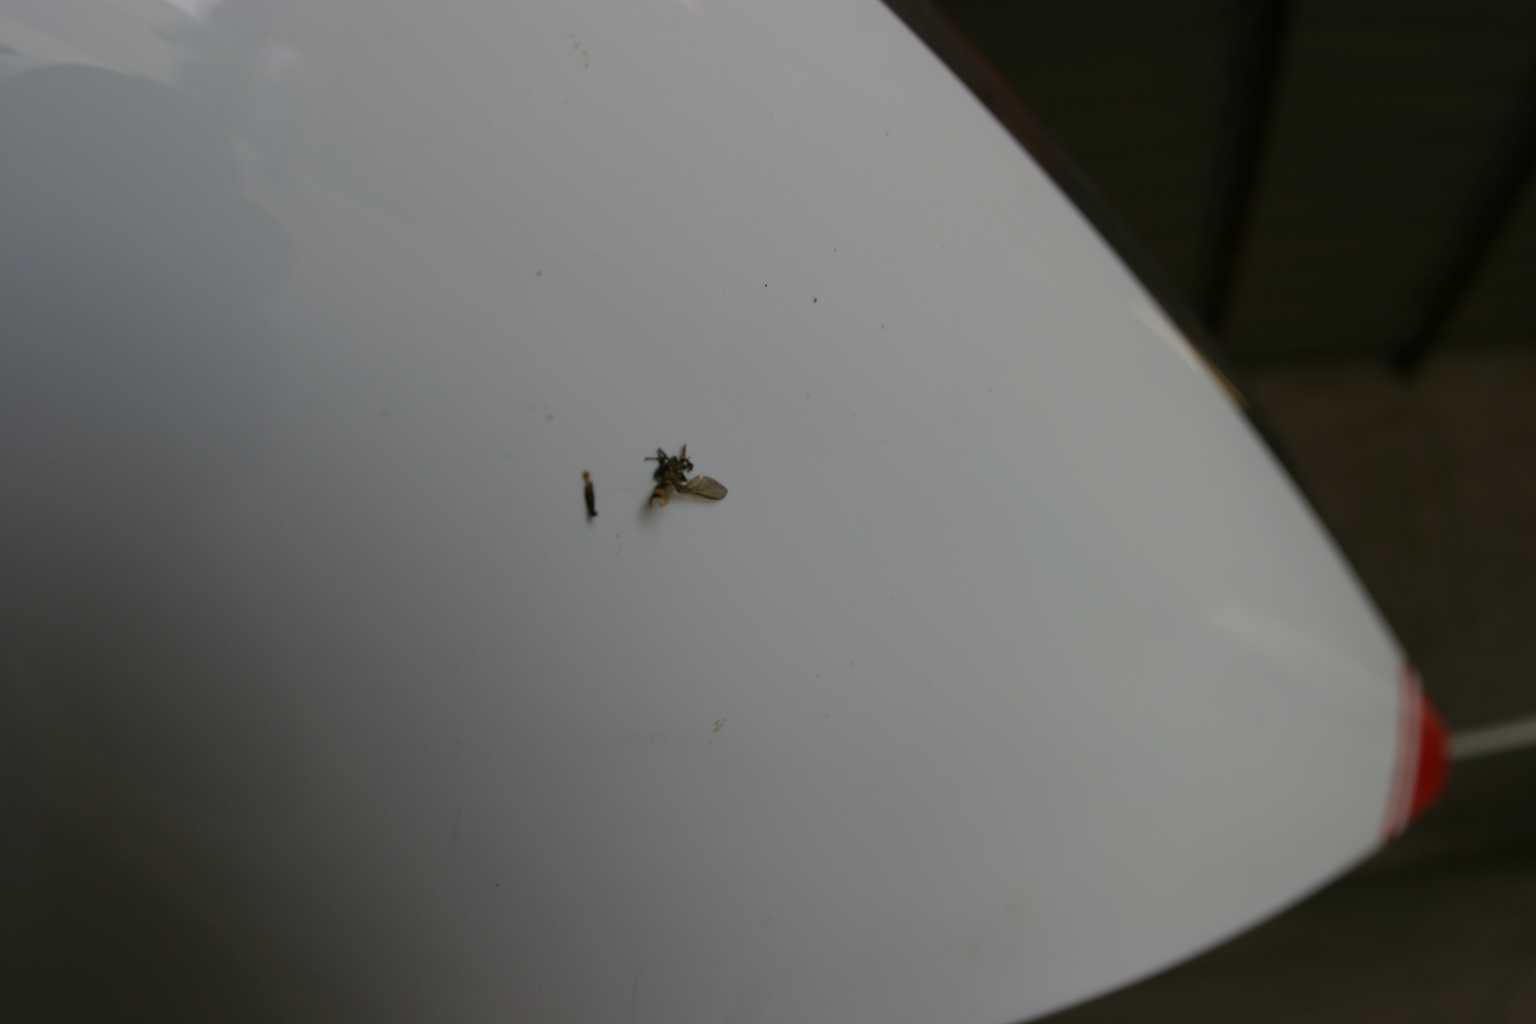
I'm not even flying yet and the chino flys have made their
attack.

Thanks too all of you that helped to make this a safe,
enjoyable day, especially you Dad. Without your help I would still be
pounding rivets. Later that day we had a BBQ and we all got drunk.
:) The End.
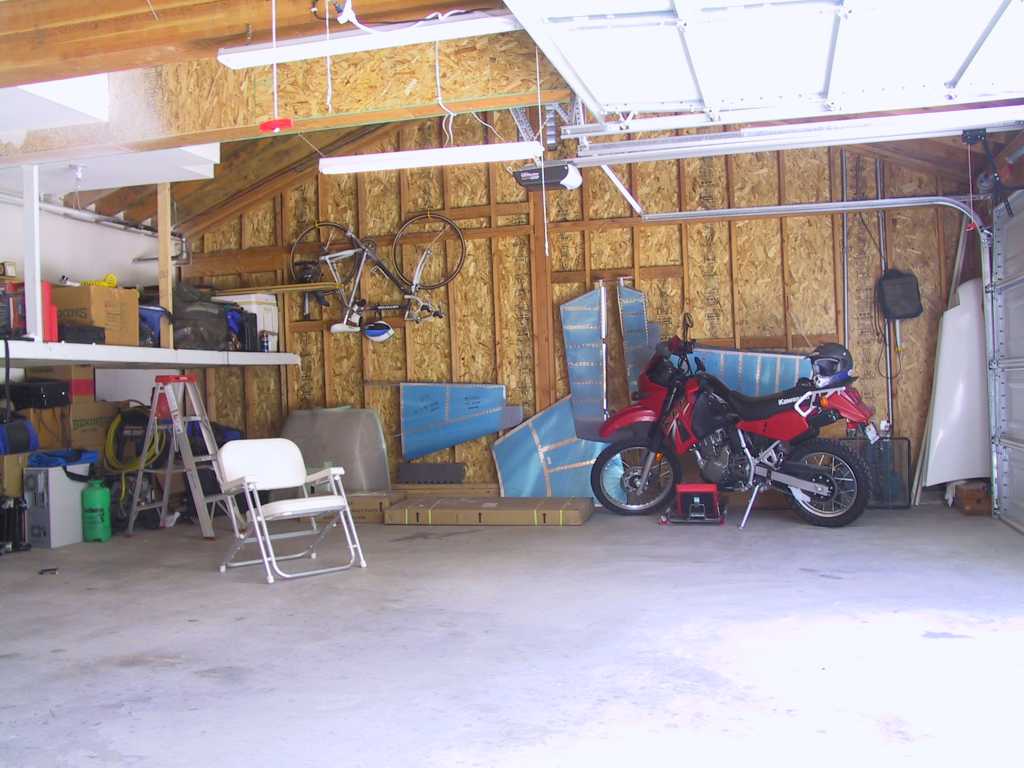
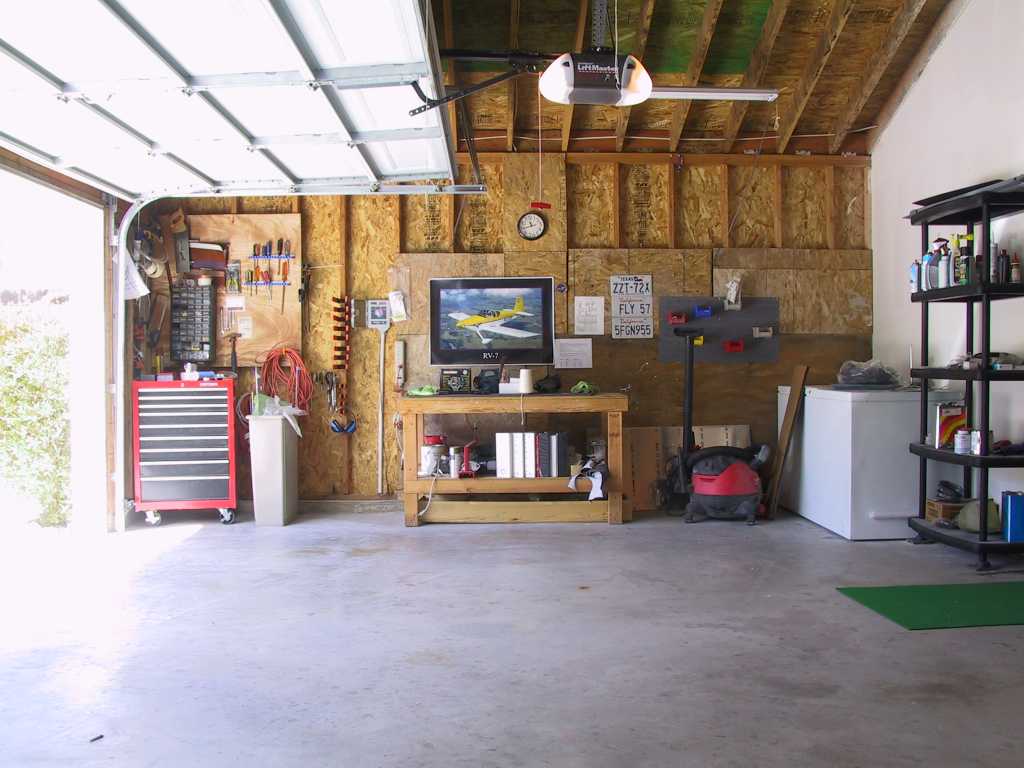
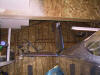
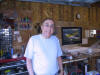
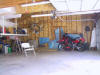
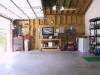
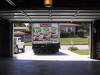
Except for this. I actually parked my car in the garage
for the first time in well over one year. Spookey though to come out in
the garage and see a car, very weird indeed. The aircraft parts on the
wall are David's. At least there's something aviation related in here.
  |
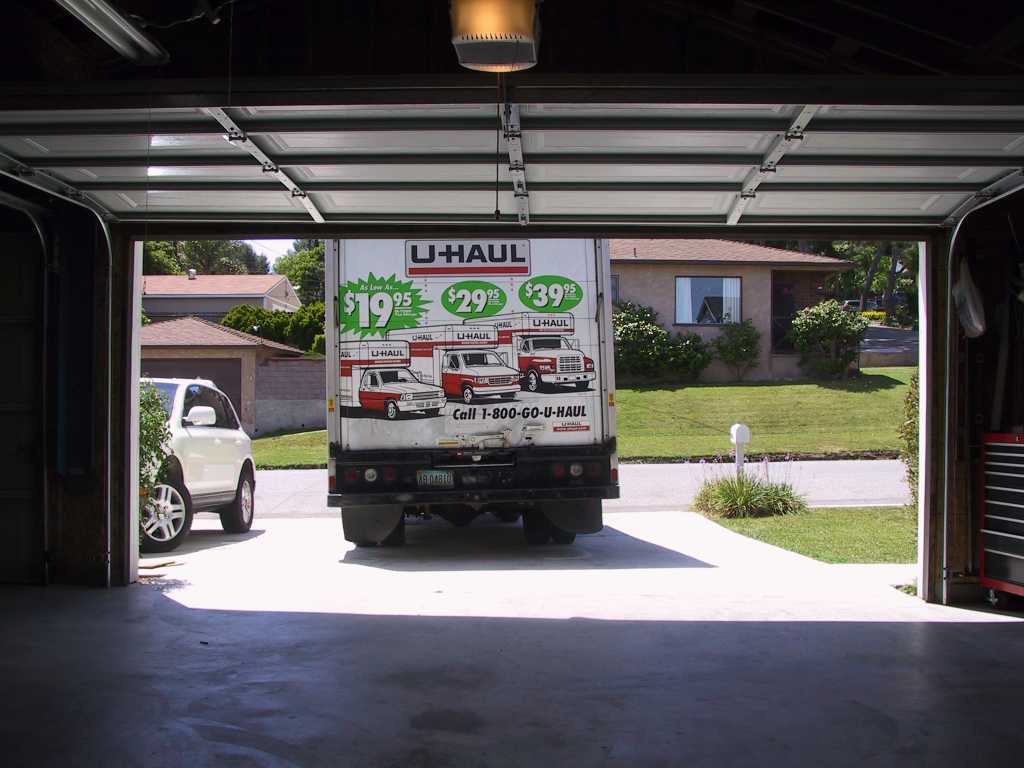
| 4/24/05 |
Today we got up (slowly) and got all the rest of
the tools, workbenches, misc parts, and whole bunch more crap and stuffed it
into a U-haul and dragged it to the hangar. Boring and painful.
 |