| 7/24/04 |
Today was going to be a fun day. Dan was coming over
to David Richardson's place to check out his wing (which is very
well
done), then he was going to pop over here and do a TC visit on my bird.
David and I went to Torrance airport and chatted with Bill Marvel for a bit.
We heard Dan on my portable radio asking for the option. As we
driving to the transient ramp, here comes Dan, hauling ass, low pass and
pull up at speed. Very nice. You gotta love these airplanes and
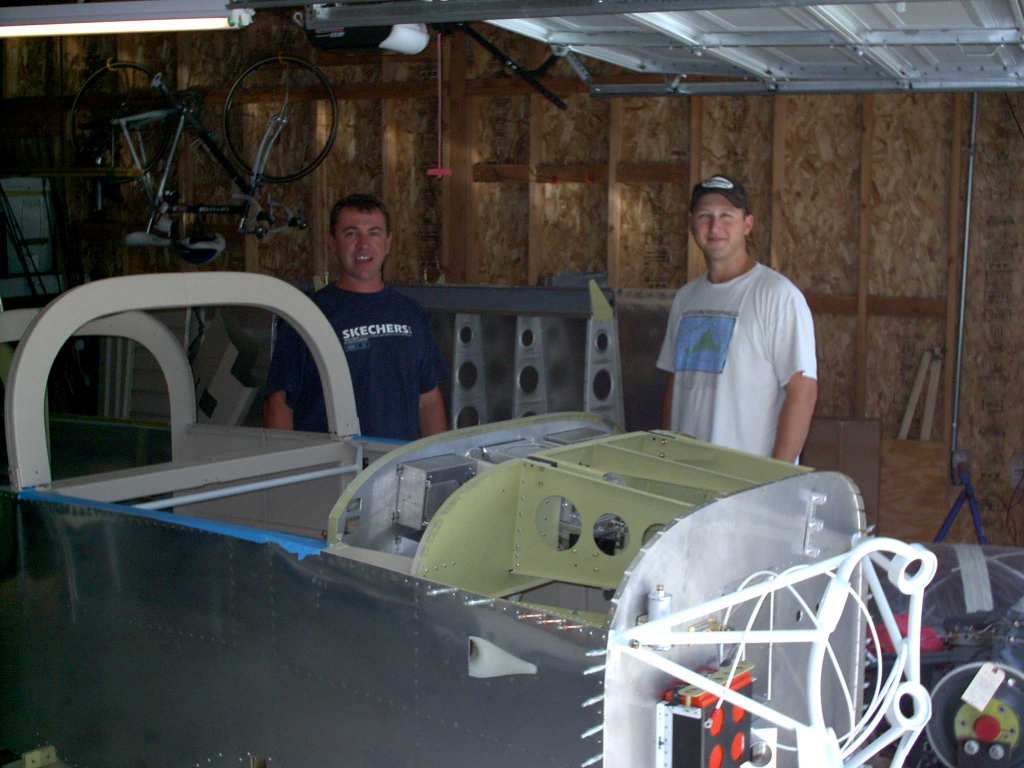
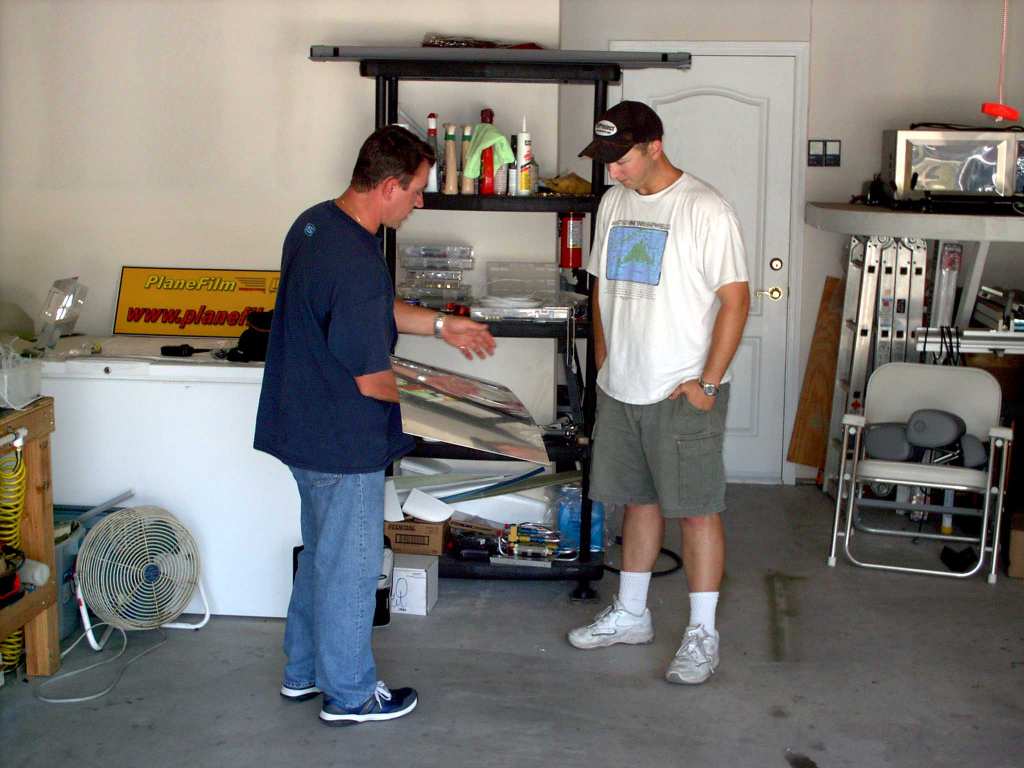
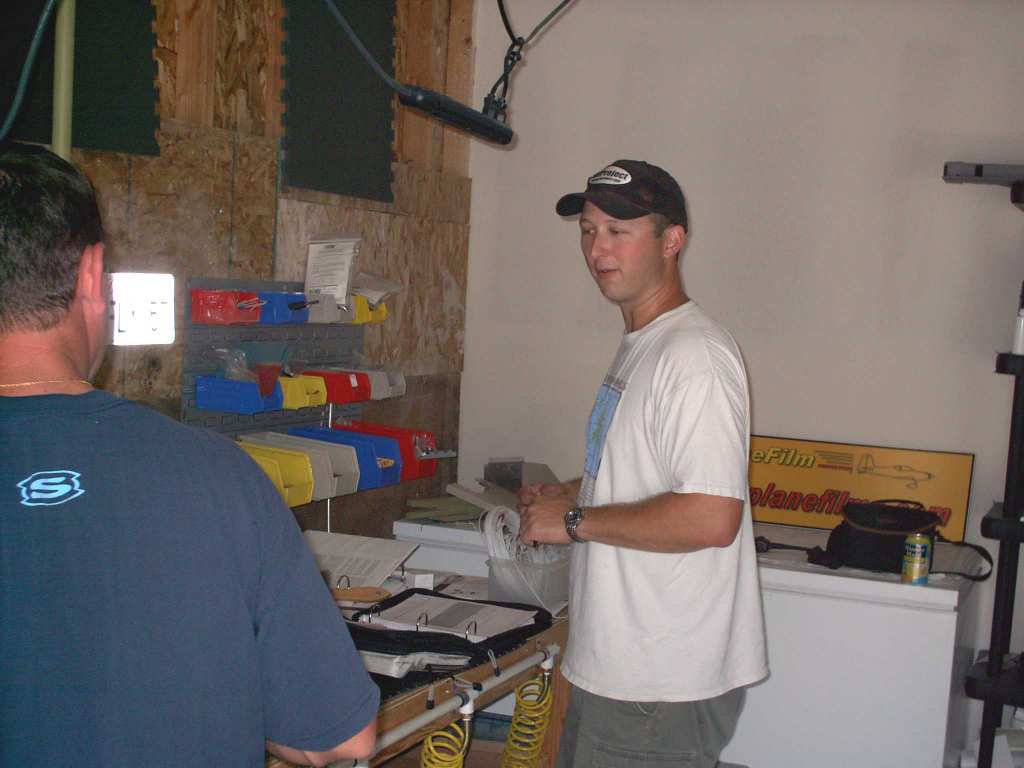
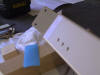
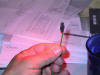
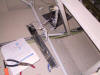
Dan certainly knows how to drive 'em. Anyway here's Dan checking out my
plane.
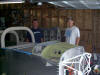  
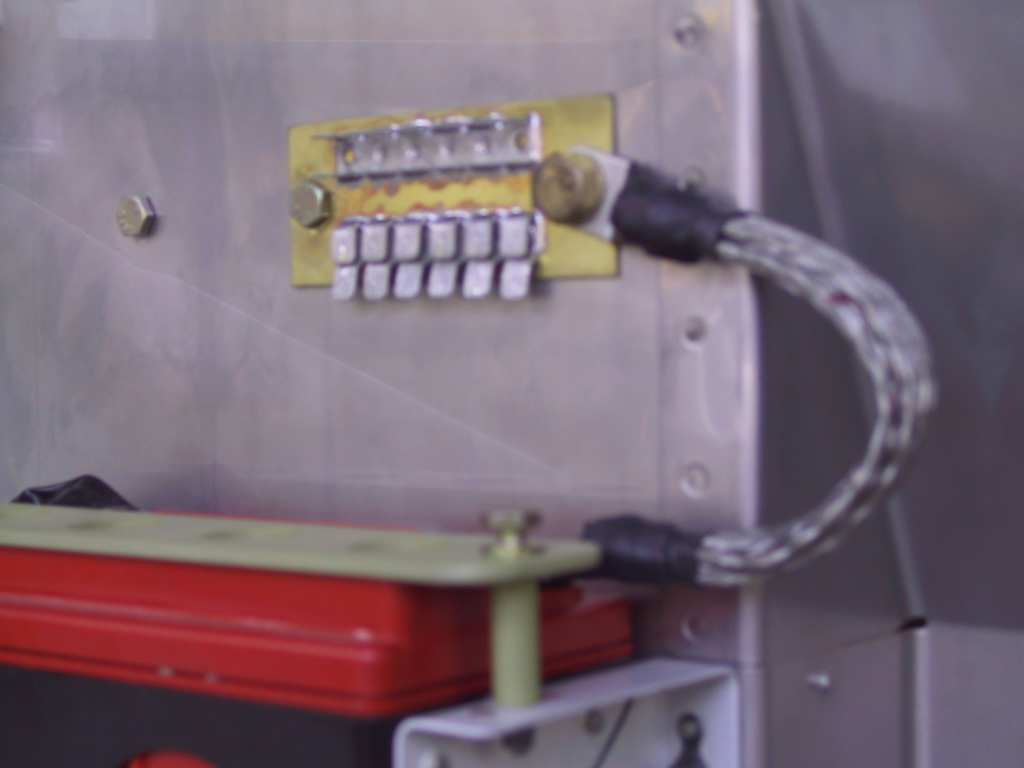
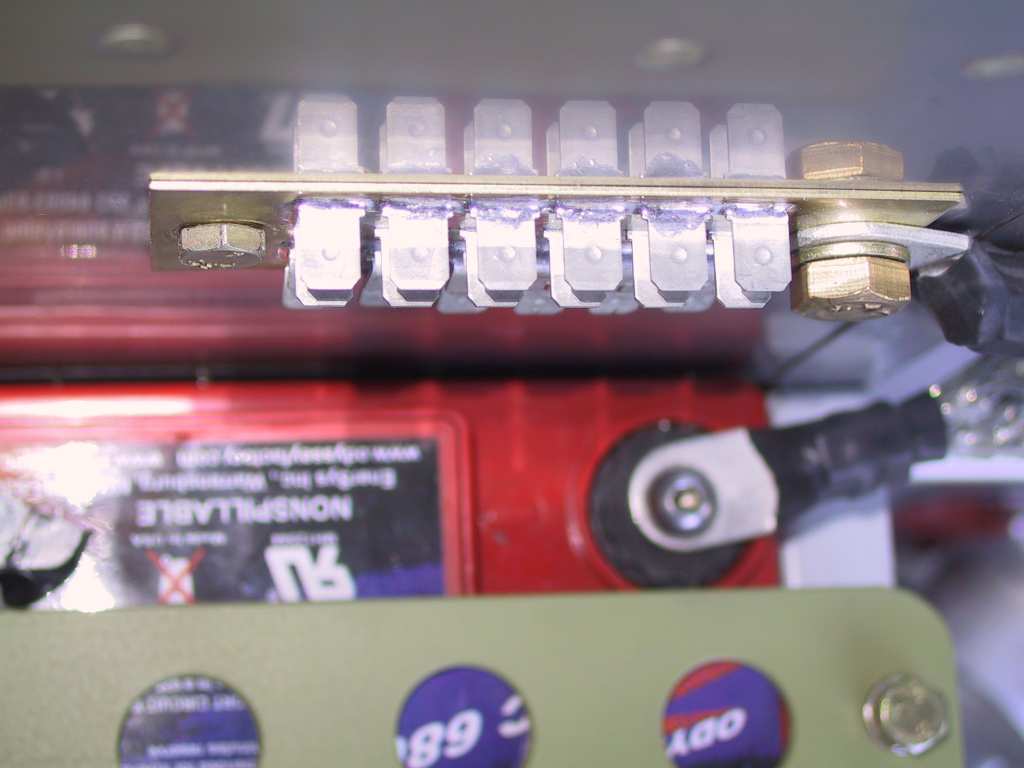
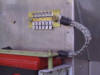
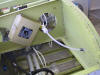
Dan had some great comments and I've since implemented all of his
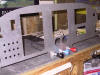
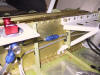
recommendations. First, he asked me how I am planning to get the
battery out of the box with the 24-tab ground block in place? Crap!
Dan indicated that he didn't use any of the ground tabs forward of the
firewall so I squashed the bottom row and flipped the orientation of the
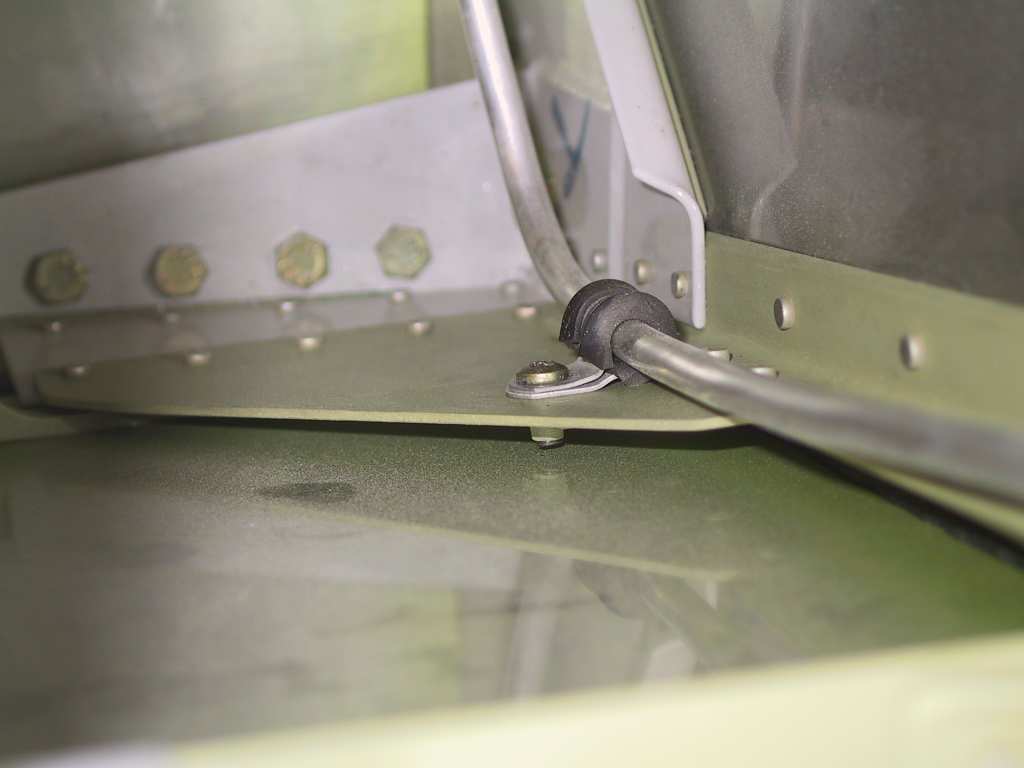
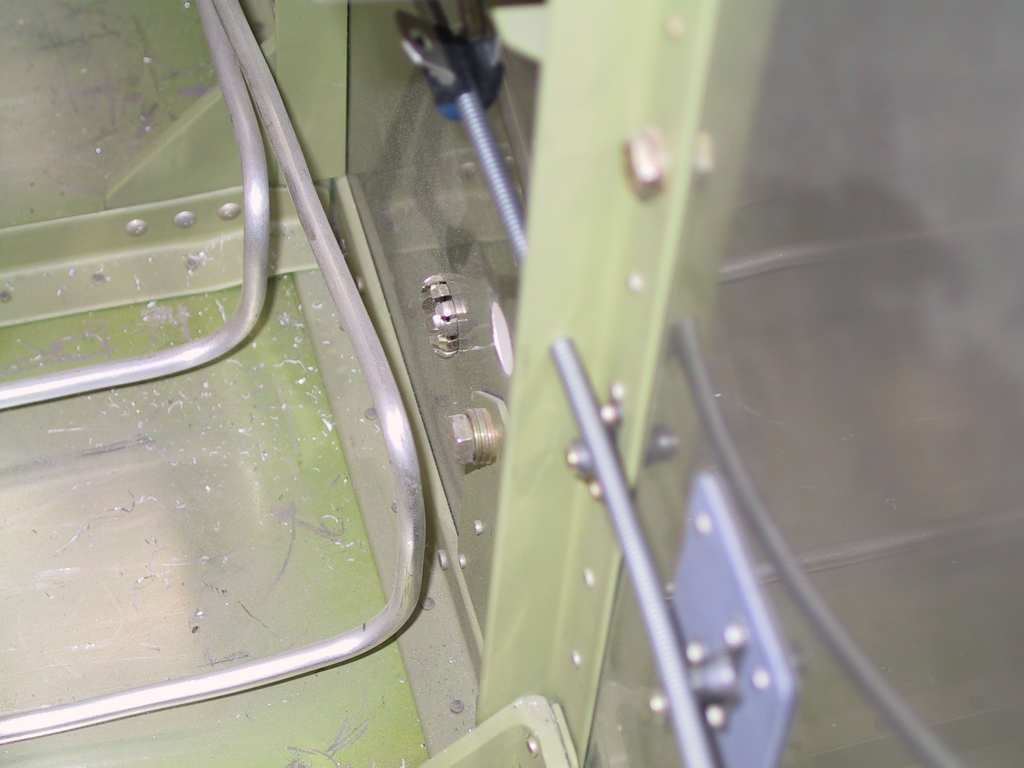
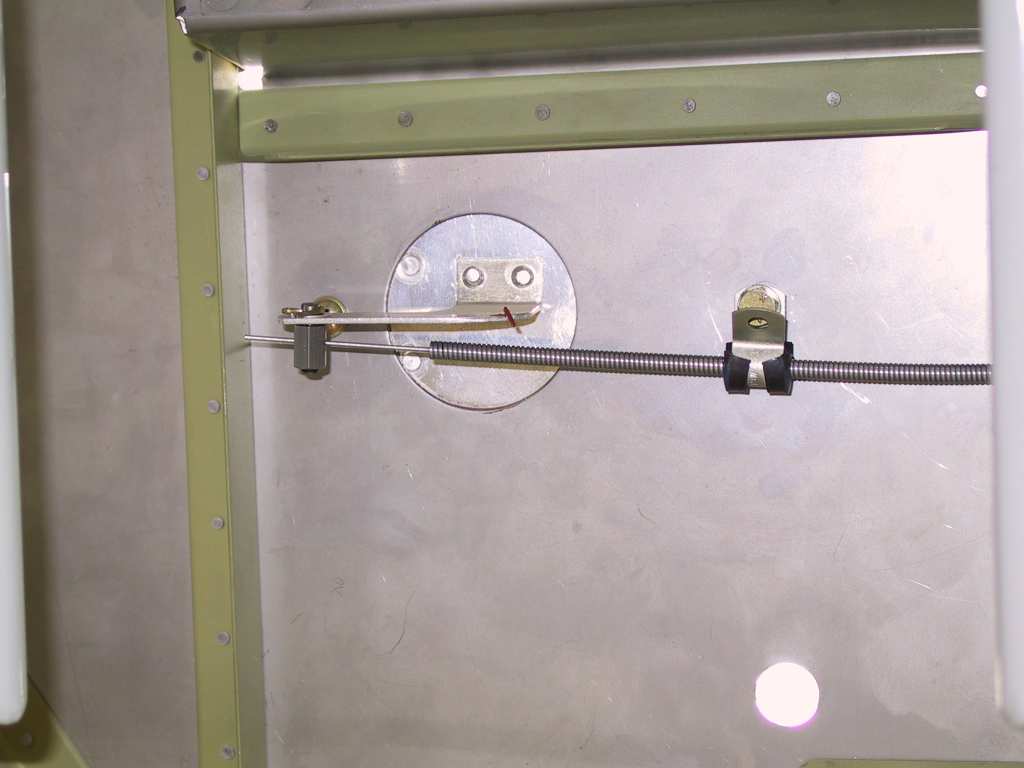
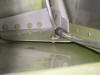
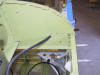
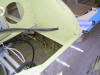
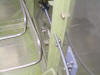
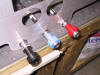
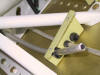
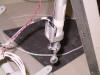
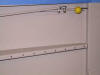
bolt. Battery goes in and out now. Next he recommended that I
place fuel line pass-through grommet on the outside as it would be a better
weather sealant in this position. And then grind the screw a bit so it
doesn't touch or get too close toe the side skin. This is the Adel
clamp holding the fuel vent line at the bottom right and left of the forward
fuselage.
Side note: Unfortunately, this weekend sucked as far as real work goes.
My pager kept going off all day Sat and Sun. So, even though Dan was
very generous and offered to take me up, I had to decline so that I could
sit in front of the darn computer instead. Somedays... Ugh.
This afternoon I decided to plunge head first into the wiring morass.
   |
| 7/25/04 |
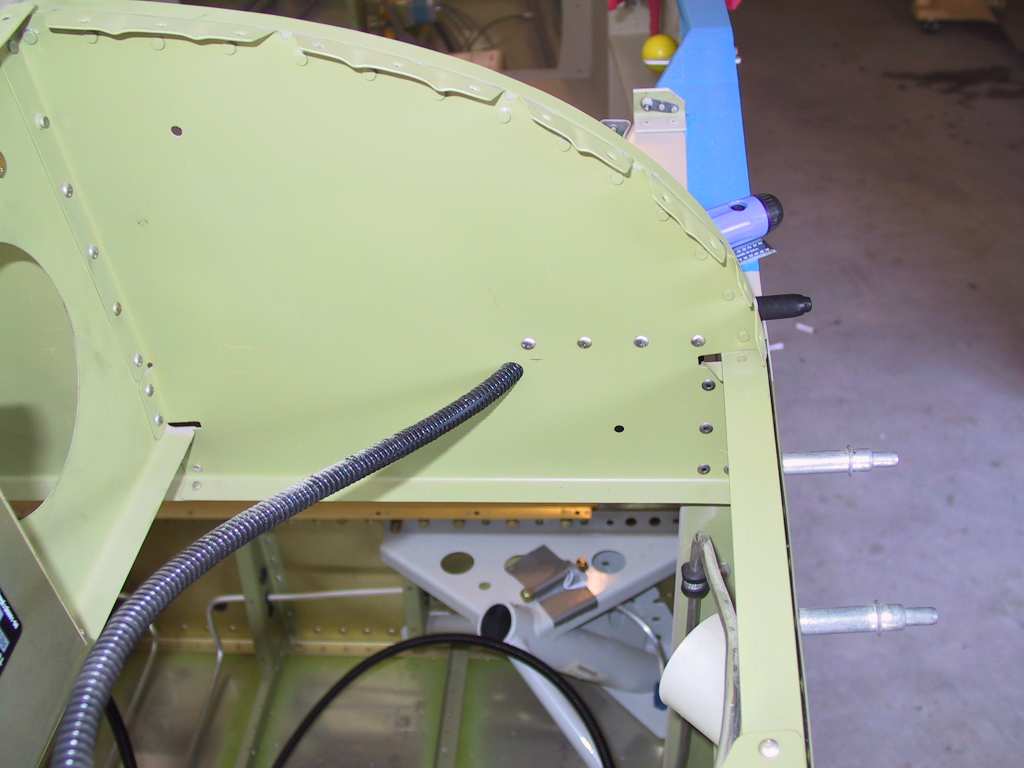
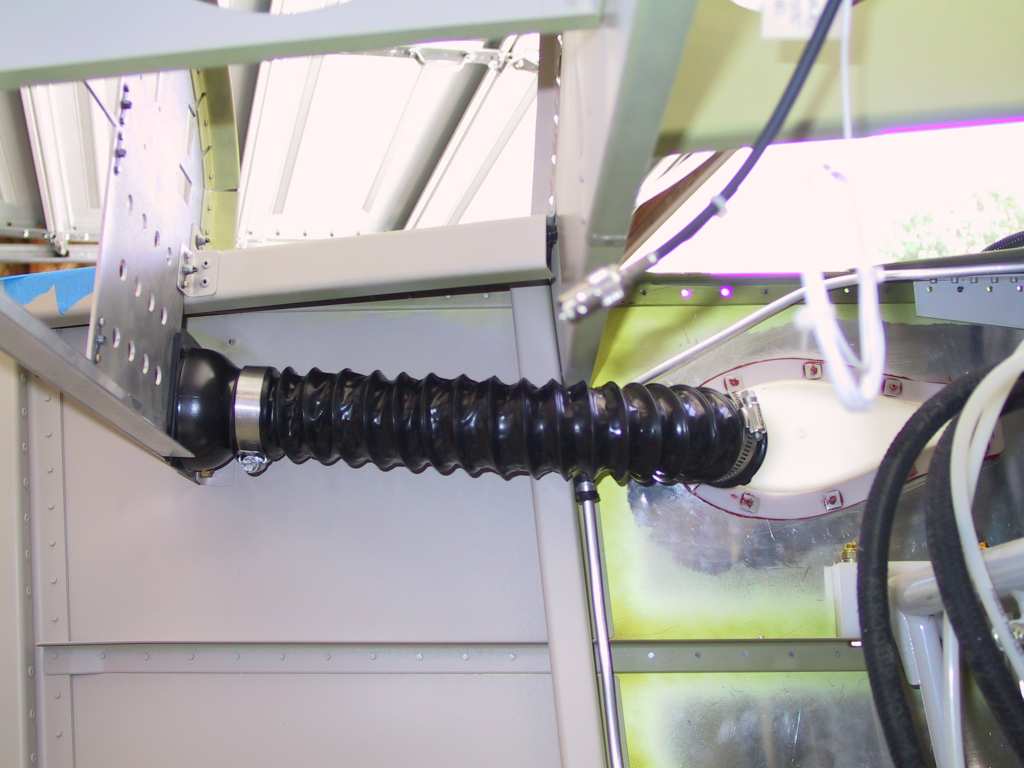
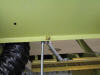
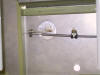
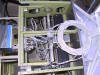
I'm running both the pitot and static lines under the F-721
forward canopy decks. I drilled a hole in the sub panel to allow the
line to exit. All of my pitot static runs are hidden which I like.
Here they are covered with corrugated black ducting.
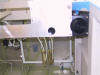
I figured this is as good a place as any for the Sandia altitude encoder.
Notice the static line can run from the sub panel to the Sandia unit and pass
through the lightening hole.
Drilled the hole for the cabin heat control cable on the bottom right of
the panel. Routed the cable to a #12 hole in the firewall stiffener.
Plans say to drill a #10 but then the hole is too big. Fabricated a
small aluminum strap to hold the cable to the underside of the sub panel
directly behind the hole on the panel.
I had one of those little swivel gizmos left over from when I decided not
to install a parking brake. This works out Much better than bending
the end of the cable as Vans suggests.
Installed the cabin air scat tubing.
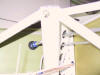
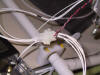
Dan was kind enough to bring over his Greenlee punch and here I've
installed the one-eye swivels into the firewall. The front portion is
out while I try to find a wrench which will fit.
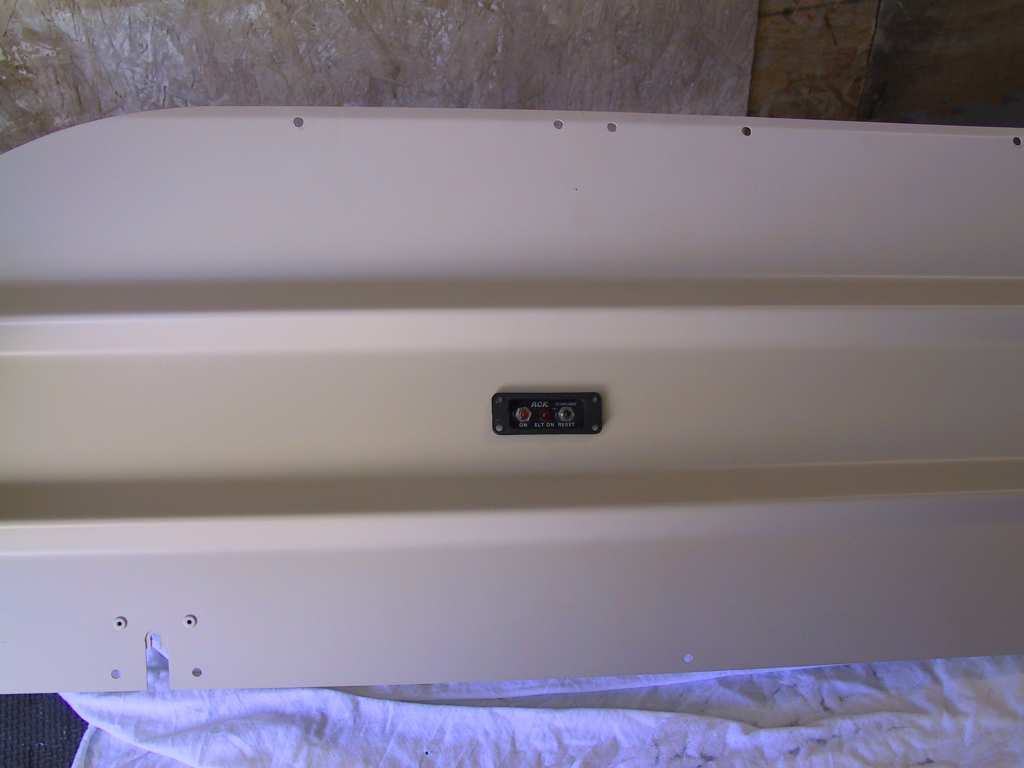
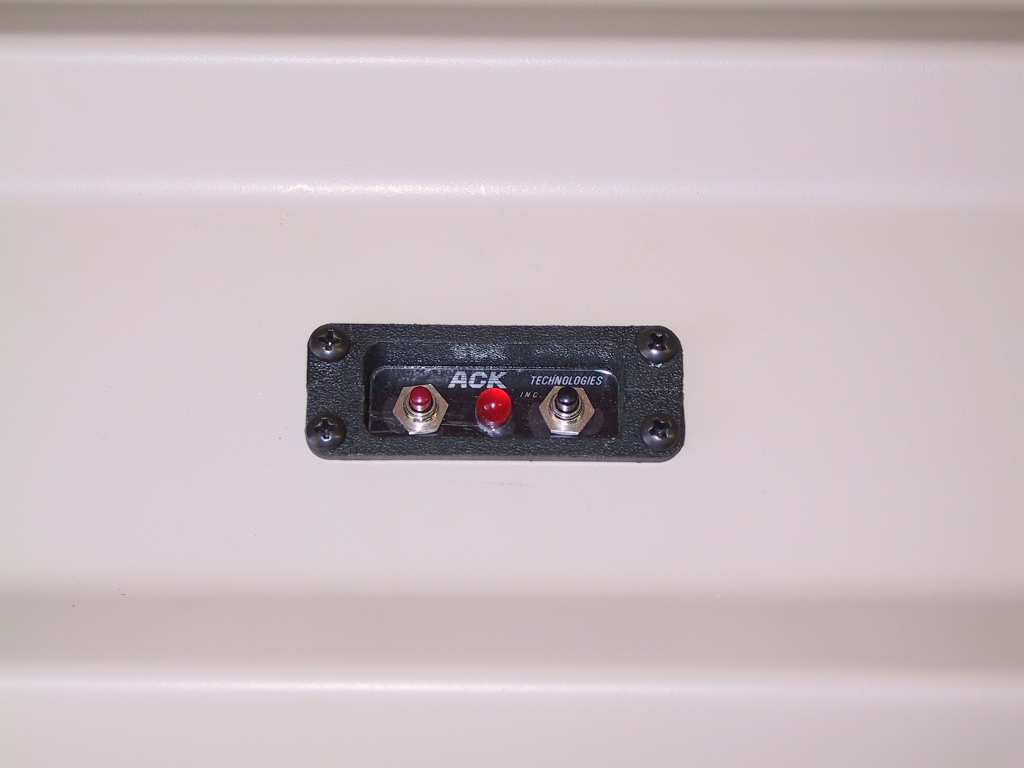
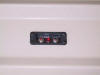
Cut a hole and installed the remote panel for the ACK ELT. I asked
Anjanette at the office to shorten the phone-like cable for this.
Thanks Anj!
There is some rubbing on the WD-617 canopy latch and the bracing for the
flap housing. This is common. I placed a strip of UHMW tape on
the flap housing.
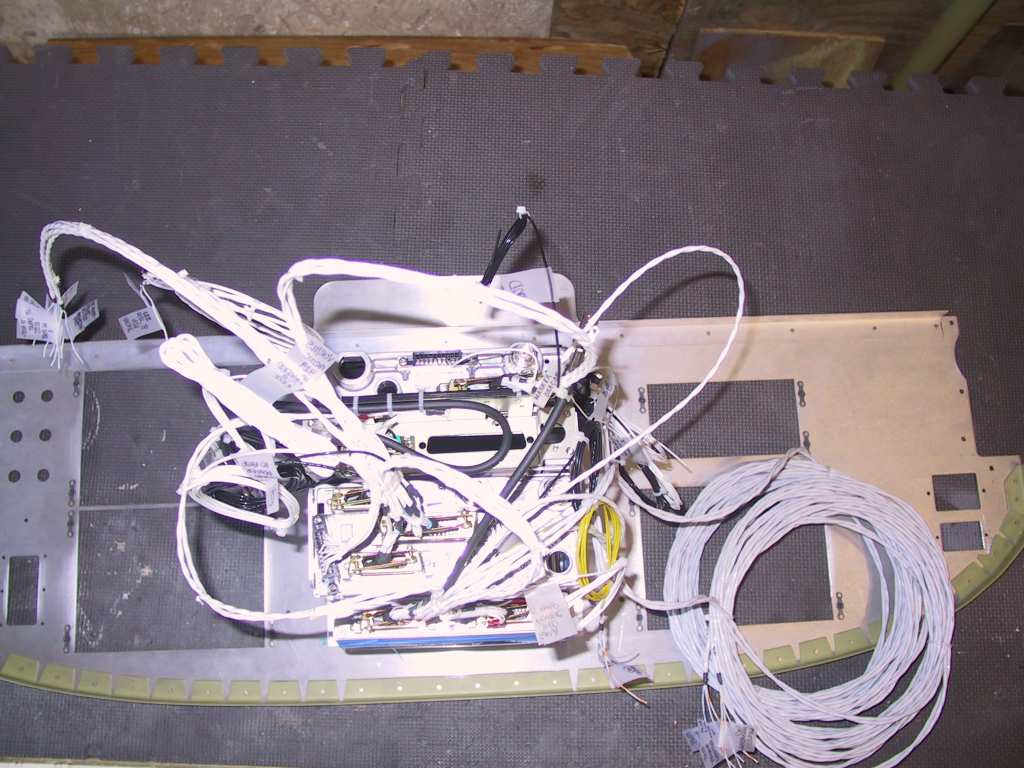
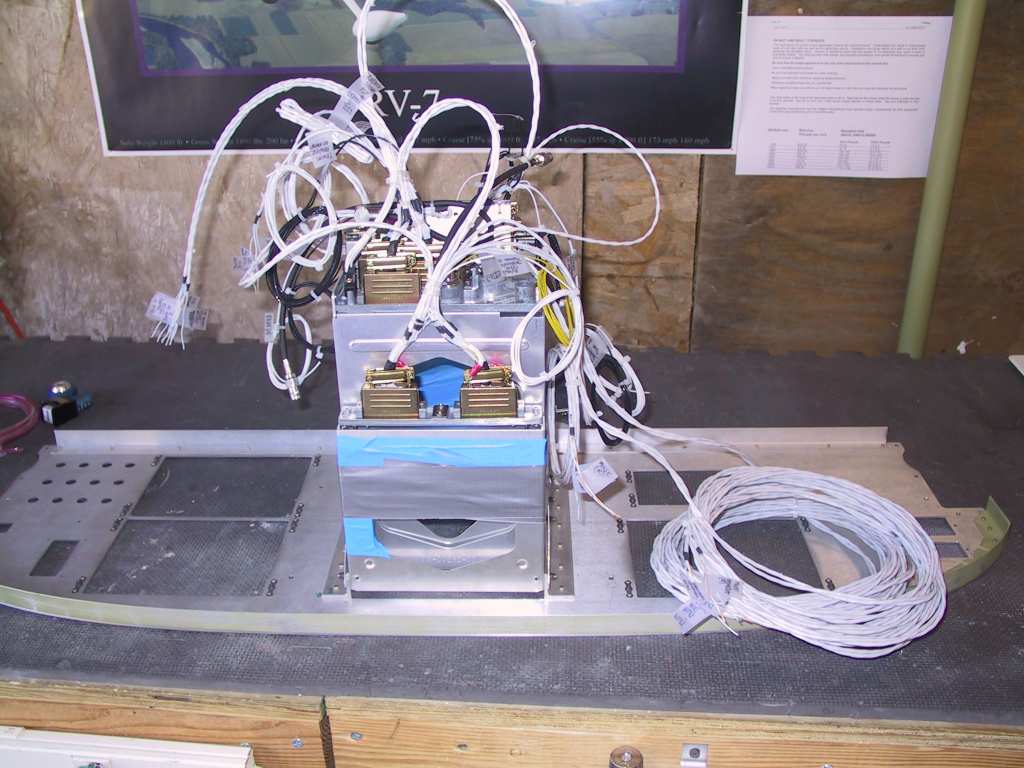
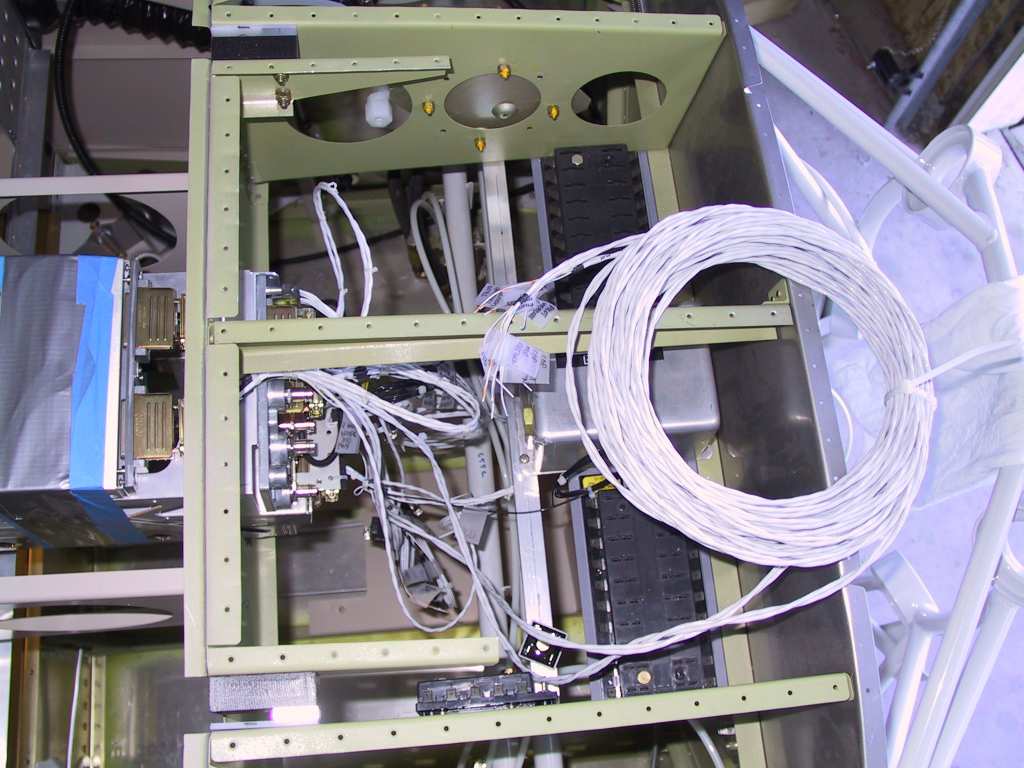
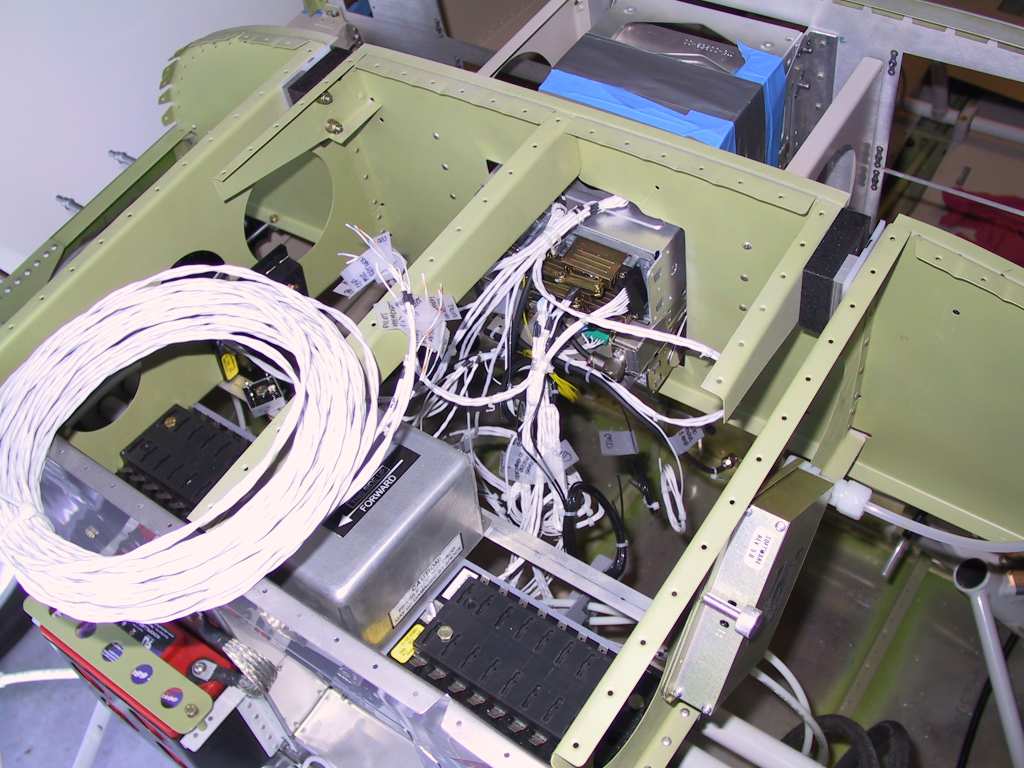
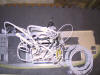
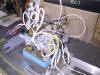
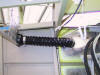
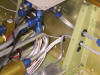
Wiring harness attached to the backs of the radio stack trays. Gawd
what a mess.
  |
| 7/26/04 |
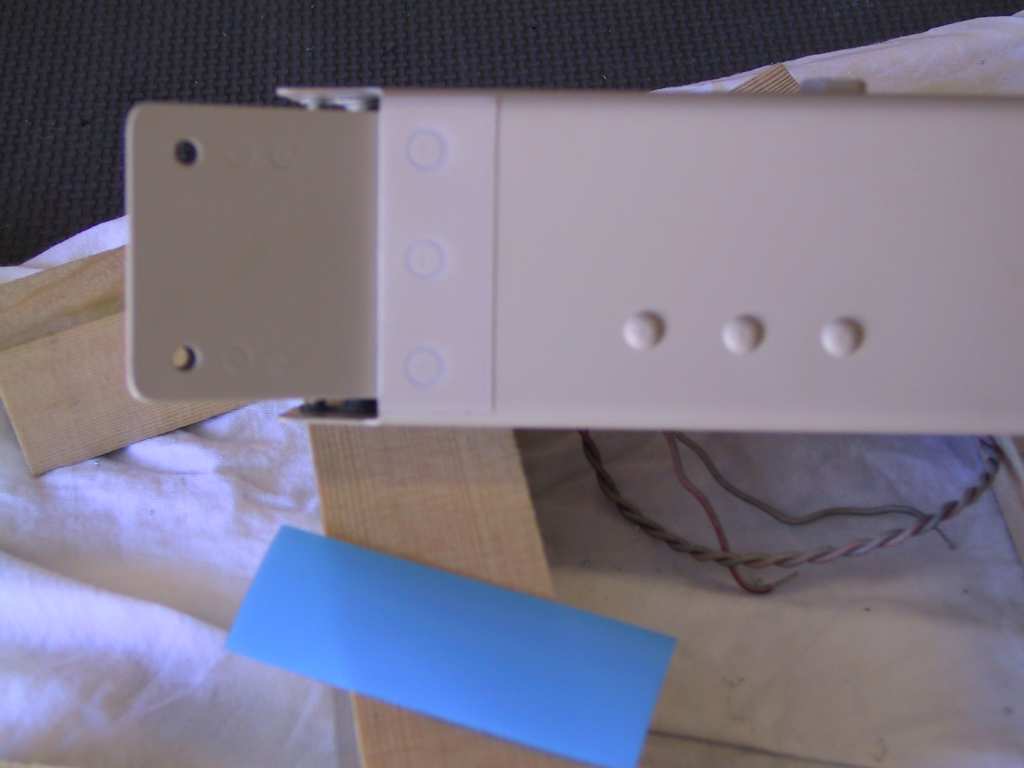
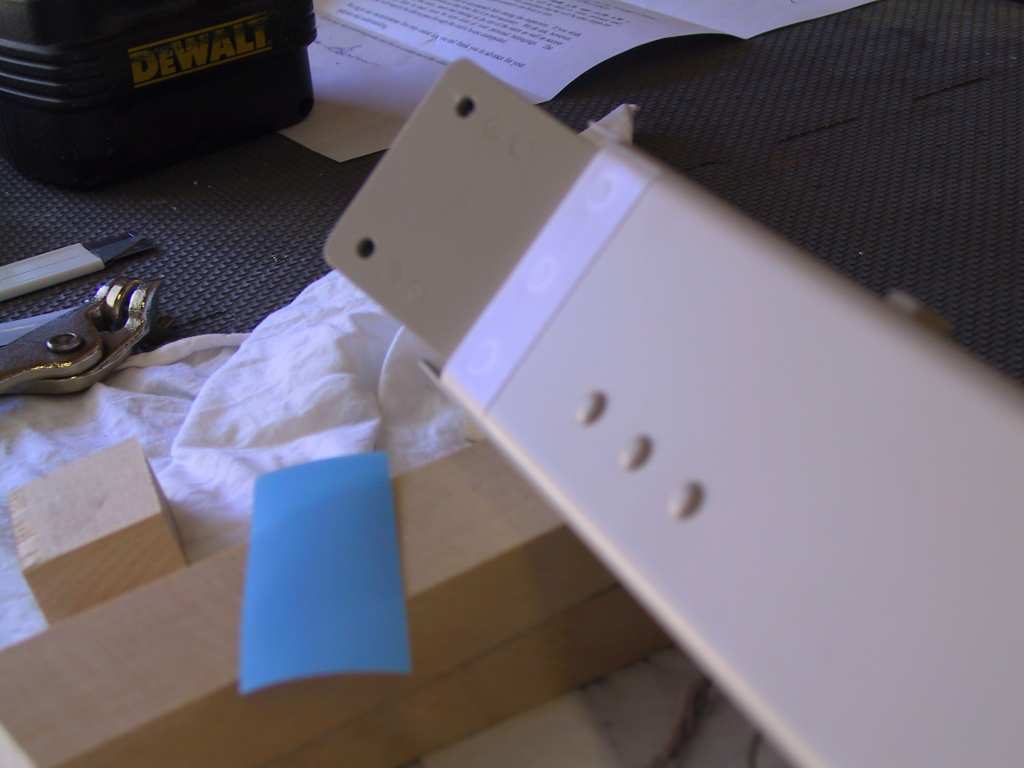
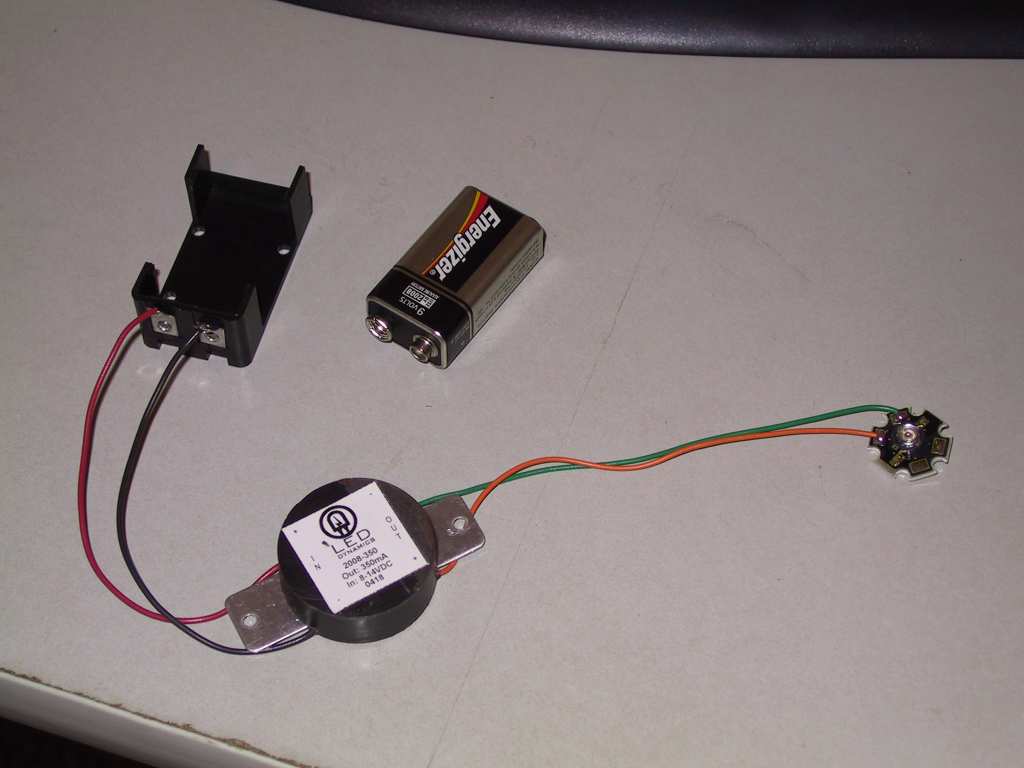
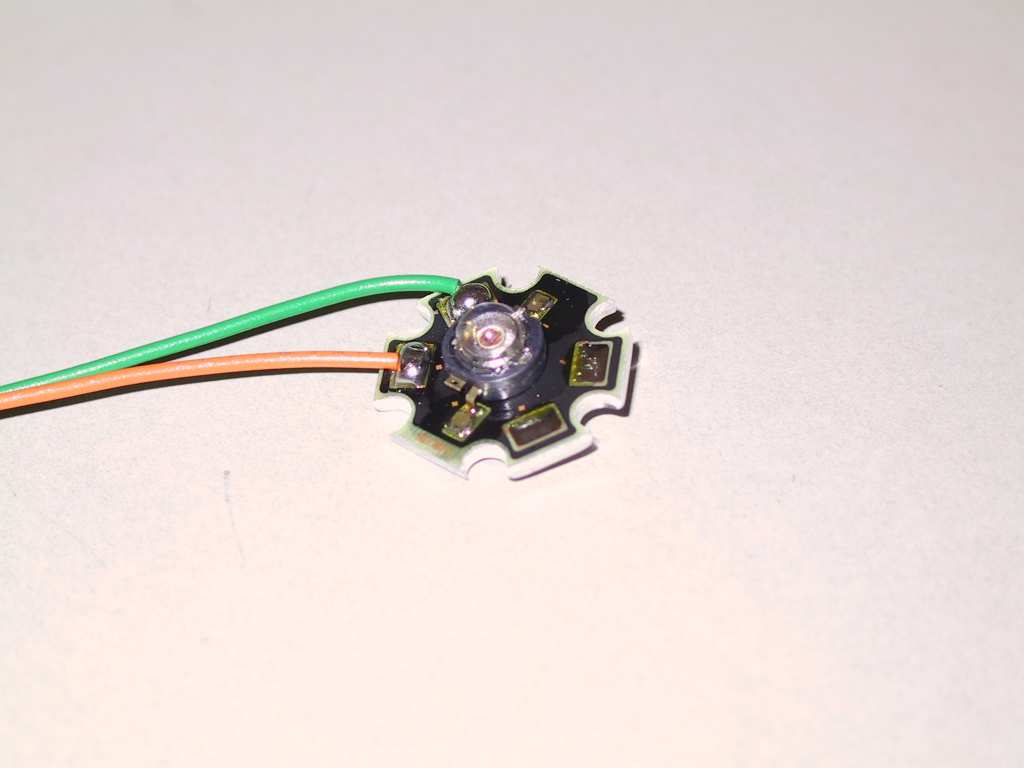
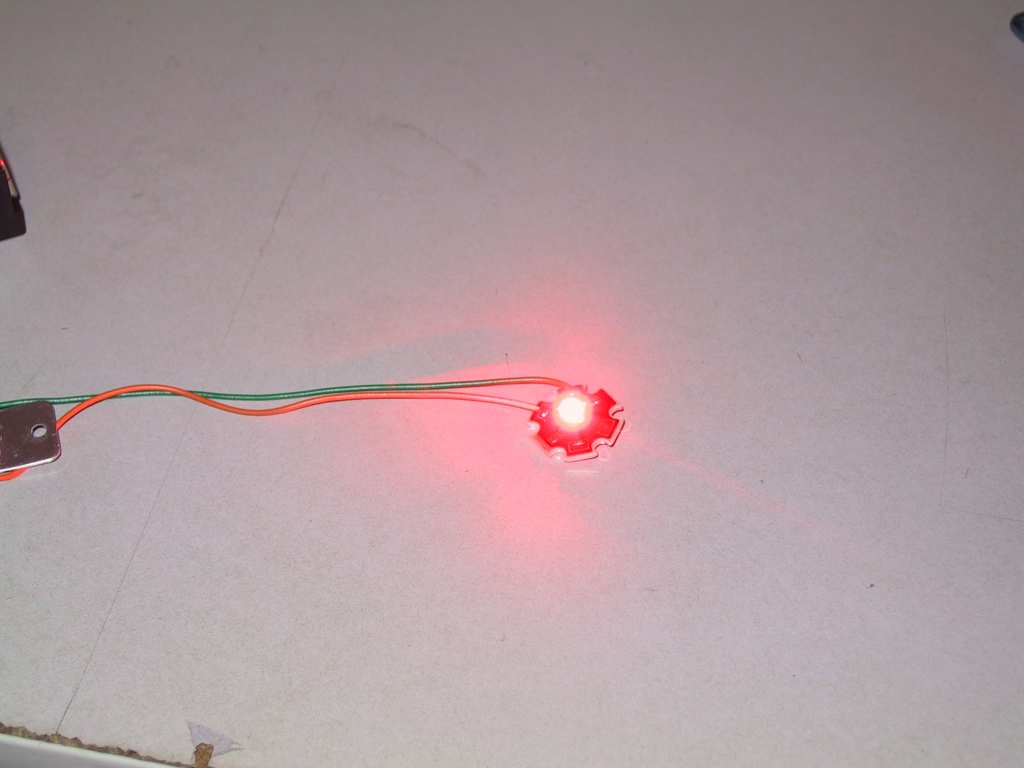
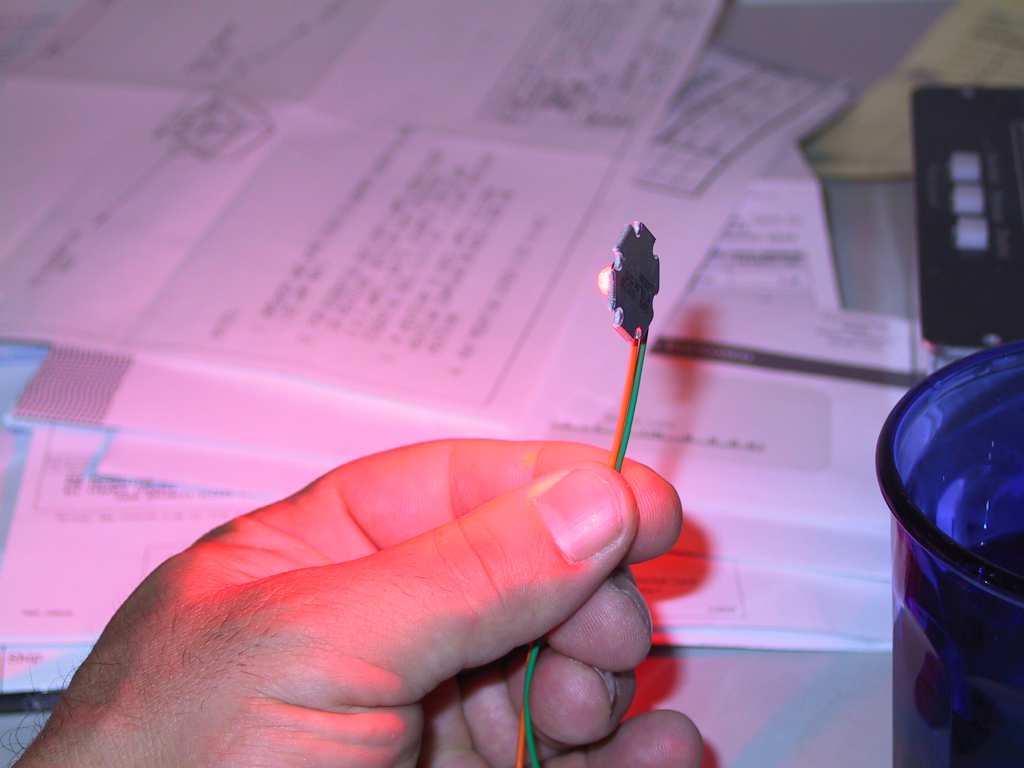
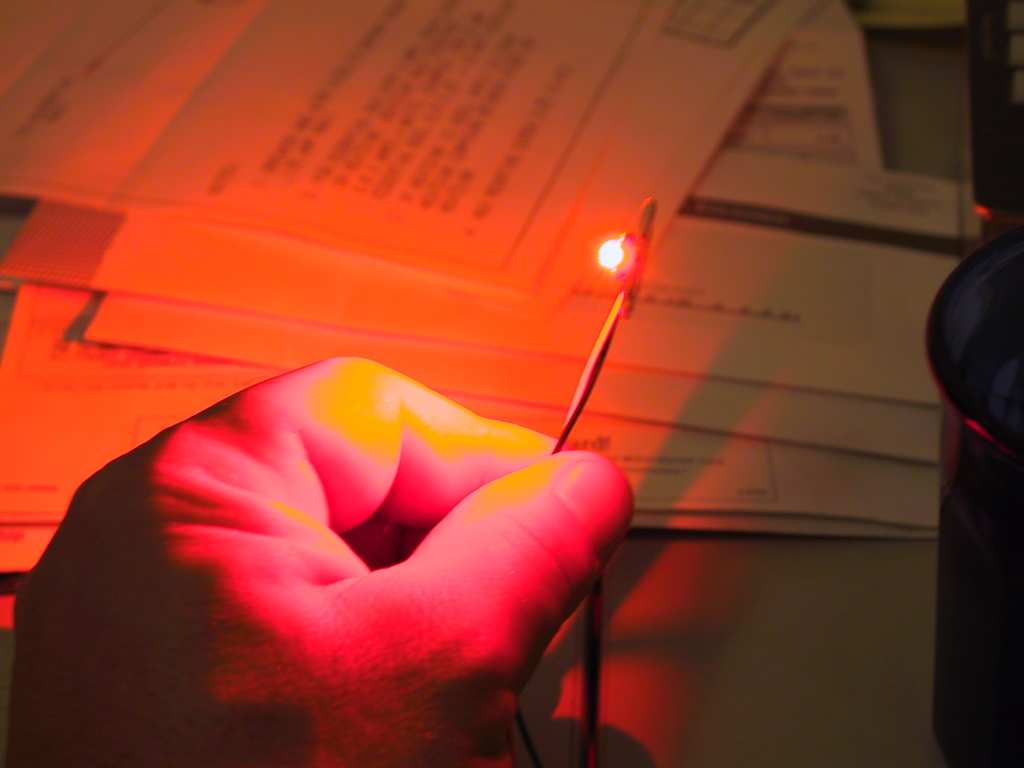
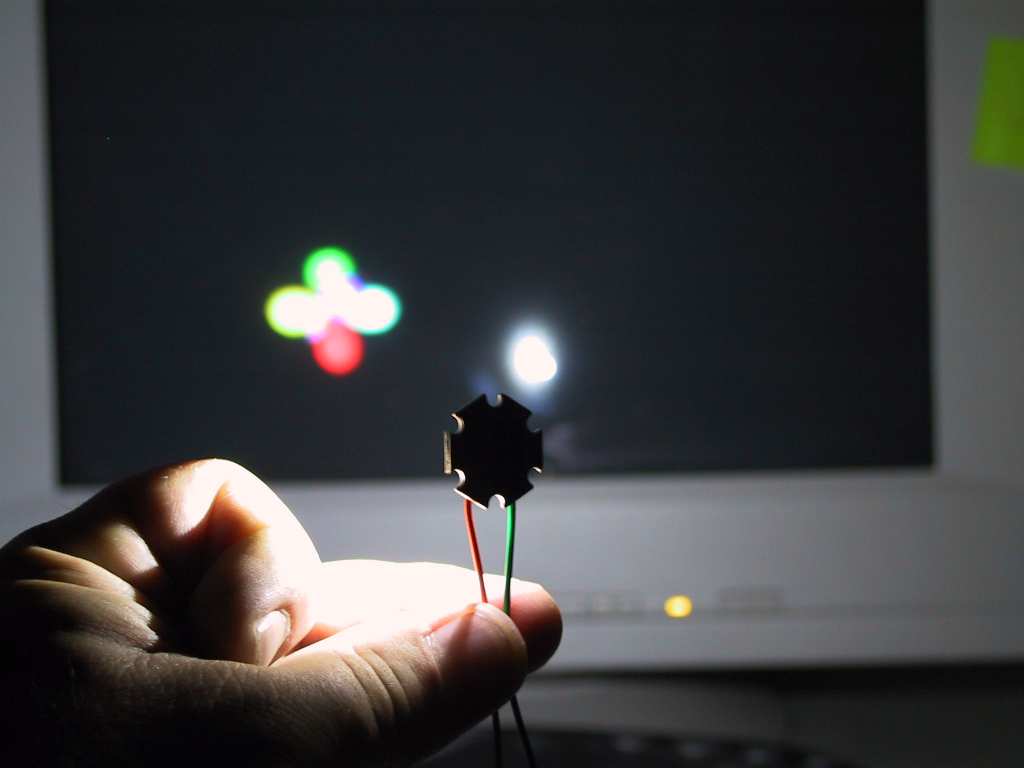
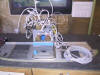
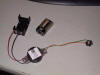
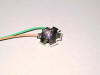
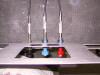
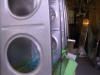
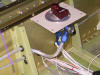
Lately I've been thinking about cabin and baggage
compartment lighting. I've been experimenting with LED's for a while
now and found this neat little gizmo. It's a Luxeon Lumiled Star (Lambertian
pattern) with a power puck. This is only a 1 watt LED. It will
blind you if you look at it, both the red and white lights. The red
will illuminate the cockpit and the white the baggage compartment. I
am building housings for these as they need a heat sink. The only thing
you will see is the optics of the LED when I'm completed. More to
come. These pictures do not do these justice, trust me these are
BRIGHT!
  
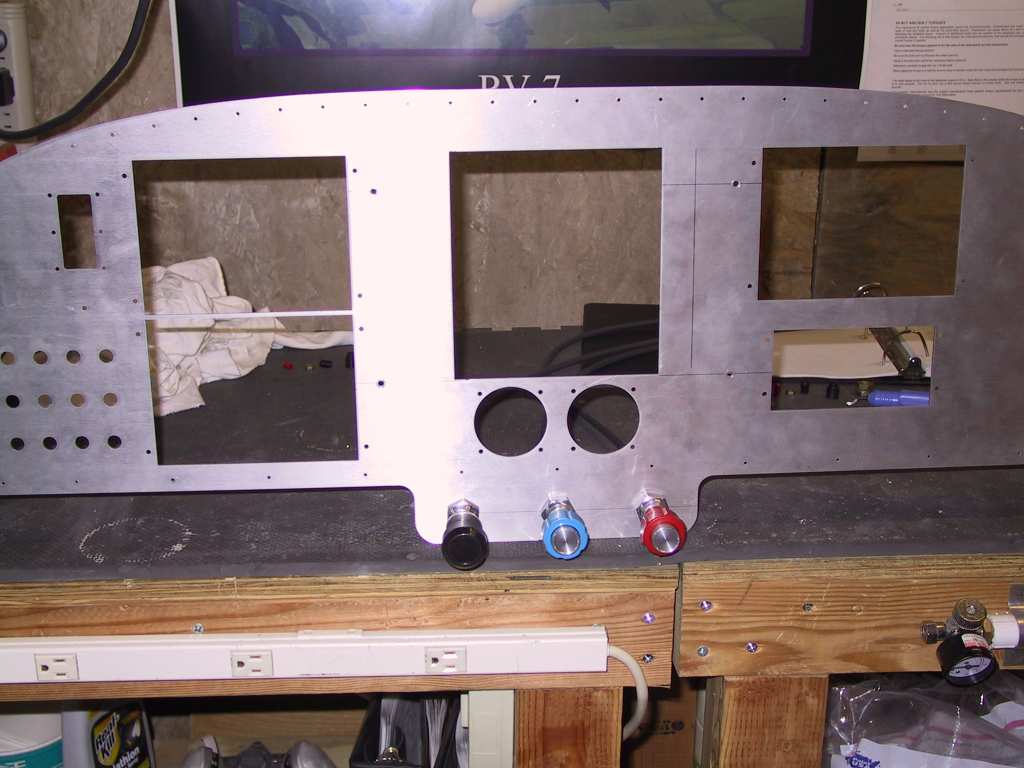
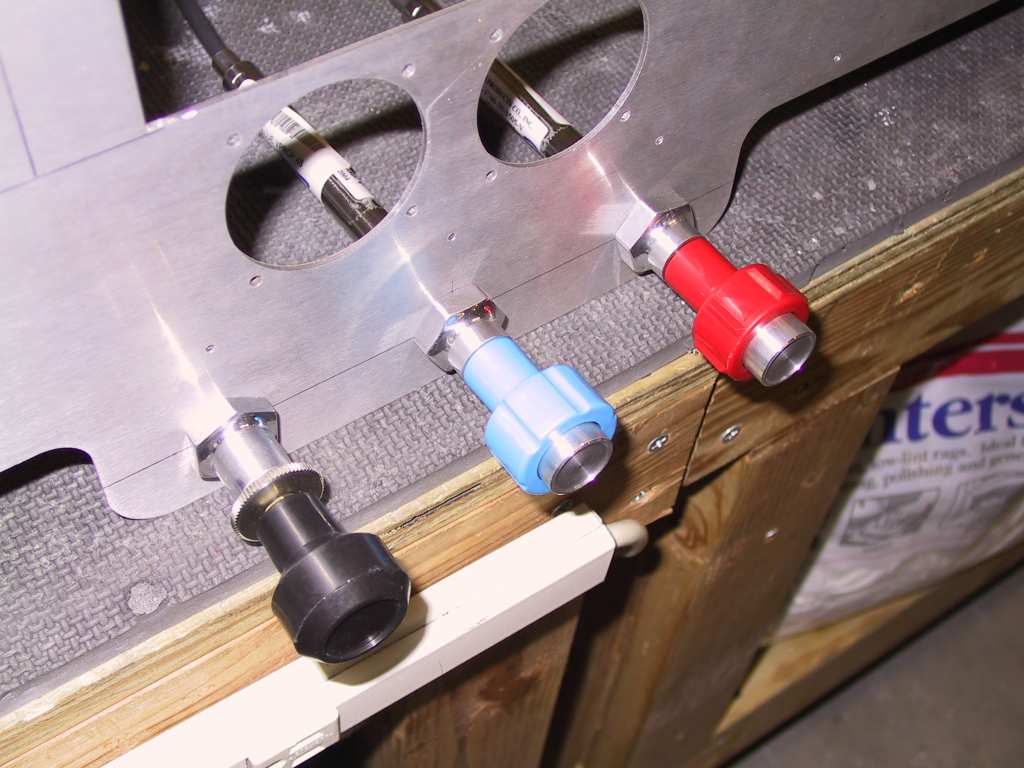
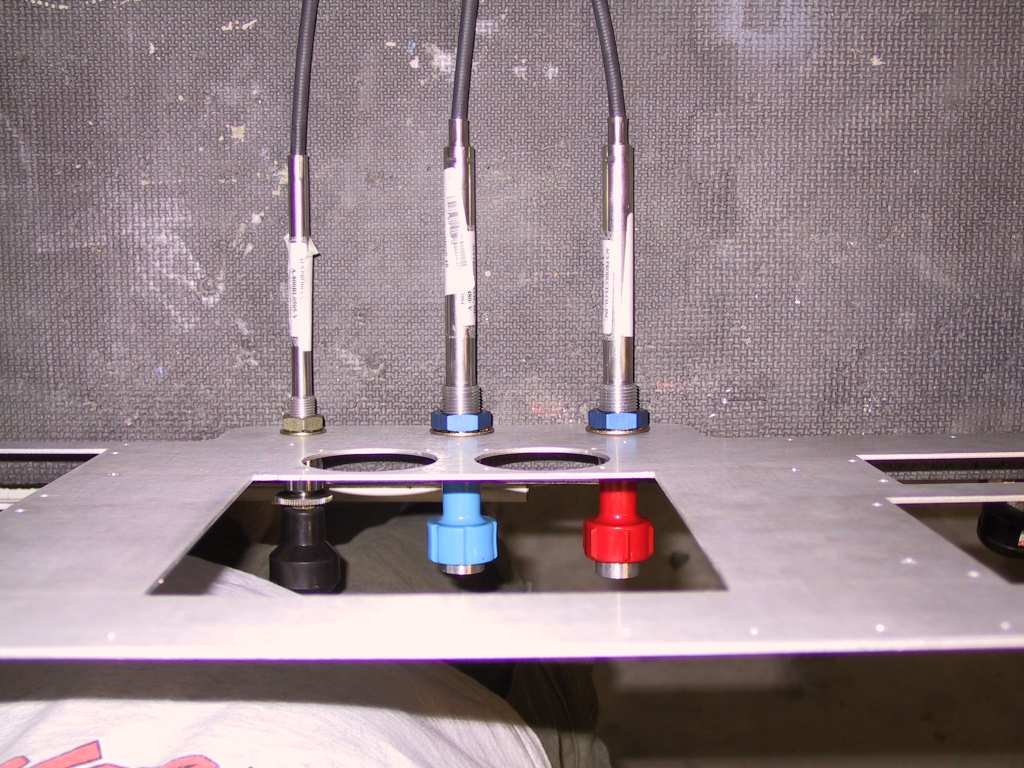
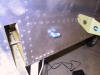
Wanted to get the layout of the power, prop and mixtures controls
determined so I used my scrap panel (Thanks Fabian!). I can get my fat
hands on each of them with out touching any of the others, awesome.
Fabian left plenty of room on this mini-sub panel and I like it more every
time I look at it.
    |
| 7/27/04 |
Got my brake pedals from the chromer/powder coater today and
spent hours installing them. The plans call for a thin washer between
the angle on the sides of the pedal and the mounting flange. Well add
a minute thickness of powder coating on the pedals and now you are going to
have a bitch of a time getting them reassembled. Literally, it took
hours. I didn't want to take the rudder pedal assembly out because all
of the brake lines are already installed.
Anyway they look great. This color and texture of the pedals is
exactly what's going on the panel!
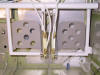
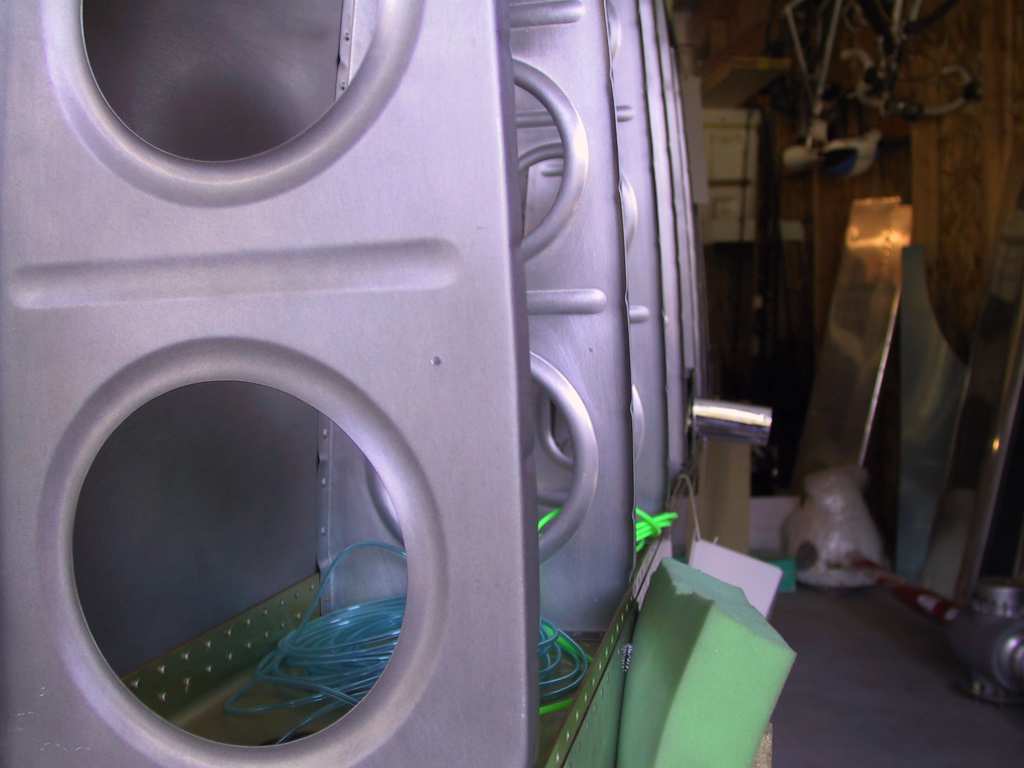
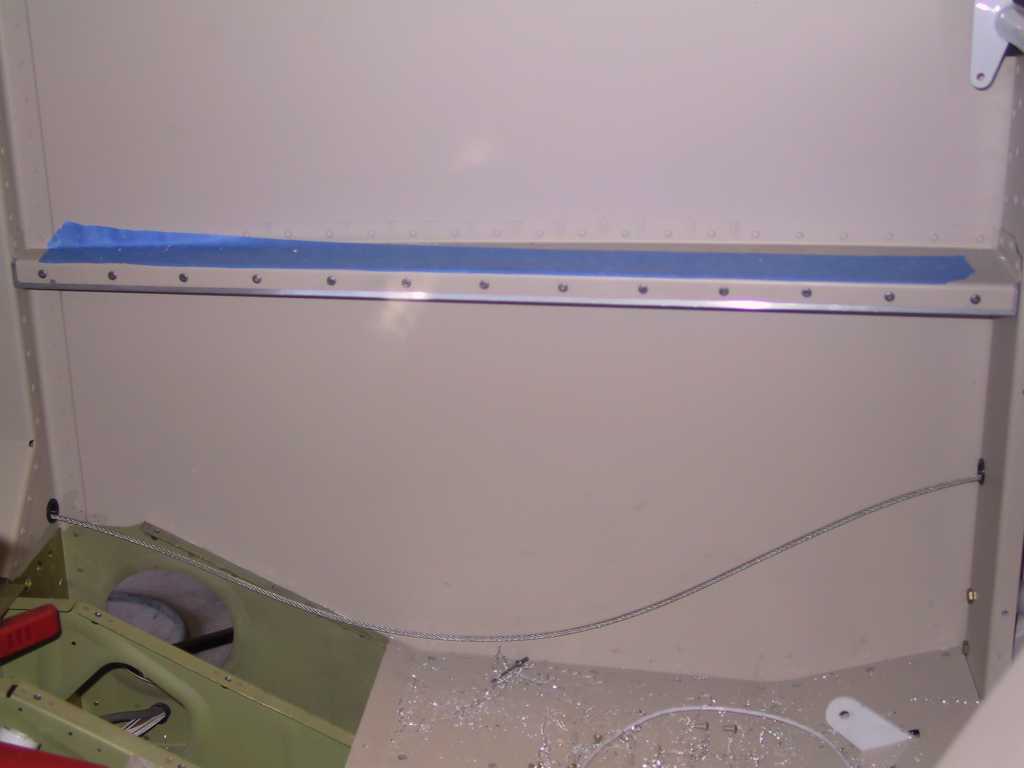
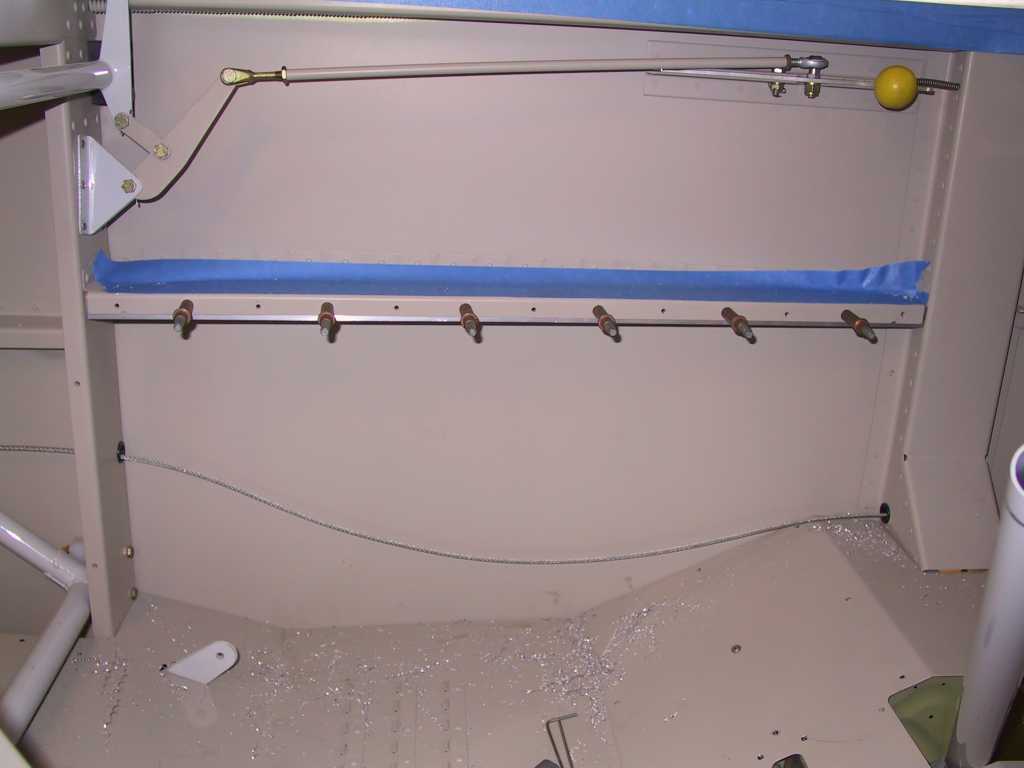
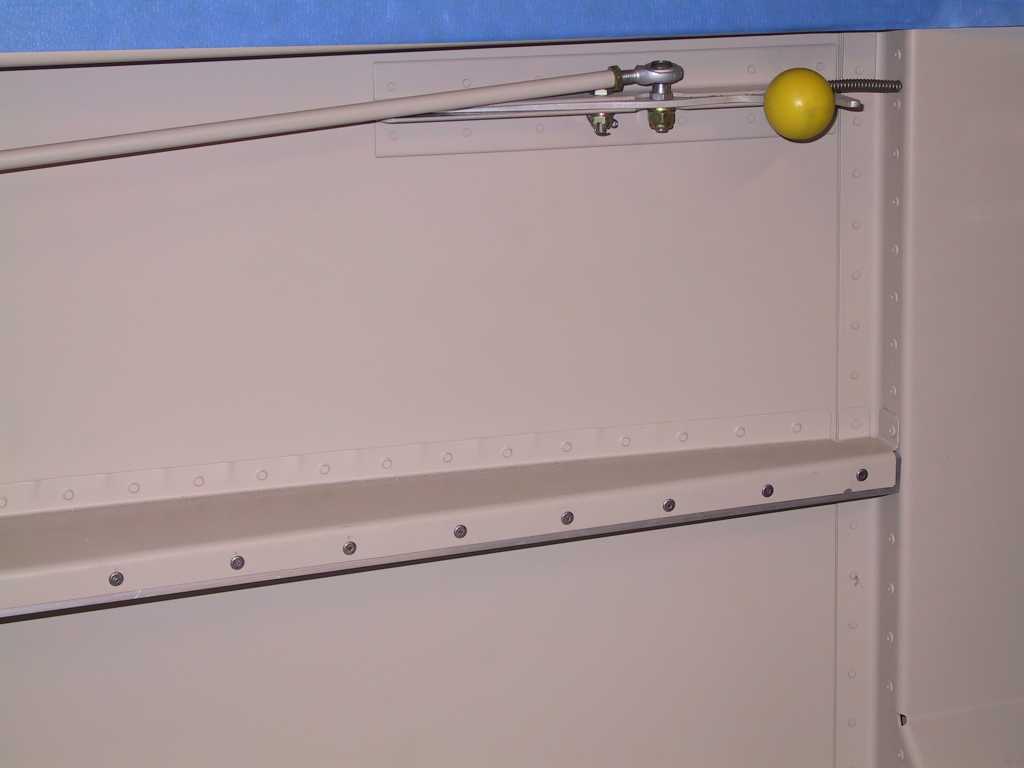
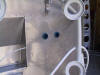
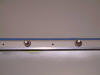
After procrastinating about how to run wires through the wings I finally
broke down and decided to install Van's 3/4" corrugated flex conduit.
Here I've piloted the holes along the bottom of the wings per the
recommendations. I used a unibit to enlarge all but the 2nd, 3rd, and
4th inner most ribs. David's got a 3/4" unibit and I'll borrow it when
I get back from vacation to finish the rest.
 |
| 7/28/04 |
Packing for Oshkosh (by car again). NOT NEXT YEAR,
THIS SUCKER WILL BE DONE!!!!! And, great news, my Dad will be coming
back with me from Michigan in one week for a whole month. My plan is
to get the canopy finished, get this bird on it's gear and hang the engine,
all in one month. You ready Pops????? |
| 8/13/04 |
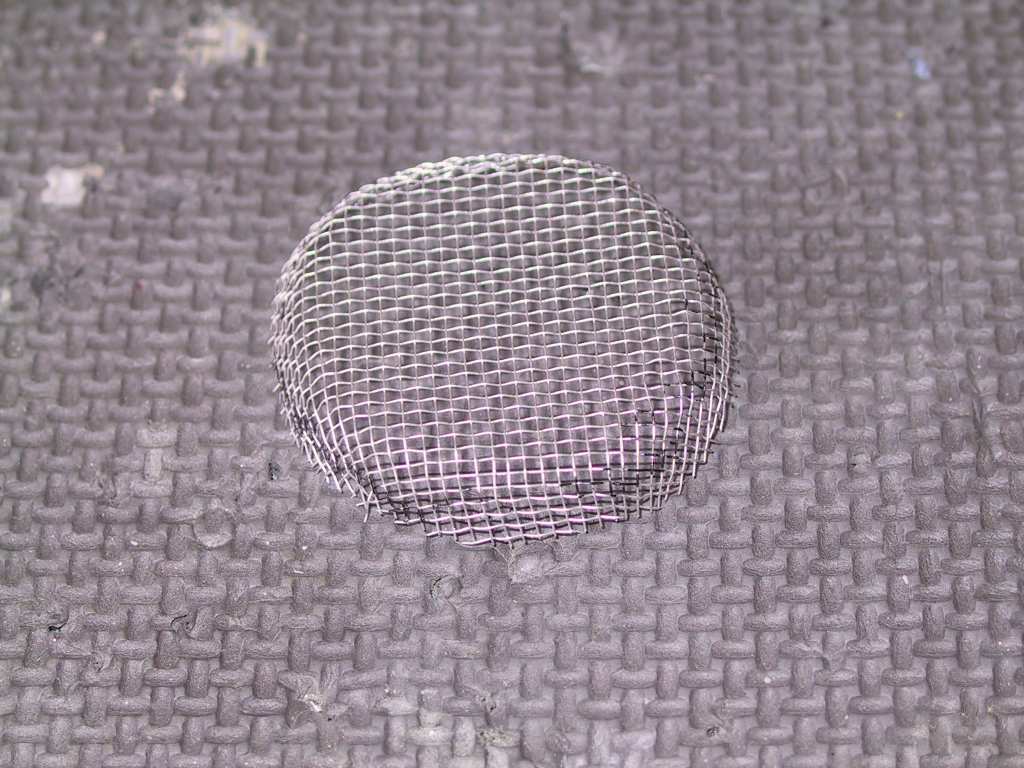
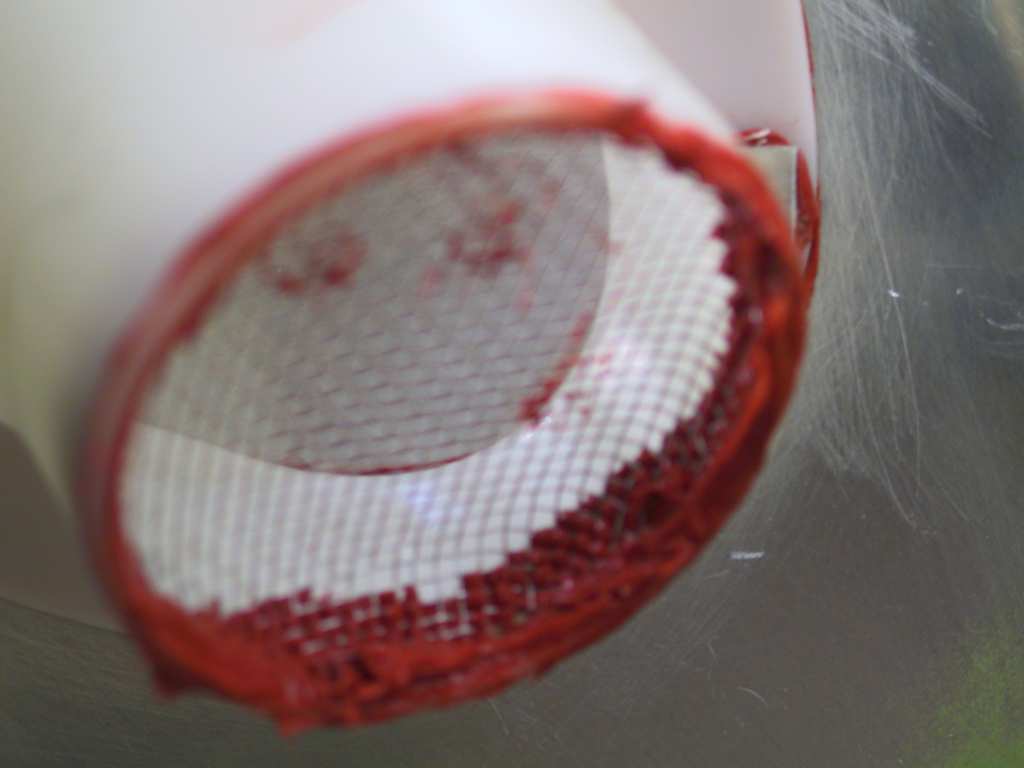
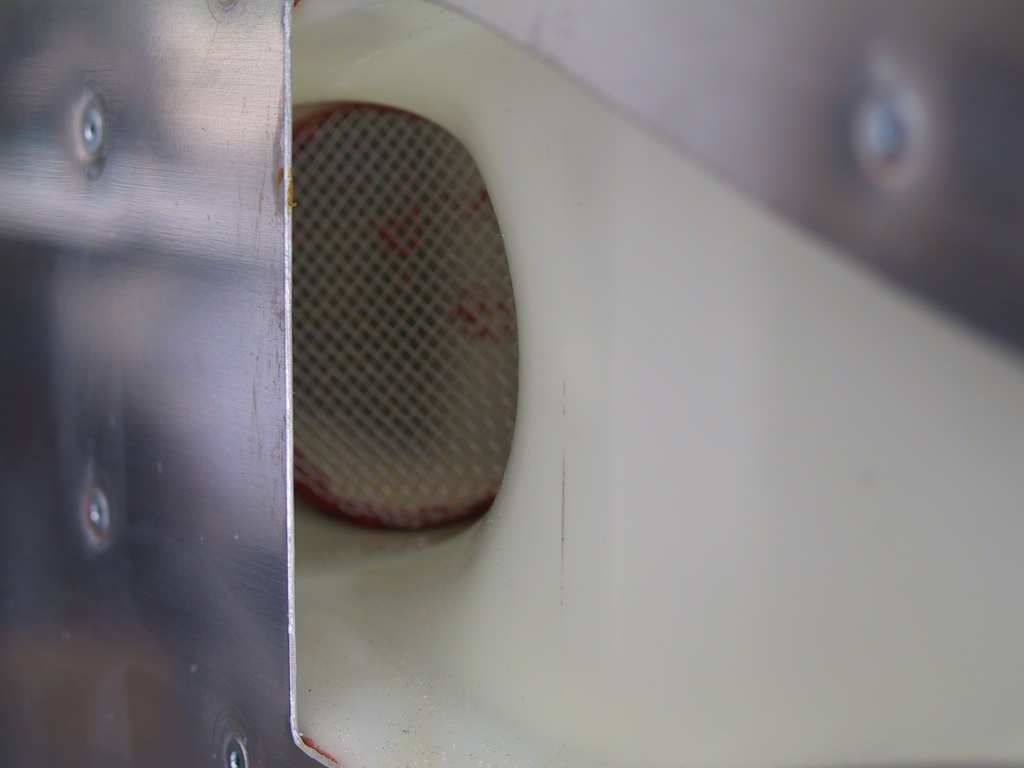
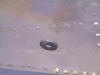
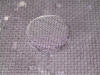
I posted a question to the group last week about screens
in the naca duct. Got no responses. Evidently no one is doing
this. Personally I don't want a very unhappy bee or wasp in my
cockpit down low and slow (or fast) so a screen of some sort is a must.
Just formed the screen till it fit snugly into the hole and RTV it into
place. I believe this may cut down on the amount of ventilation by
upwards of 40%. If so I may remove them down the road or get some
larger mesh screen.
   |
| 9/27/04 |
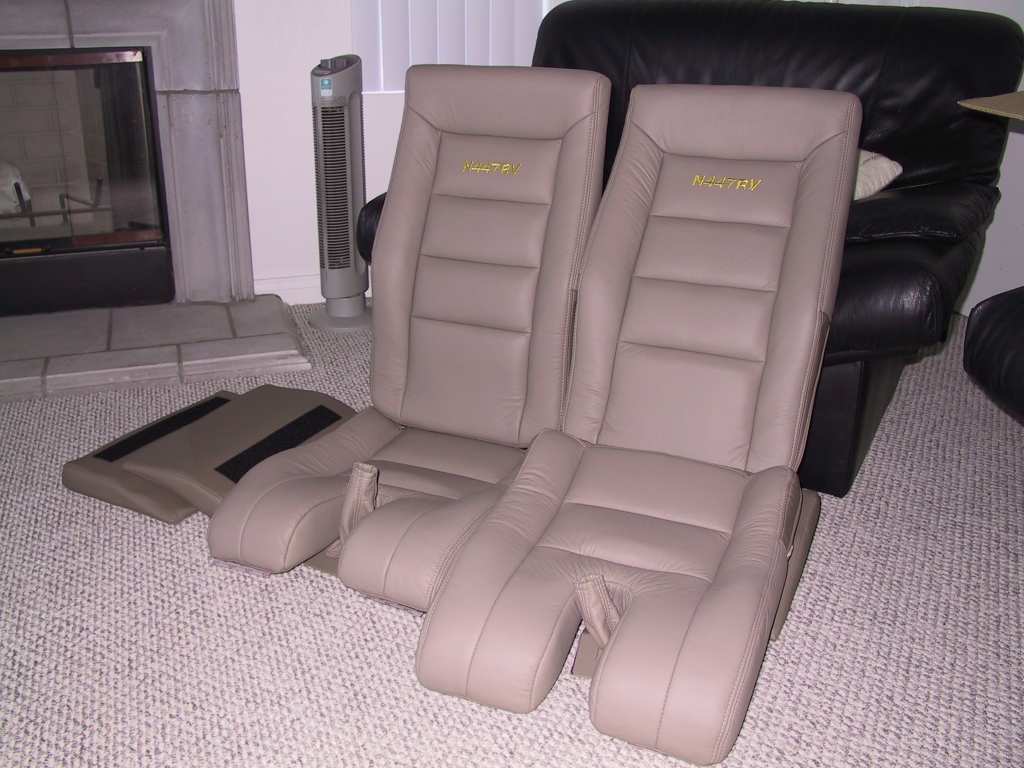
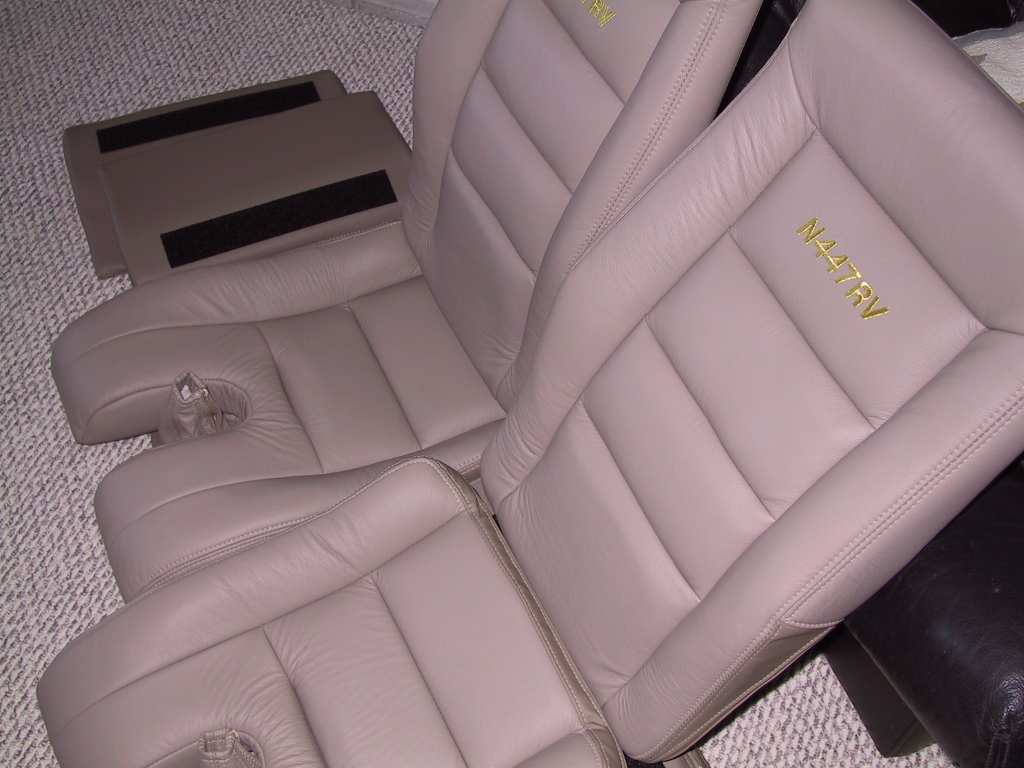
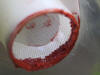
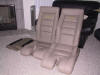
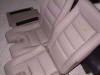
The seats have arrived. I ordered mine from
Classic Aero Designs.
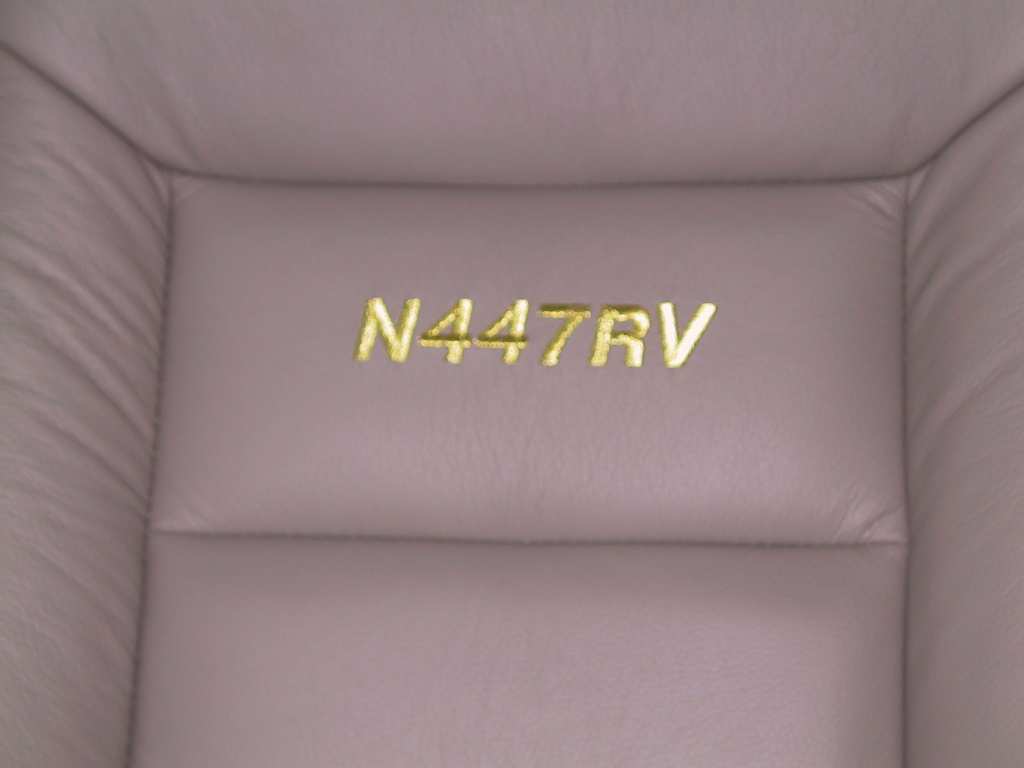
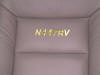
Mine are Medium Neutral Leather with a gold metallic embroidery of N447RV
on the seat backs. They are absolutely more than I expected.
Very light, very soft and very comfortable. Total chaaching? $1320
with shipping. Better than trying to do something else I don't know
anything about and not being happy with the outcome. The colors
match the interior paint and panel powder coating perfectly. Take a
closer look. These are male seats :)
   |
|
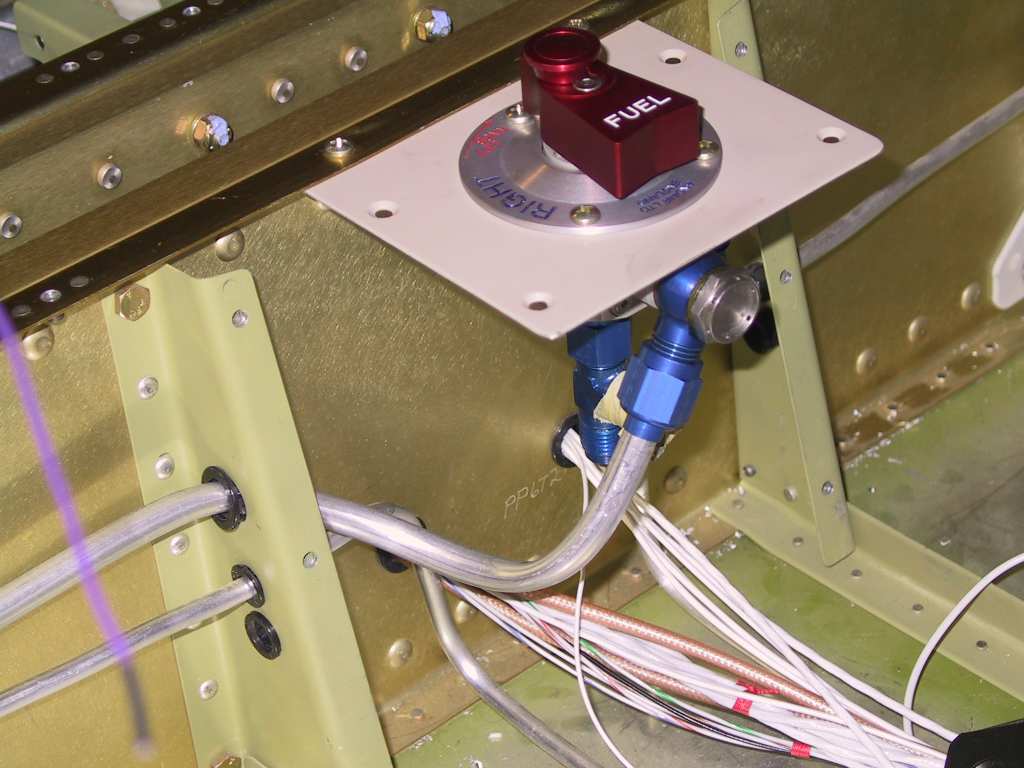
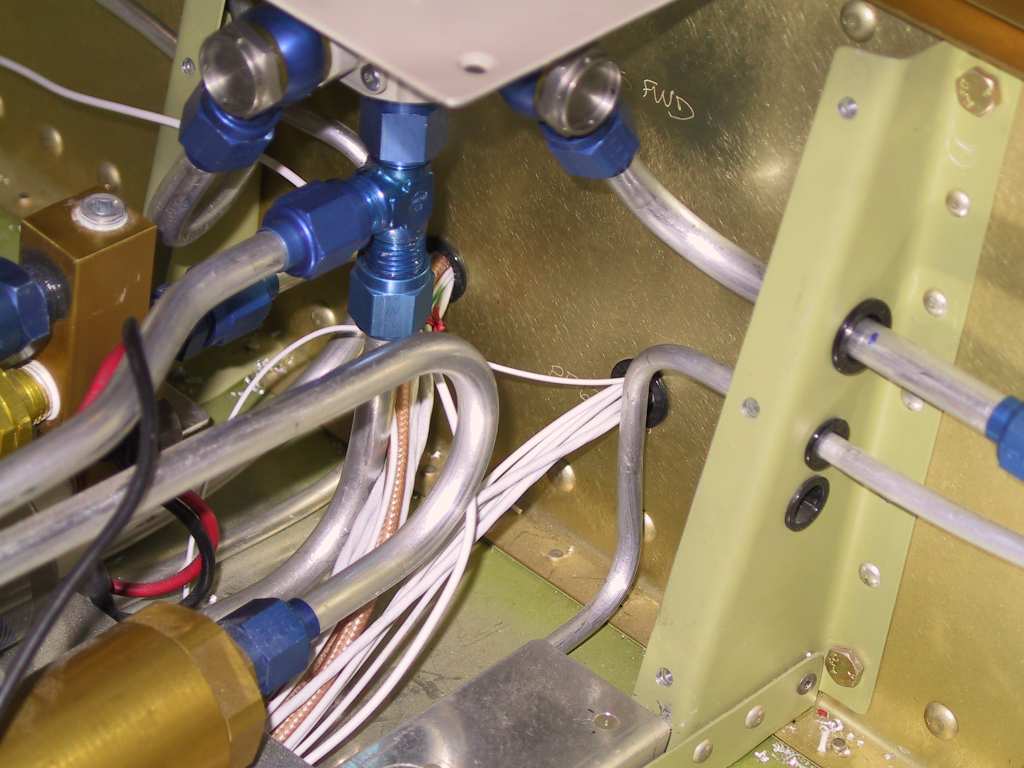
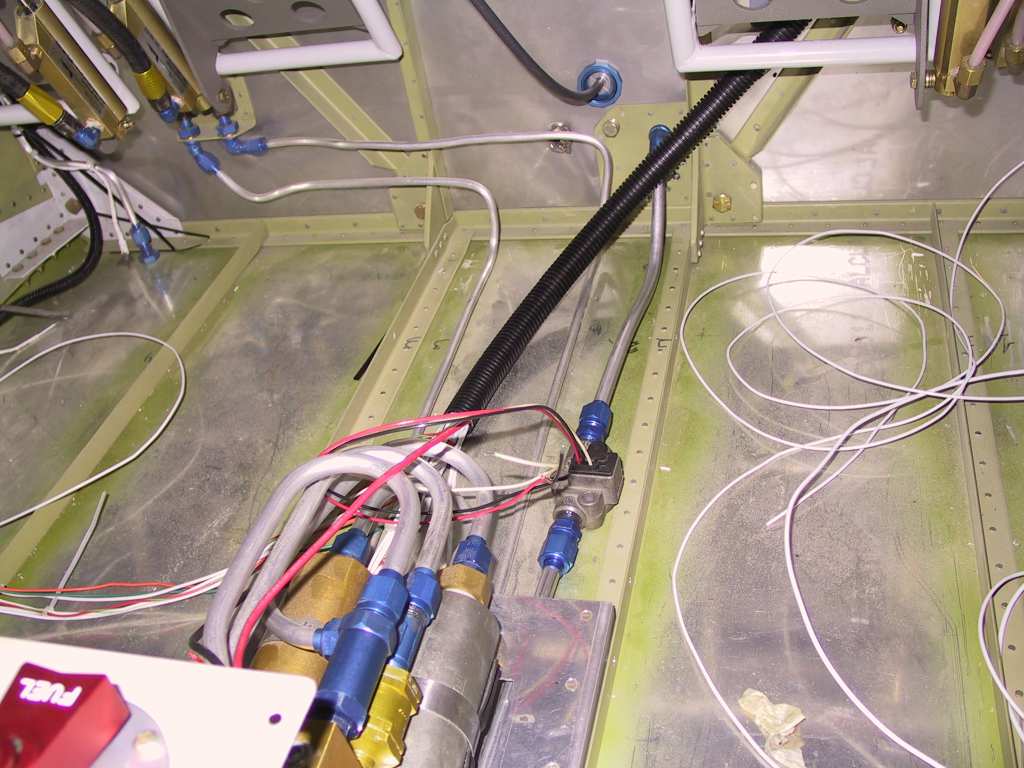
12/1/04 |
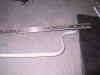
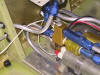
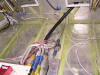
The Main fuel lines from the wings to the Fuel selector
have been completed. I agonized for quite some time about how I was
going to run the fuel lines through the gear weldments and end up with
nice clean bends without any kinks. Well I think I found a nice neat
way. In fact I ended up making both runs (left and right) in under
an hour. I'm using the Andair fuel selector valve so It's a bit
different if you are using Vans valve but this process should work well
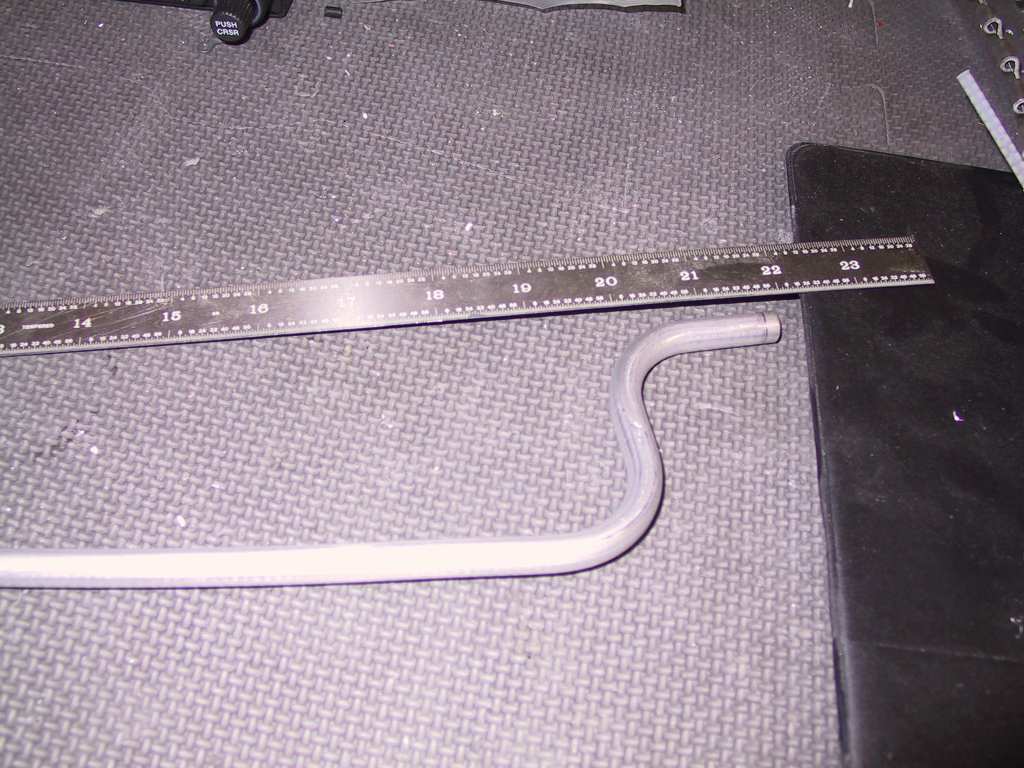
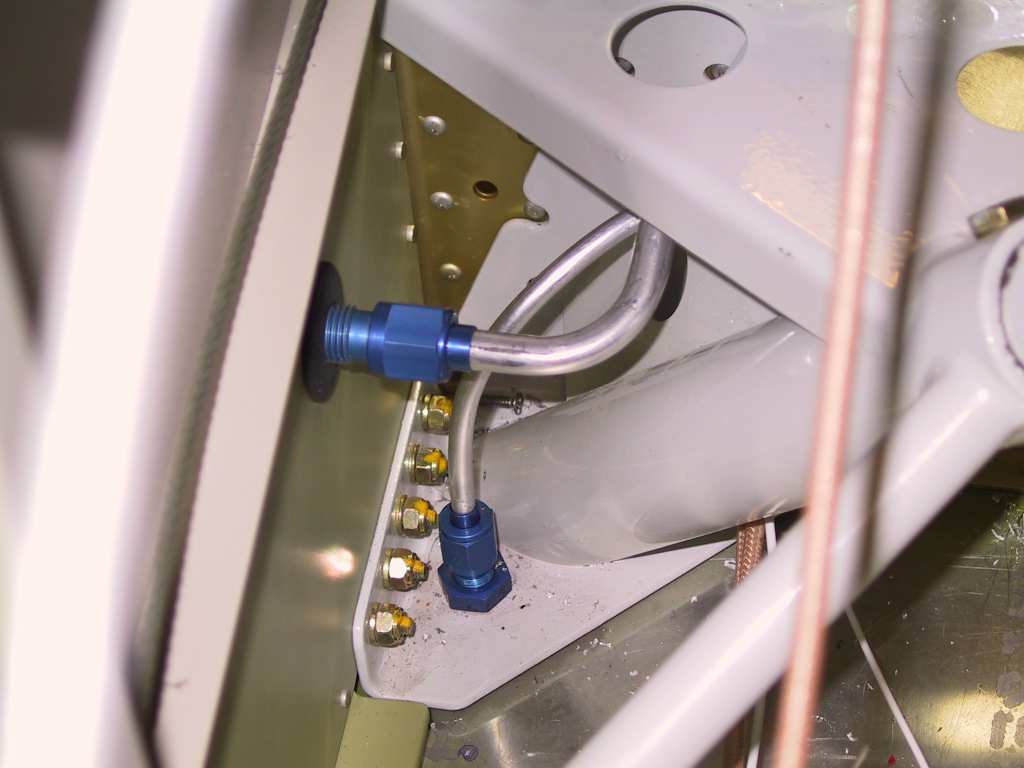
either way. On the right line I made it with just one piece of tubing.
Cut a length of 24 inch 3/8 tubing. Make the shortest 90 degree bend
you can at one end then make another right off of that so you have a Z
formed. Now take the rest of the tubing and bend it into a fairly
tight curve, nice and smooth. This will allow you to slide the
tubing in through the right gear weldment. Now I'm using the topmost
hole in the center section supports that should already have the bushings
in place. The plans call for using the bottom holes but this gives
you an interference problem with the brake lines.
 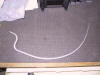 
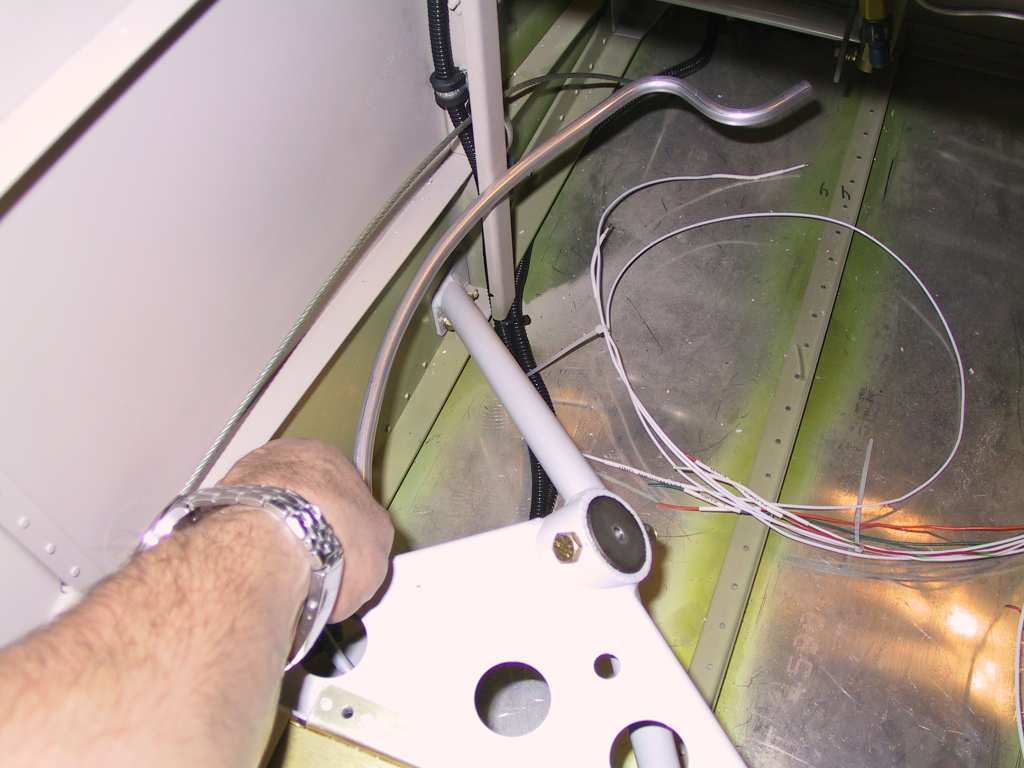
As you slide the curved piece through the top hole in the weldment, you
start to straighten the tubing so it fits through the first, then second
bracket. Next bend it upwards to hit the right input of the fuel
selector valve which is in the front of the assembly on the Andair valve.
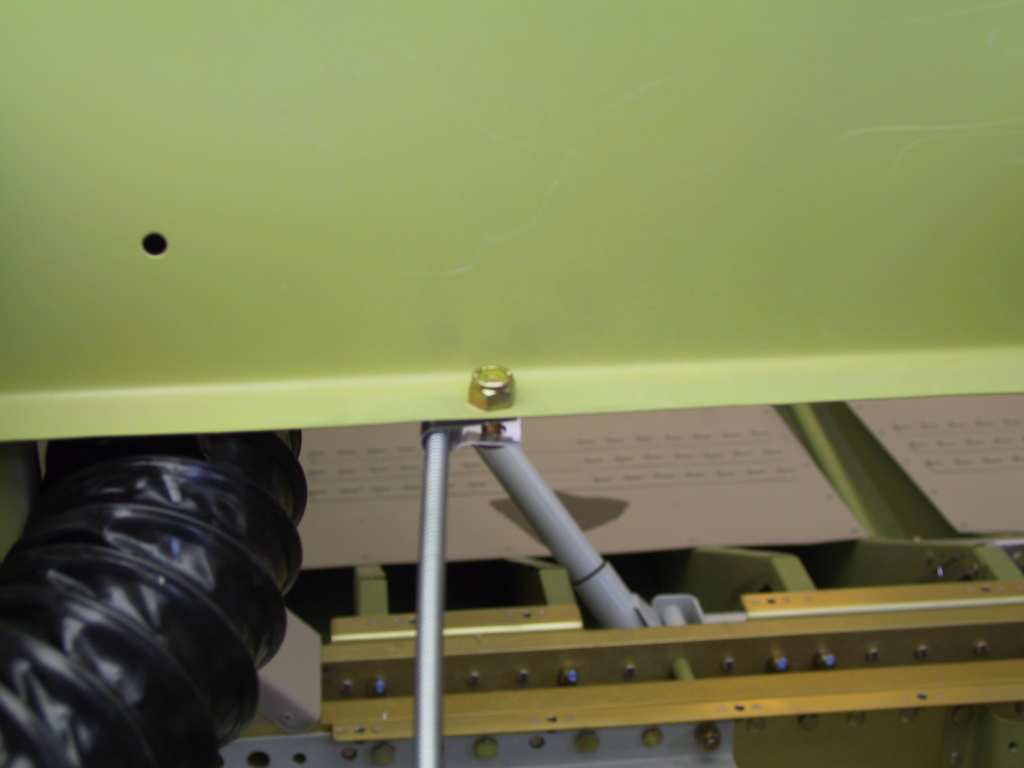
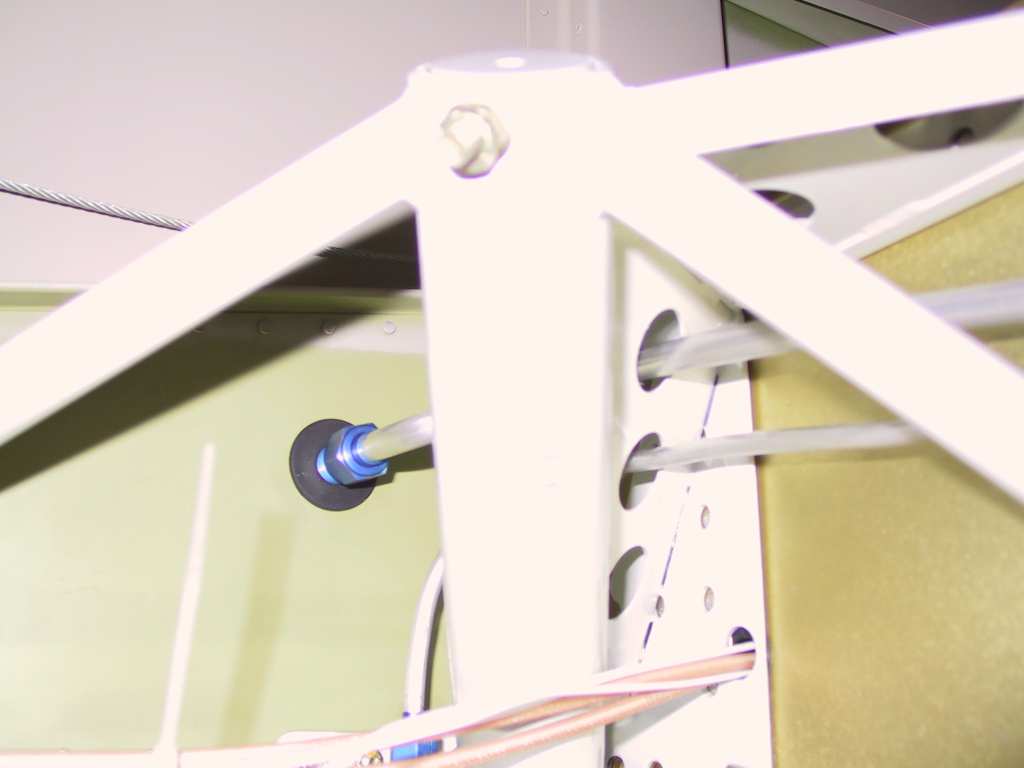
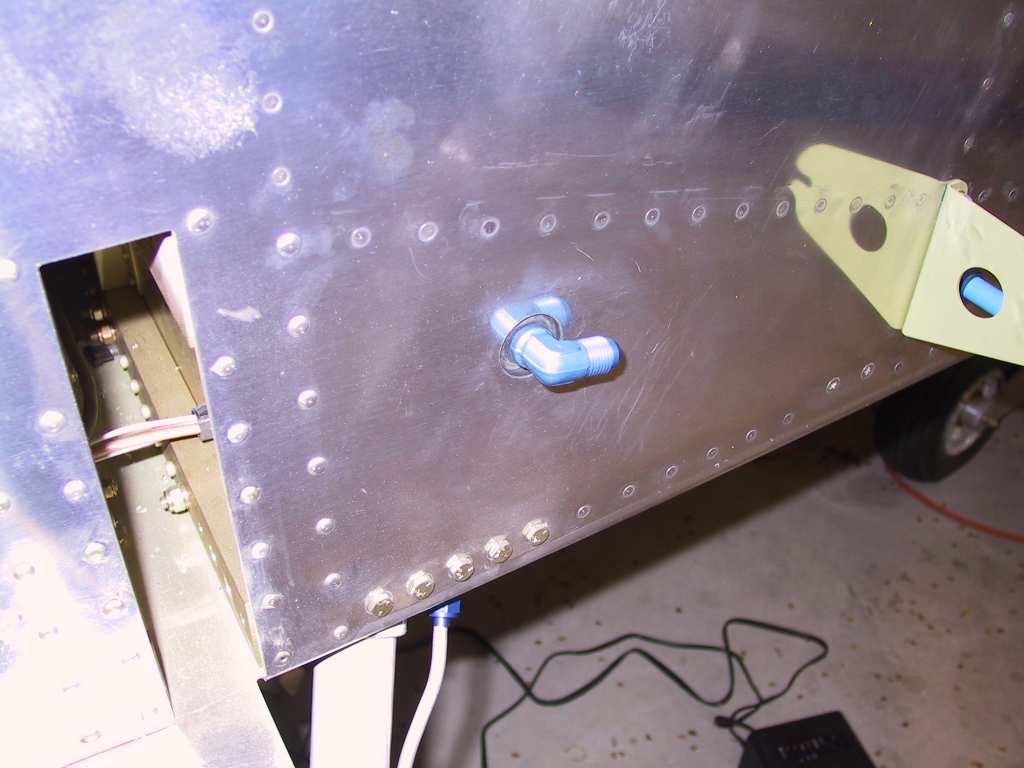
I used a AN833-6D fitting where the fuel lines exits the fuselage.
The fitting fits nicely through the rubber grommet and exits rearward.
With this setup you only need to provide a short amount of tubing to
attach to the tank fitting and the tubing will only have to make a single
90 degree bend.
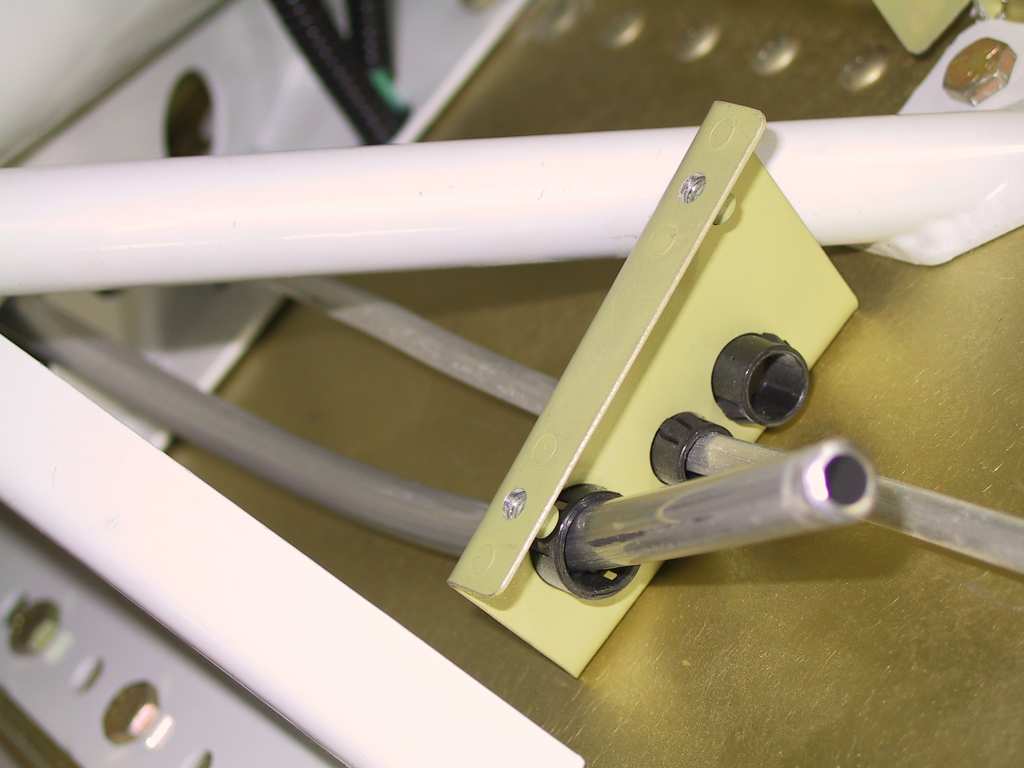
The left fuel line I made in two pieces, split between the two center
section supports. This I found necessary because the Andair left
pickup is too close to the closest support to allow you to bend it in one
piece. You would end up crunching the tubing. I used a
AN815-6D union to join the two pieces.
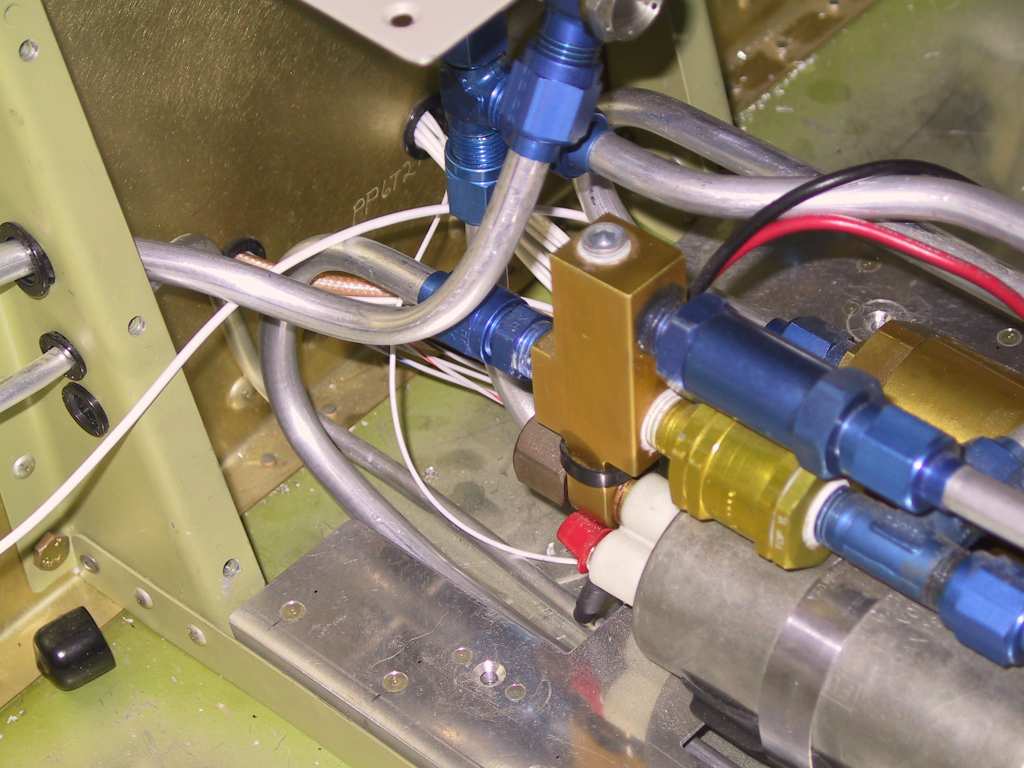
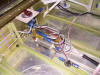
Next I place the fuel pump assembly in place and made sure there were
no interference issues. Finally I cut a length of tube to mate with
the flowscan and firewall fuel line fitting.
  |
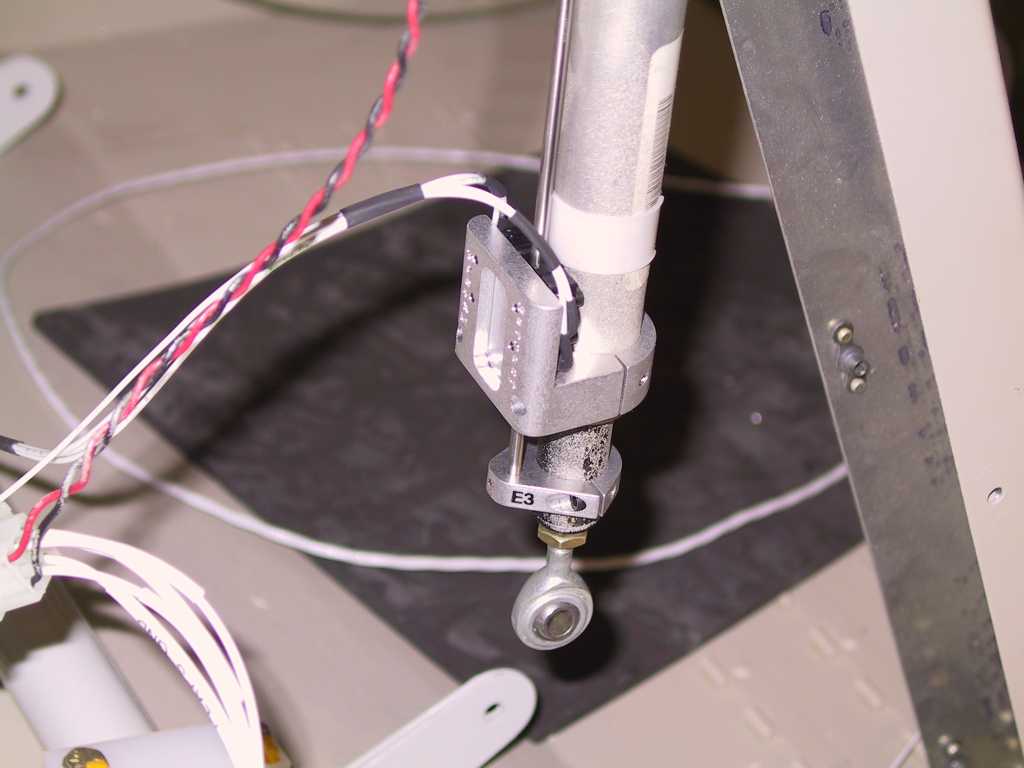
| 3/4/05 |
Got the FPS flap equipment mounted and working
tonight. I used a molex connector to join the wires since I want to be able
to remove the flap motor in case it needs attention down the road. The
little brain box is mounted to the aft vertical support of the flap assembly
near the top, secured with two little screws.
   |
|
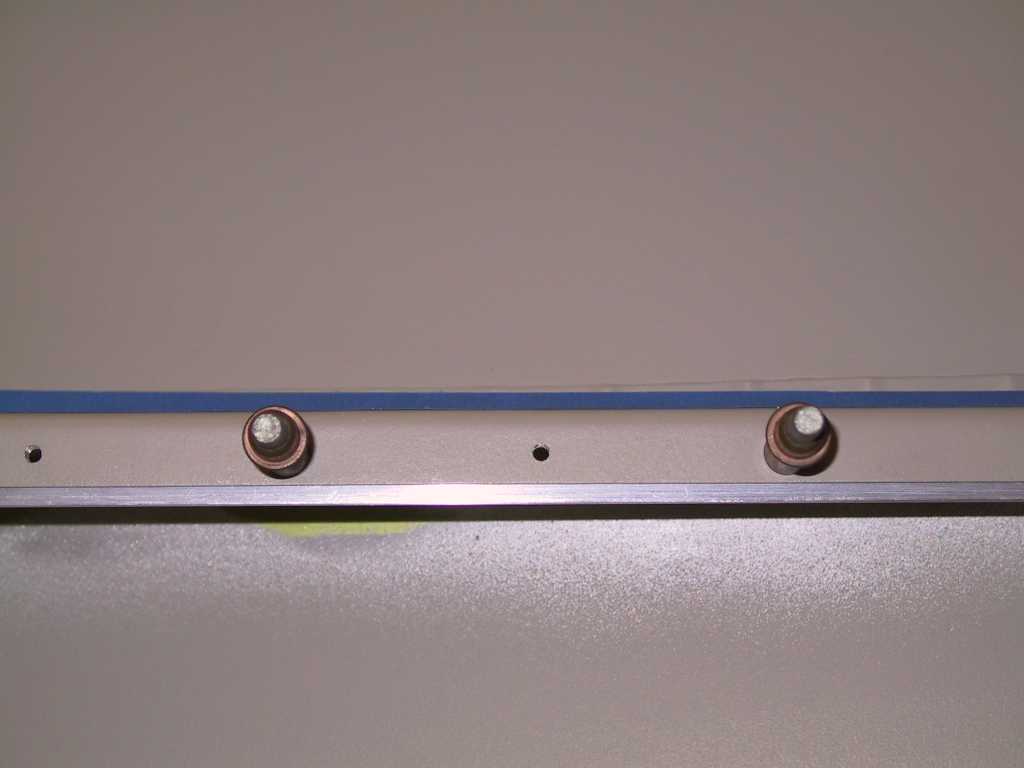
3/6/05 |
From what few RV's I've seen, I keep seeing bent
armrests. These aren't even high enough to use as an armrest, but
uninformed passengers use them to pry themselves out of the cockpit, and they're
just not designed for it. I purchased some angle from AS, filed the corner
off of it so it will nestle in the bend and drilled it into place. I opted
not to solid rivet these in place. Just foreword of the armrests are the
vertical caps which are pop riveted in place. I like the look of these pop
rivets, so I used them for the armrest support too. (plus it's just damn
easier) :) I'll do some touchup painting later to get rid of that nasty
aluminum glare...
    |