| 3/16/03 |
Garage Prep Work |
| 3/21/03 |
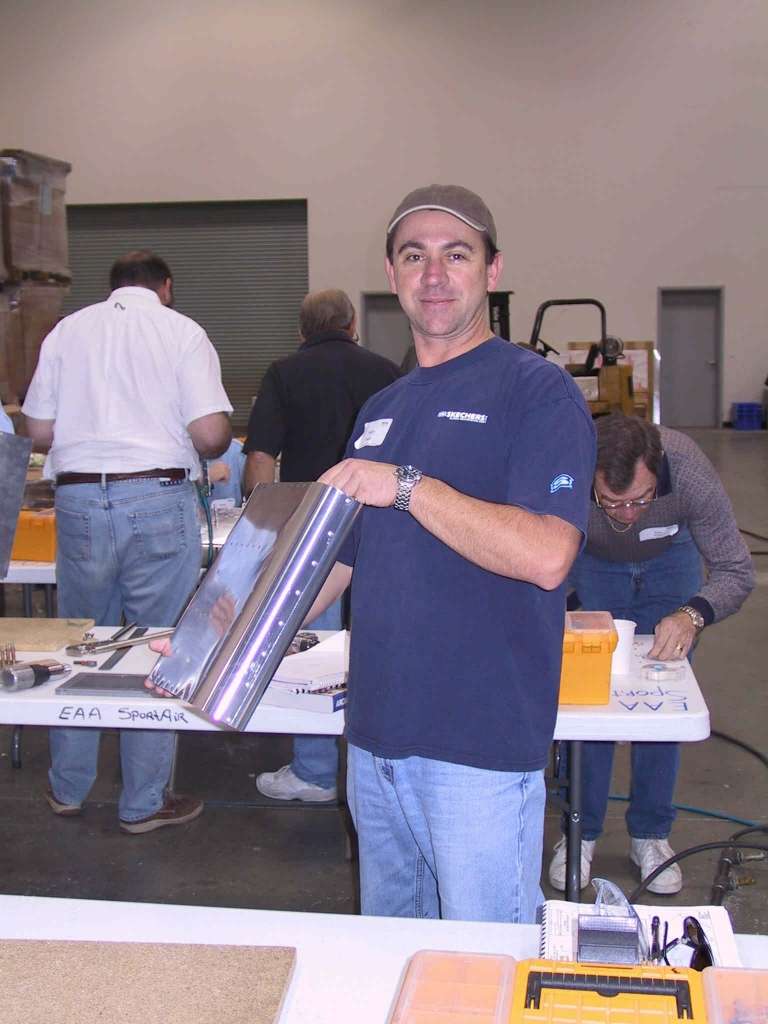
Attended an EAA Sportair RV Assembly Workshop Hosted by
Tom Emery. I *highly* recommend this for those of you thinking about
building an aluminum airplane, especially a Van's RV. Tom is the
best and the class gave me the opportunity to see if I had what it takes
to begin to learn how to build an airplane.
 |
| 3/30/03 |
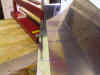
Constructed 2 EAA standard workshop tables. I might
need to build a few more, these are very handy around the garage. |
| 4/04/03 |
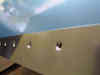
More Garage Prep work. I added 3 more fluorescent
light fixtures, ran air lines and power lines. |
| 4/5/03 |
Drilled and assembled the Horizontal Stabilizer (HS) rear
spar.
 |
| 4/6/03 |
Drilled and assembled the HS front spar.
 |
| 4/8/03 |
Began to assemble and drill the right and left elevator guts
by attaching spars to ribs.
 |
| 4/12/03 |
Completed assembly of L & R surfaces of elevator.
Clecoed skins in place and match drilled all surface holes. This thing
is starting to look like something now.
  |
| 4/13/03 |
Deburred all parts of L & R elevator. Finished
dimpling elevator ribs and spars using the pneumatic squeezer of L elevator.
Began dimpling skin of L elevator using C-frame tool.
  |
| 4/20/03 |
Almost complete with L elevator skin dimpling. Finding
it hard to dimple holes right up to the bend. It helps to have a
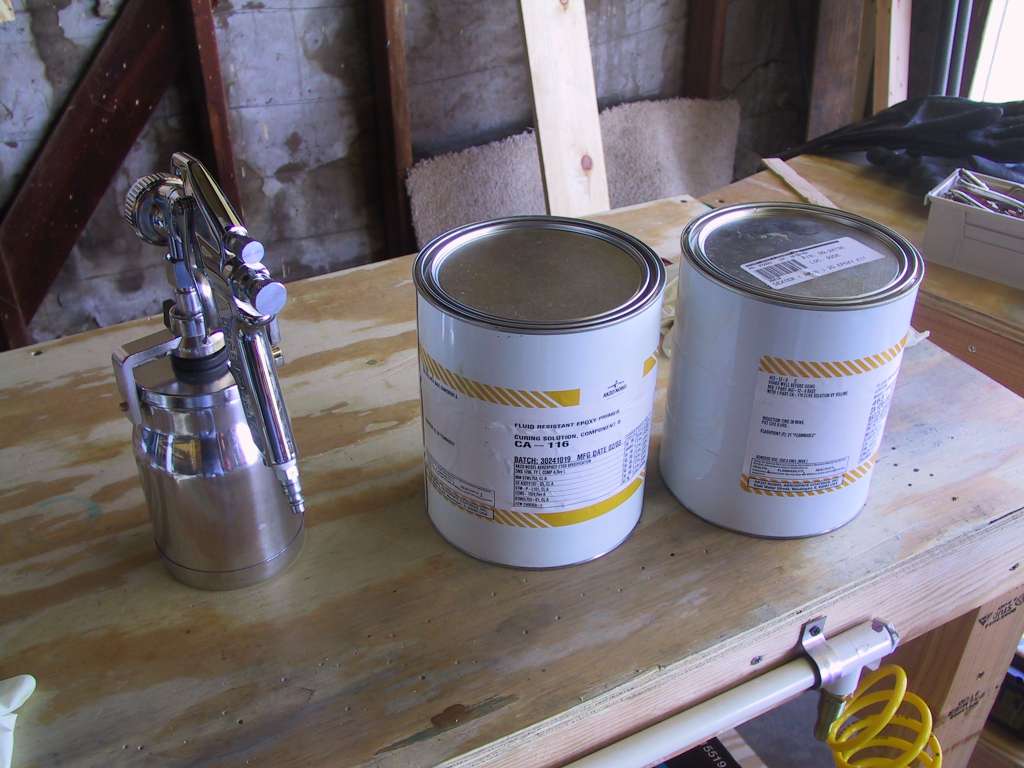
second set of hands for this. I'm also getting my priming station up
and functional. |
| 5/4/03 |
Cleaned, deburred, alumiprep, alodined and primed all HS
parts. What a job. Set the very first rivets today on the HS to
Elevator hinge.
     |
| 5/5/03 |
Began to rivet in earnest today. Set all the rivets in
the HS rear spar and as much as we could in the front spar.
  |
| 5/6/03 |
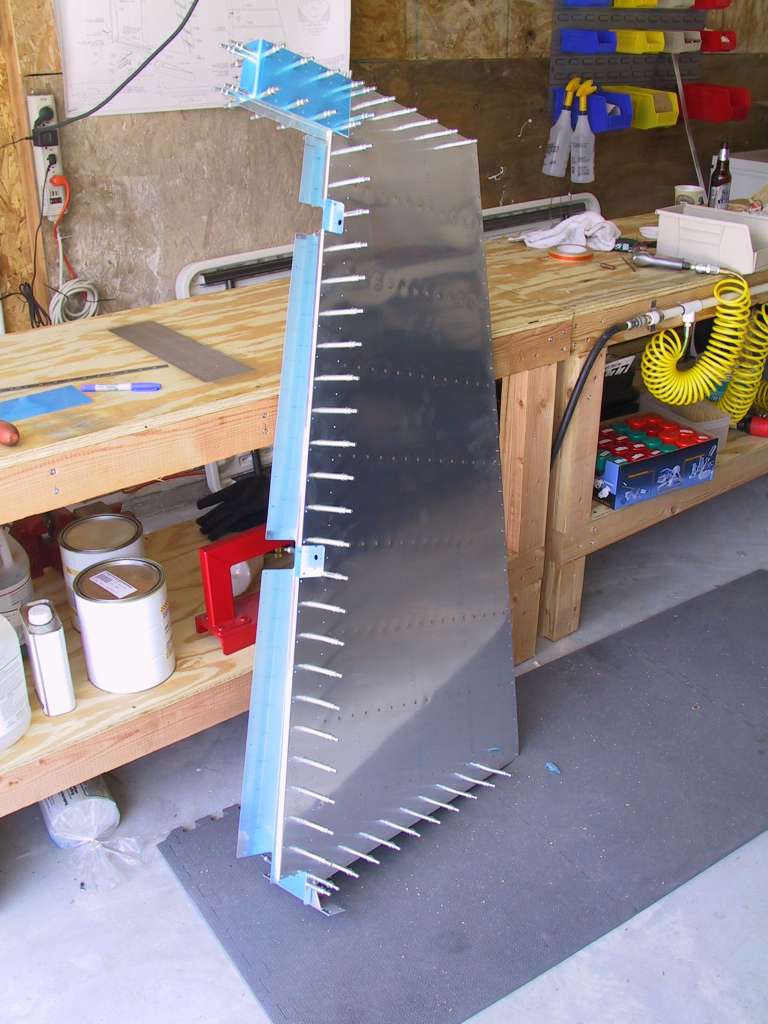
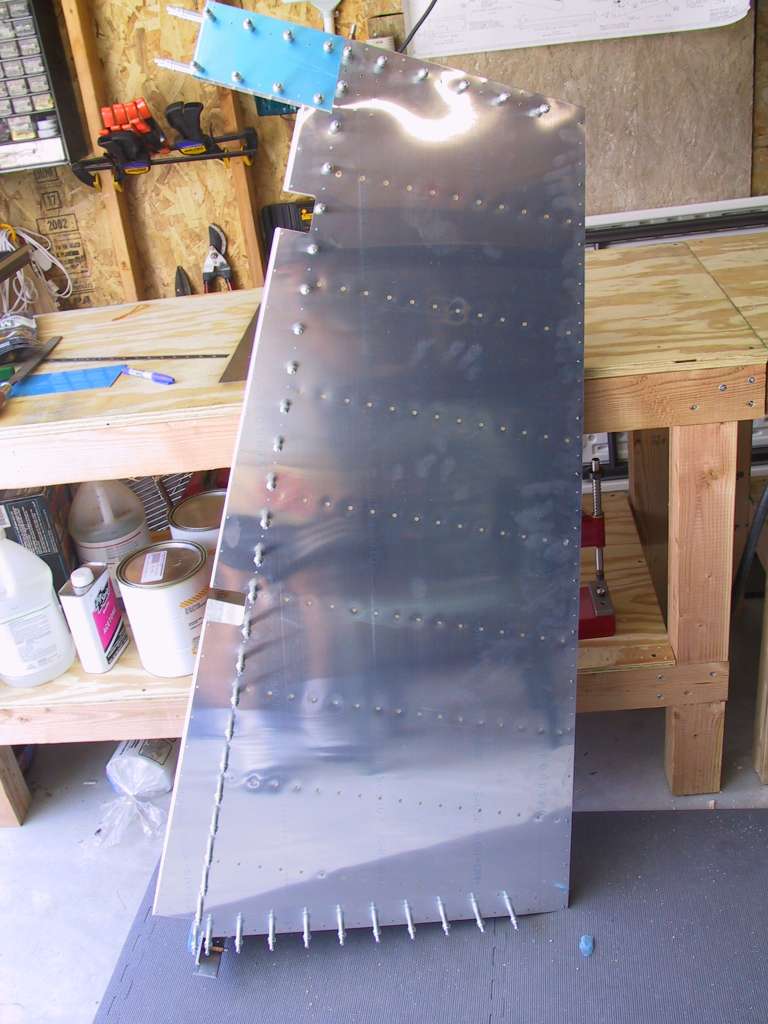
Began construction on the Vertical Stabilizer. Got the
framing done and the skin on and ready to start dimpling the structure/skin.
Also started to bang in the flush rivets on the HS.
  |
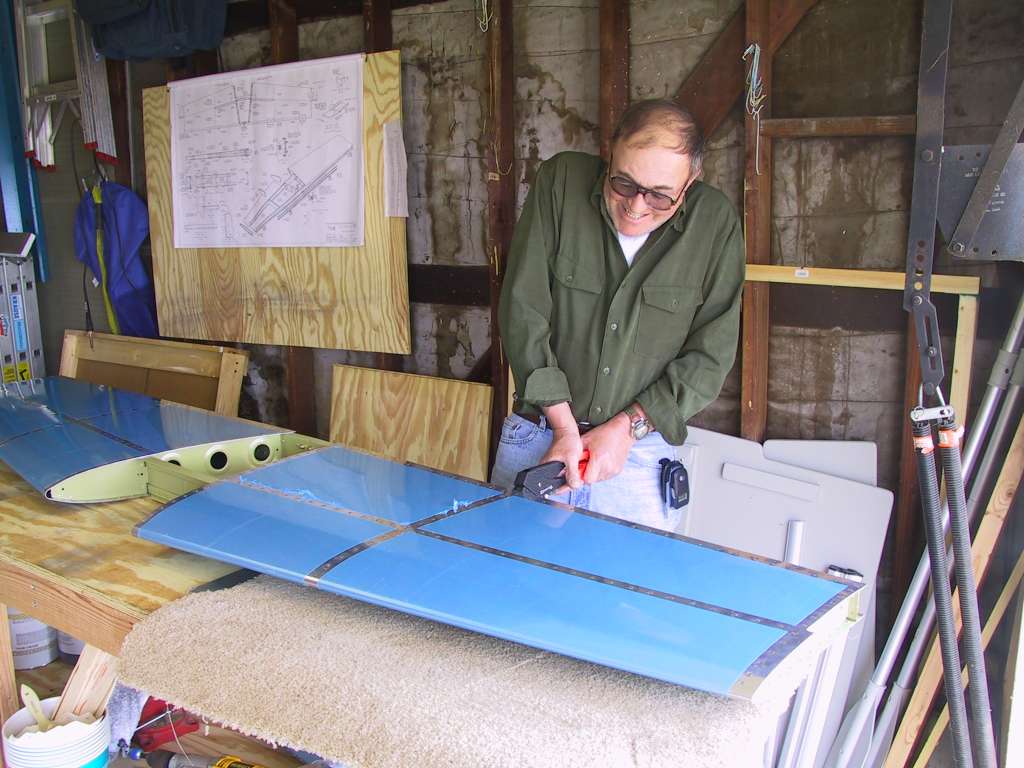
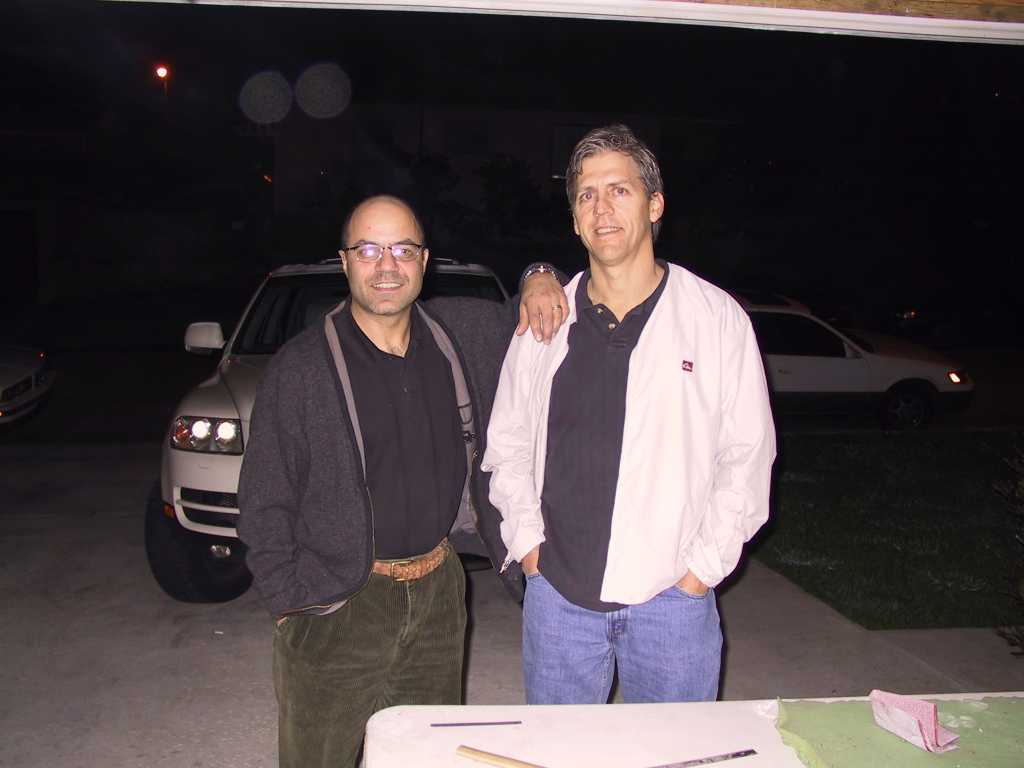
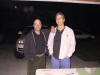
| 5/17/03 |
Spent some time in Cabo and have been waiting on some tools.
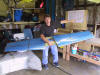
First chance today to get at it. Made substantial progress by
completing the HS! Thanks Pops! Here's pops putting in the last
rivet and me making flying sounds finally.
   |
| 7/11/03 |
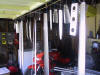
Well again I was sidelined. I attended one wedding,
one graduation, and one huge move to a new house. At least now I can
get started again. I moved into a brand new house with a 3.5 car
garage. Oh, is that nice. I have all the room I need.
Today I ordered the Fuselage and Quick Build Wings. I can't wait... |
| 7/12/03 |
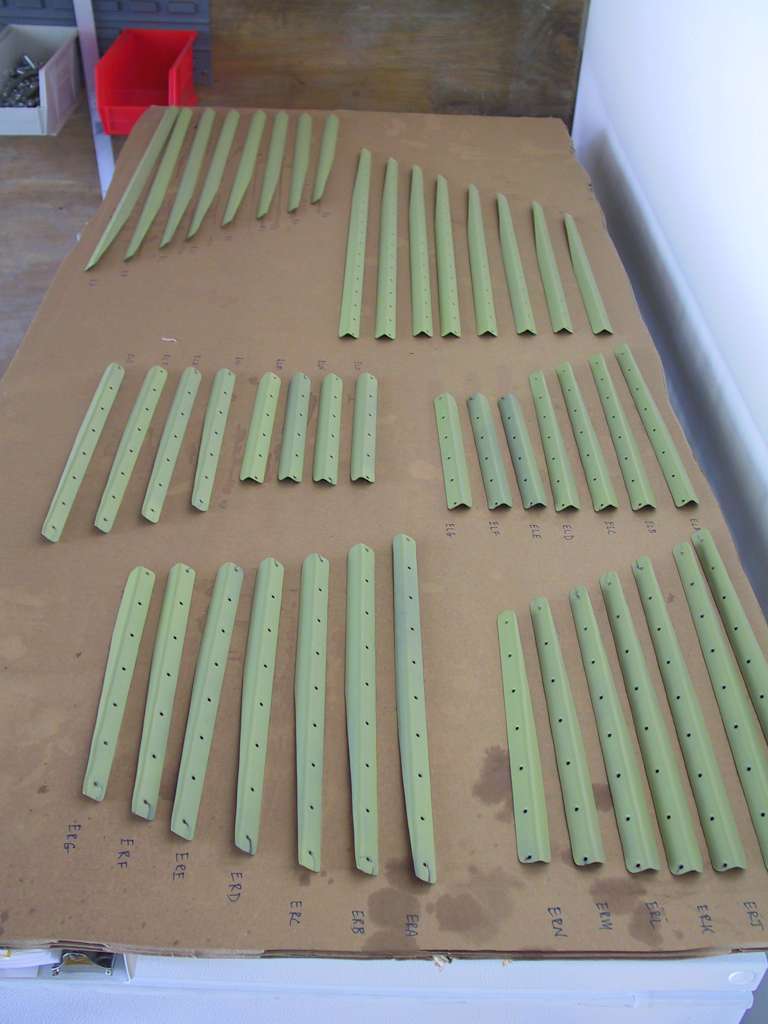
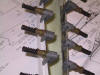
Began work prepping the rudder and elevator stiffeners.
I had already cut, deburred and dimpled both the stiffeners and the skins.
Today I alumiprep, alodined and primed all the stiffeners.
 |
| 7/13/03 |
Began construction of the rudder. All parts cut,
deburred and dimpled the put together to match drill.
  |
| 7/14/03 |
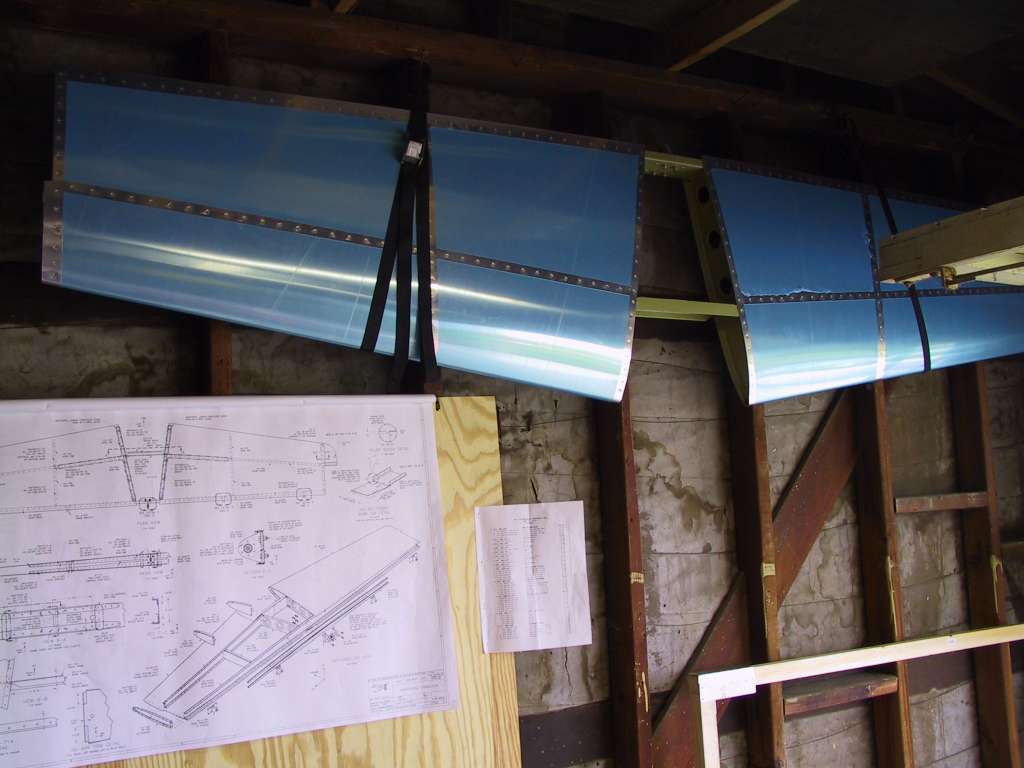
The day I've been waiting for. I finally got the parts
inspected by my local EAA 96 chapter technician. He said everything
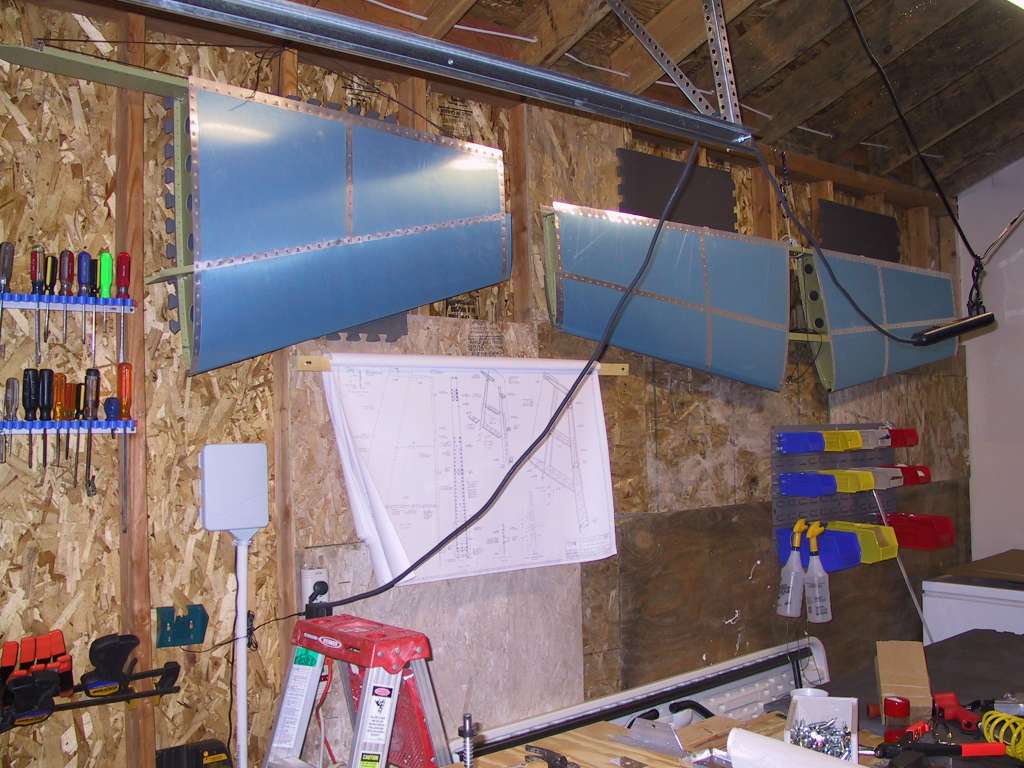
looked very good. I'm happy. I closed up the
rudder. I had left the spar off for the inspection. Up on the
wall it goes, out of the way.
 |
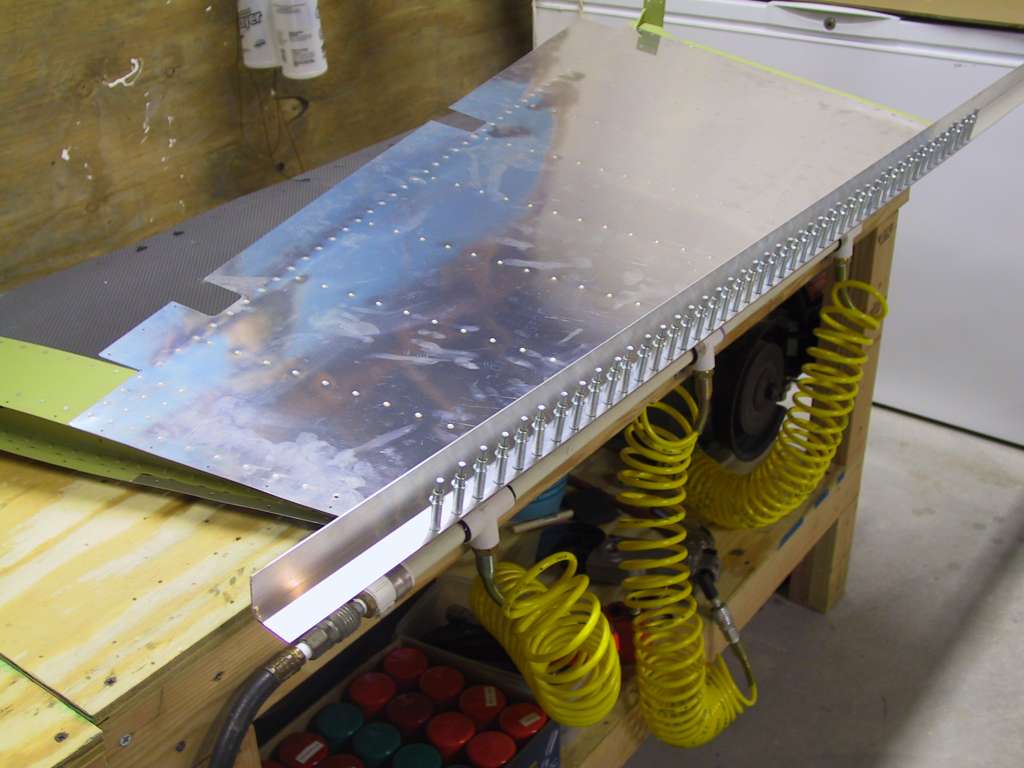
| 7/19/03 |
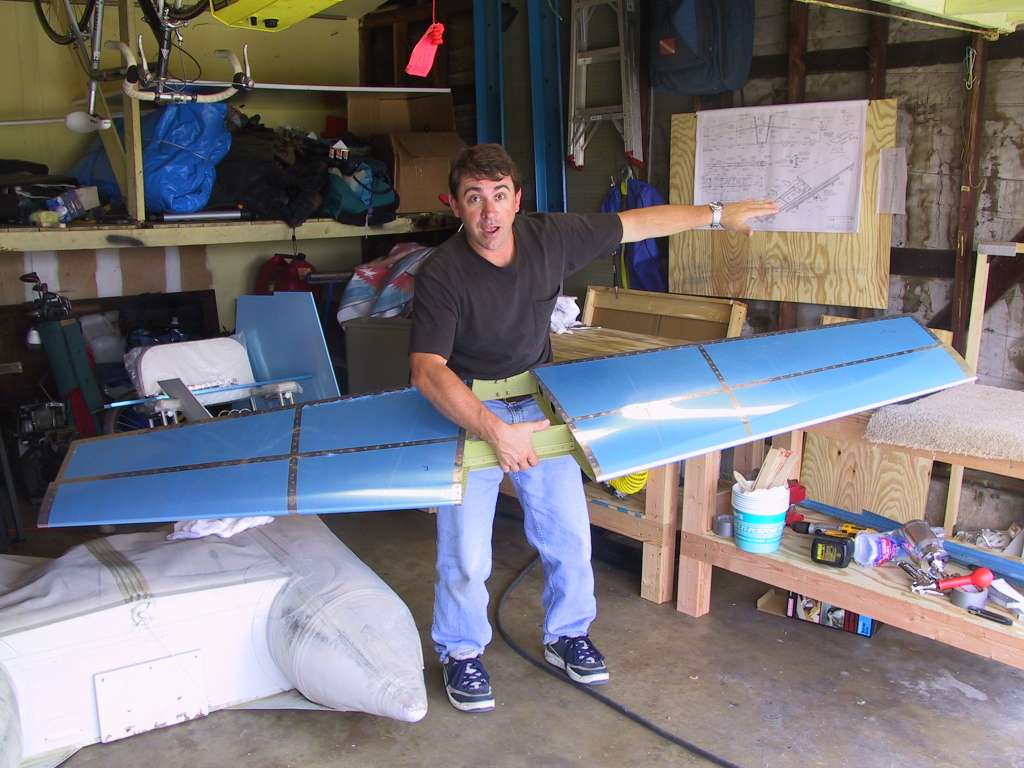
Over the past few days I've been making progress towards
getting the empennage completed. I just found out that the QB wings
will be here next week. Yikes, I gotta make some room. Best
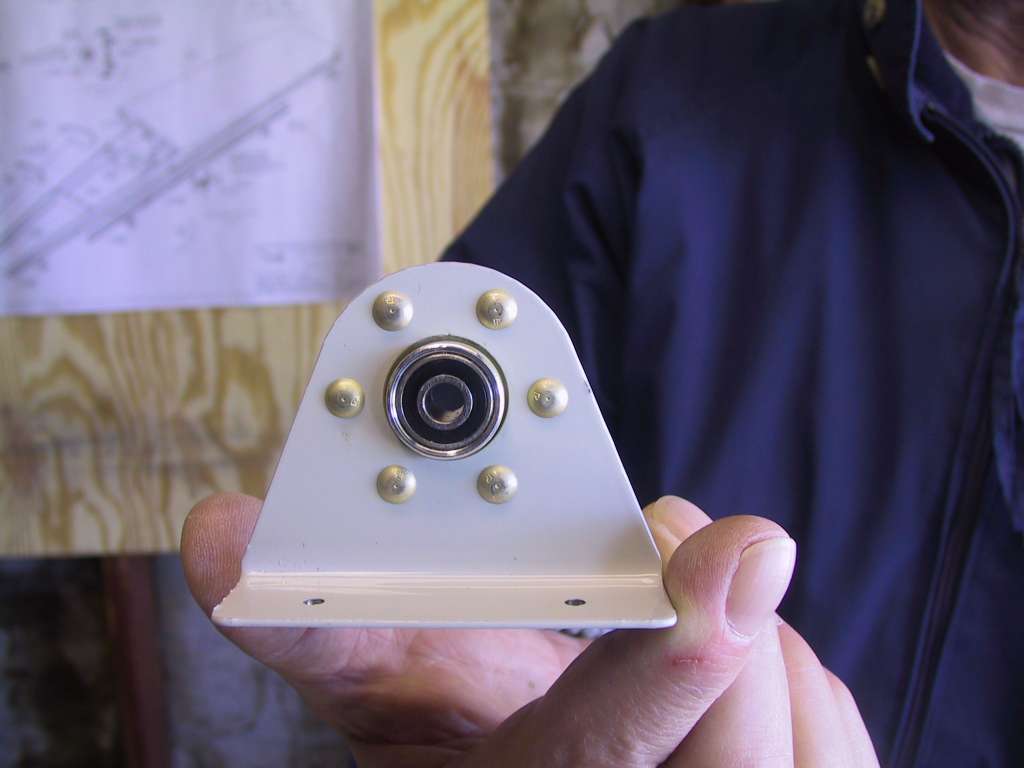
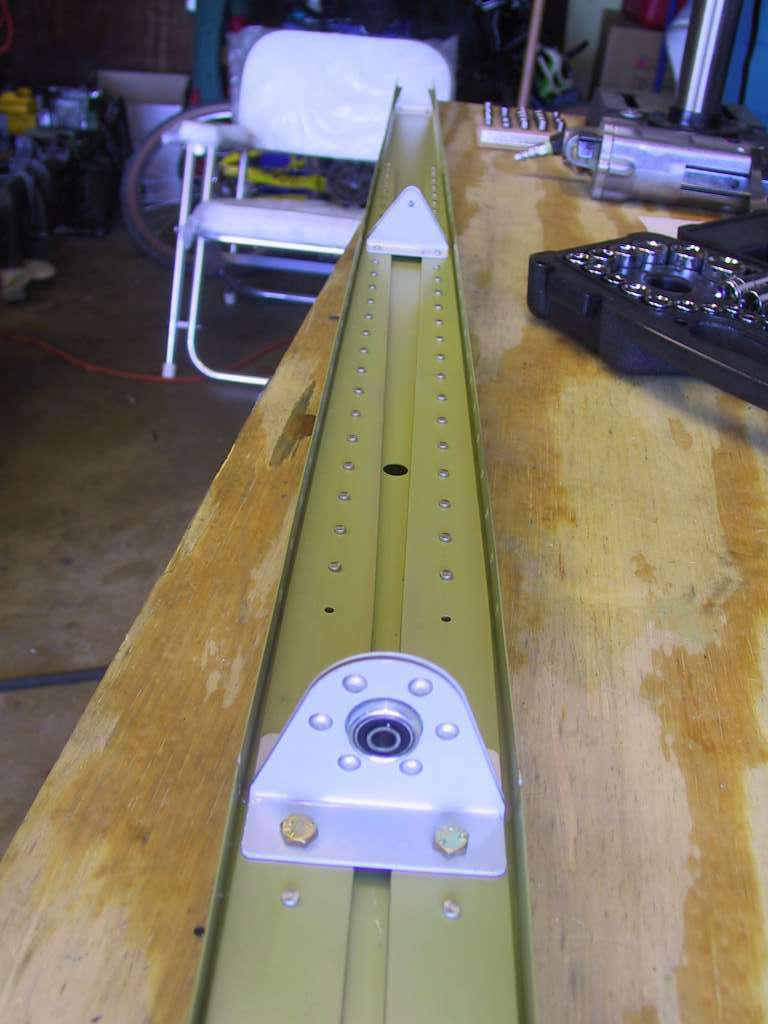
thing I can do is get this work done. Assembled and did all the little
work for the Rudder. Here the stiffeners are installed. Counter
balance is installed and the rudder is awaiting final assembly.
   |
| 7/20/03 |
I'm waiting to do the rudder trailing edge. I'm scared
about screwing it up. So I spent the entire day getting the elevators
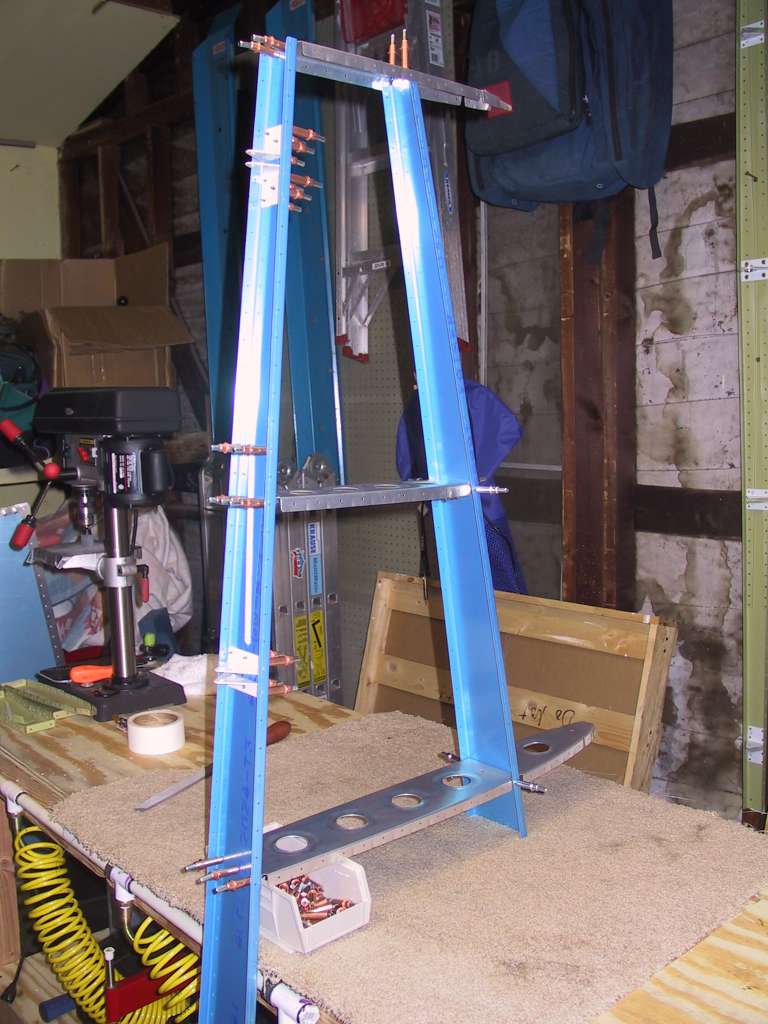
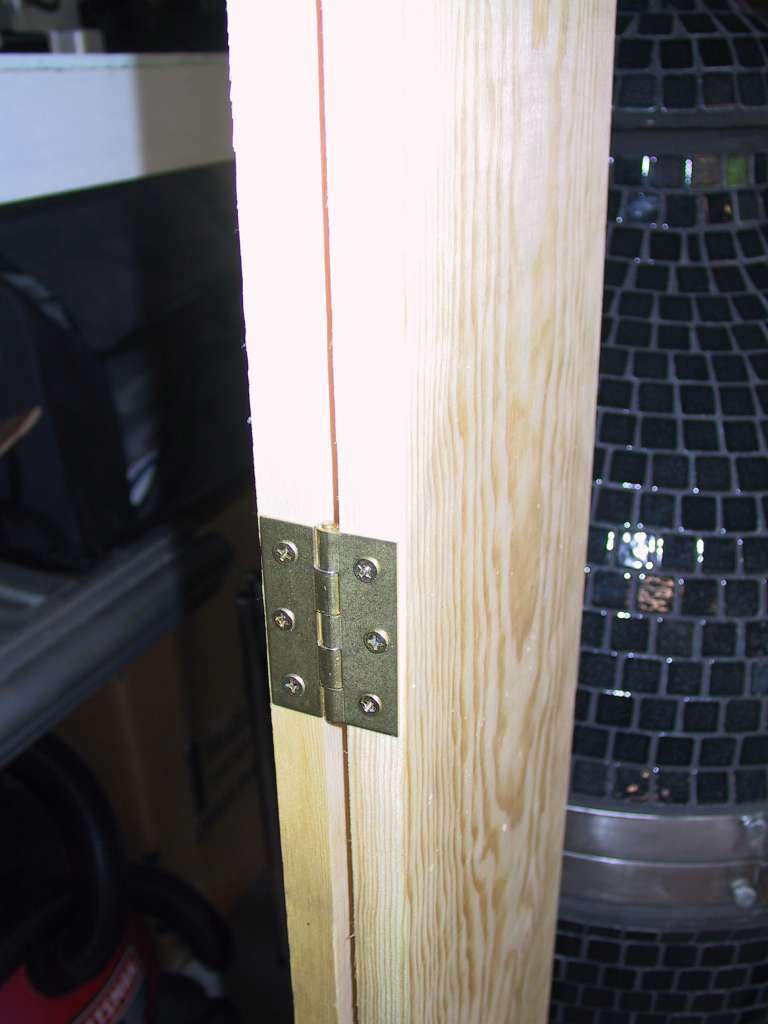
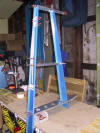
to the point where I have to bend the left elevator tabs. I fabricated
a press to squeeze the trailing edges of the elevators with some 1x8x6 and 4
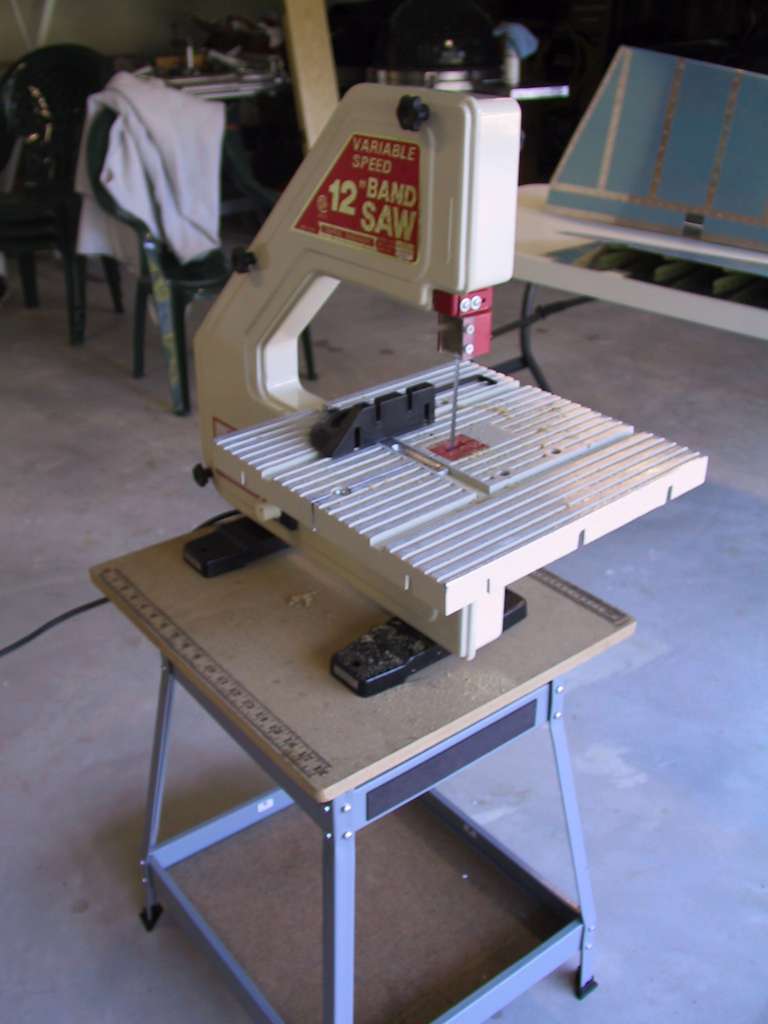
door hinges. It came out very nice. Finally had to buy a band
saw. Not bad for $129. And it's variable speed so wood and
aluminum can be cut with one machine.
     |
| 7/21/03 |
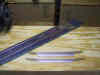
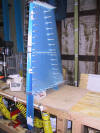
I bought some L shaped aluminum at HomeDepot. I match
drilled with the rudder trailing edge. Using some two part metal epoxy
with a 60 minute cure time I swabbed some on very thinly to the V bar, and
clecoed the entire assembly together. I must say it looks pretty damn
straight! I'll let it cure overnight and then rivet it closed
tomorrow.
|
| 7/23/03 |
Rudder finally got closed tonight. The use of metal
epoxy was probably not the greatest choice. During back-riveting of
the double flush rivets, the glue became separated from the metal. The
result is a bit of a gap, barely noticeable, in the trailing edge between the
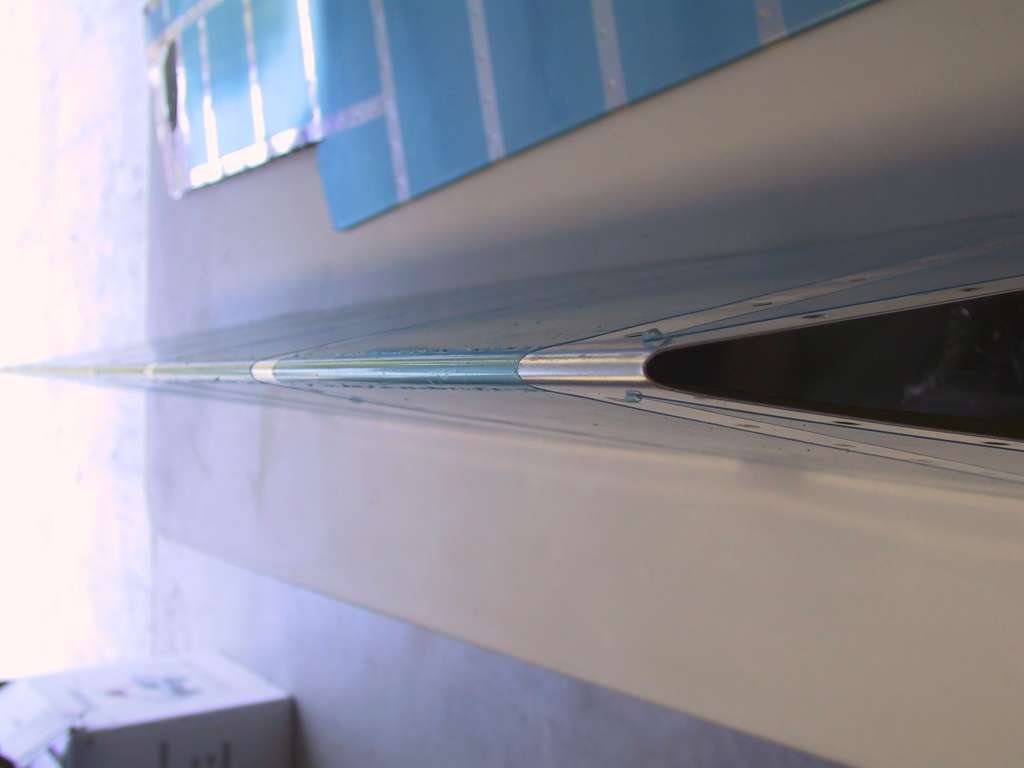
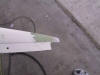
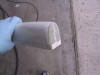
skins. Oh well, I'll do it better next time. I also rolled the
leading edges. You can only get so much bend with a one inch pipe.
The rest must be done by hand. It's time consuming but I got a good
bend within specs.
 |
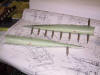
| 7/26/03 |
I spent today figuring out how to make and then fabricating
a "riblet" for the LH elevator. The plans call for you to 'bend' the
tabs on the lh elevator skin to close the area next to the trim tab.
What a total waste of time. After bending the crap out of the skins I
decided to cut it off and form a riblet. It came out perfectly.
That's the way to go. Made it on the second attempt too. |
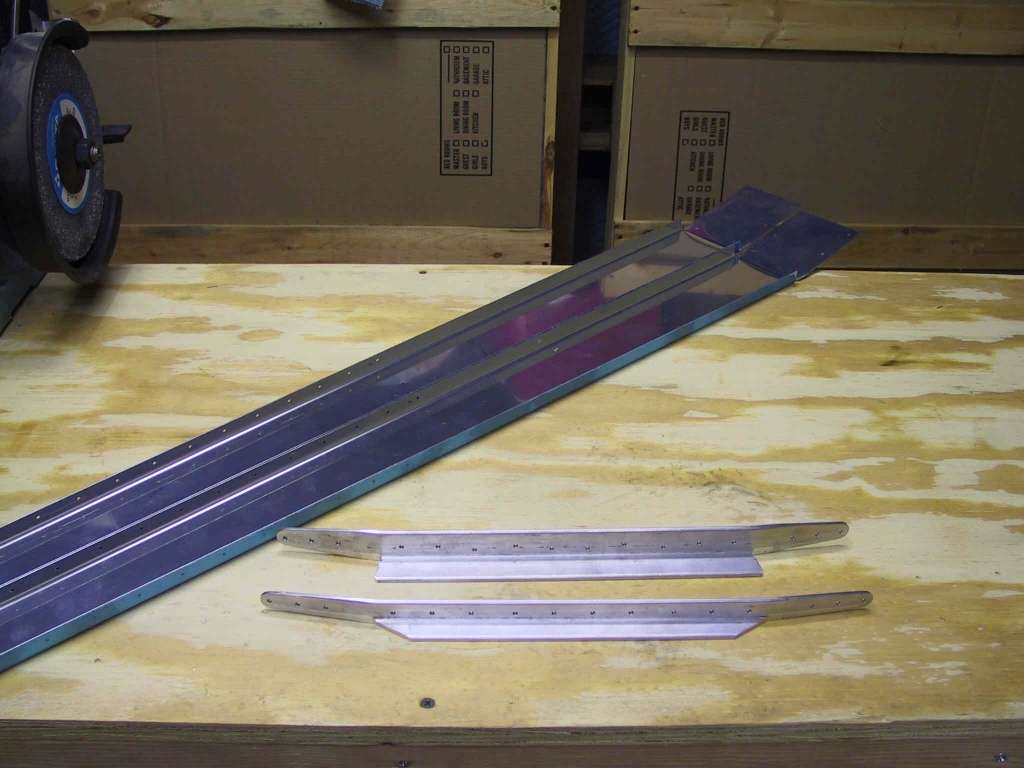
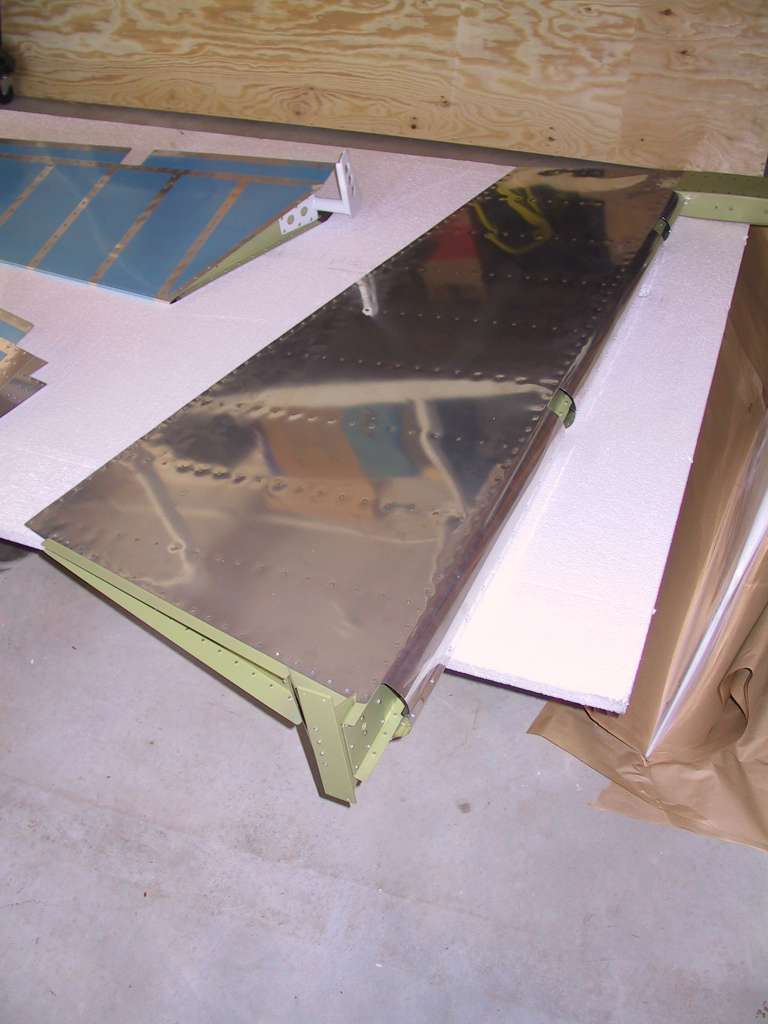
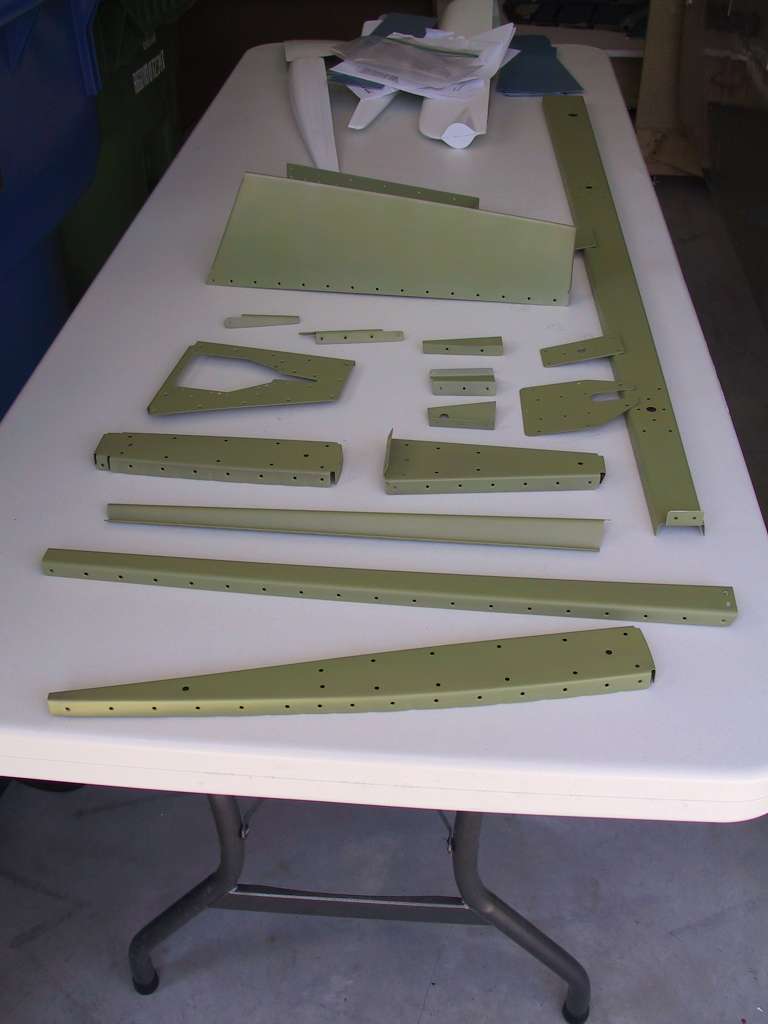
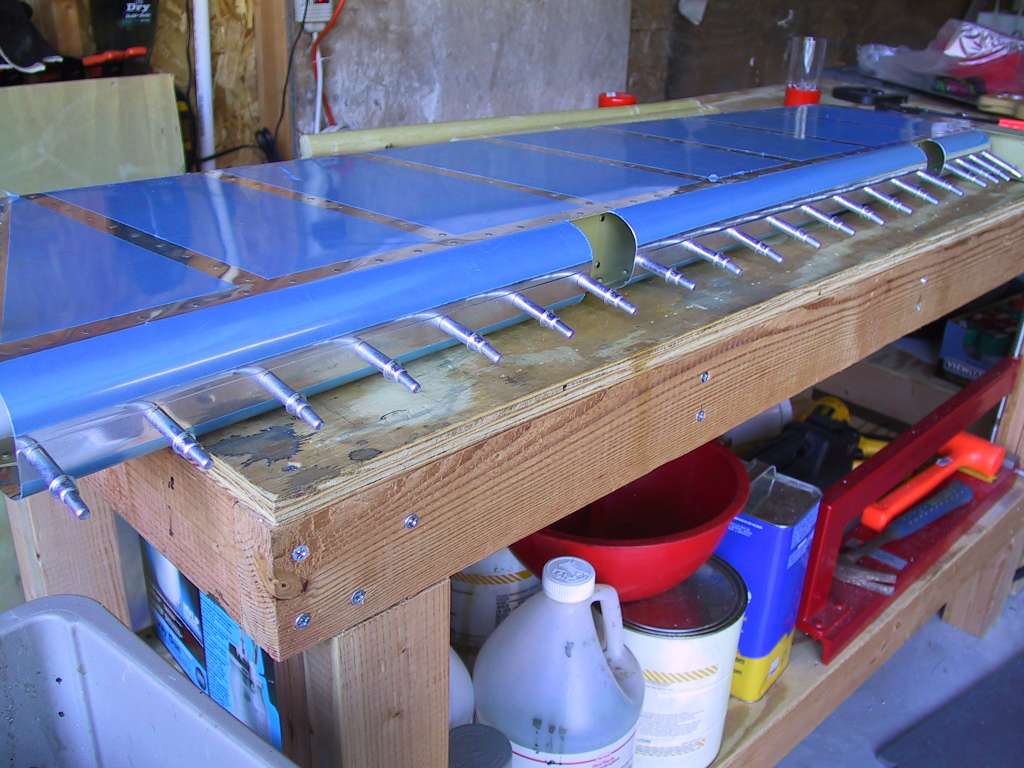
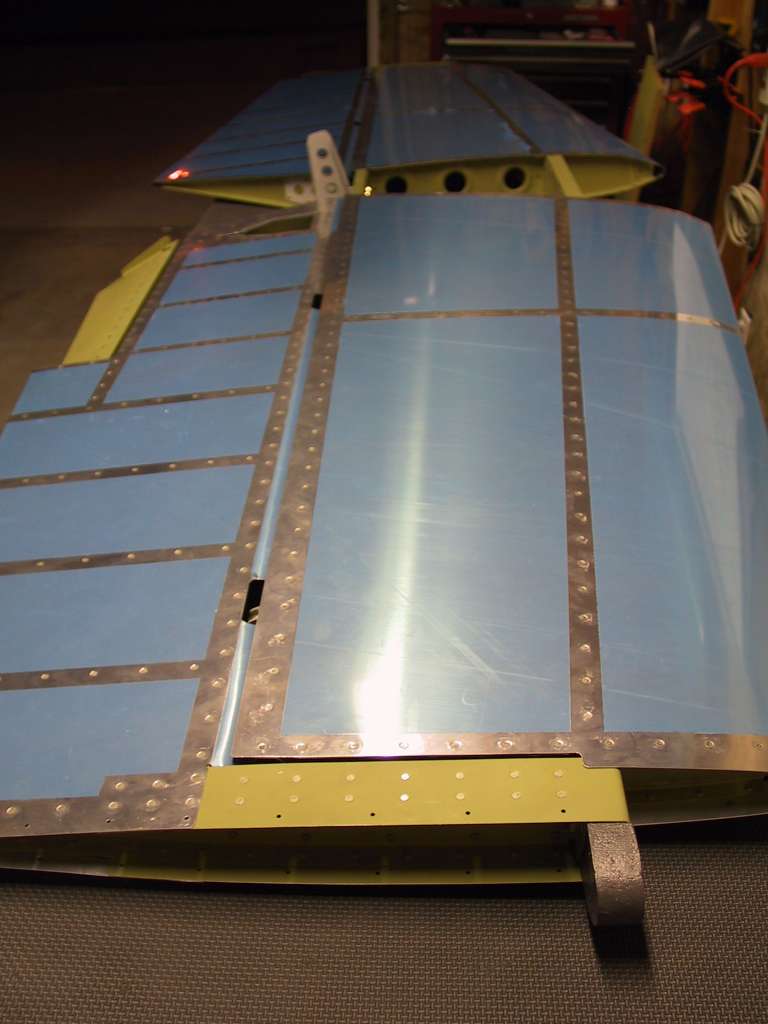
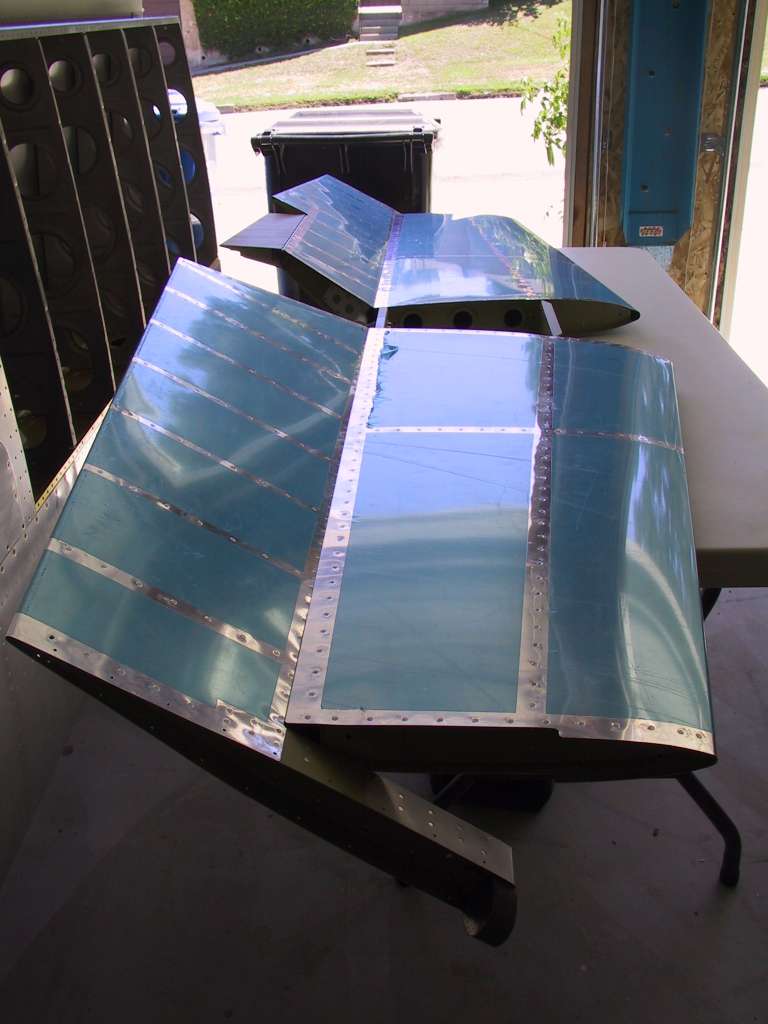
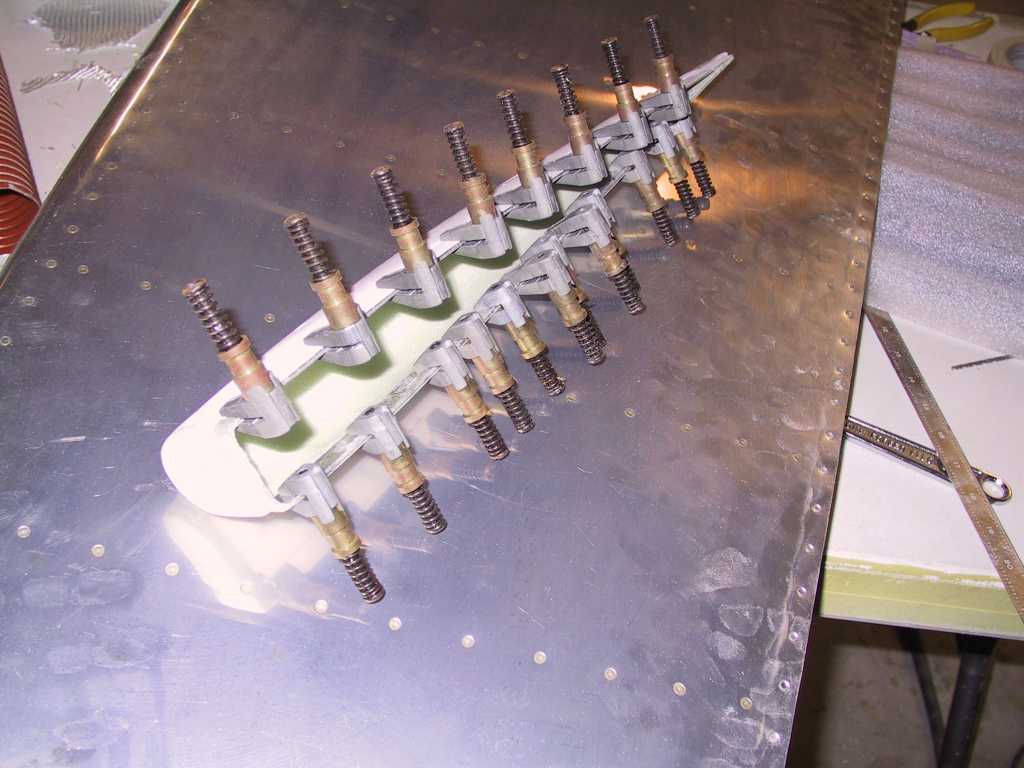
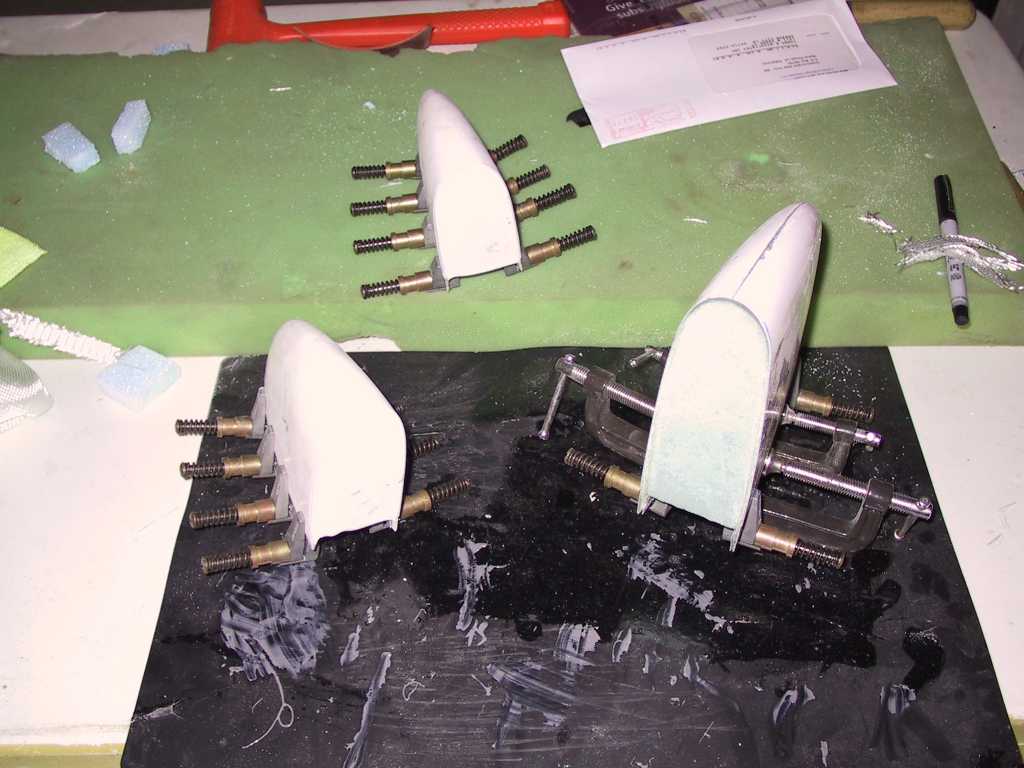
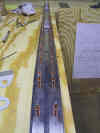
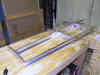
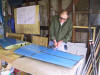
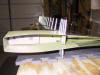
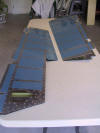
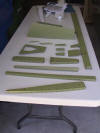
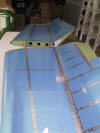
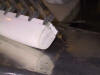
| 7/27/03 |
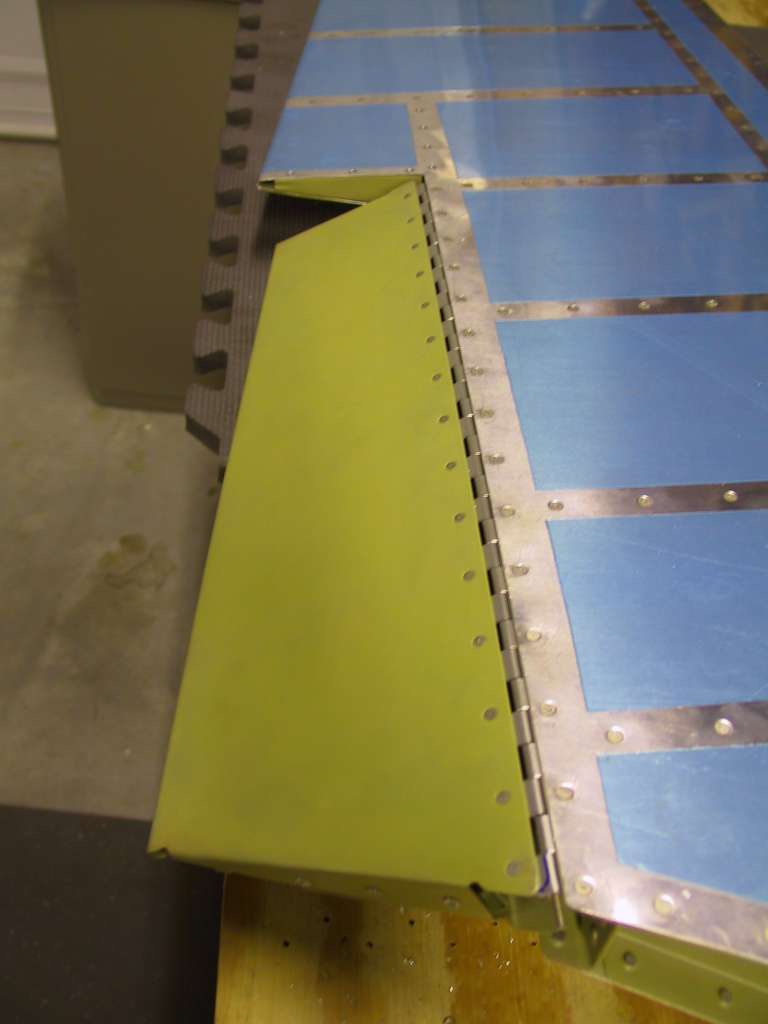
Spent the morning prepping and priming all the parts for the
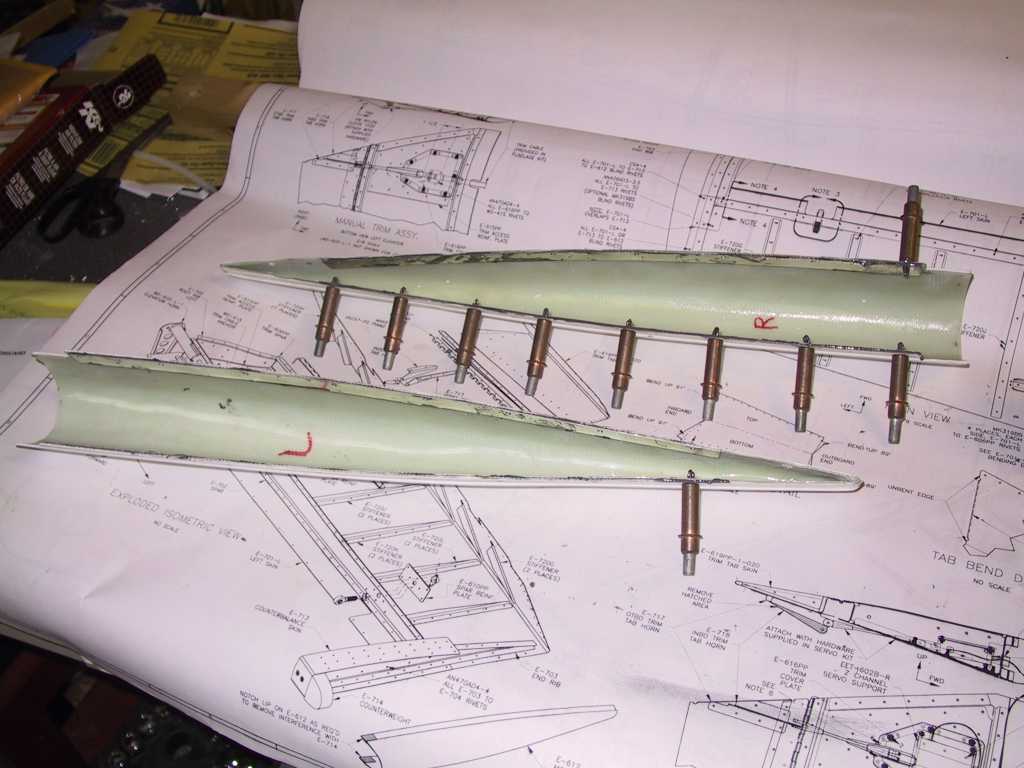
lh and rh elevators. Then I assembled the rh elevator. The
pictures show the parts for the lh elevator and trim tab and the completed
rh elevator. Still have to bend those leading edges. I can't
wait. :-|
  |
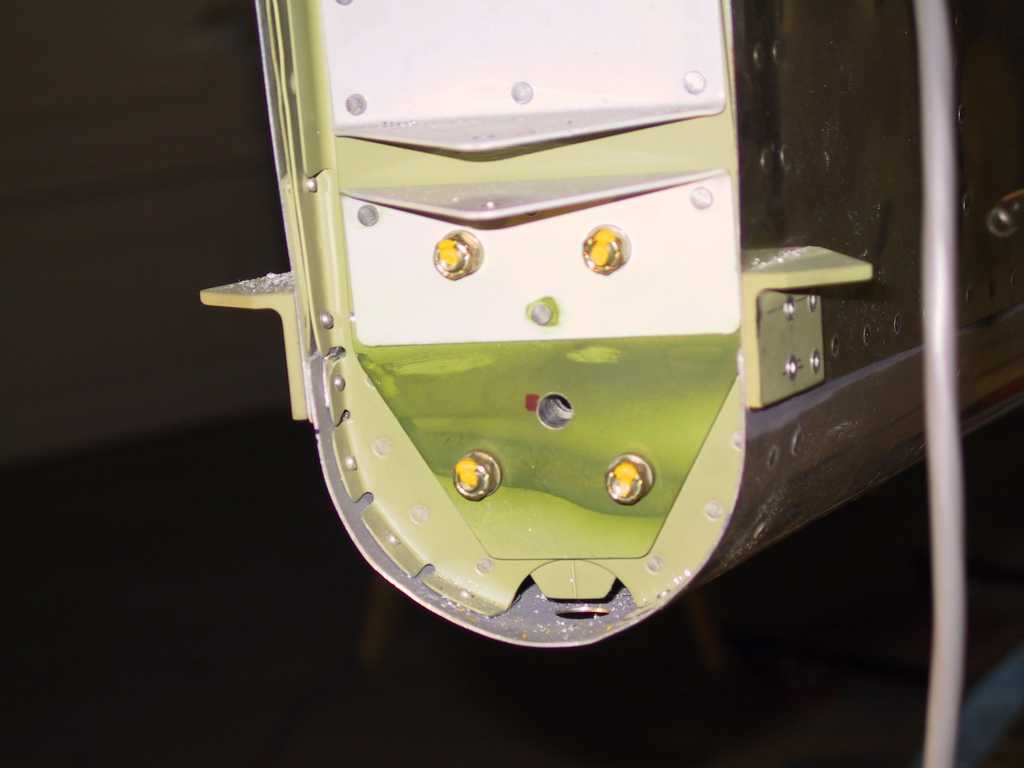
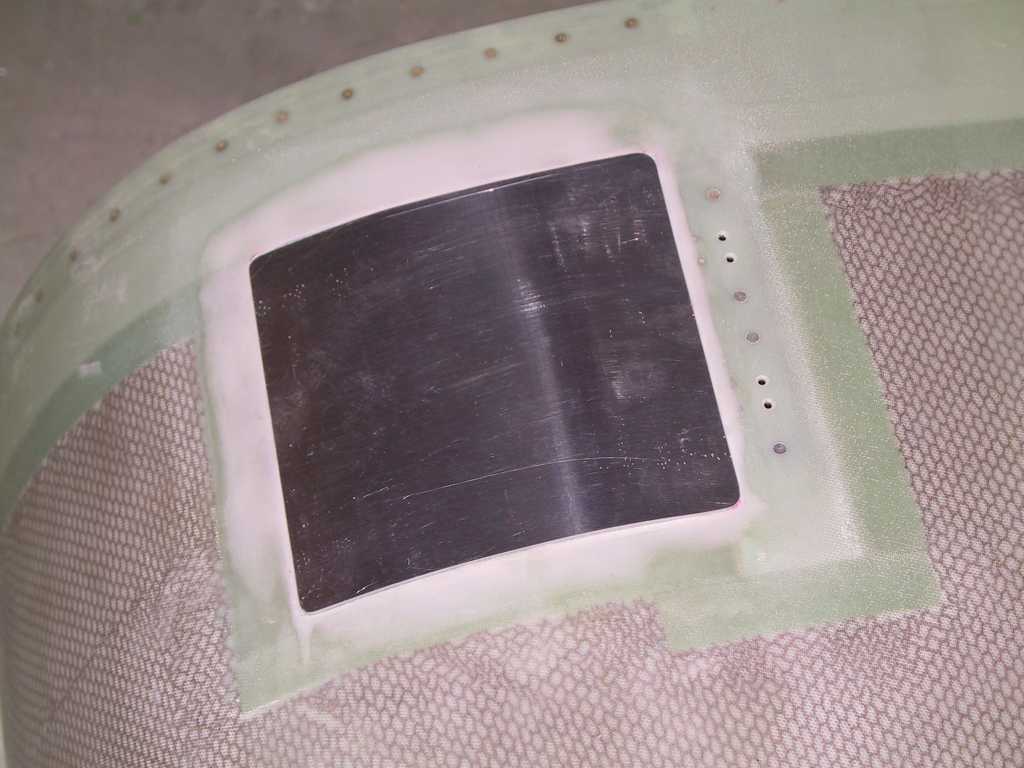
| 7/28/03 |
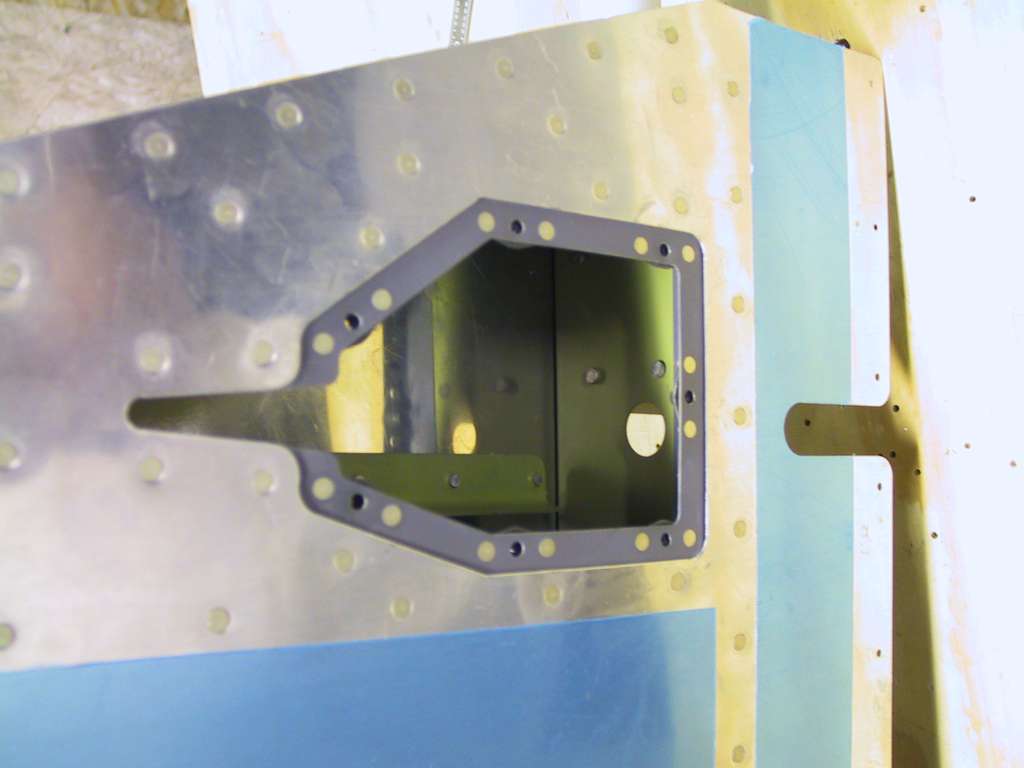
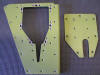
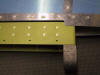
Decided to wait to rivet 615PP (trim access reinforcement
plate for the elevator trim mechanism) to L-701 skins according to the plans
because I wanted to prime it. Today was the first time I installed
flush mounted platenuts where an access cover goes over it. I'm not sure I did this the best way. I riveted the E615PP
(trim access reinforcement plate) to the skin after I primed it. I
forgot to dimple and/or countersink the 615PP for the platenuts, and the
plans don't say either to dimple or countersink. Also the plans don't
say to dimple or cs the 616PP Trim cover plate which is attached to the
615PP with platenuts. I dimpled the 616PP and countersunk all the
holes on 615PP for the platenut rivets and bolt hole. Duhhh, what
SHOULD I have done? Ordered the strobe light kit (System 6) from Vans a
few days ago. Ordered the wingtip landing/taxi lights today.
Ordered the pitot tube today. I can't believe the company making them
now. Those things used to be about $100 bucks, after the buyout, now
they want $700. What a rip off. I found someone who had two left
at the previously unheard price of $350 and bought one. I feel lucky
to have found that. Want to know why aviation engines cost so much?
Even still I'll probably still by an L. engine. Wish I had more
choices. |
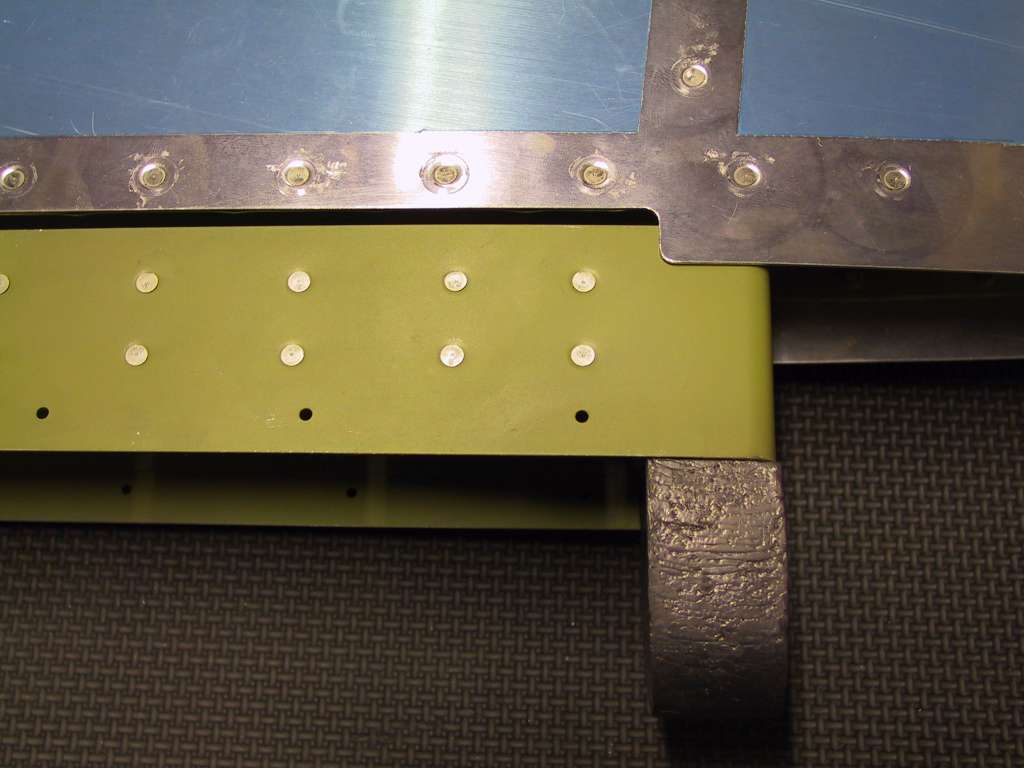
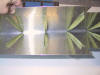
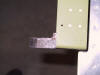
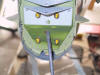
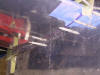
| 7/29/03 |
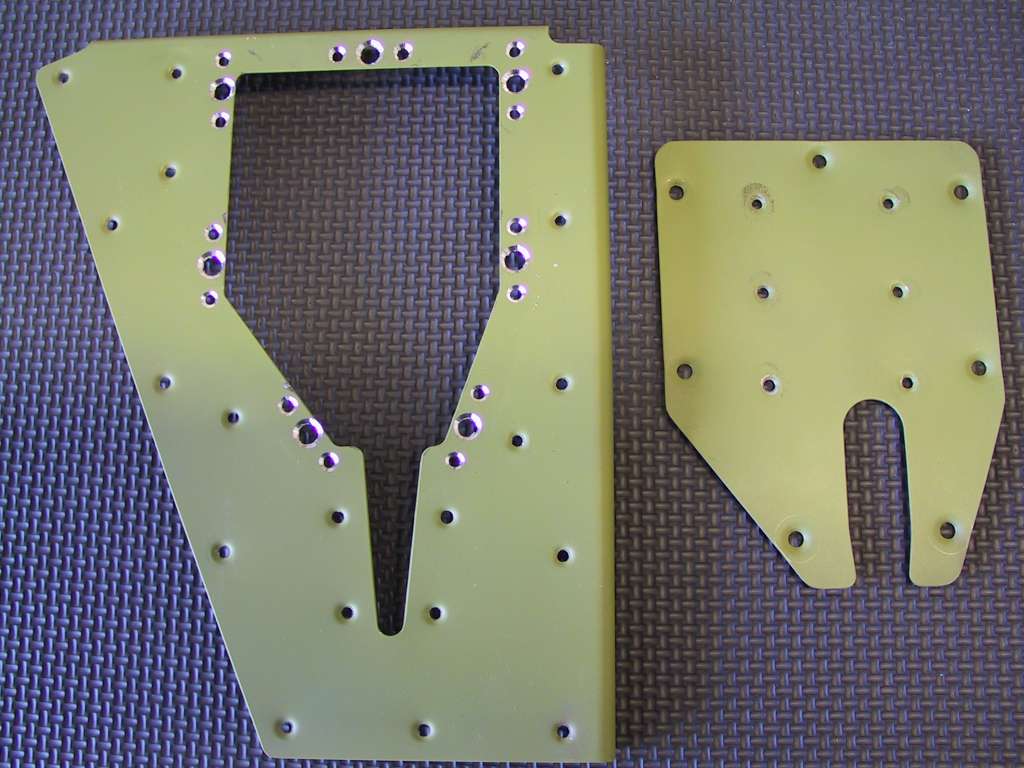
Drilled out all the rivets holding the 615PP and ordered a
new 615PP and 616PP. $13 for both, not bad. I will counter sink
the screws on the cover plate and cs the rivet holes for the platenuts.
Now I know how to do it. Meanwhile, no progress to mention, unless you
consider drilling out rivets as progress. There probably won't be any
more updates till next week. I'm going to EAA Airventure this Thursday
through Sunday. I hope to finalize more choices about my panel during
that time when I visit and see first hand all my choices. I can't
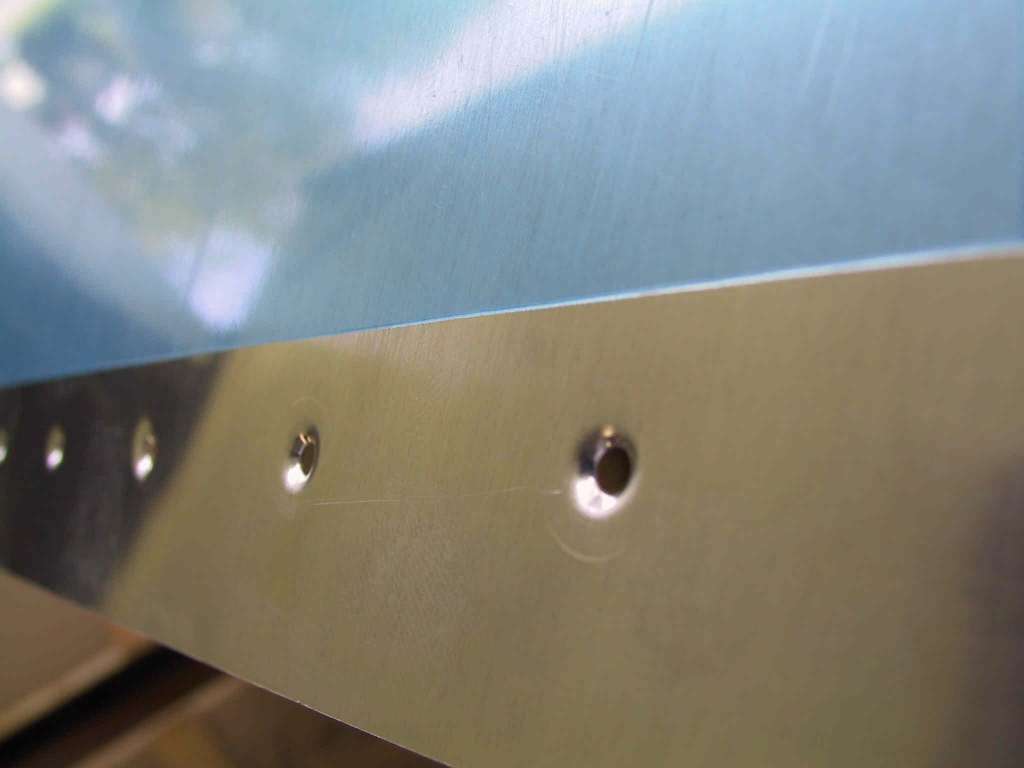
wait, it's my first time. I'm a virgin. Here's a picture of the
offending pieces to be replaced. Notice how close the cs holes are to
the edge. Yuk!
 |
| 7/31/03 |
Oshkosh!! What an awesome event. More planes,
campers, tents, people and vendors than any single event I've ever
witnessed. Awesome. Plan now is to finish this bird and get her
flying so I can attend next years celebration of flight in my very own
airplane. See pics
here. |
| 8/4/03 |
Landing lights, Whelen system 6 lighting system and heated
pitot tube arrived today. I haven't unpacked them yet and I won't till
I need them. I also received the new E615PP and E616PP parts from
Vans. Time to get started finishing the L elevator.
Update. Well I
screwed it up again. I countersunk the E616PP on the wrong side.
So I fabricated another 616PP with the leftover stock I had using the 616PP
as a template. It looks good and I'll use it. Waste of time it
was. |
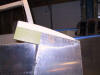
| 8/10/03 |
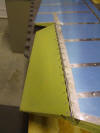
Finally was able to spend some time getting the left
elevator almost done. Here is the 'riblet' I made instead of bending
the tabs. I found it to be a better choice for me. I blind
riveted it with the cs rivets. Elevator is mounted and the access
panel is completed. I found out that the parts kit was going to be
shipped with the fuselage. With the fuselage not arriving till mid
Sept I asked Vans if they could ship the hardware with the back-ordered
ailerons. They agreed as they had a set of ailerons in stock.
Lucky me. Thanks Vans. The only thing left on the empennage is
to bend the leading edges of the elevators and that's a snap to do.
   |
| 8/15/03 |
Flaps arrived and the hardware kit too!
 |
| 8/16/03 |
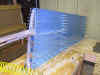
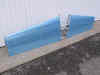
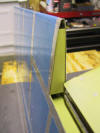
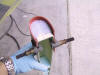
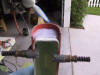
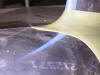
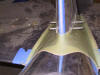
My Birthday today. 40. Bent the leading edges of
the elevators. Here's a pic in process.
 |
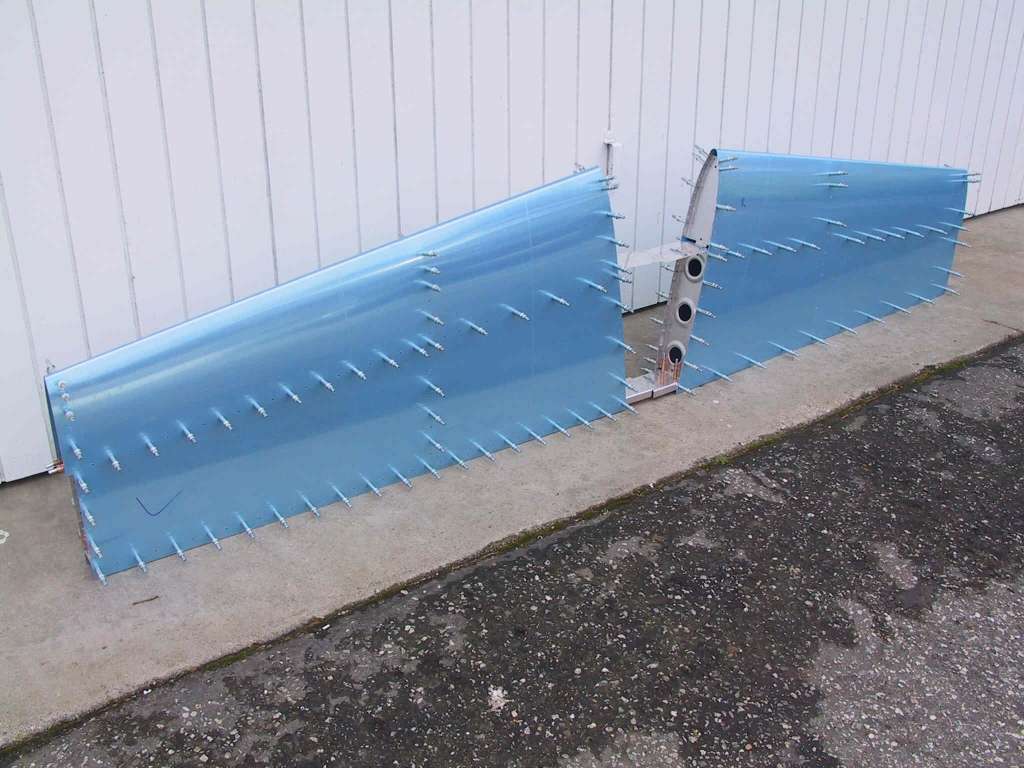
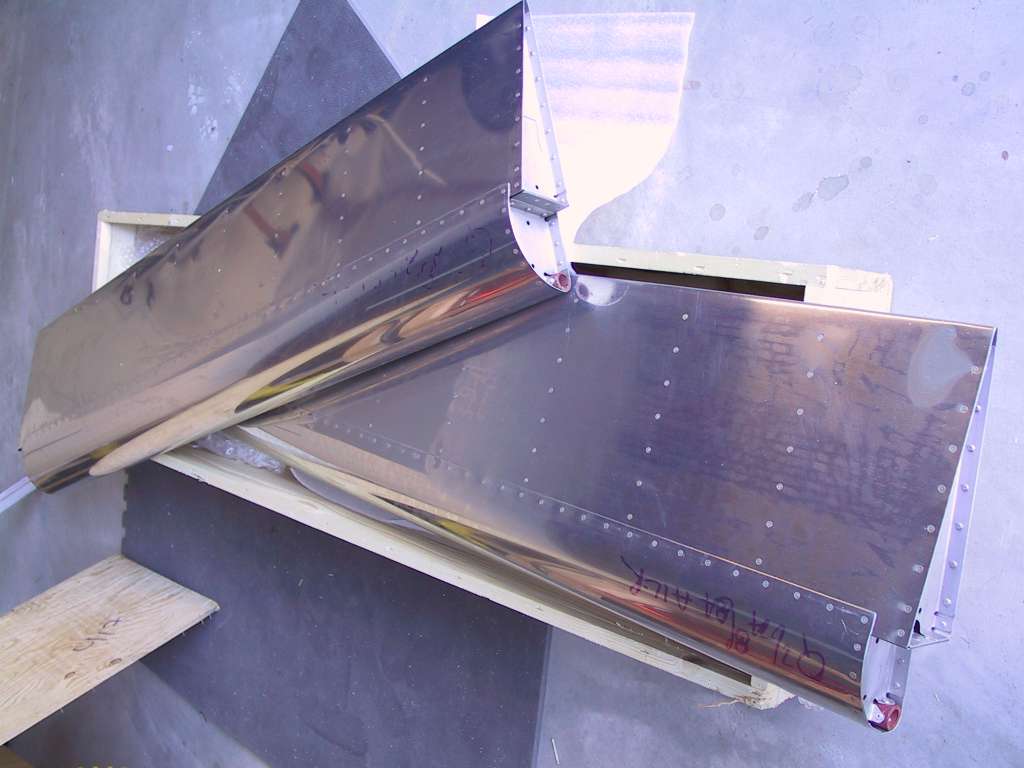
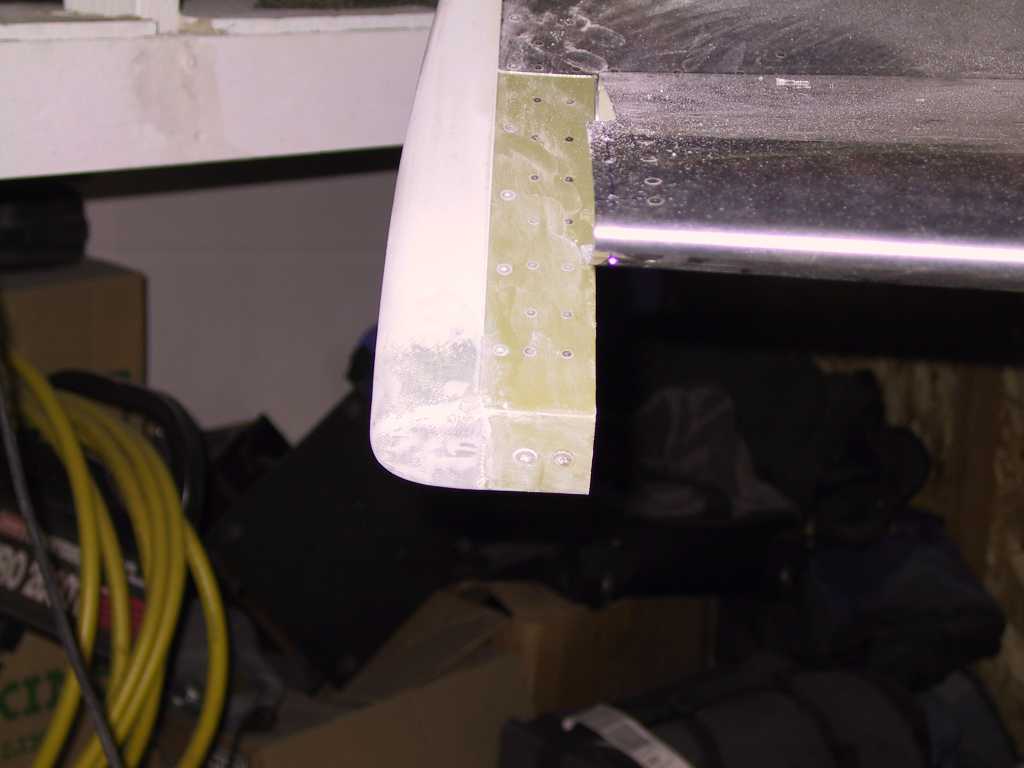
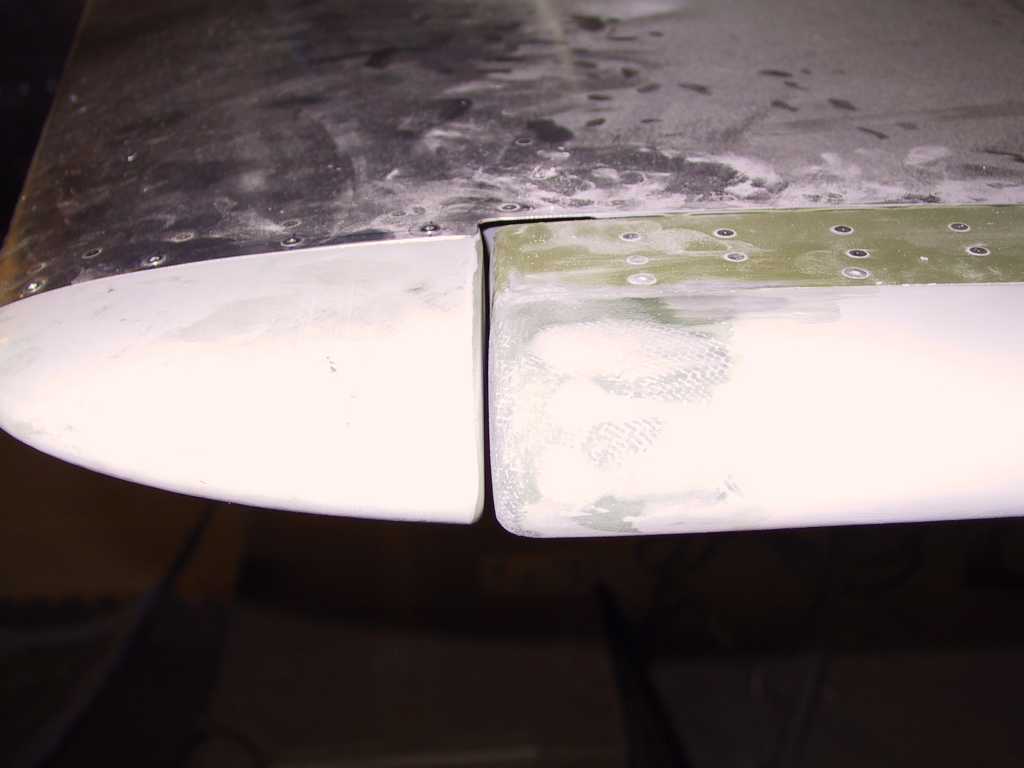
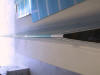
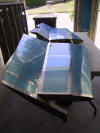
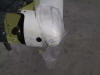
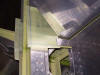
| 8/19/03 |
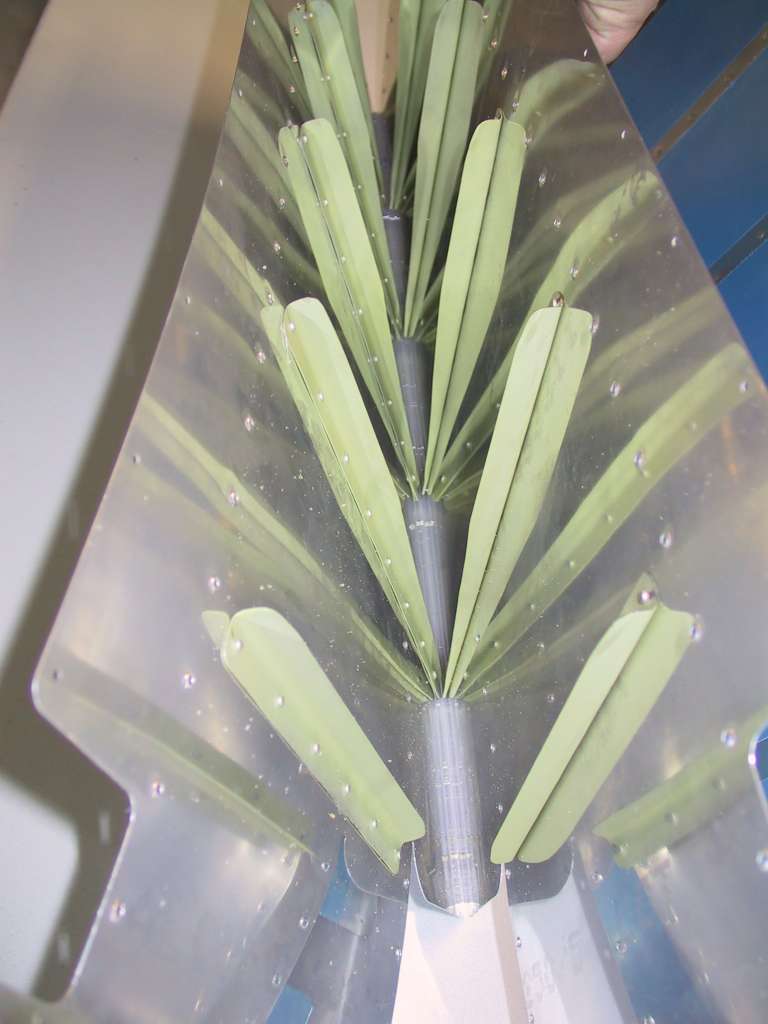
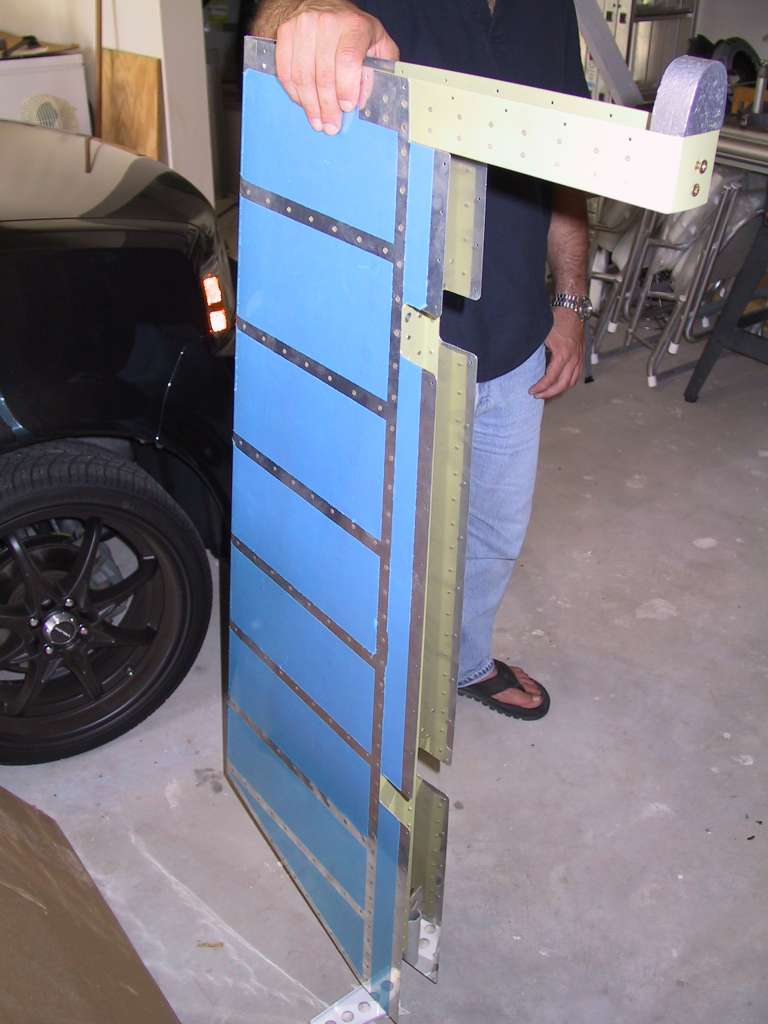
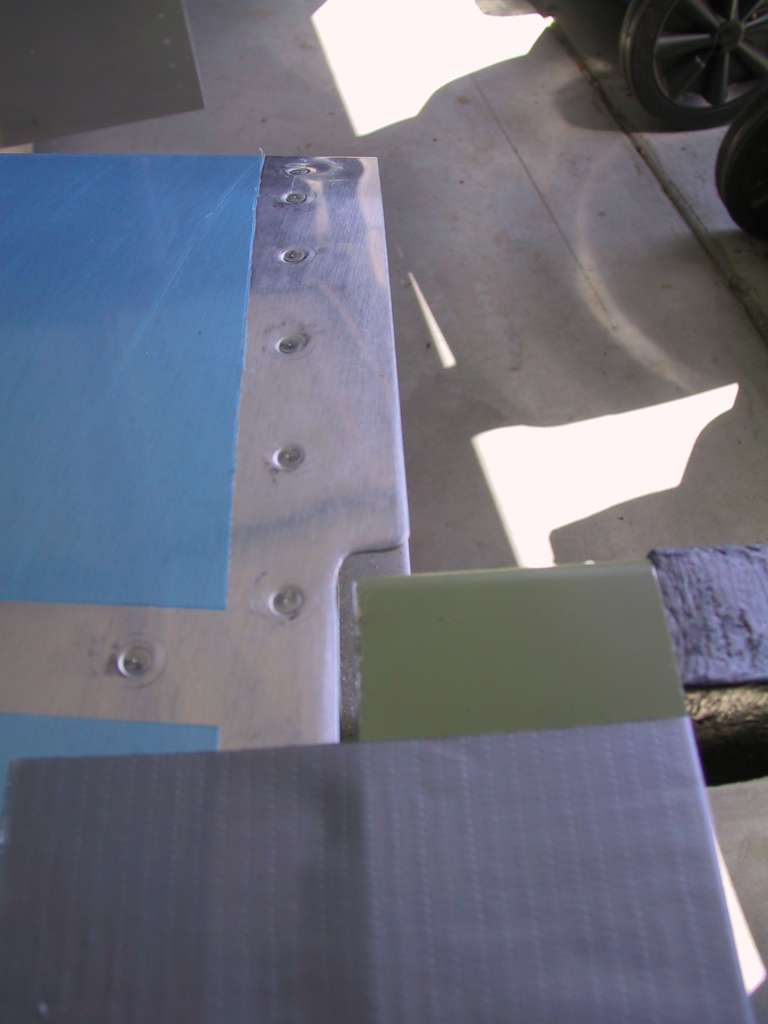
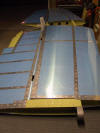
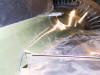
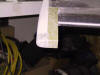
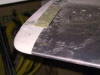
Work, work, work. No time to build. Decided to
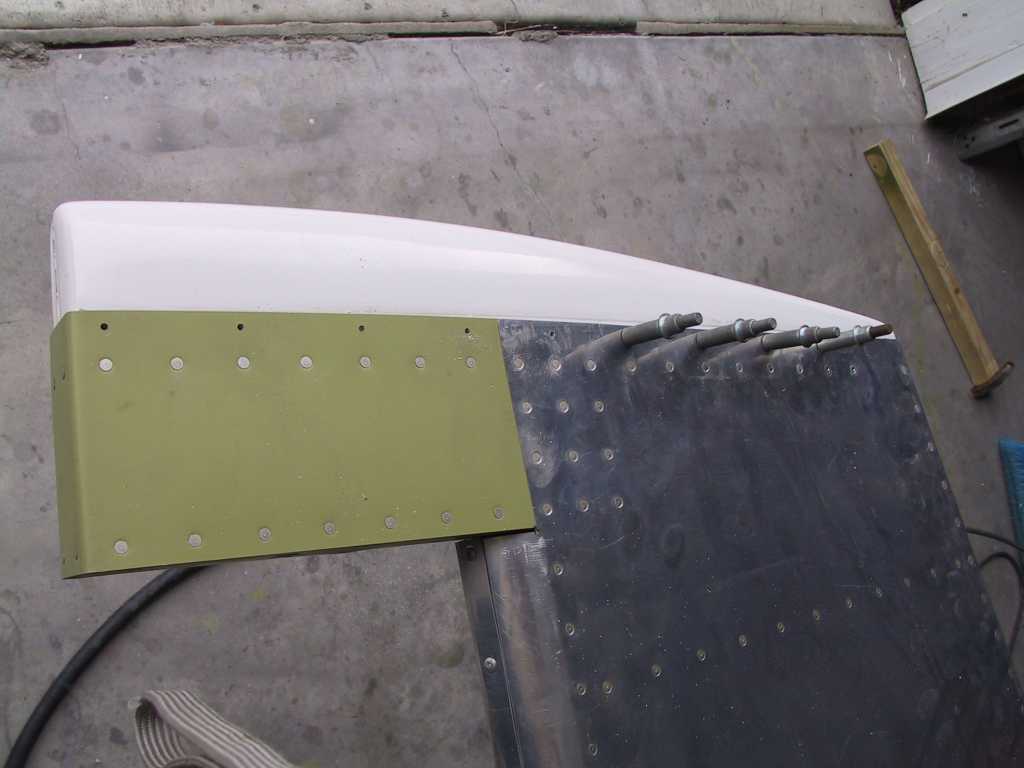
get the hardware on the hs and see how the elevators fit. Damn.
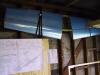
There's an issue here. The HS-601PP hs skin interferes with the travel
of the elevators, both left and right. The HS-601PP edges overlap the
elevator E-713 counter balance skins. What did I do wrong? The plans
don't say anything about this. Here you can see the assembly bottom
side up and the interference.
  |
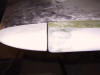
| 8/21/03 |
Ok, I figured it out with great help from other RV7
builders. I should have read the plans better. I had to trim
about one inch from each side. Turned out well.
 |
| 8/23/03 |
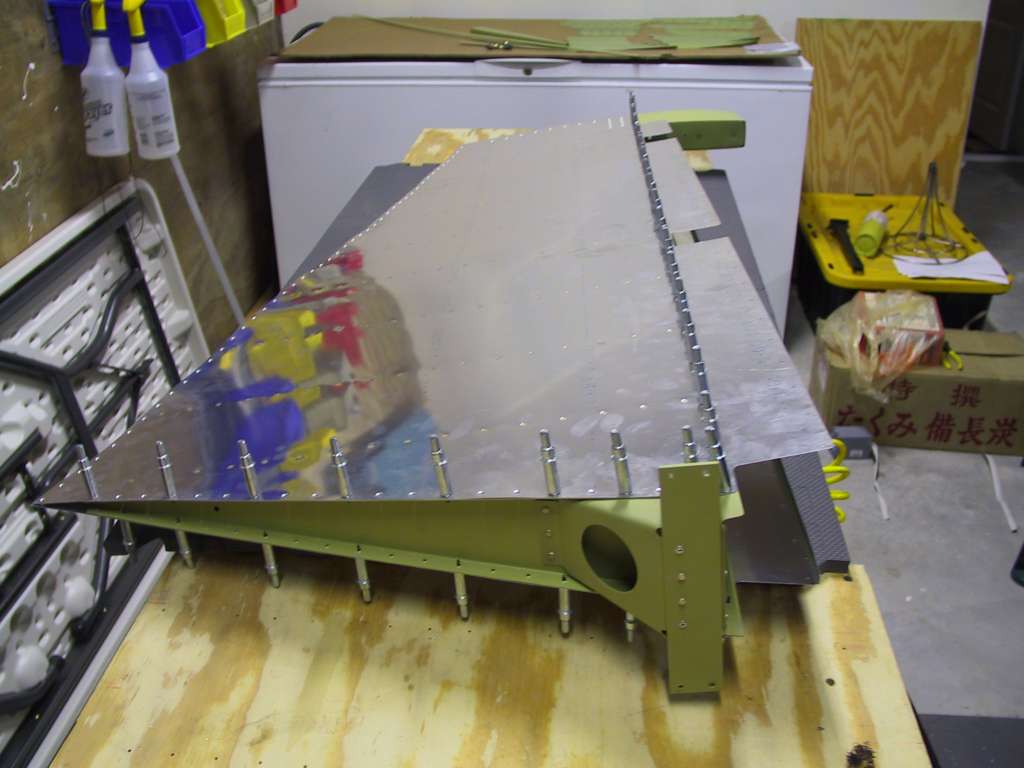
Mounted elevators. Verified travel angles. The
only thing left to do here is the fiberglass and I'll do all that at the
same time sometime down the road.
  |
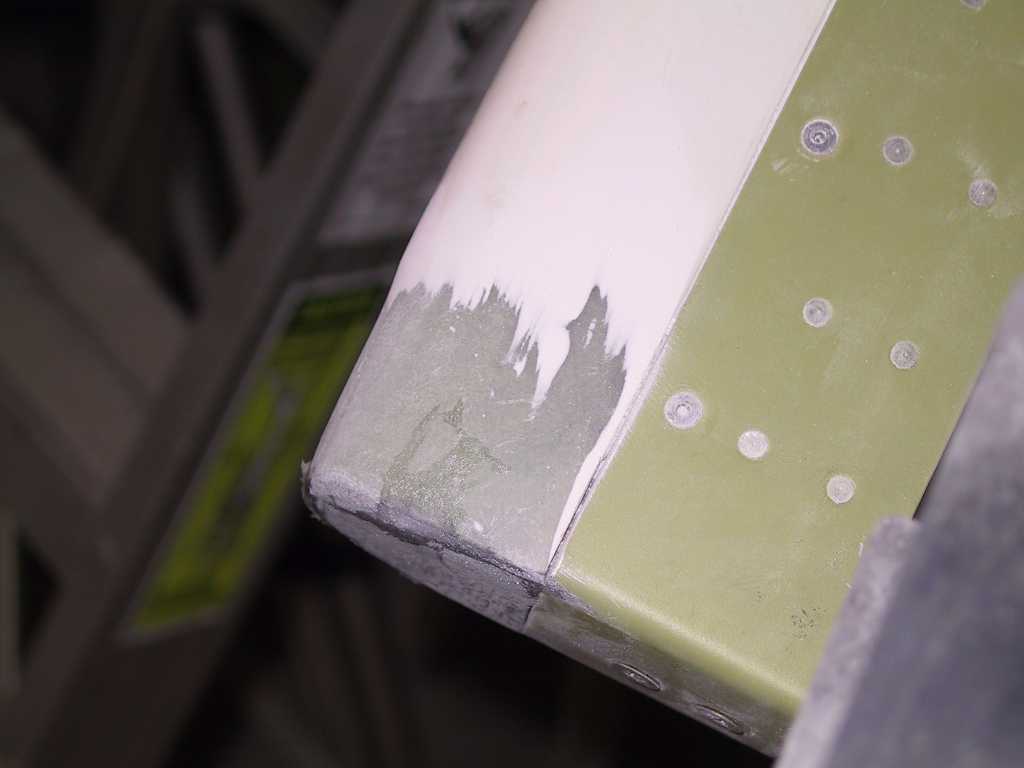
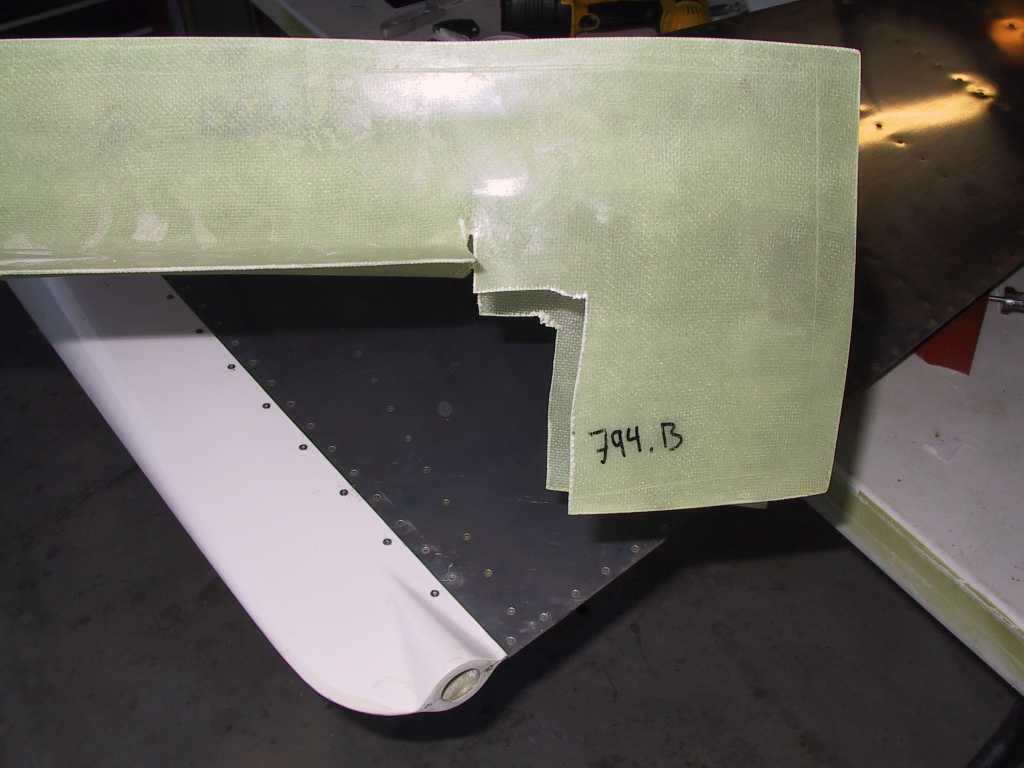
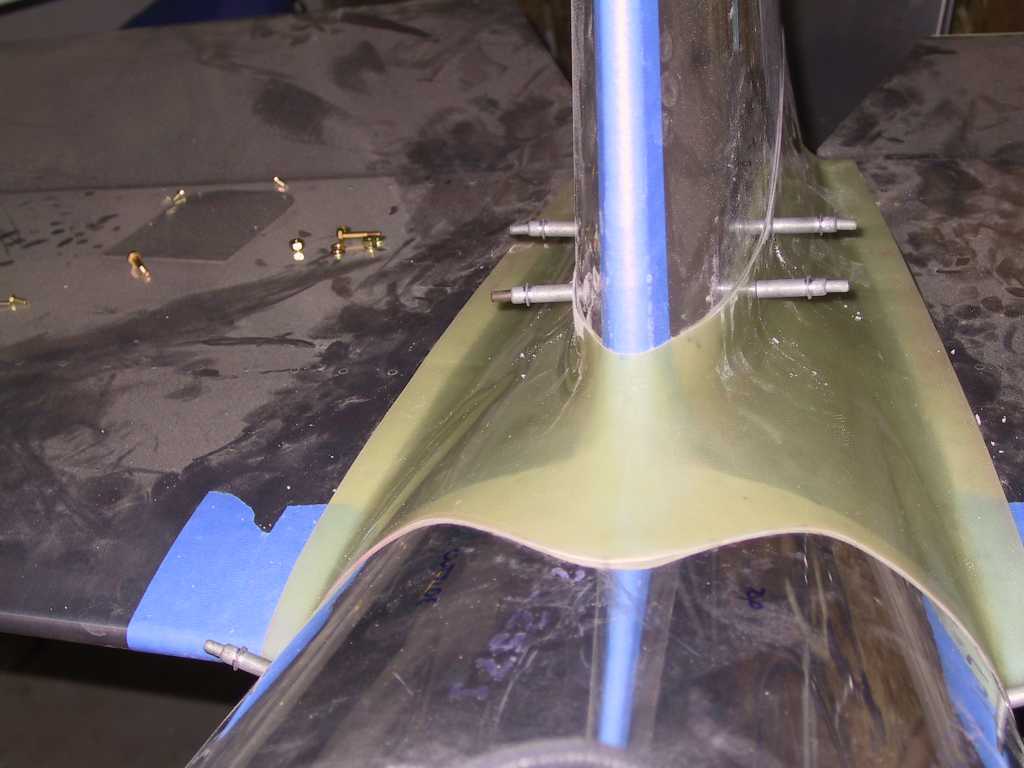
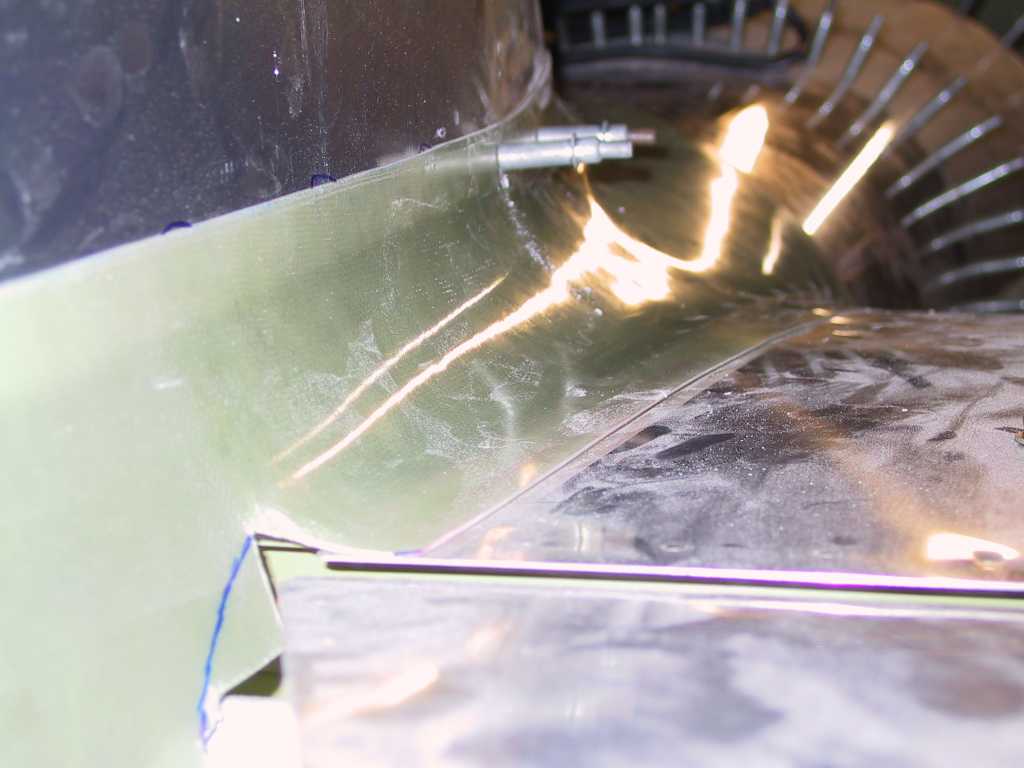
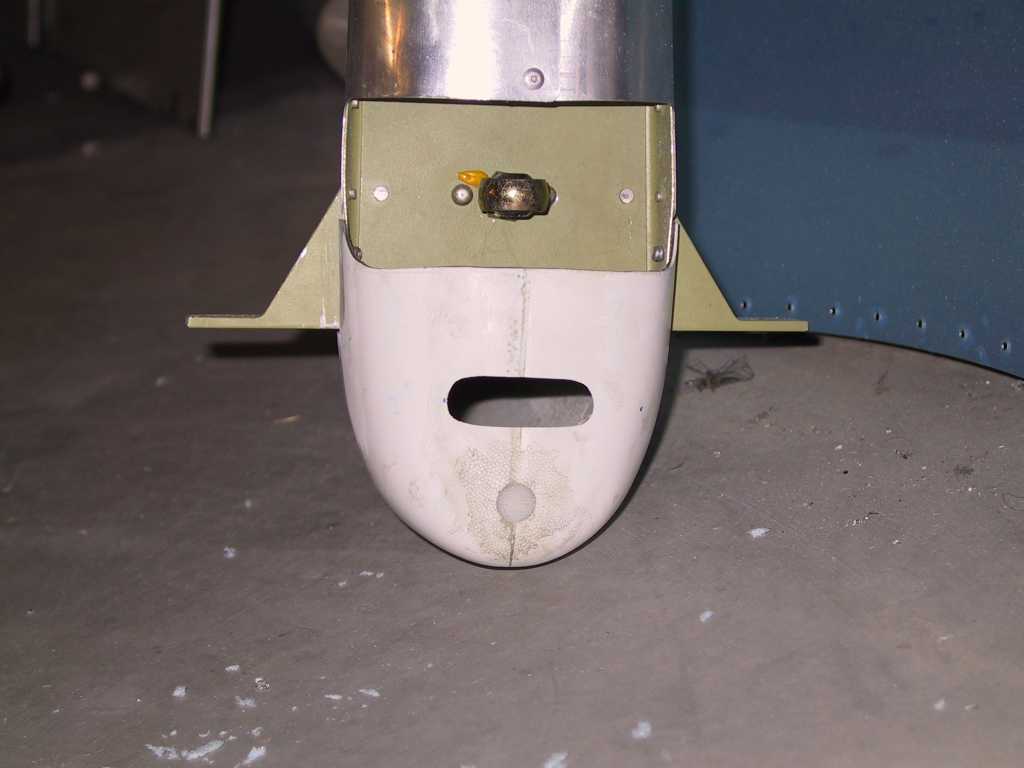
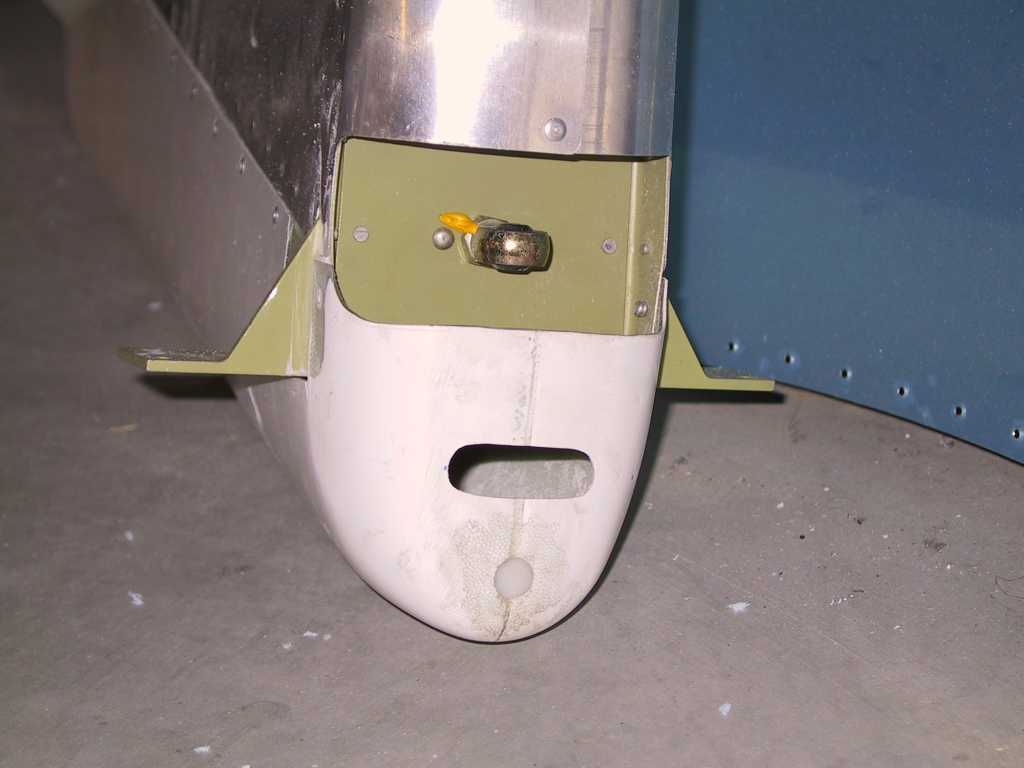
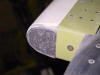
| 12/6/04 |
Well I haven't touched the empennage parts in quite some
time. I'm getting the urge to do other things besides the cowl and
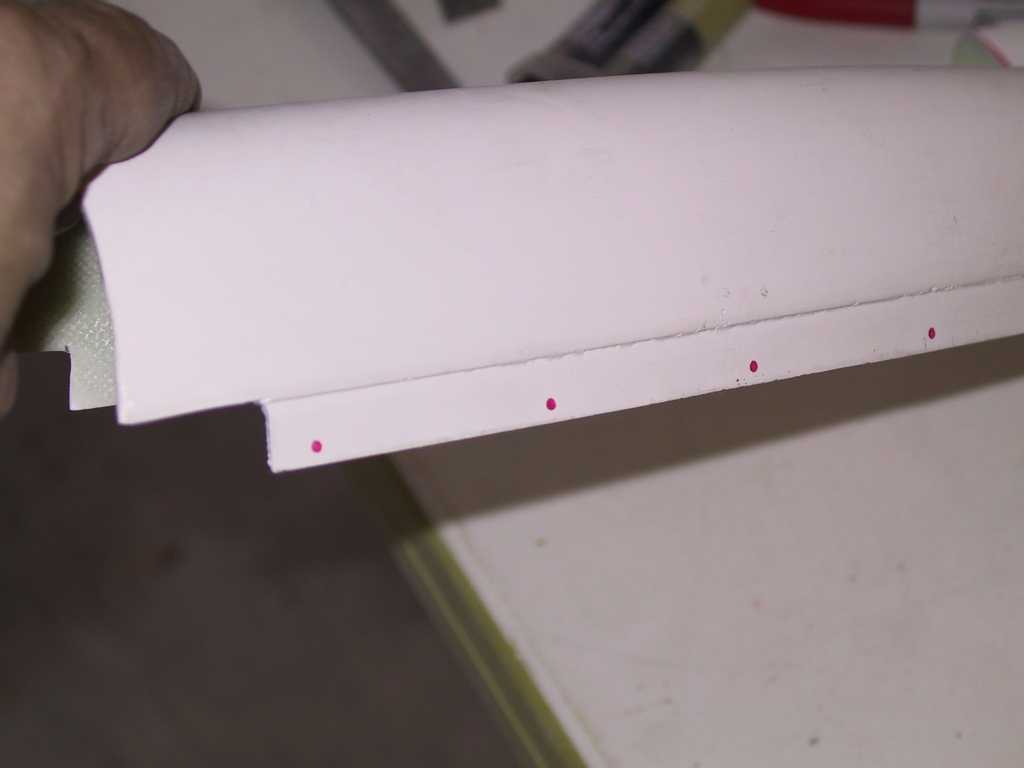
wiring for a change so lets do some fiberglass work, eh? Here I cut
the tabs back on the elevator tips and cut the horizontal stab. tips to
length.
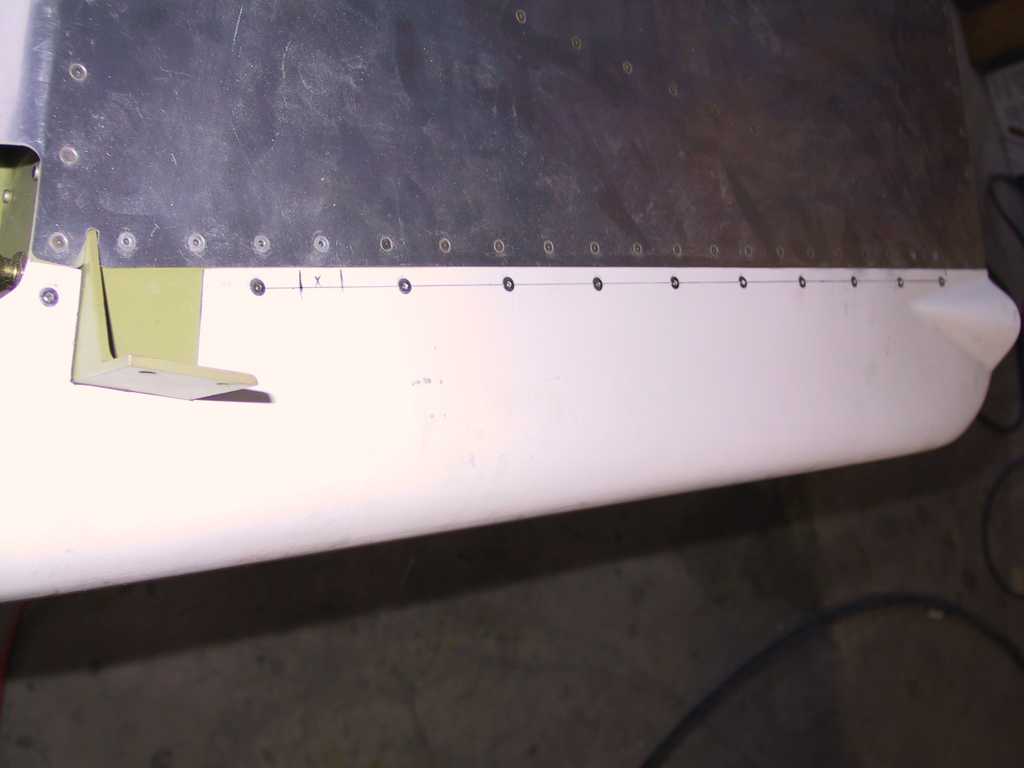
When I test fit the elevator tips It looked like there might be an edge
clearance issue with the holes that attach it to the elevators. These
red dots were drawn through the holes on the elevator. I think this
will be ok since I'm going to JB weld some aluminum strips on the inside of
these parts anyway.
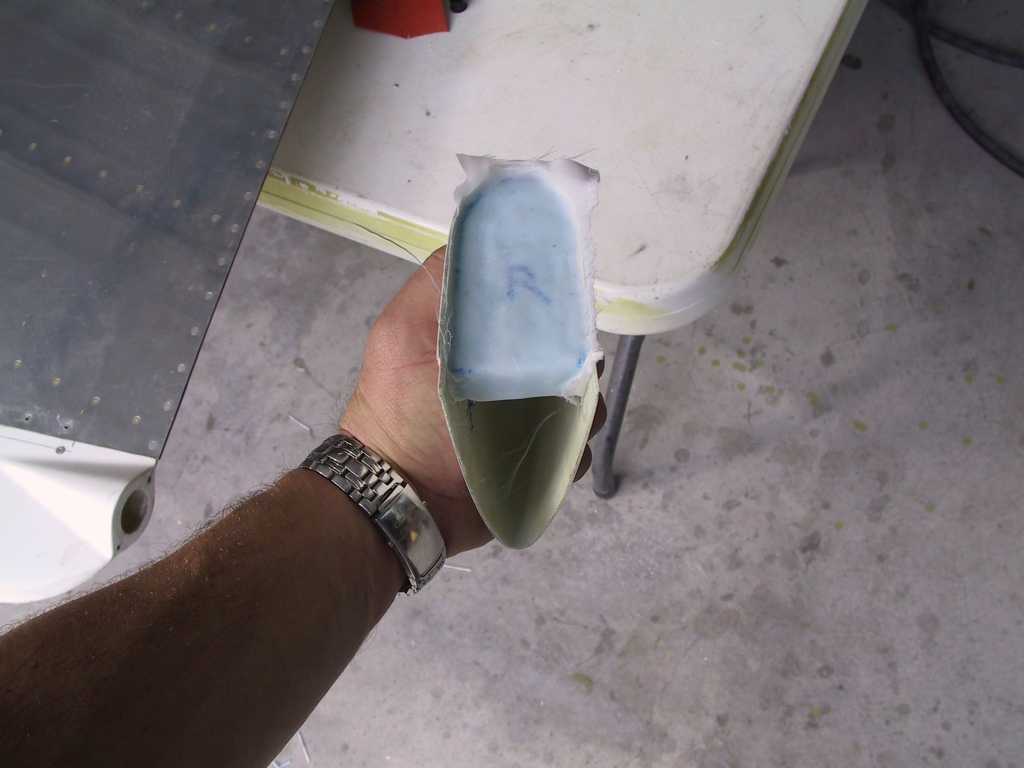
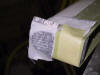
Now for the misery. Don't do what I did. Cut off the portion
of the lead ballast on the right elevator Before you mount it. What
pain in the rear trying to cut lead like this. It would have been so
much easier if it was in the vise. I finally managed to get it trimmed
but it took some work. I ended up cutting chunks off with a pair of
nips. A hacksaw just doesn't cut it. Drill bits will snap clean
off too. I'm glad that's over with.
JB welded the aluminum strips in place.
 |
|
1/13/04 |
Mounted the elevator tips in place and drilled the holes.
I was bummed because the aluminum strips came away from the fiberglass in a
few places. I'm not sure why the JB weld didn't hold. Oh well.
I JP Welded them back into place.
 |
|
1/26/05 |
With the help of my trusty builder buddy (and Dad) we got
the elevator tips pop riveted in place. I'm not going to do a bunch of
fiberglass work on these. Just the front portion. I'll do a
complete fill-in job when I get ready to paint.
 |
|
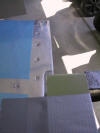
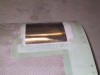
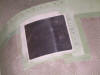
1/28/05 |
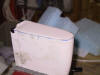
So with the Relatives in town I can really only do small
projects. This one seemed like an easy one. Cut a hole in the
rear of the rudder fiberglass bottom. Drill holes for the screws and
fiberglass the nuts in place behind. Simple. Just make sure you
leave the screws in place so the nuts don't move and don't fill with epoxy.
I filled in the area around the nuts with flox to make it even more durable.
   |
|
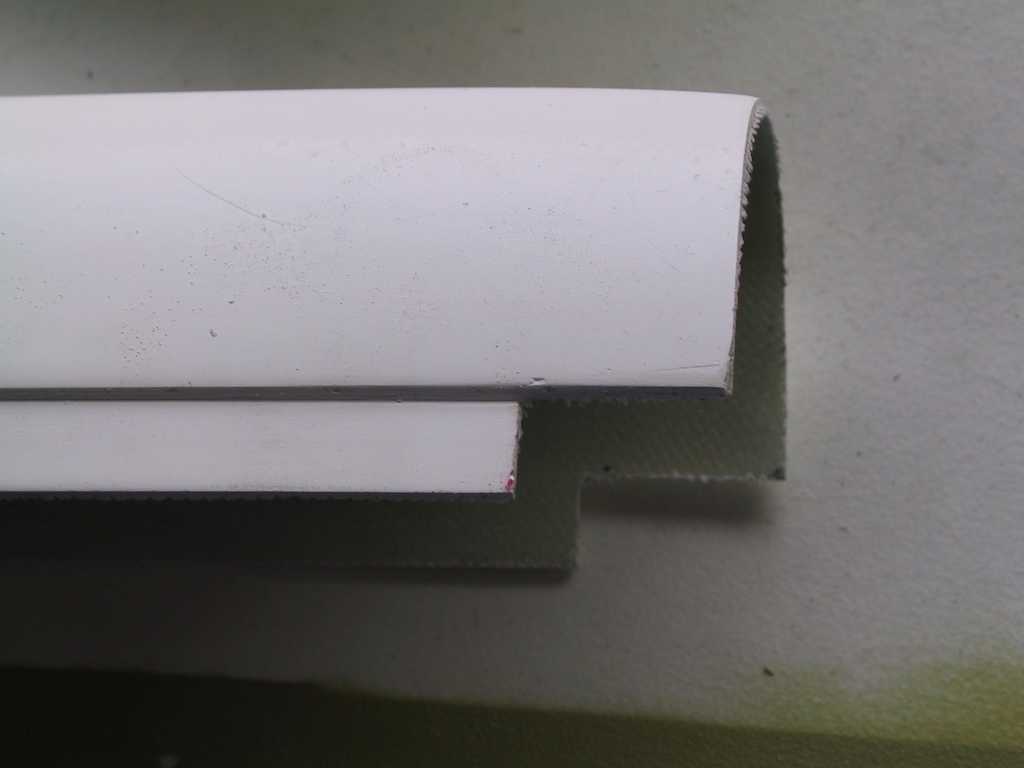
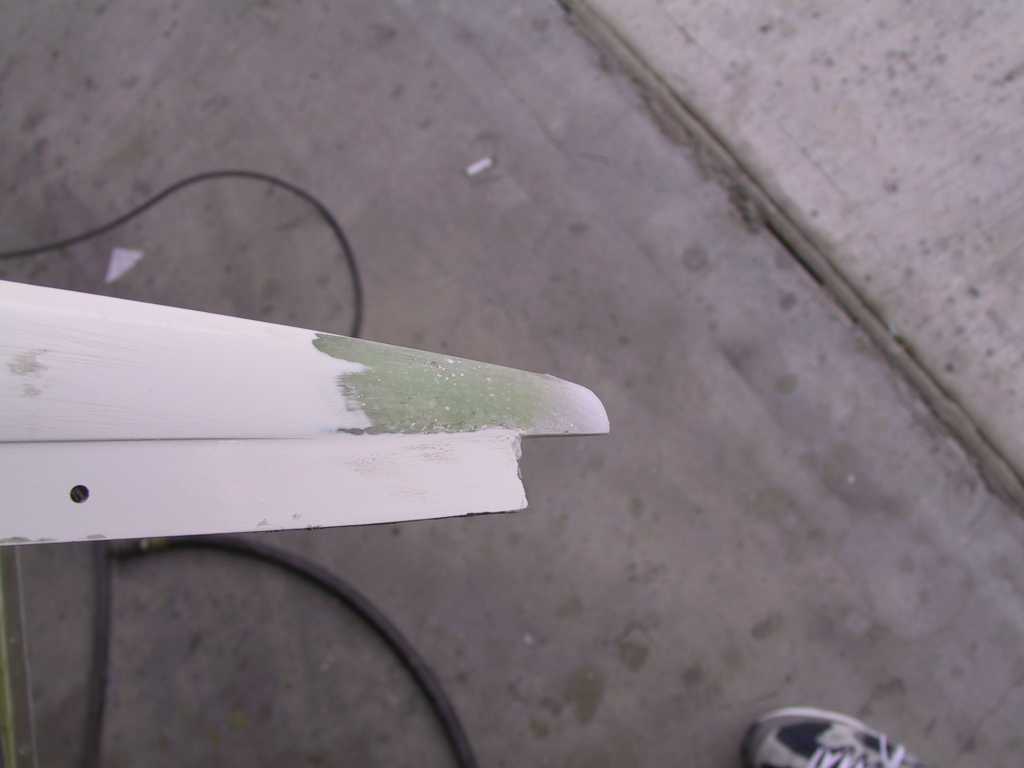
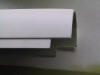
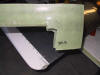
2/6/05 |
Cut the top edges of the rudder fiberglass bottom. Be
careful here. The cut lines Vans has etched on them are just
estimates. Go slow.
 |
|
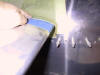
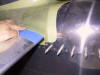
2/11/05 |
I placed a dab of epoxy in each countersunk hole and a bit
along the cut edges of the fiberglass rudder bottom, let it dry, and then
CS4-4'd that puppy on.

I drilled a hole in the front and stuck a snap bushing in there.
That's where the wires will enter from the VS.
Well the rudder tip doesn't fit worth beans. Looks like I'm going
to have to do a lay-up here. Later.
 |
|
2/13/05 |
I filed the edges of the elevator tips so they matched the
aluminum parts next to it. Then epoxied a single layer of Rutan BID.
  |
|
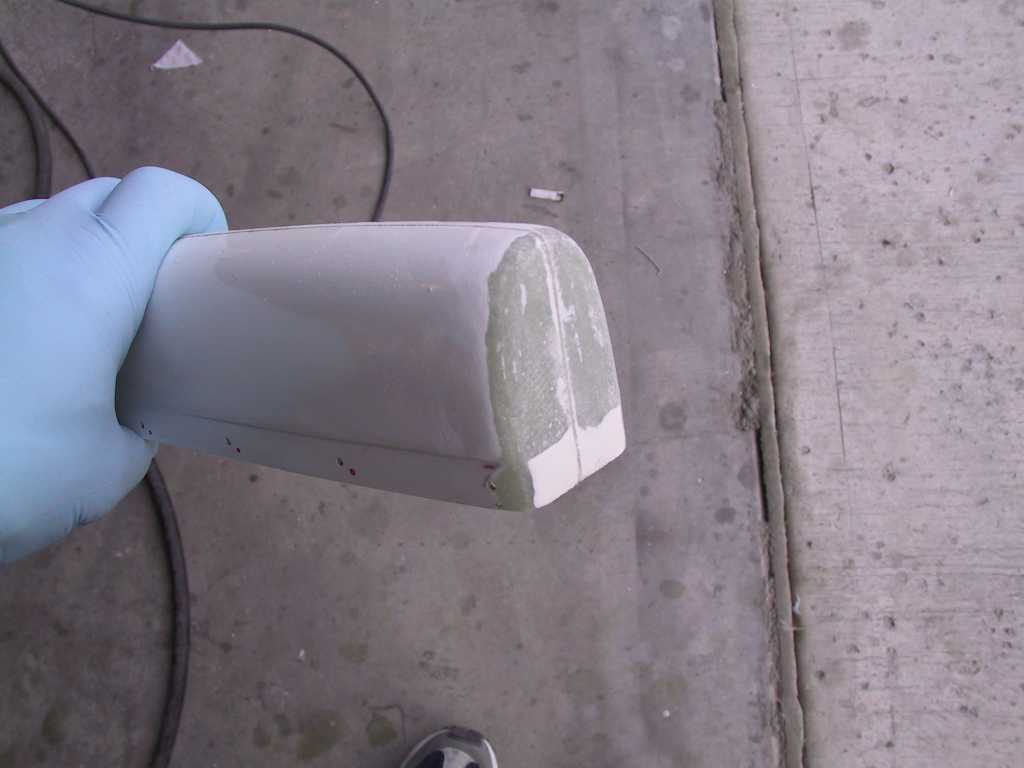
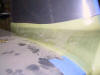
2/15/05 |
With the Ill fitting rudder I sanded the front
edges a bit and was able to get it to fit snugly up front. I'm going to
add a small section of flox and glass to the rear (where its narrow).
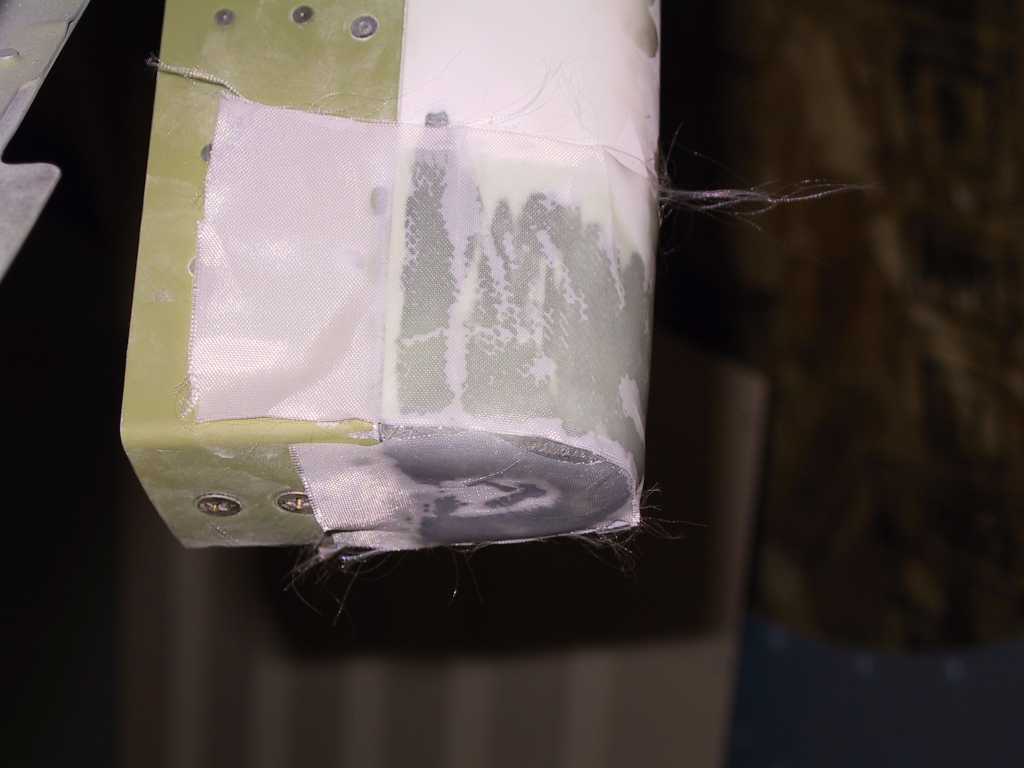
I sanded off the gel coat and did a lay-up of flox mixed with
epoxy and a outer layer of Rutan BID. I'll sand off the extra when it's
set.
Next I removed the glass lay-up I did on the elevator tips and
sanded down to bare fiberglass. I forgot to do this a few days back.
Glass just doesn't like to stick to gel coat. Then covered the lay-up with
Dacron cloth.
  |
|
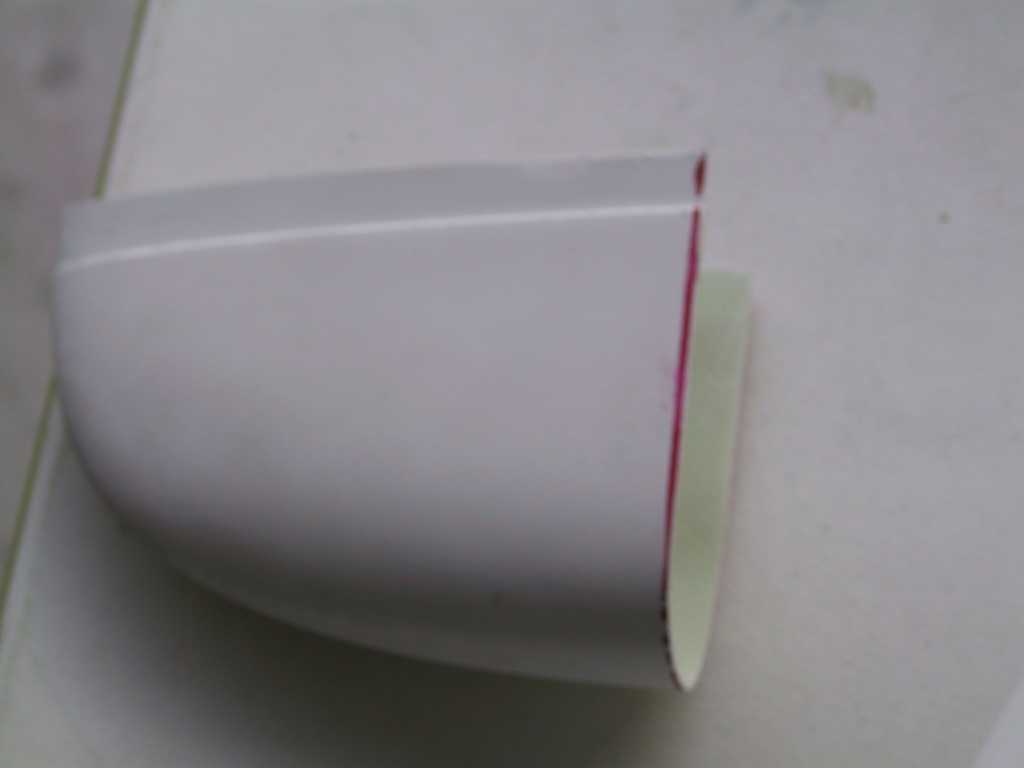
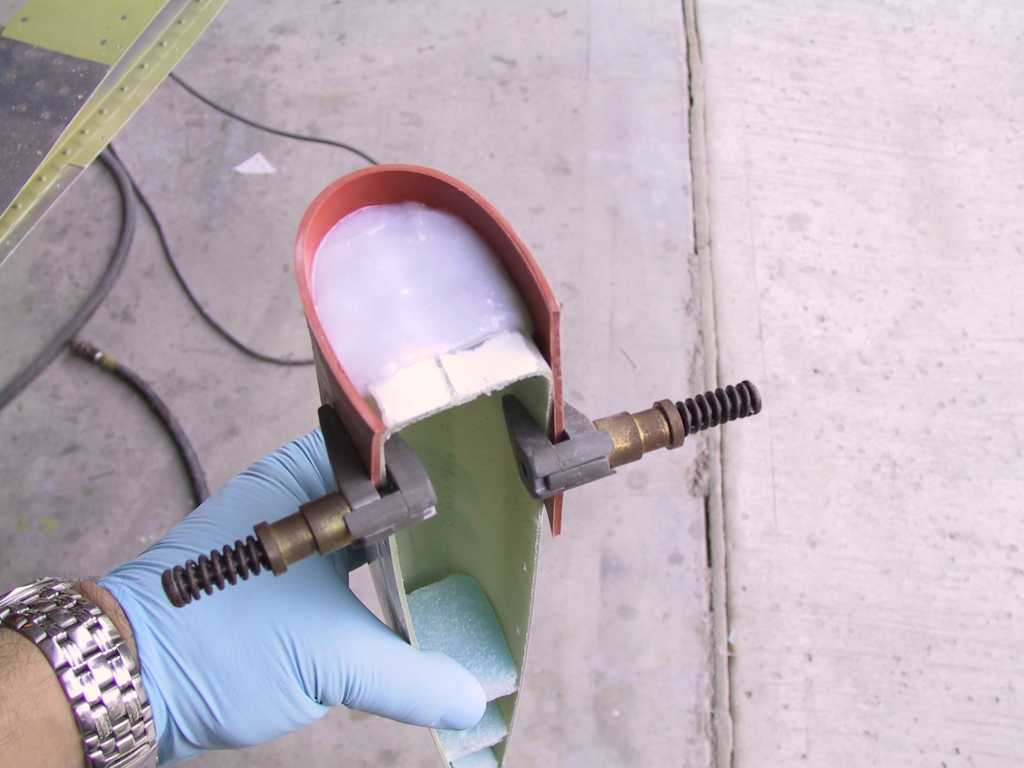
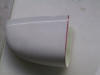
2/16/05 |
The rearmost portion of the rudder tip came out
just great. I sanded it to fit the rudder. But, the front portion
still doesn't exactly match the contour of the skin. So I made a flox
mixture and coated the end of the piece. First I sanded it to remove the
gel coat and made a mold of sorts with some leftover silicone baffling material.
I'll sand this to match the front top rudder skin tomorrow.
    |
|
2/17/05 |
Sanded the rudder tips and it looks good to go.
Next I mounted some backing strips and JB welded them into place. I'll
drill the holes to size tomorrow when it's all dry and rivet it into place.
  |
|
2/18/05 |
Finished up the rudder tip. Sanded the
front and end smooth. I'll prime all this fiberglass stuff later.
 |
|
2/19/05 |
I placed the rudder in place and noticed that I
really need a direct run of wire from the fuselage to the rudder. If not,
then the wires are bent at an awkward angle and may chafe. I decided where
I wanted the wires to exit and drilled the hole through the bulkhead and
vertical stabilizer. Then drilled a new hole in the rudder and
fibreglassed the hole that I had already drilled.
I cut some moderately thin strips of large cell blahblah and
fibreglassed it into place with some flox. I'll lay-up some fiberglass
later when it's cut to shape.
 
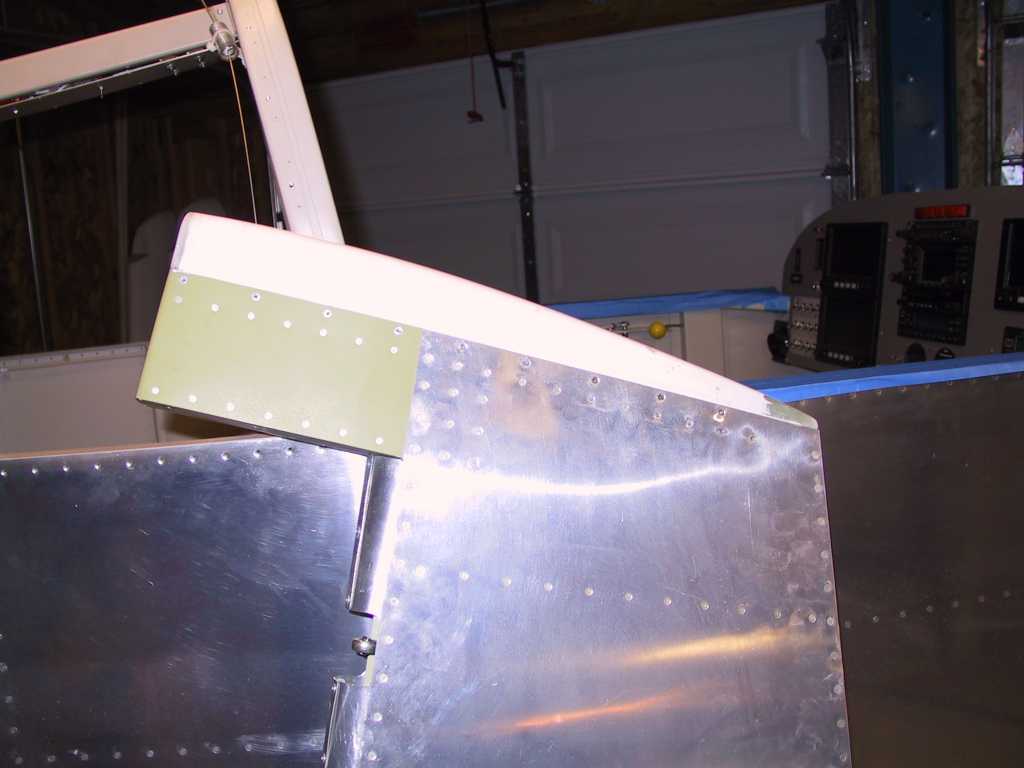
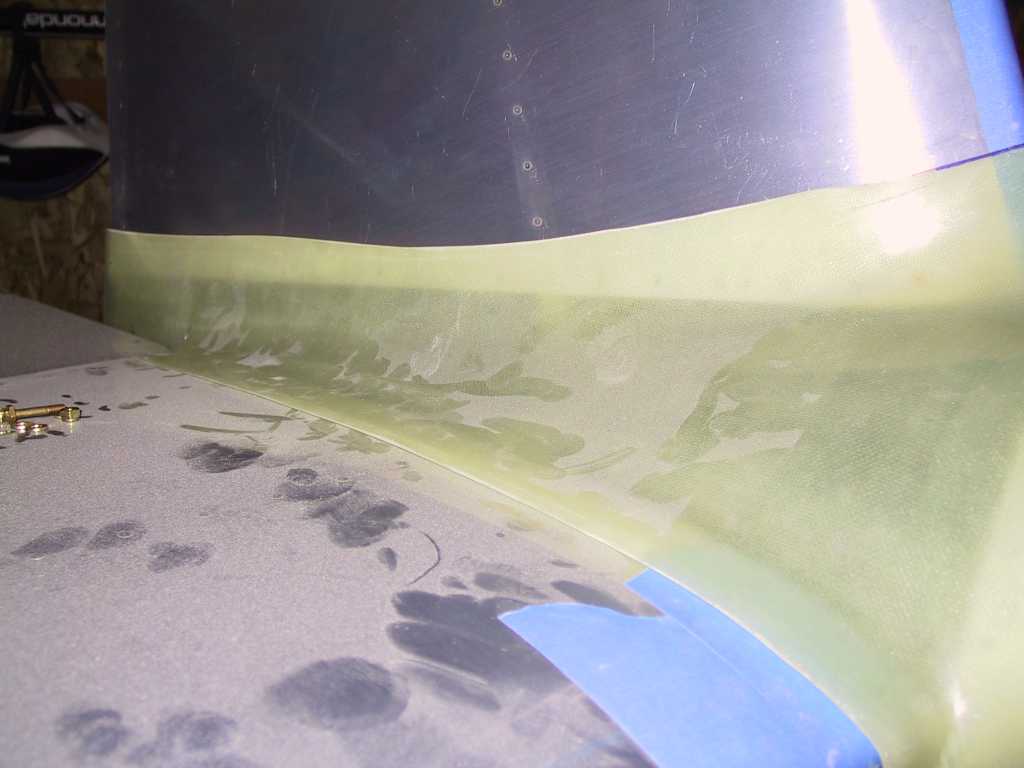
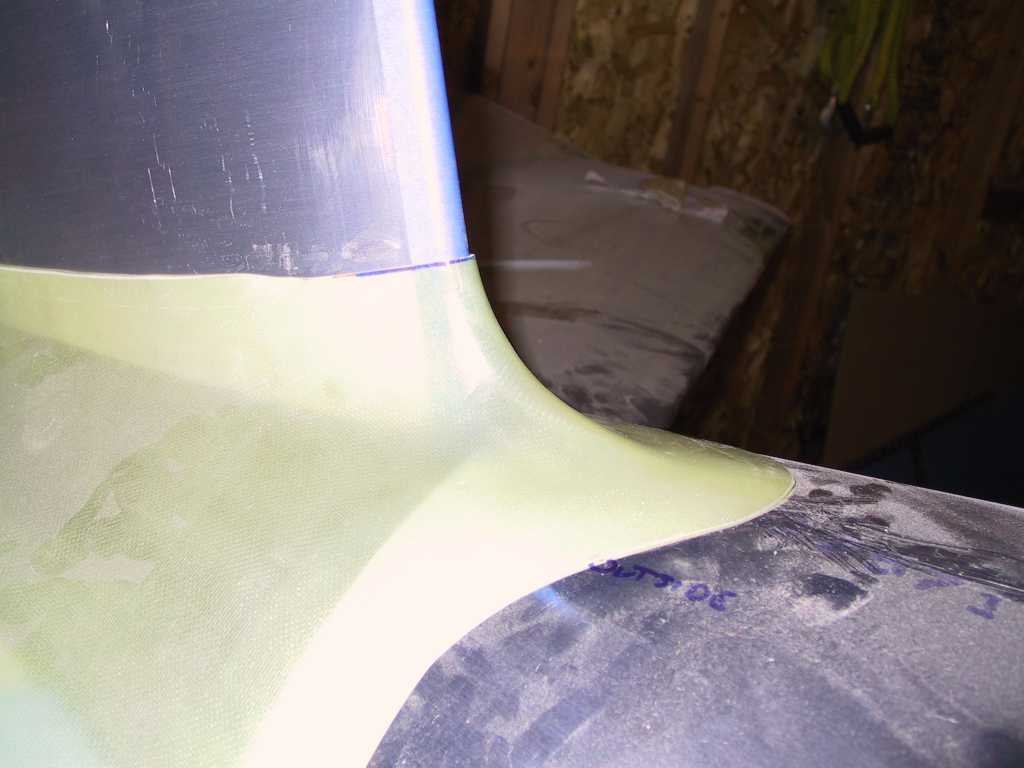
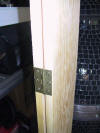
I spent a lot of time getting the empennage fairing to lay
nice. It's still about 1/8" high on the left side. I think I can get
it to lay flat with a bit of heat.
   |
|
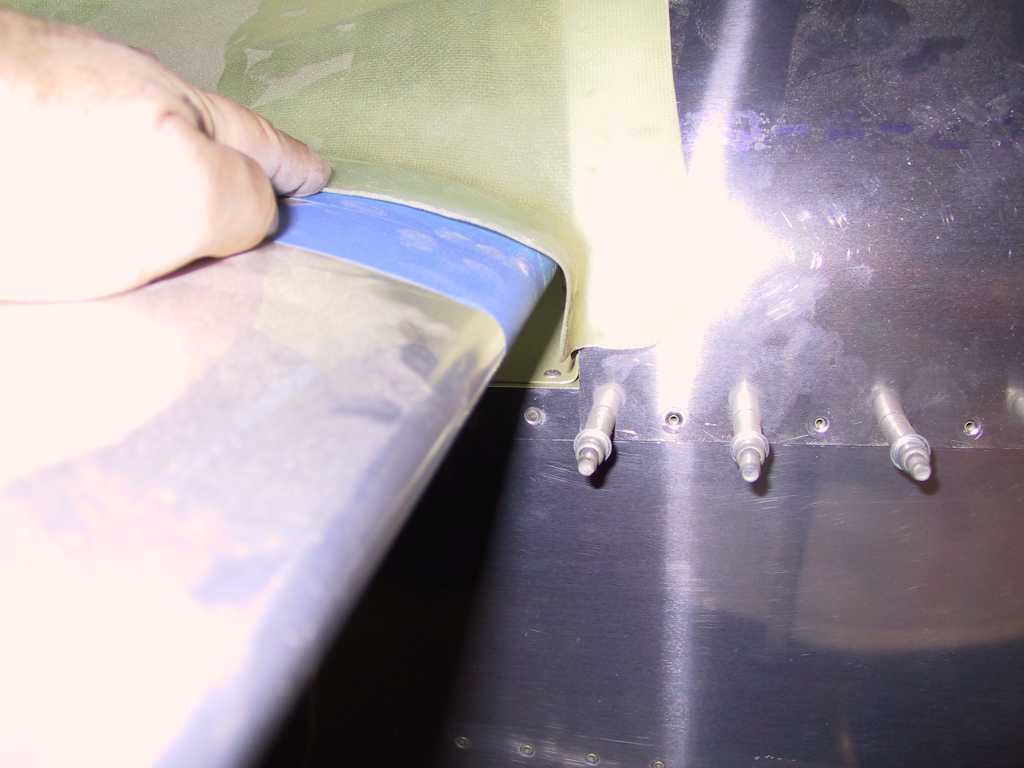
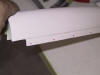
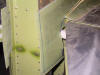
2/20/05 |
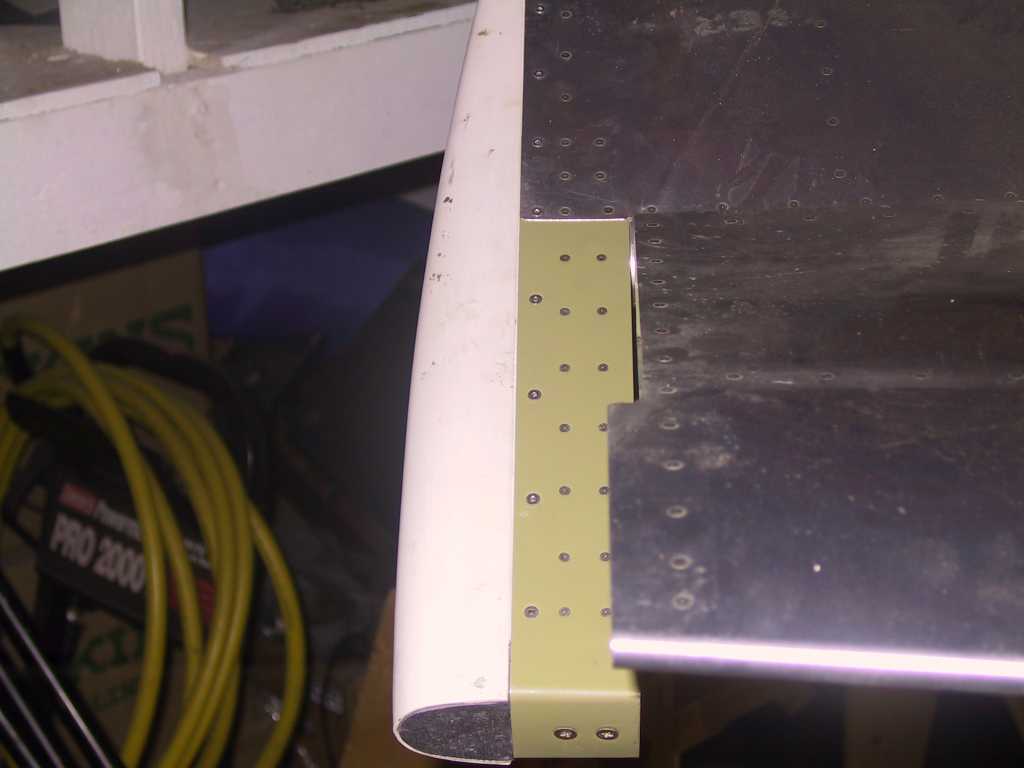
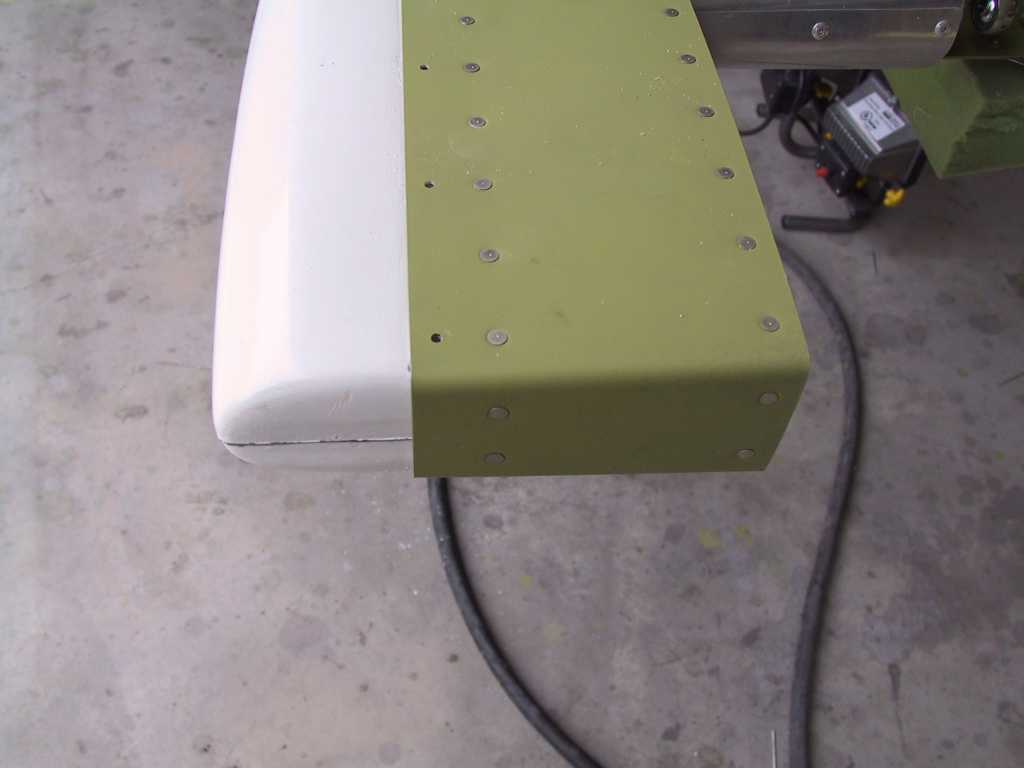
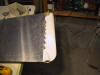
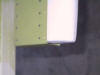
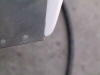
More work on the empennage fairing. One
little issue I have is that the lower fairing (aluminum) is supposed to get cs
screws and the longeron is tapped for screws. Problem I have is am I
supposed to countersink the existing holes in the skin and longeron to accept
the cs screws? I had already placed rivets in the existing holes and had
to drill them out. I have another inspection tomorrow and I'll ask Dave
Bristol about this then.
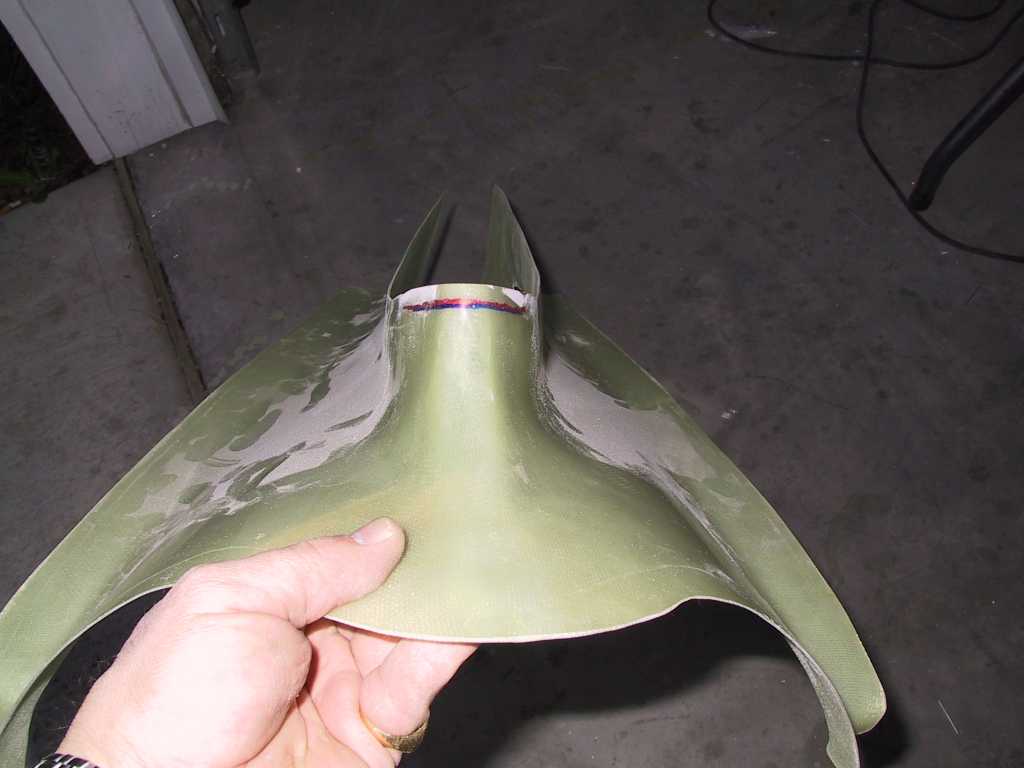
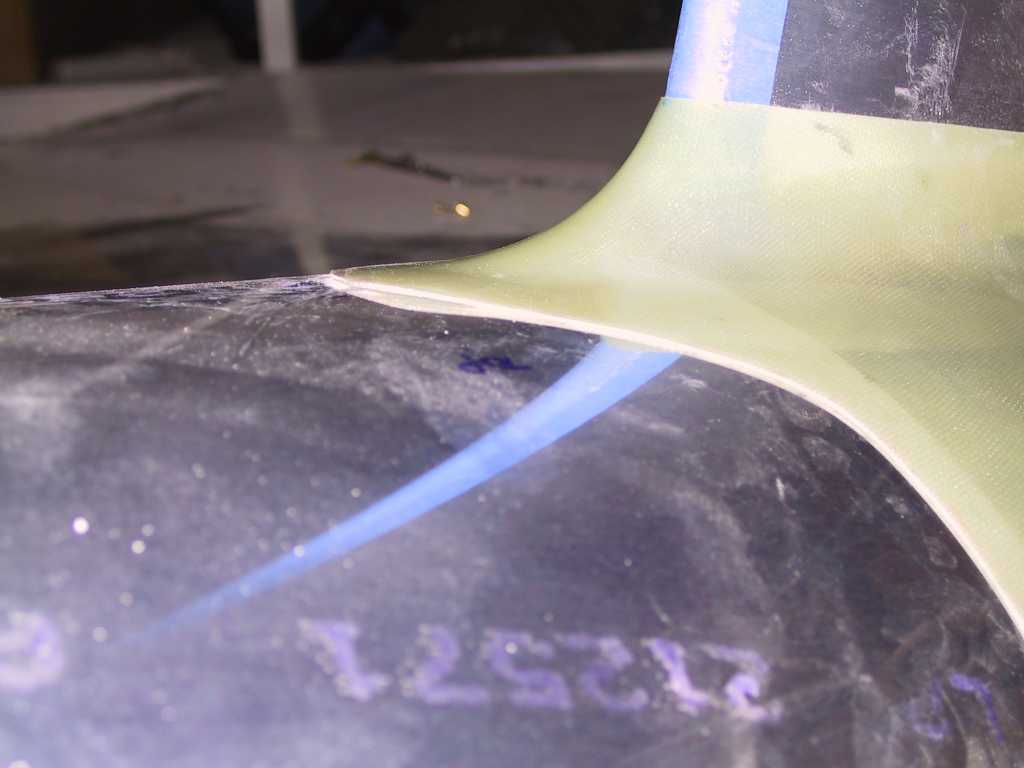
Overall I'm pretty pleased with the way this piece has turned
out, except the left side which still sits a bit high, about 1/8".
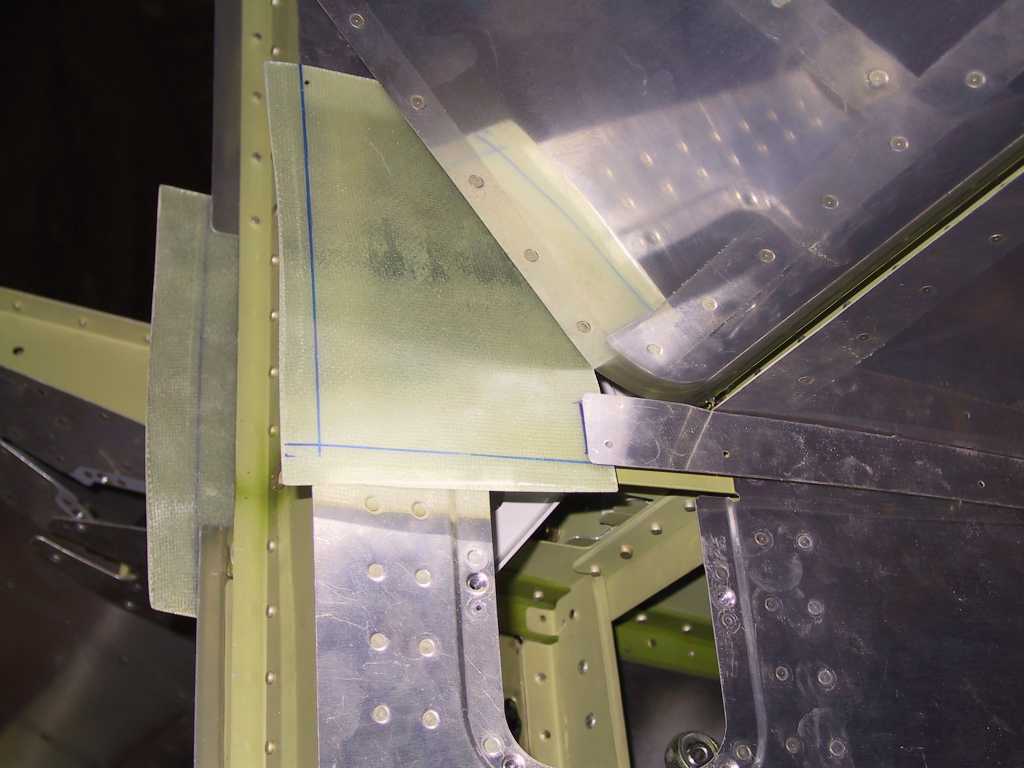
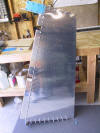
Here you can see where I've made cut marks to provide
clearance
   |
|
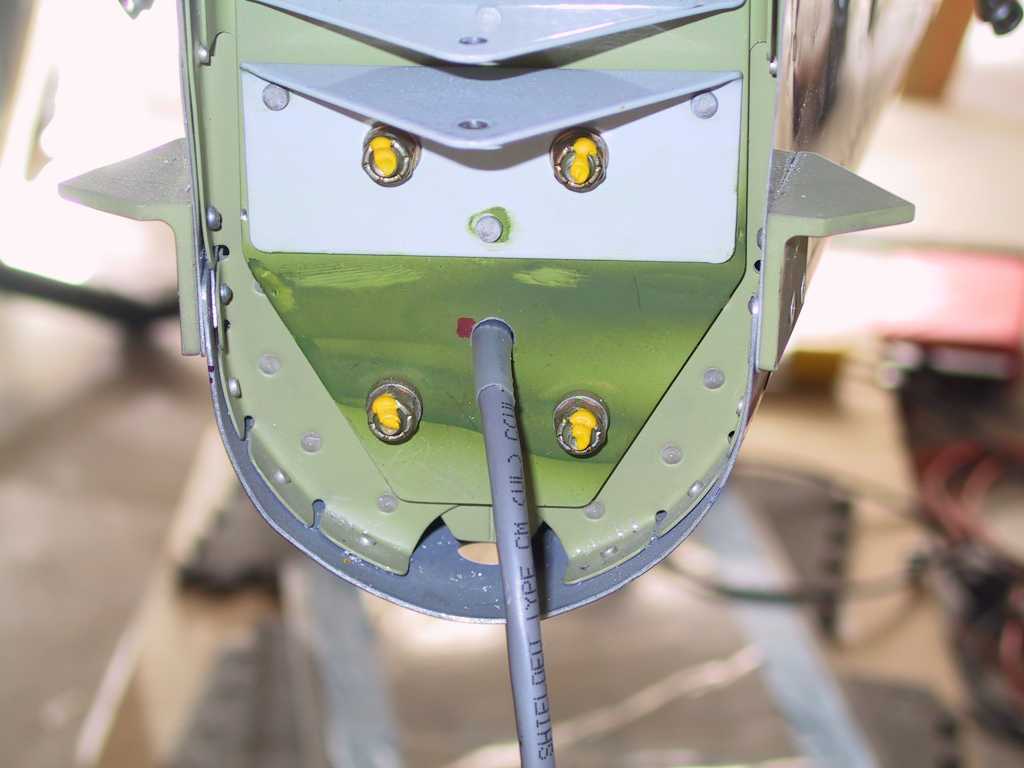
2/21/05 |
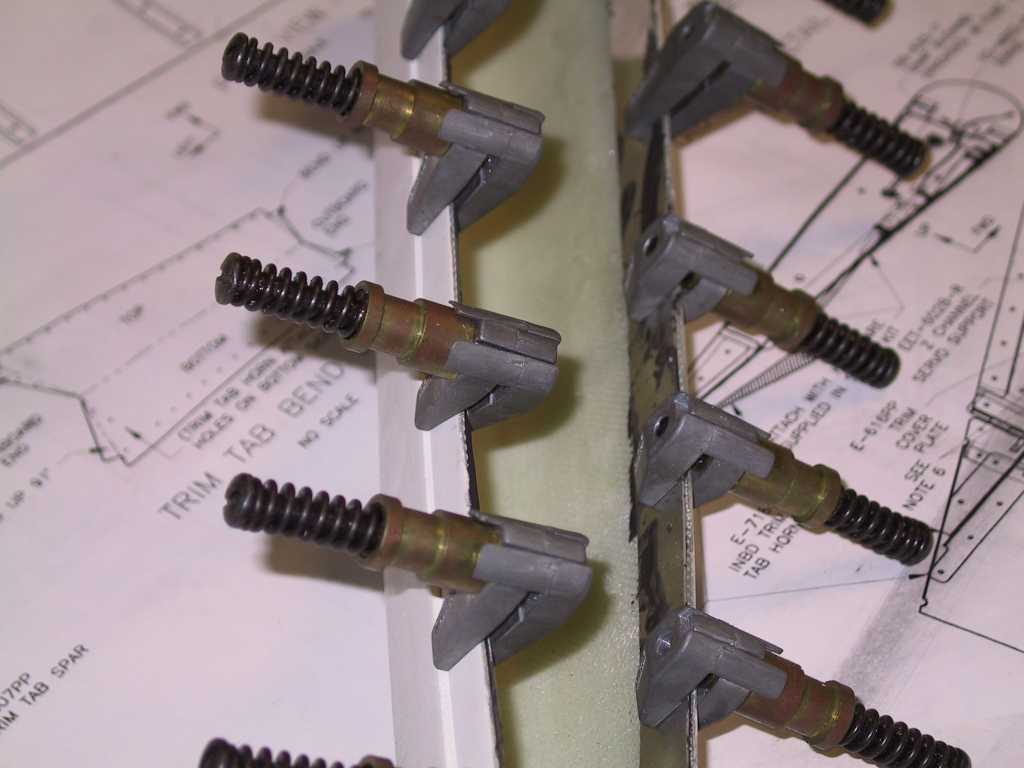
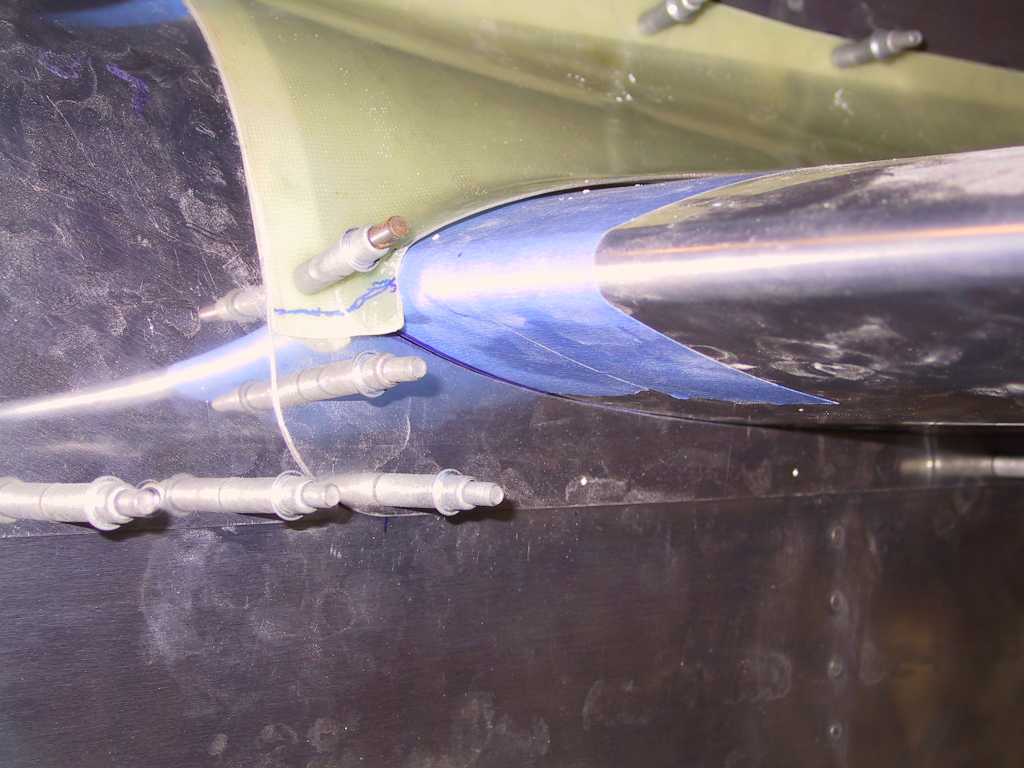
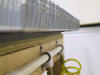
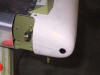
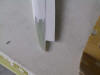
Tonight I installed the nutplates for the
empennage fairing. I'm only going to use four nutplates on the vertical
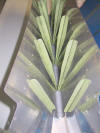
stabilizer. Where you see the clecos is where I have installed the
nutplates, on both sides. I can't install the nutplates for the forward
most clecos because I don't have the aft skin on yet.
 |
|
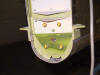
2/22/05 |
Not much going on today. I decided *again*
where to run the wires for the rudder strobe and nav light. I drilled a
hole through the vs spar and through the center of the rear tie-down.
Thought about a lot of stuff but basically got nothing done.
 |
|
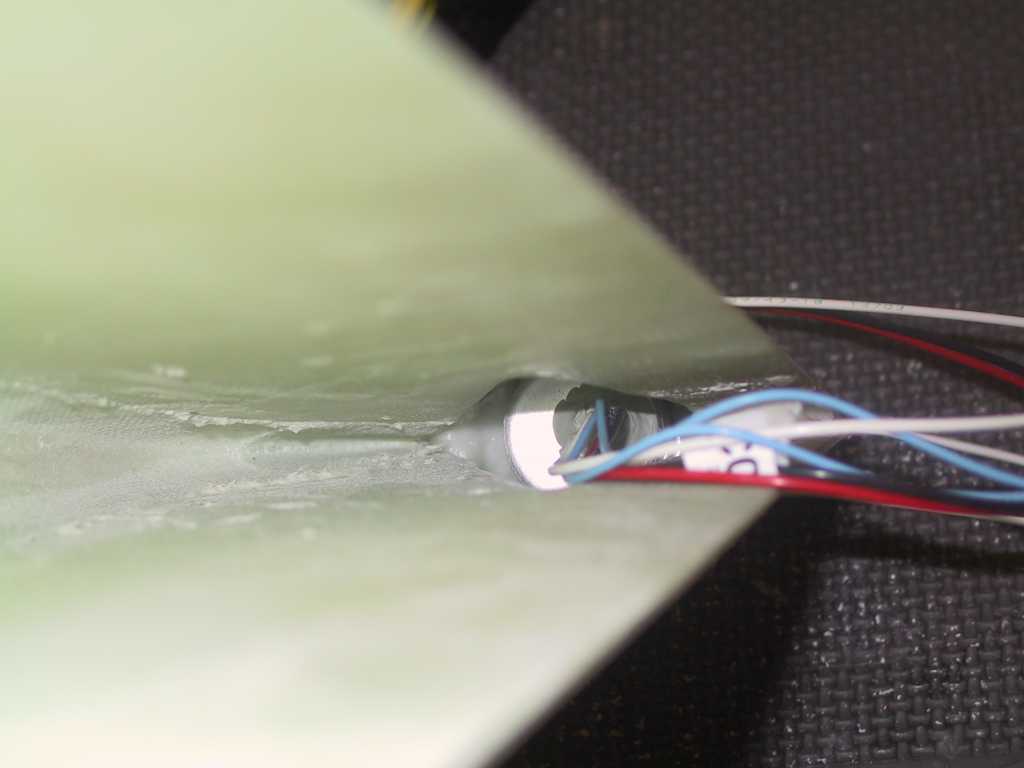
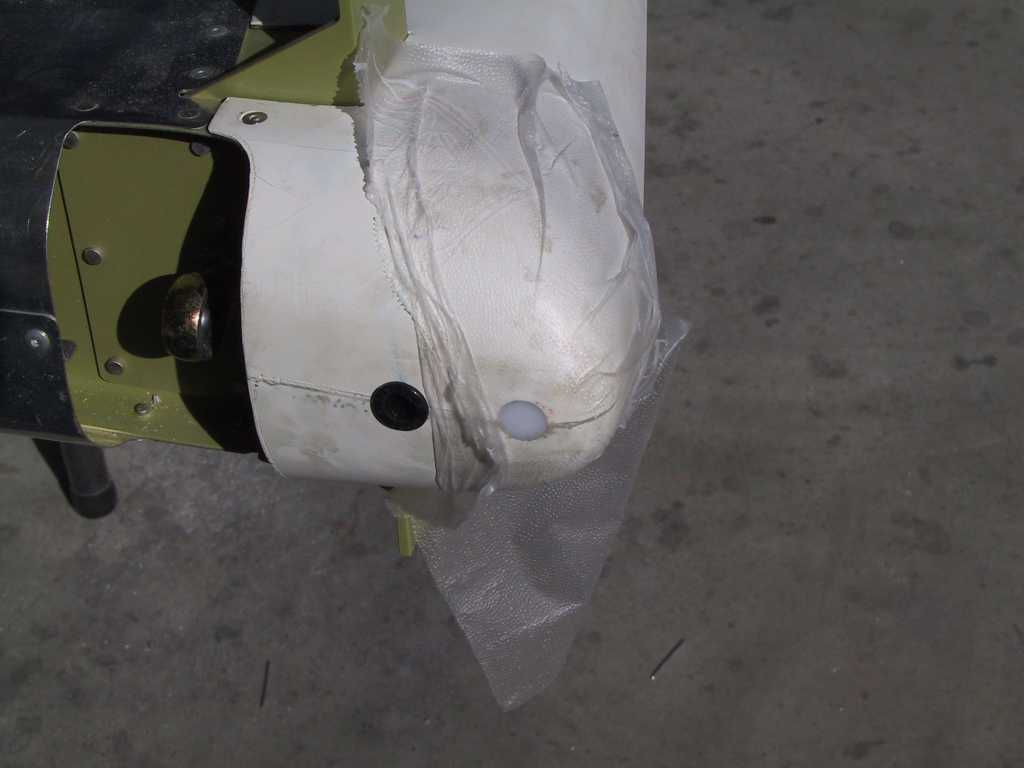
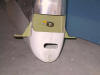
2/23/05 |
Because the rudder swings back and forth, the
wires coming from the VS into the rudder will take a bending load each time the
rudder is moved back and forth; Not good. Ideally, you want the cable to
come out of the VS, hang down (or up) a few inches (like 5) and take a twisting
load instead of bending load. But it's near impossible the way things sit
with this plane. So I gouged out a groove in the fiberglass rudder tip so
the wires will not touch the glass and won't be subjected to any bending loads.
I think this is a nice design, but only time will tell.
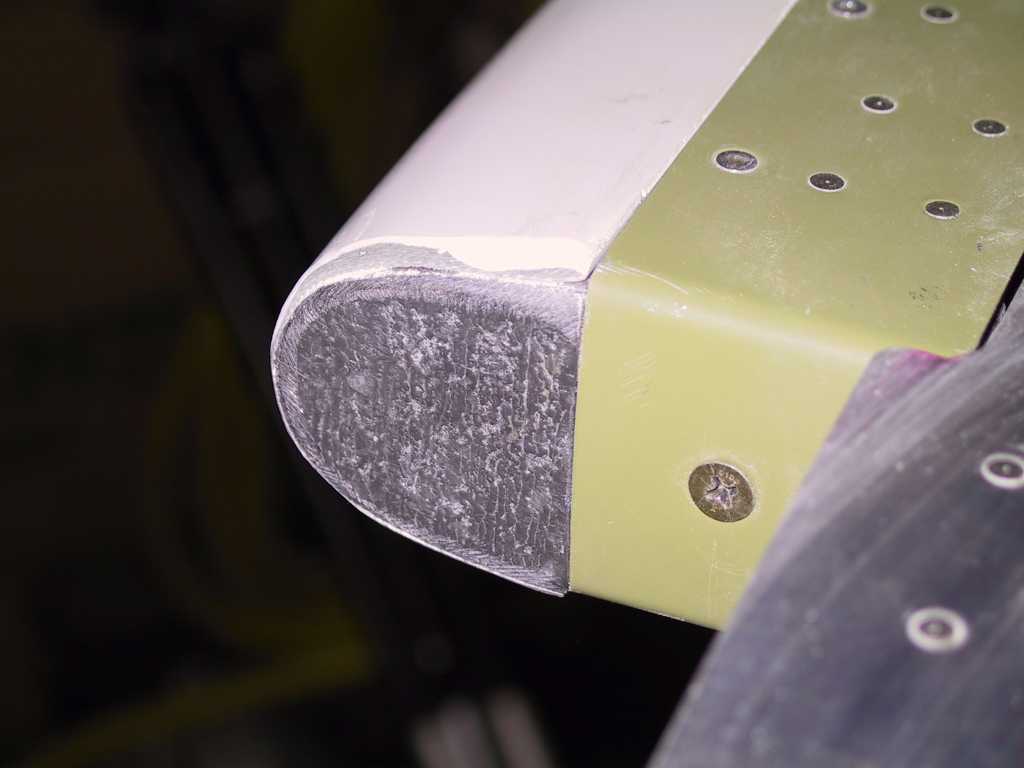
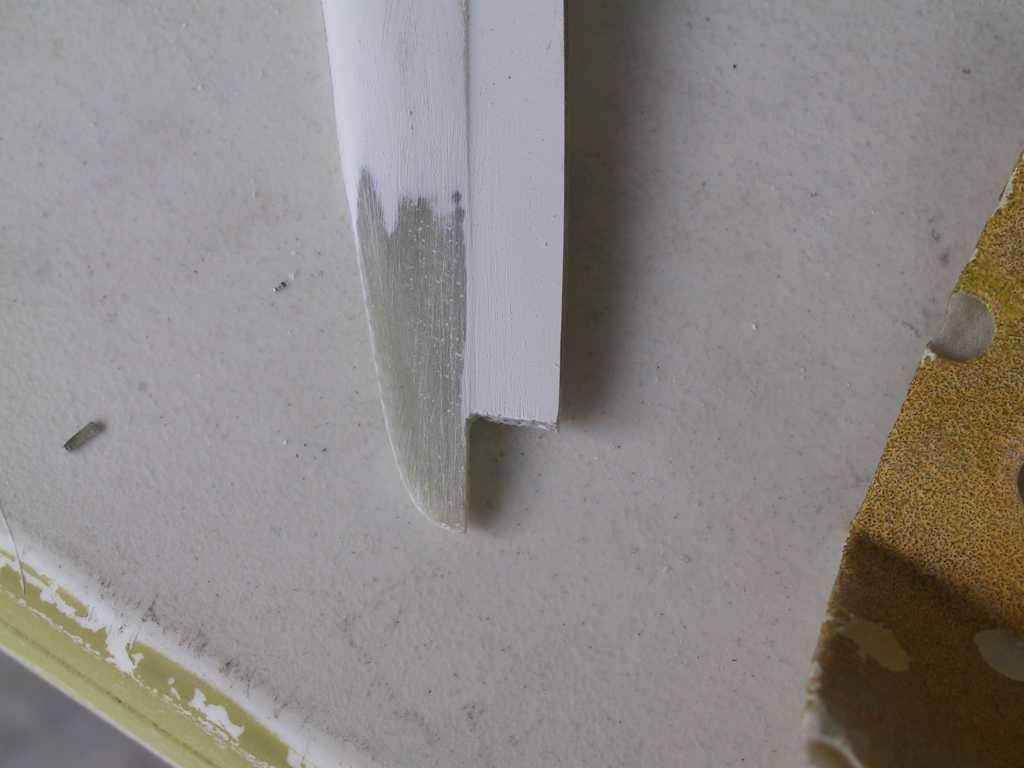
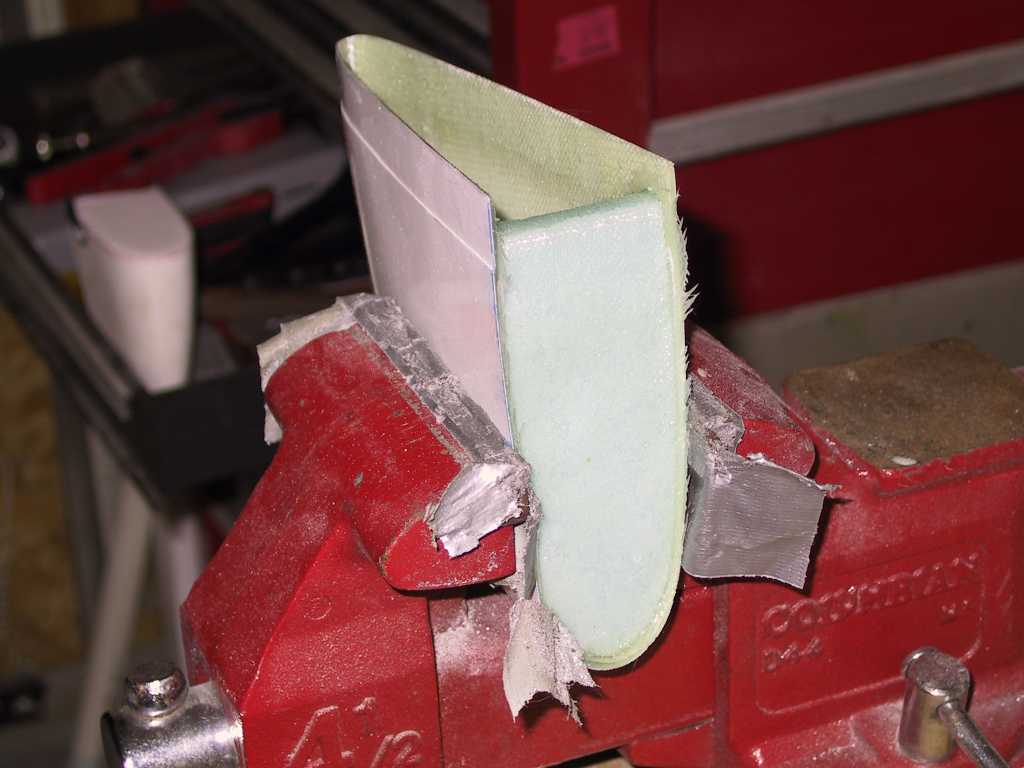
Next, I filled the horizontal stabilizer tips with a mixture
of microballoons and epoxy. It's light and very sandable.
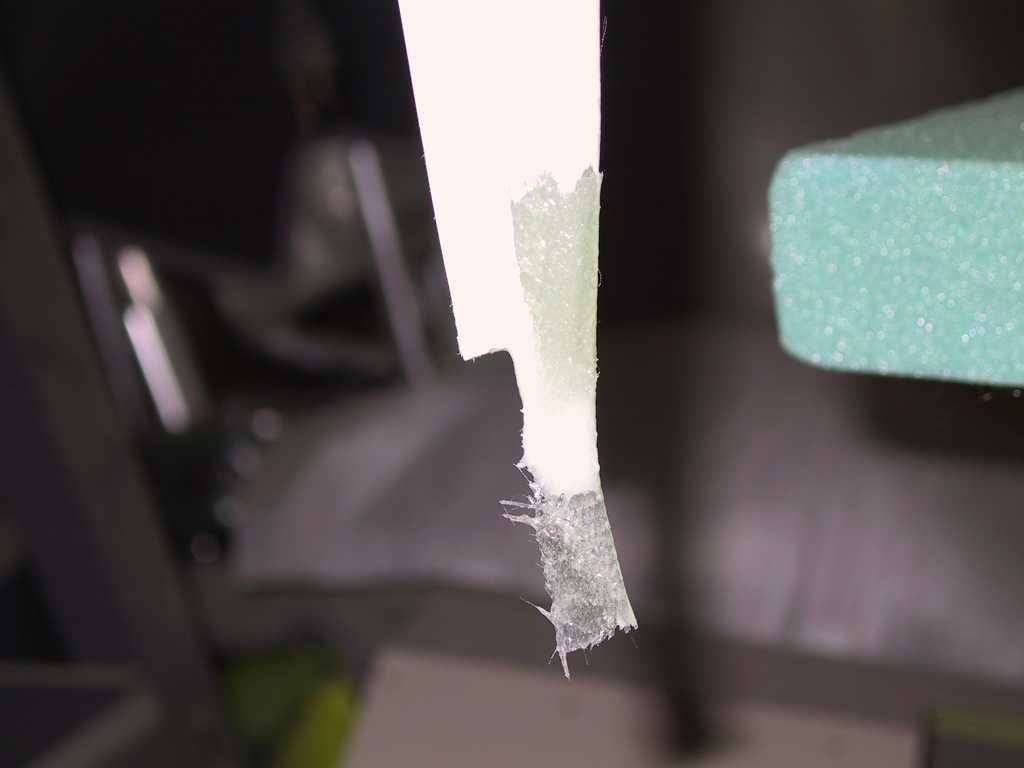
Then I fiber glassed a piece of foam into the VS tip.
I'll do the same to this that I did with the HS tips.
 |
|
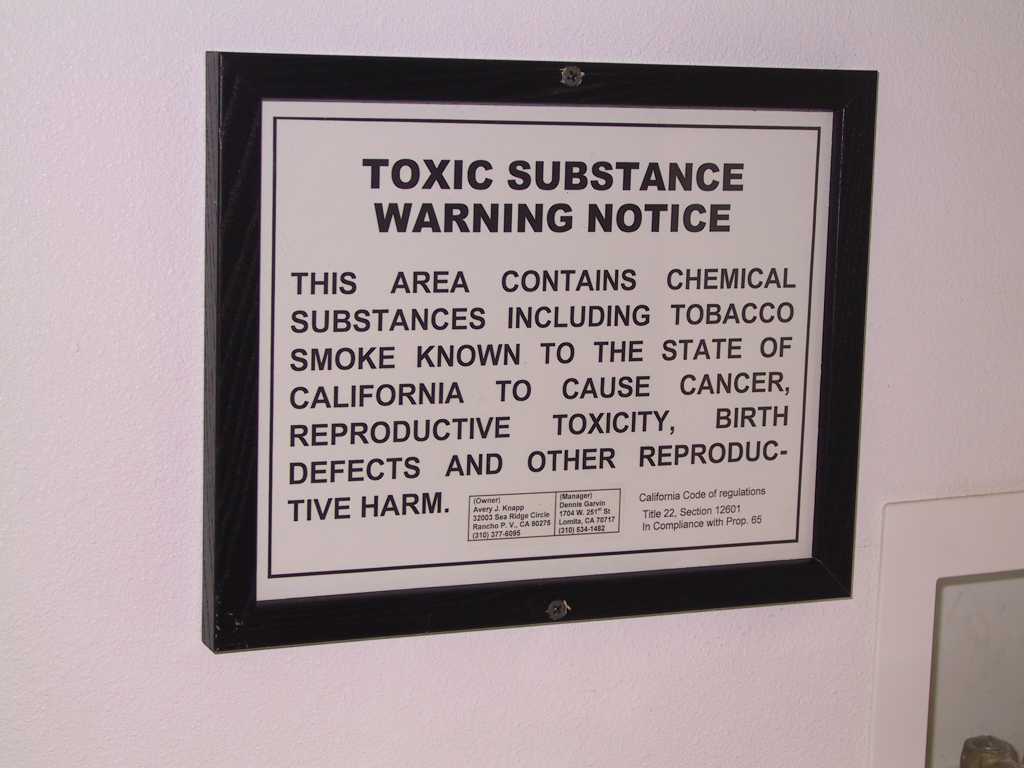
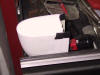
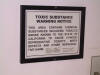
2/24/05 |
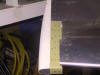
I got a call from my landlord today. They
had to come by and post a placard in the house regarding Proposition 65, or some
proposition. Just to give you an idea of how wacked out this state of
California is I just had to post this picture. They placed it in my
laundry room. Unfreakinbelievable.
So after I was done laughing my ass off (they should have
posted this in my garage, fools) I got down to work. Stuck some aluminum
strips on the HS and VS fiberglass tips and JB welded them in. I'm
actually going to finish this empennage fiberglass mess soon I hope.
More sanding on the elevator tips.
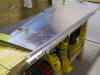
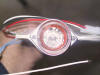
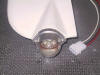
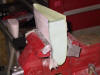
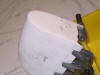
Then, just for a lark, I played around with making an aluminum
oil door. It fits very well. I'm considering this. Yes, It
weighs a few ounces more. But, left unpainted and shined up, it might look
very nice. The main reason I'm considering this is that with a negative
pressure on top of the cowl the fiberglass oil door gets sucked up and that
doesn't look to nice. This definitely won't. I'm just messing around
at this point. Or am I?
  |
| 2/25/05 |
Pop riveted the HS tips in place after dimpling the HS skin and
countersinking the fiberglass.
VS tip get some microballoons.
Later Ed and Greg came by for an inspection. These guys are stress
engineers and work on fighter planes. They pored over the plane with
enthusiasm. Then it was off to get some sushi and Soju, yeah baby.
 |