| 3/29/04 |
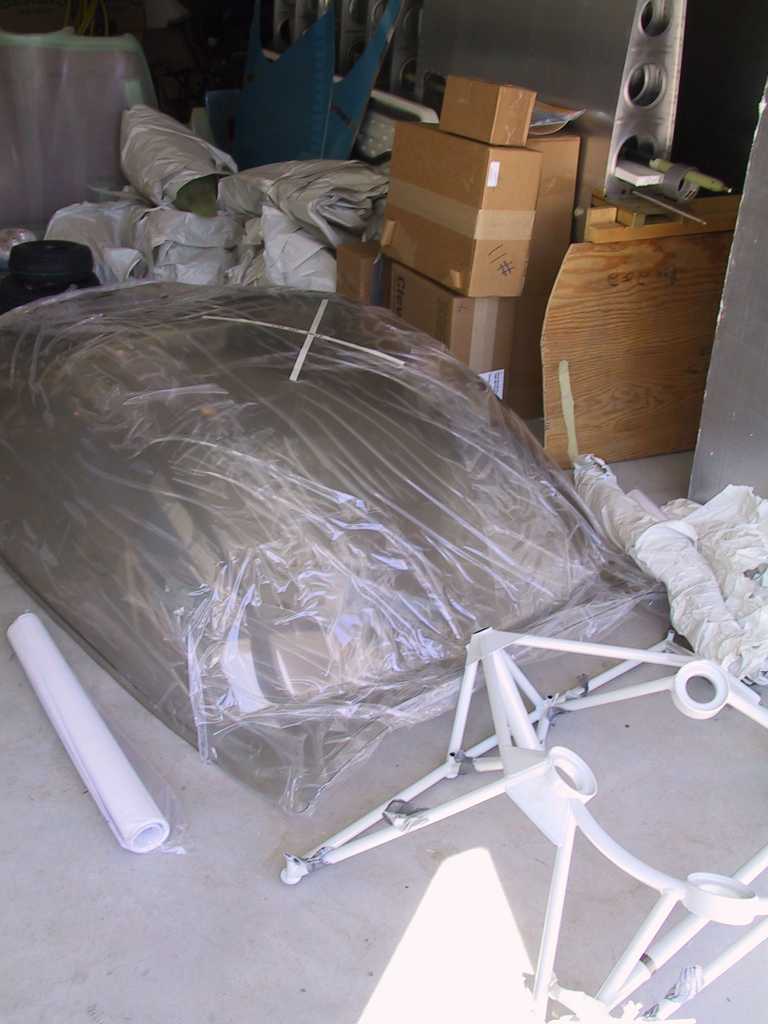
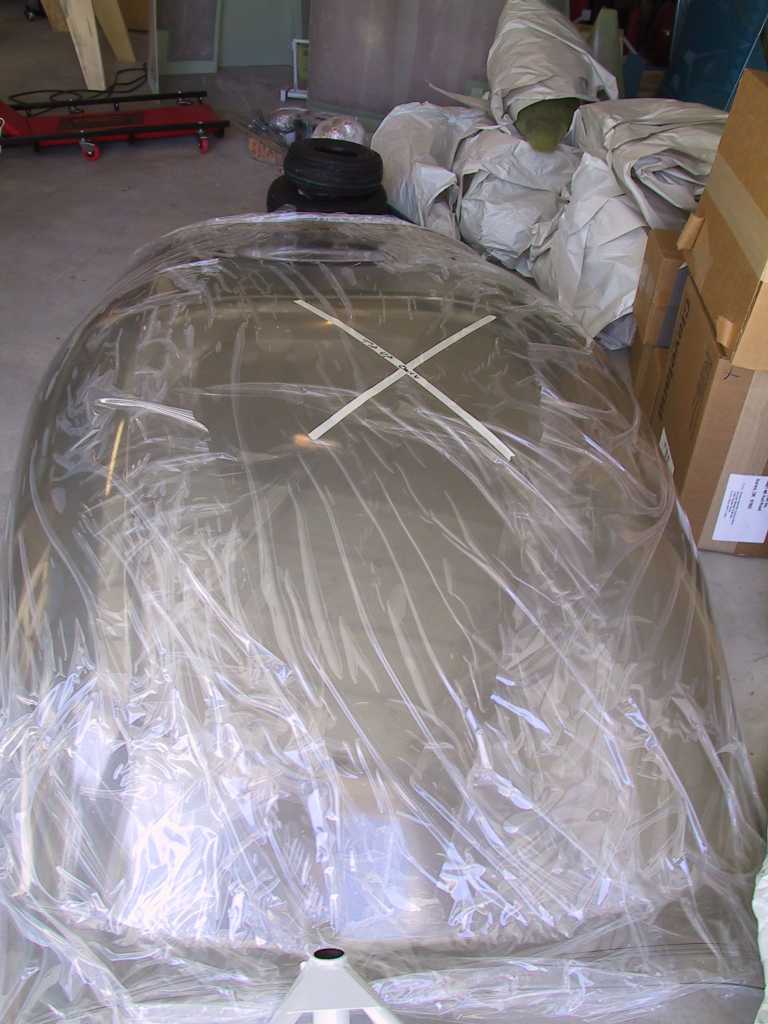
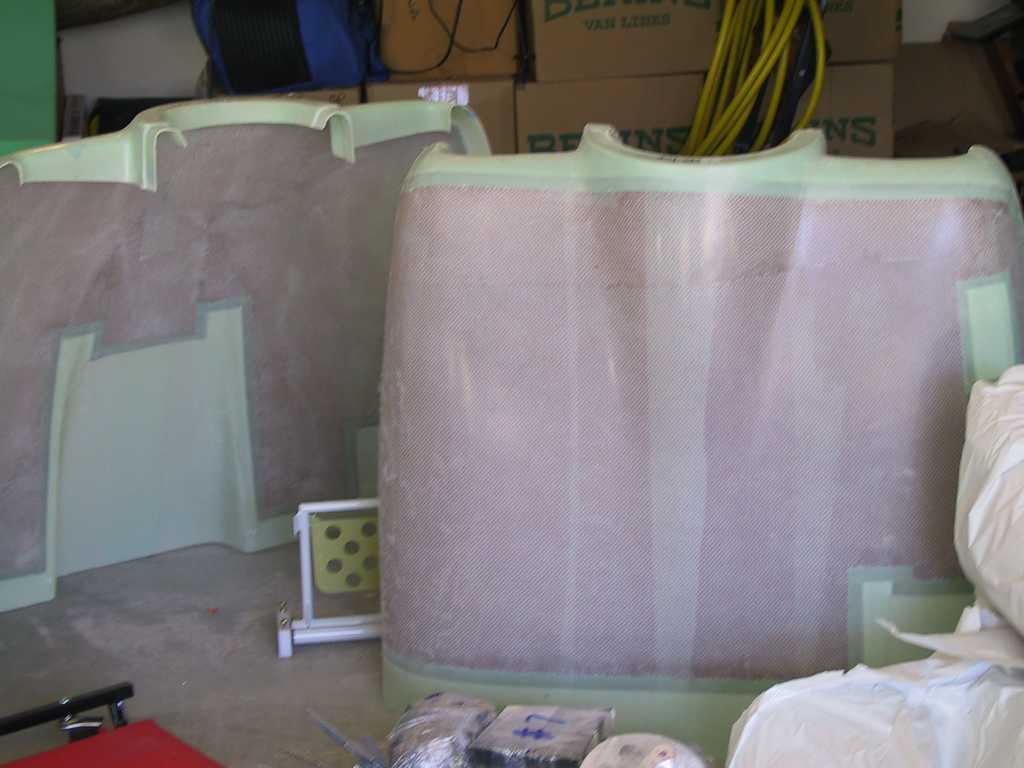
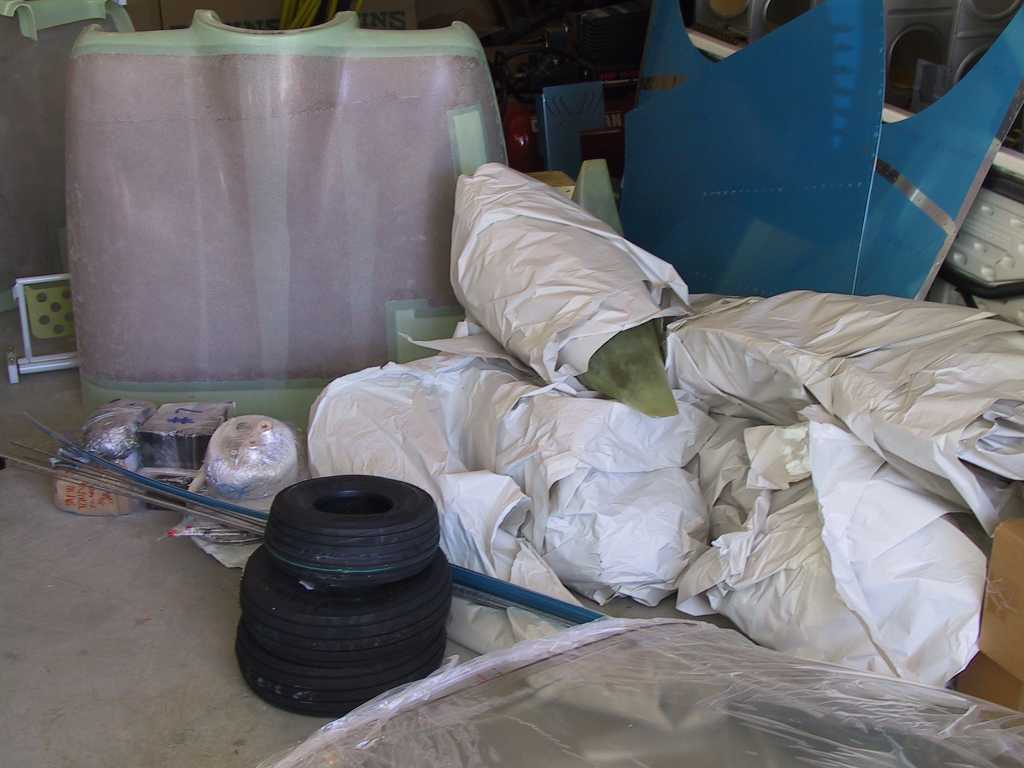
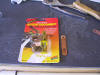
THE FINISH AND FIREWALL FORWARD KIT IS HERE!!!
Unbelievable, the driver shows up with a 310 lb. crate and no lift gate.
When I decided to uncrate it and hand carry each piece to the garage.
Easy Peasy.
  
I'll inventory all of this crap this weekend.
|
| 4/23/04 |
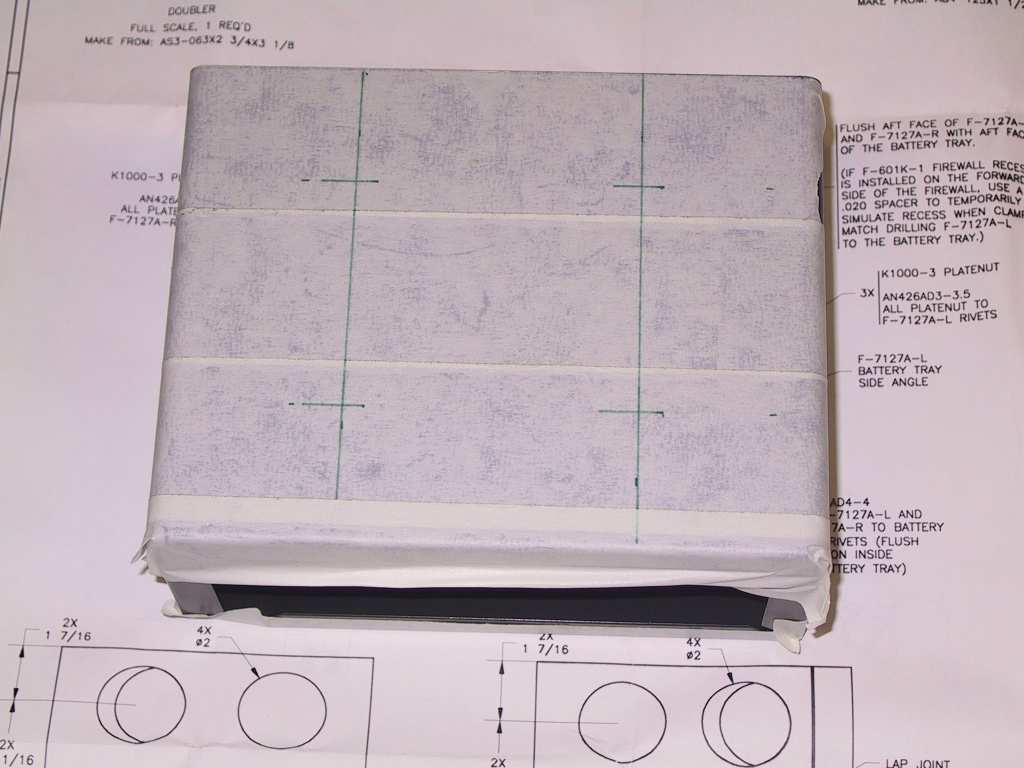
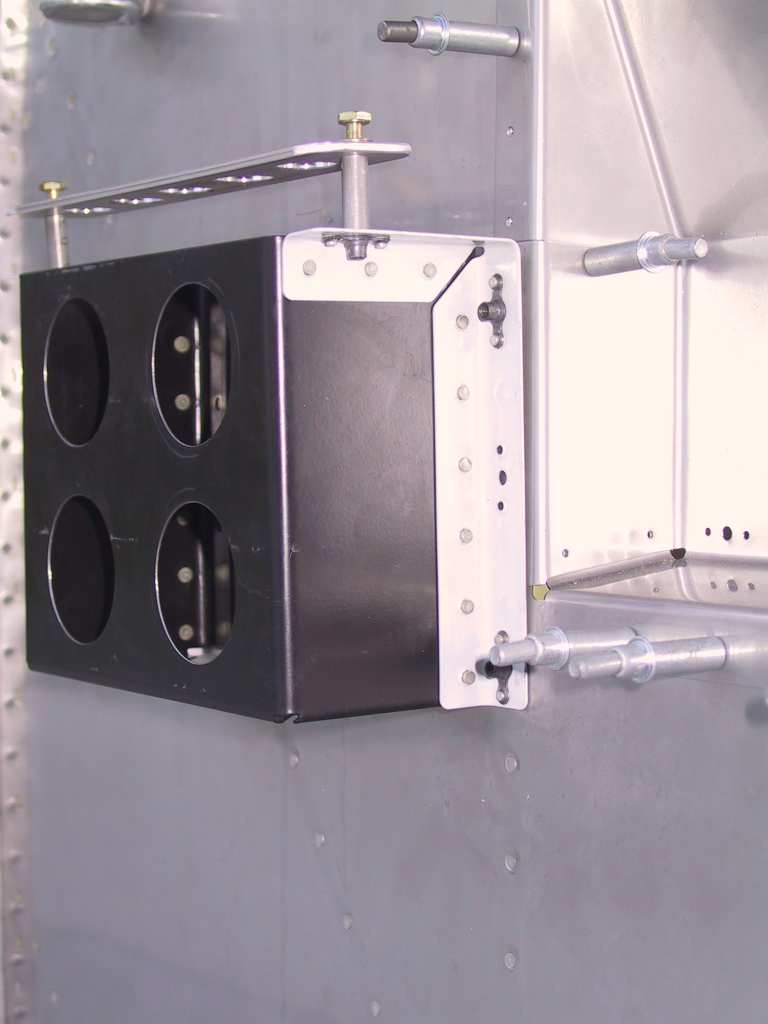
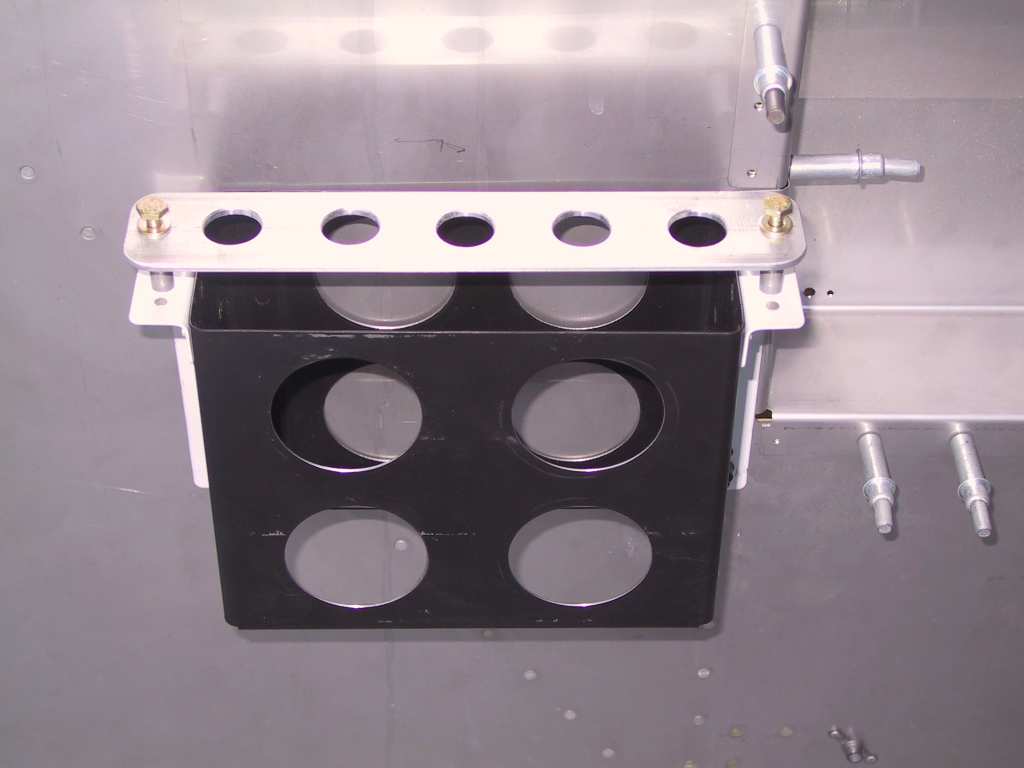
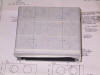
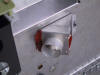
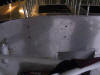
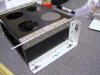
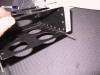
Battery box. Pretty simple stuff here. Went with
the PC-680 battery. Nice and light and powerful. Covered the
battery box with tape to keep the hot metal shavings from screwing up the
powder coating. Drilled the holes with a hole-saw on the drill press.
Placed some wood in there to keep it supported. I dimpled all the
holes in the box and the support 'L' legs and even the nut plates. I
drilled the lightening holes in the cover strap with a unibit in the drill
press. Much simpler that way. Then mounted it temporarily on the
firewall. You have to drill out the existing rivets in the firewall,
there are only two to drill out if you haven't yet riveted in the firewall
recess, and I hadn't. Funny, this holds a 14 pound battery with only
three bolts. Yikes.
  |
| 5/29/04 |
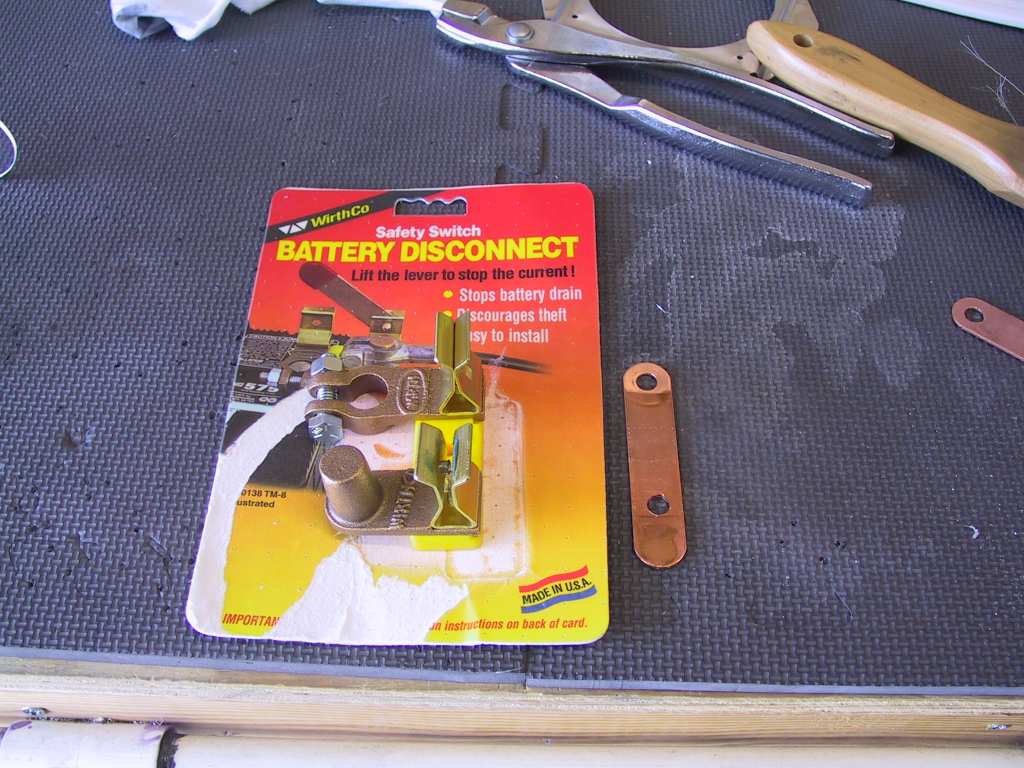
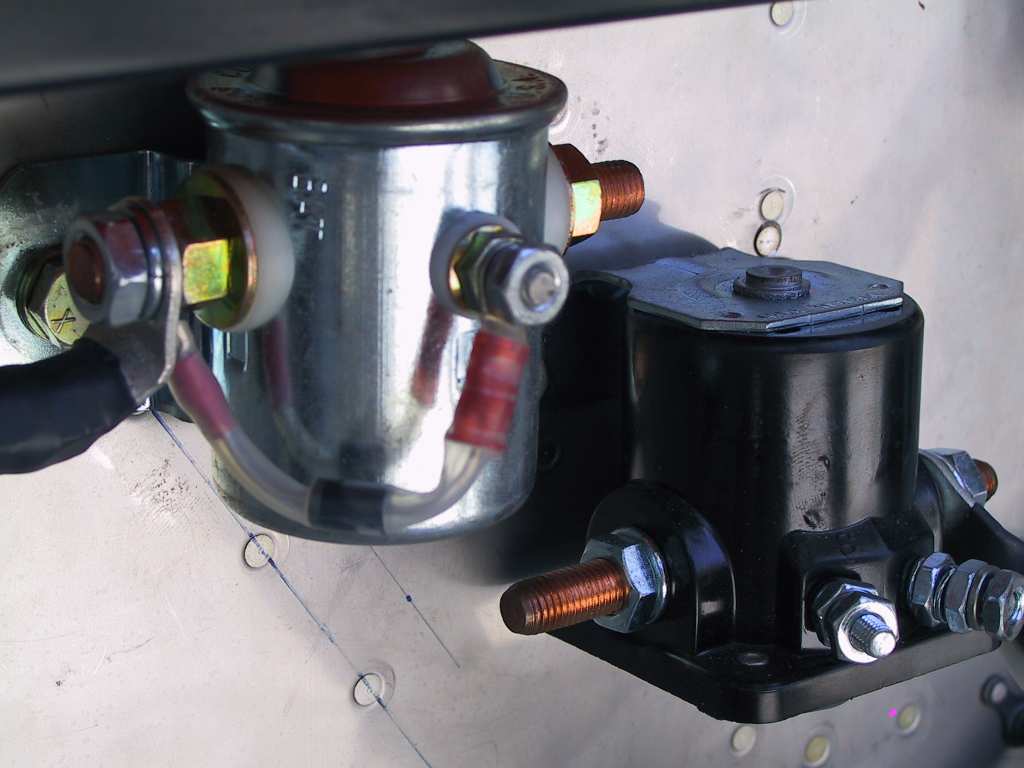
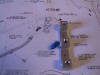
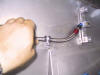
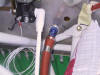
Here's another
little neat trick. Instead of buying copper bar from Vans or wherever
they sell it for big bucks, hop on over to Harbor Freight and buy one of
these battery disconnects for something like 5 bucks. Tear it apart
and voila, a nice copper bar for your starter to contactor connection.
Here I've already ripped it apart, drilled the holes and rounded the edges.
I used to bars together. They are thick enough to use one but why stop
there? If one breaks, I'll have a backup.
 |
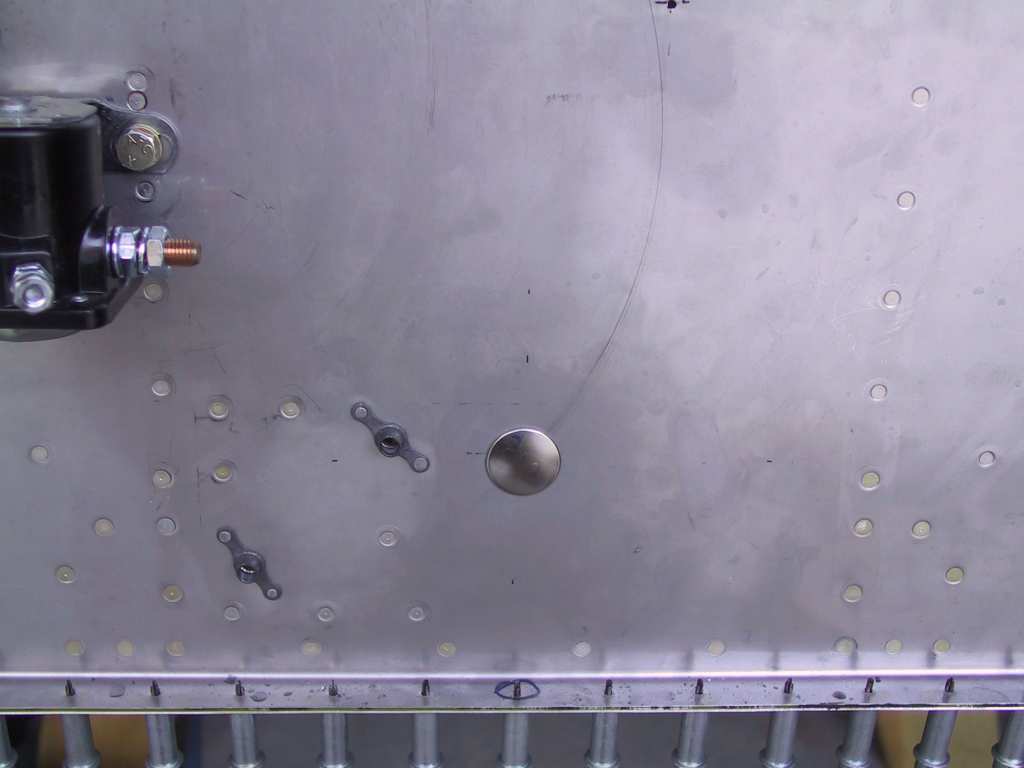
| 5/31/04 |
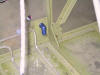
Tonight I figured I would drill the holes in the firewall for
the heat muff (pilot drill only until I can get a 2inch punch), mixture,
prop and nose wheel bolt access hole. I really didn't know if Vans
locations would be right for my horizontal inducted, LASAR FI engine.
Not all engines are the same and I hope everything works out. I can
always cap the holes off. See that the nose wheel access cover is
installed just to see if it fits.   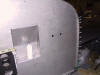 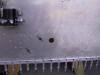 |
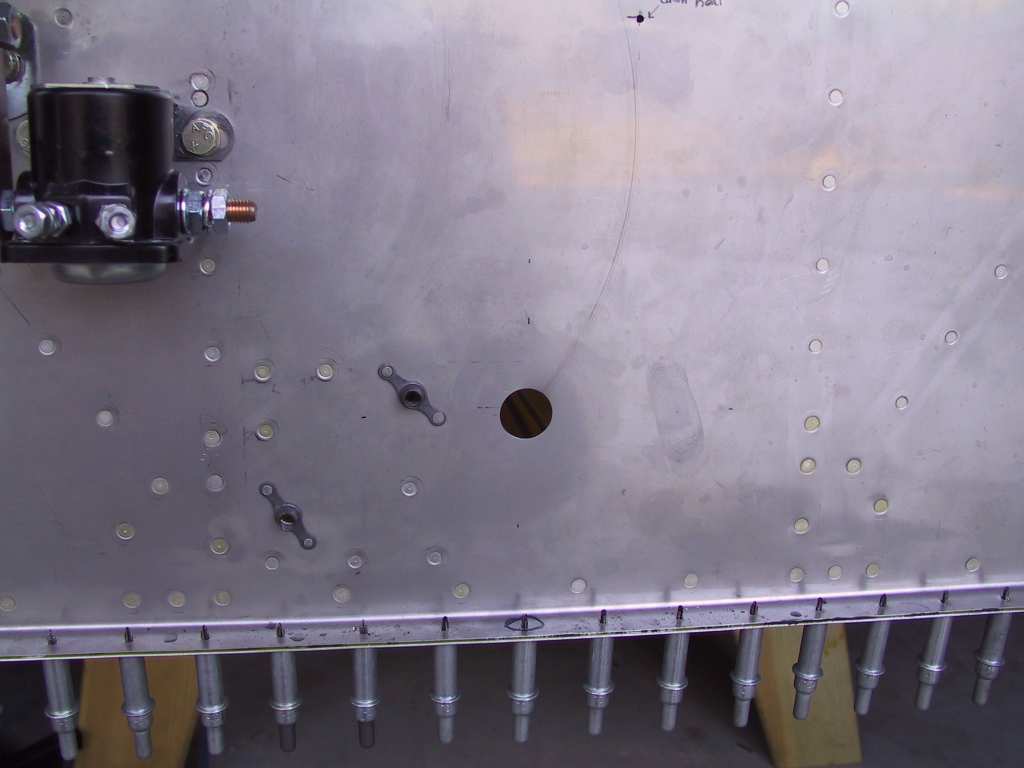
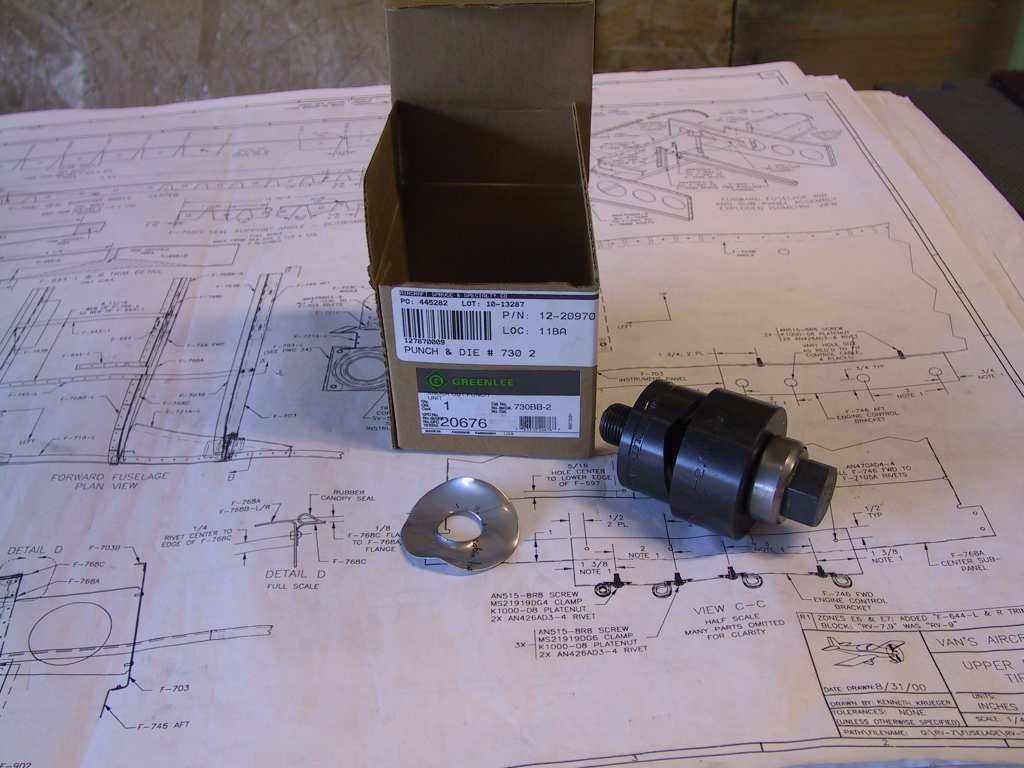
| 6/2/04 |
David is so lucky to work a little distance from A. Spruce.
He gets to stop there every day. Don't tell his better half though...
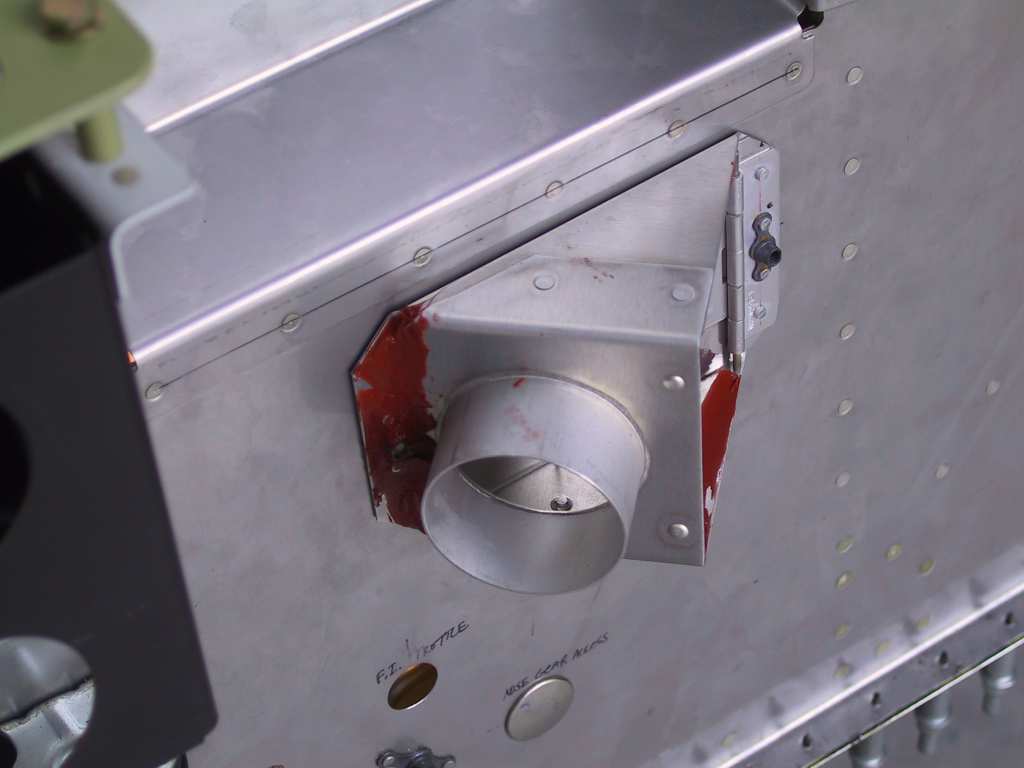
If I did that It would cost me an arm and a leg. David picked up a 2"
Greenlee punch for me to cut the heat muff hole in the firewall. Works
great!
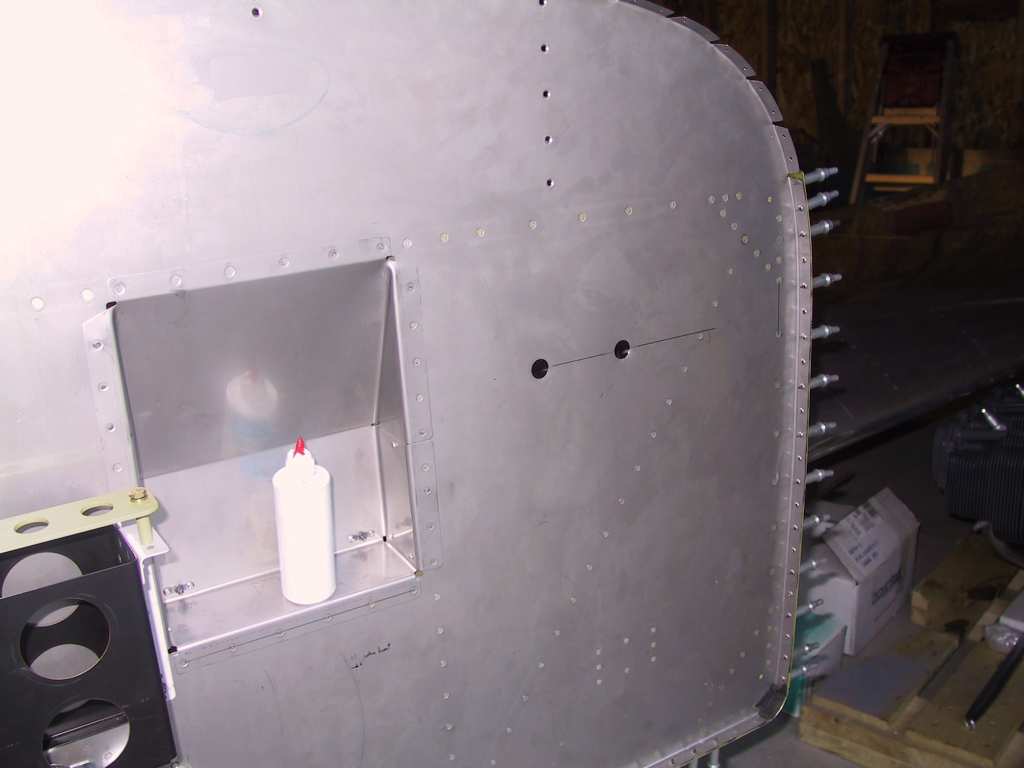
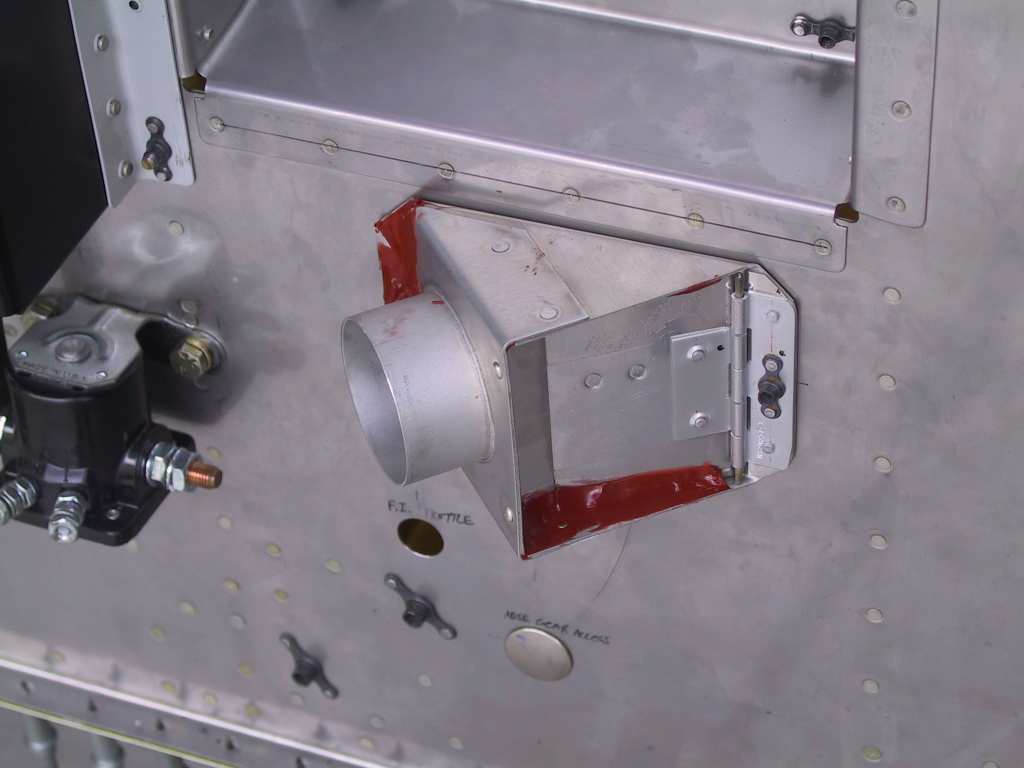
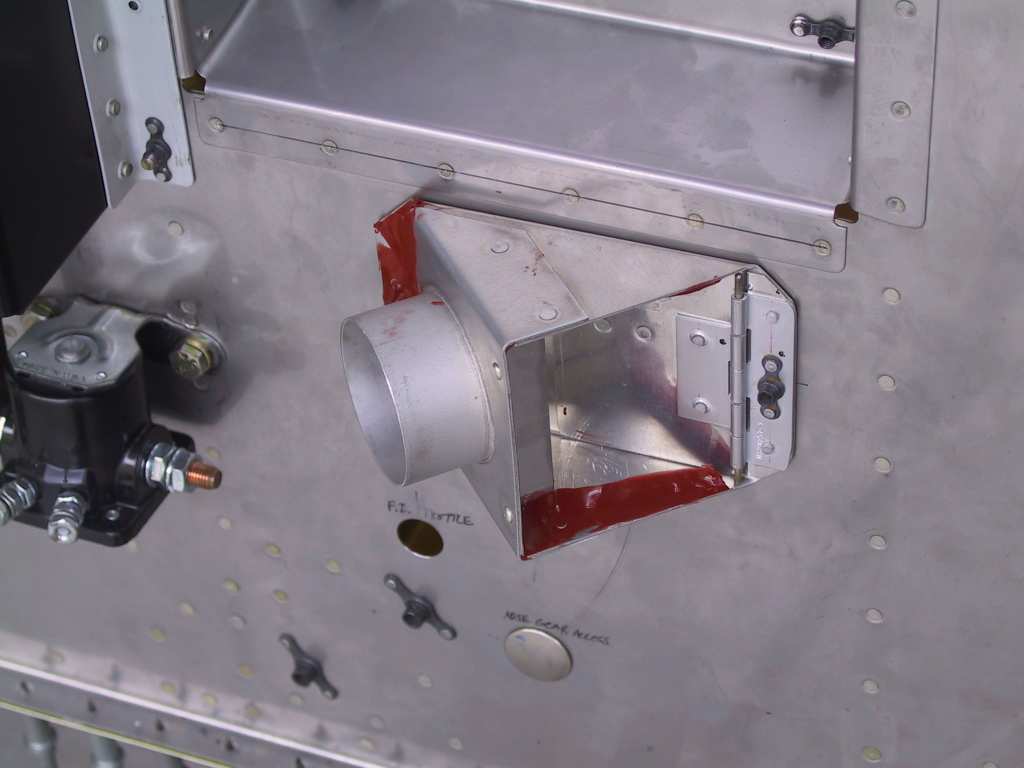
The heat selector box Vans supplies is adequate. I don't feel the
need to get a stainless one. But there are a few recommendations.
First is that the door which opens and closes was rubbing on one side so I
filed it down with a jewelers file until it opened and closed smoothly
without binding. Next I high-temp RTV all the gaps. When I
want heat in the cabin why would I want most of it going into the engine
bay? If I want heat, I want all of it. I used some UHMW tape to
cover the flap and sealed with RTV. Next morning I pealed the tape off
and now it seals nicely. Nothing sticks to UHMW tape. Stuff is
gold. Here's the box just sitting on the firewall not permanently
mounted yet. First two are open and closed.
   |
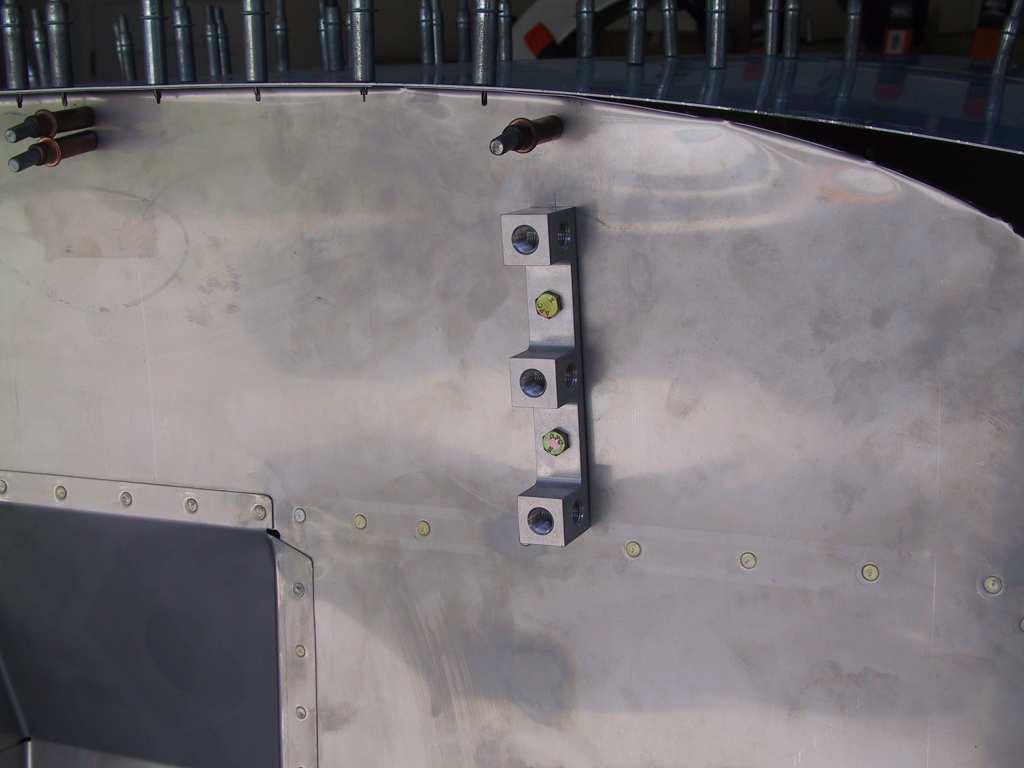
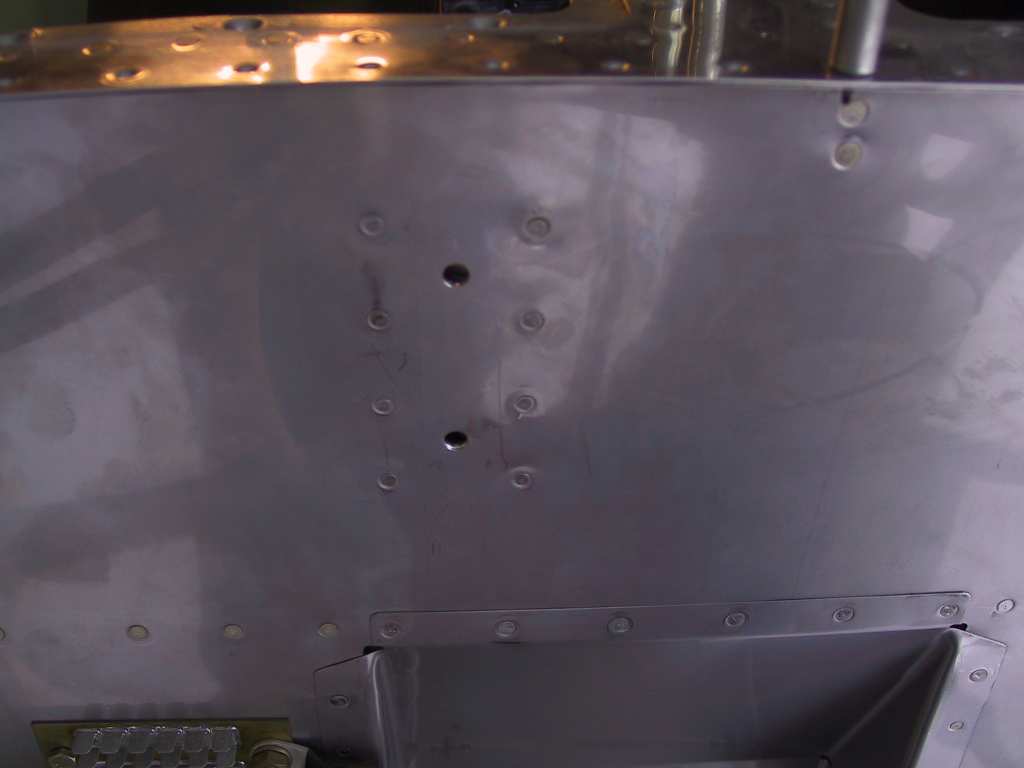
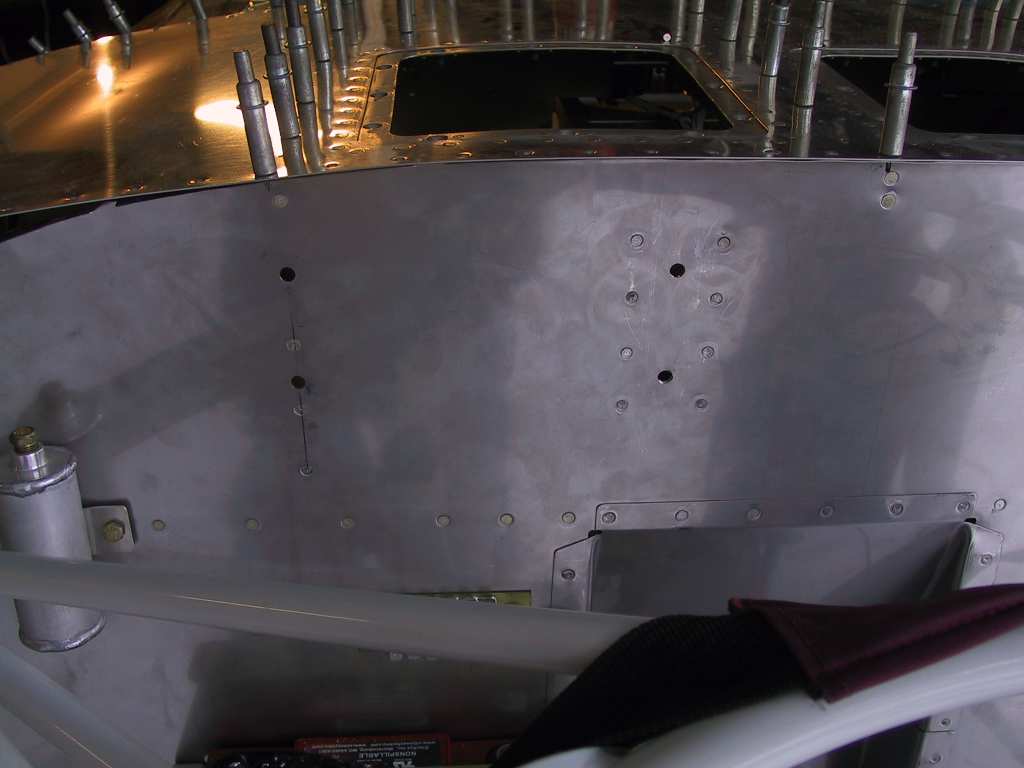
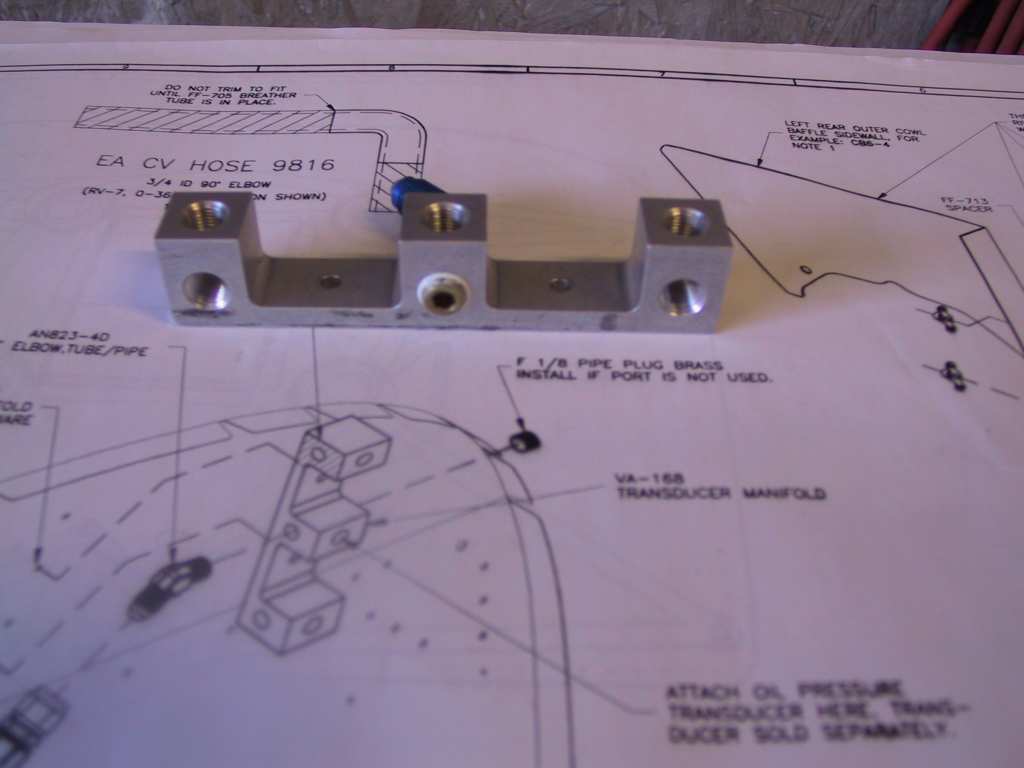
| 6/13/04 |
Drilled the matching holes for the VA-168 transducer
manifold. Can't put in permanently until I get the sub panel ribs
riveted in place.
 |
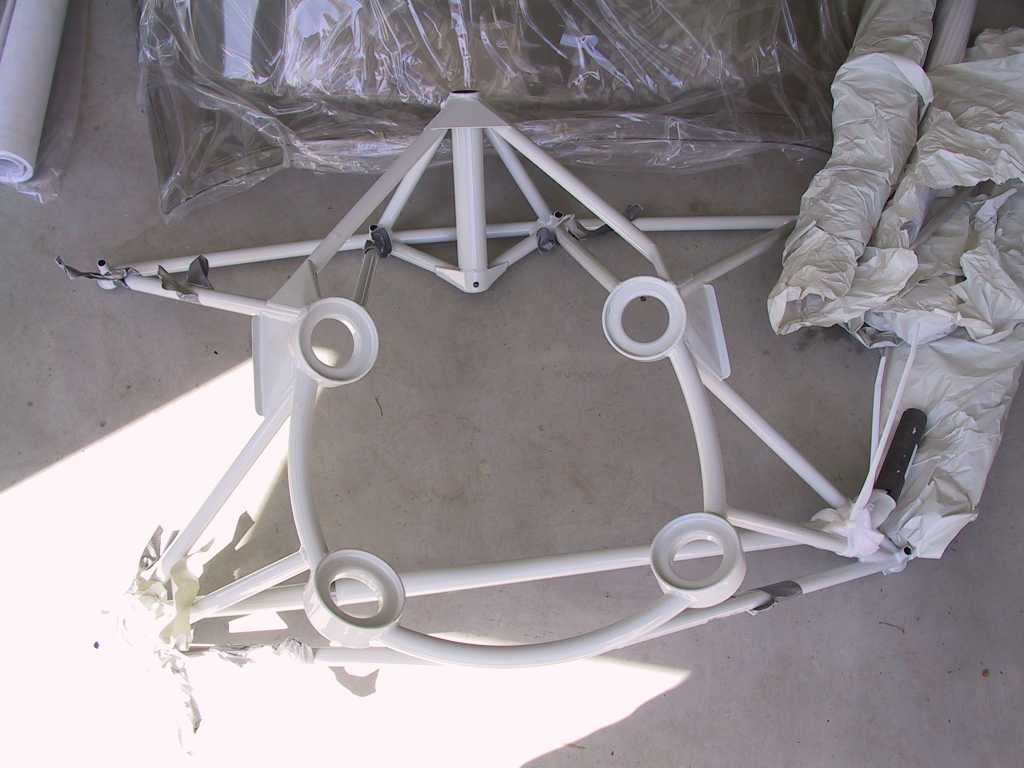
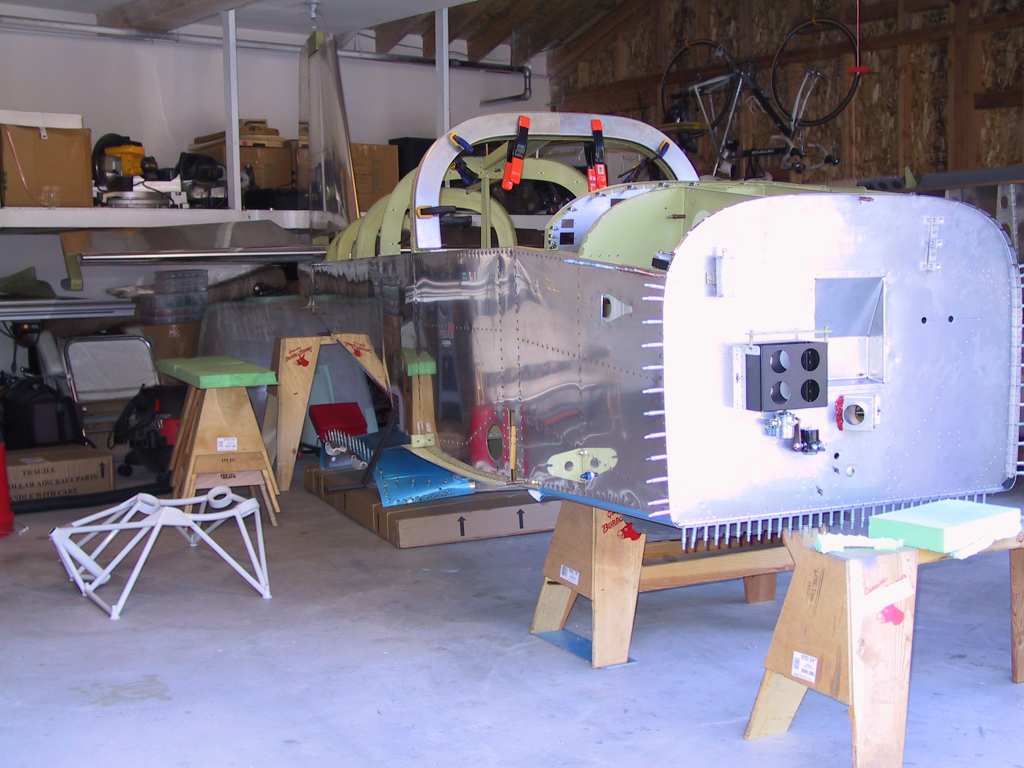
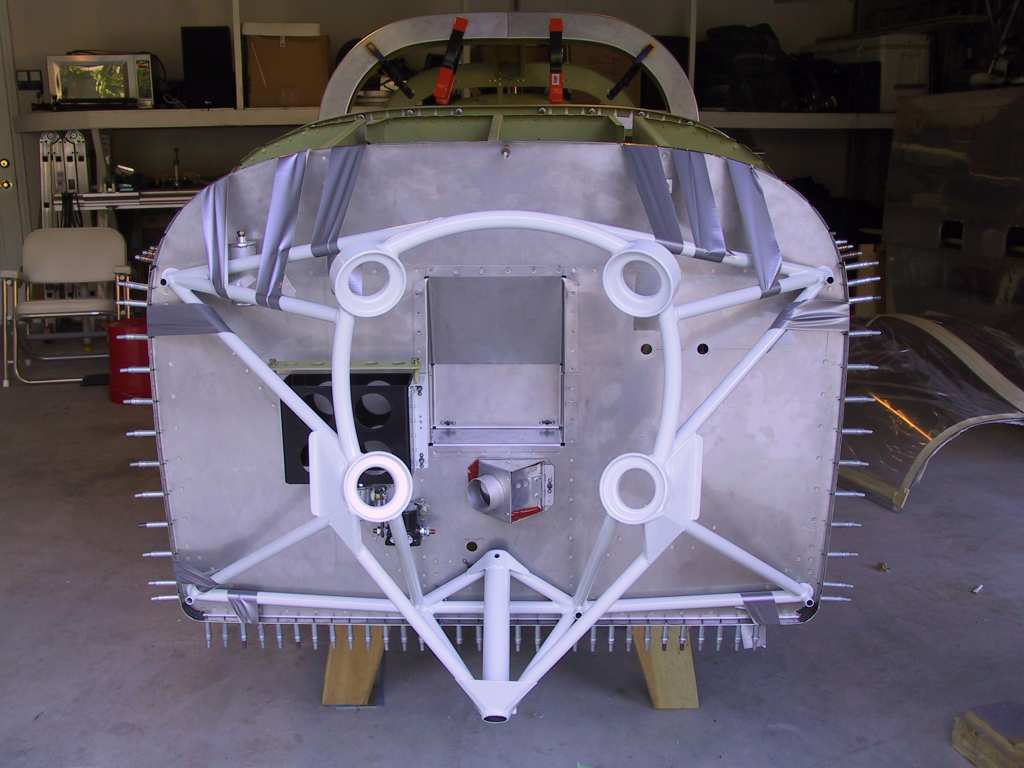
| 6/30/04 |
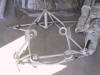
Another milestone! The wings are off, and the Engine
Mount is ON! Thanks to Barry, Narendra, Eric, and David for helping me
take the wings off this afternoon. Asides from some bolts which didn't
want to come out it went very smoothly.

After everyone left I decided that the engine mount should come next.
I'm going to wait on the canopy for a while. Time to get this bird on
it's feet and the engine hung. I can't make up my mind about the
overlap or no overlap of the canopy side skins. It can wait.
Drilling through the steel angles requires a good drill bit, as I found
out. I purchased two new 3/8" drill bits from HD today and they went
through it like buttah. I kept the engine mount in place using the
standard trusty Duck Tape, as usual.
Next was to drill the 1 inch hole for the fuel lines that I forgot to do
before putting on the wings in the first place. Just used a hole saw.

And finally, there's that one damn rivet hole left on the skin which
attaches to the doubler plate. Just MSP42'd it. Done.
  |
| 7/11/04 |
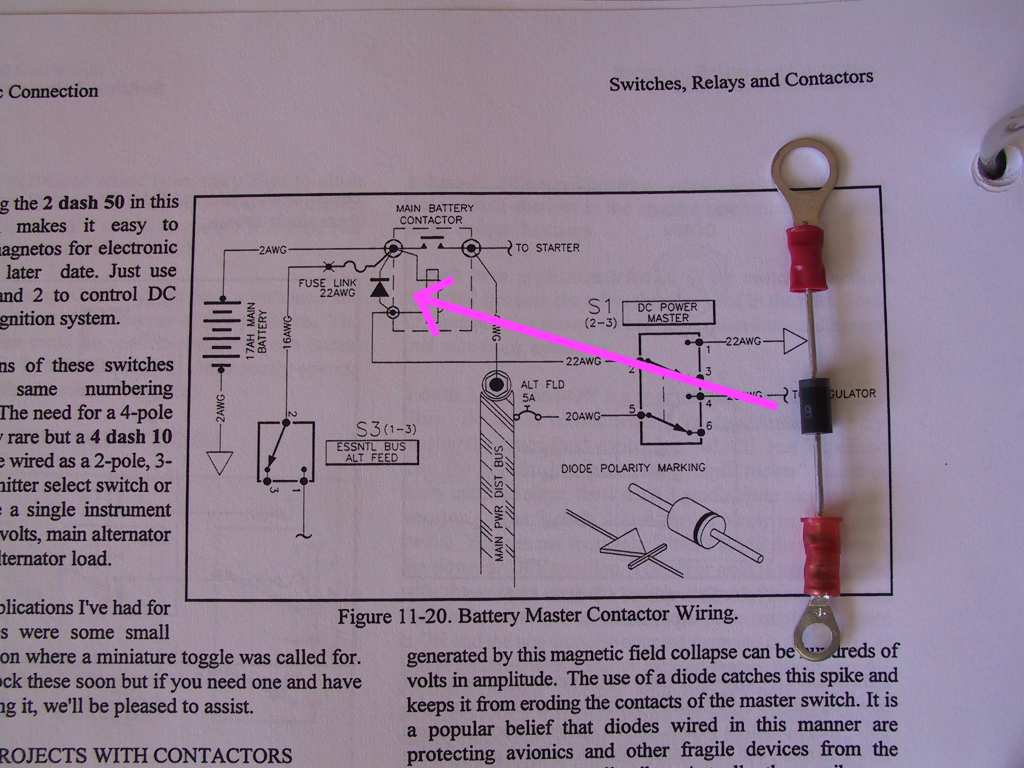
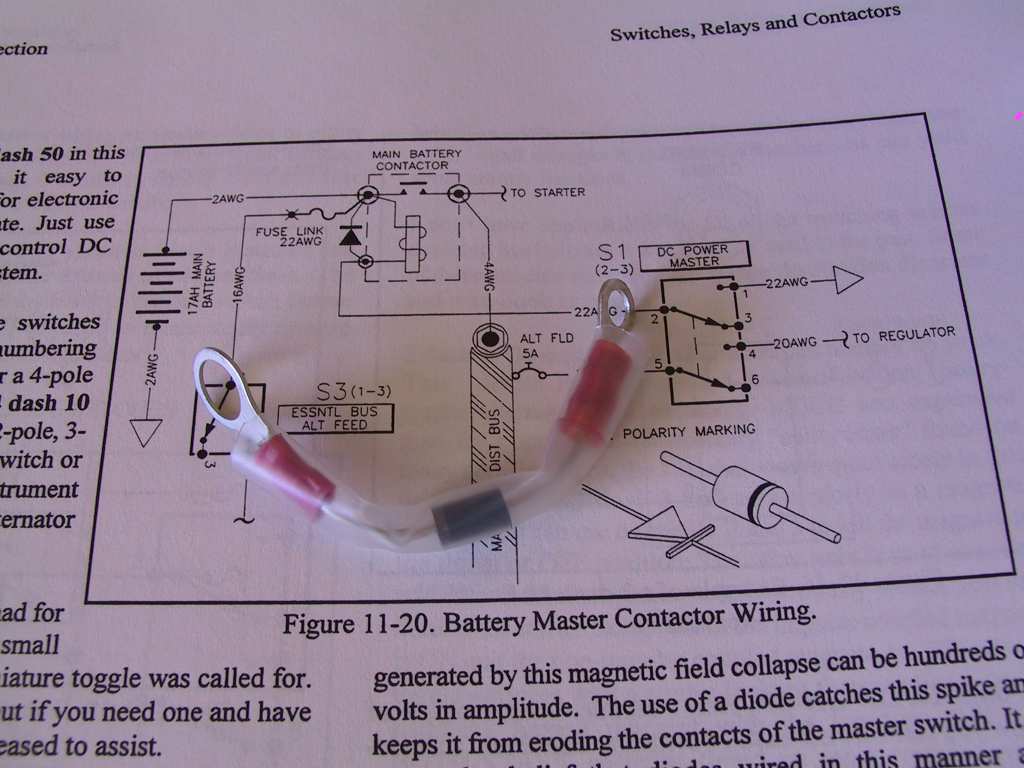
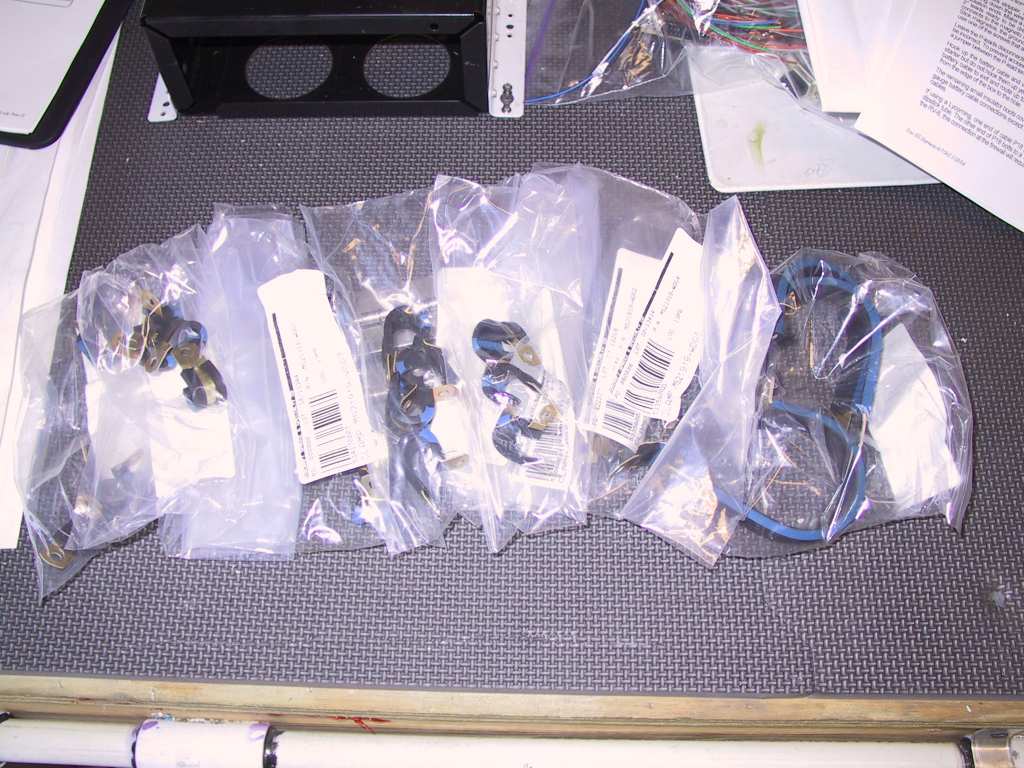
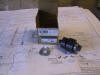
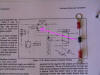
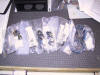
Time to get the diode on the Battery contactor. I
decided to use the same diodes which B&C places on their cross-connect
contactor, which I purchased but do not intend to use. I found out
that these diodes are rated at 1000 V, 3 amps. That ought to do it!!
I purchased these, and a whole bunch more crap, at Signal Electronics in
Torrance, CA. This place is awesome (Radio Shack sucks). The
part number is IN5408. You get about 15 of these for $4 bucks.
Not bad.
Here I'm making and installing the clear shrink wrapped unit.
   |
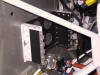
| 8/17/04 |
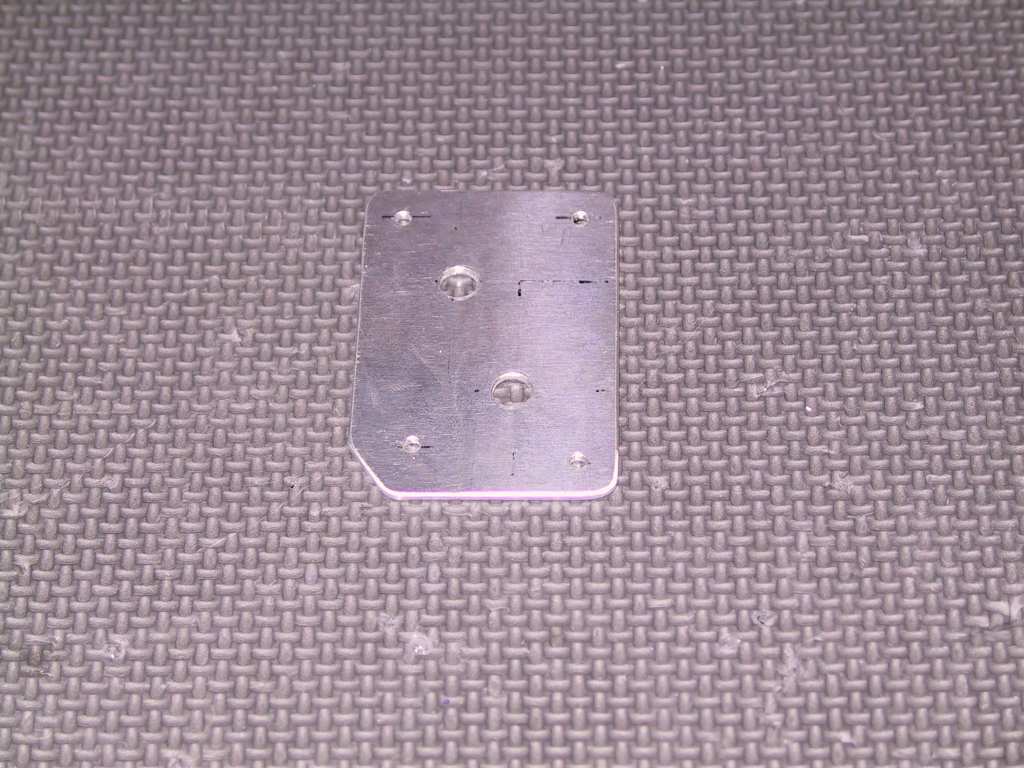
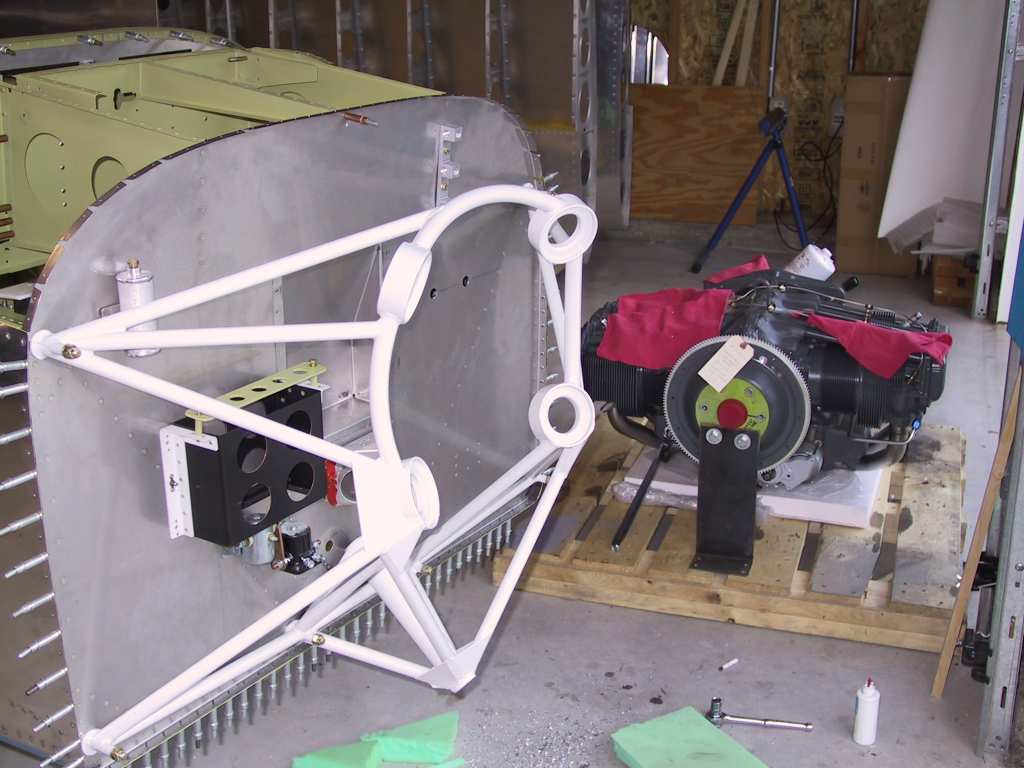
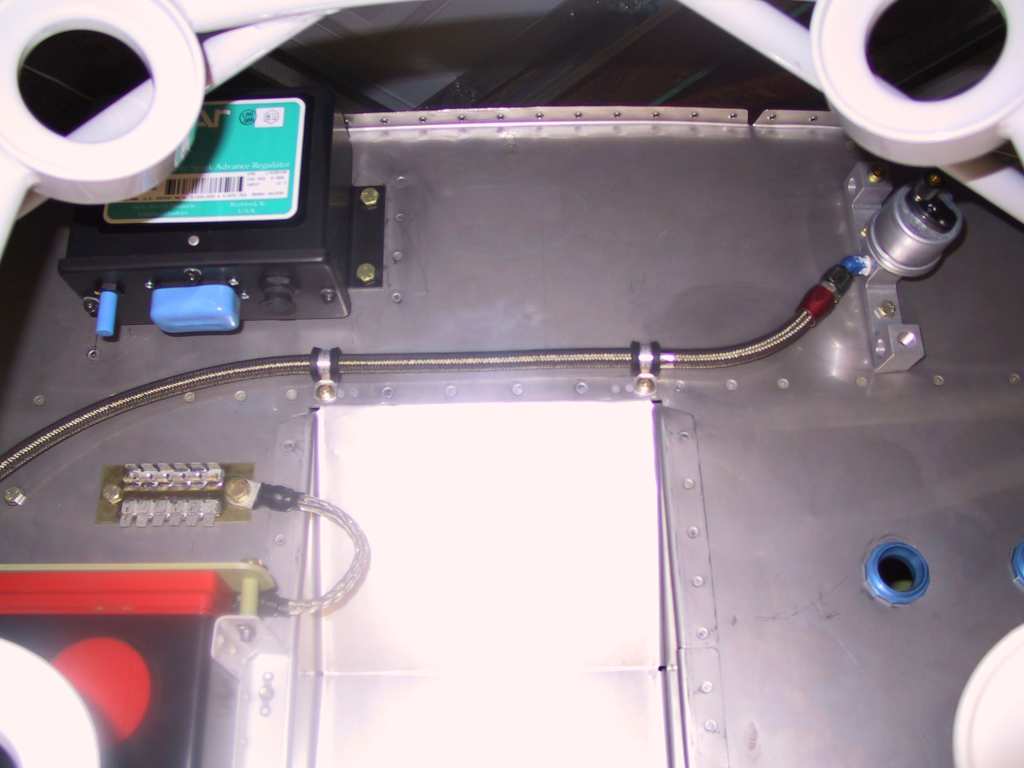
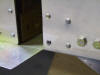
Back to business. Tonight we mounted the LASAR
electronic Ignition module. I decided to use an existing structure
to mount the box. I used the F-745-R bracket where it meets the
firewall as one support and I build another .090 backing plate for the
right side bolts of the box and riveted it onto the firewall.
  |
| 8/23/04 |
Dave Bristol was kind enough to stop by today to give me some pointers on what should be installed before mounting
the engine on the engine
mount, and to show me what the hell all these fittings on the engine are
for :) Thanks Dave, very insightful. Tonight we worked on
getting the oil pressure line, oil pressure sensor and oil temperature
fittings in place. The whole thing could have taken about 22 seconds
if it weren't for the fact that I forgot to install the nutplates for the
oil pressure line across the top of the firewall recess. Do yourself
a favor put these in before you even mount the firewall to the longerons!
You are gonna need this no matter what engine you select, unless you are a
subie guy/gal.
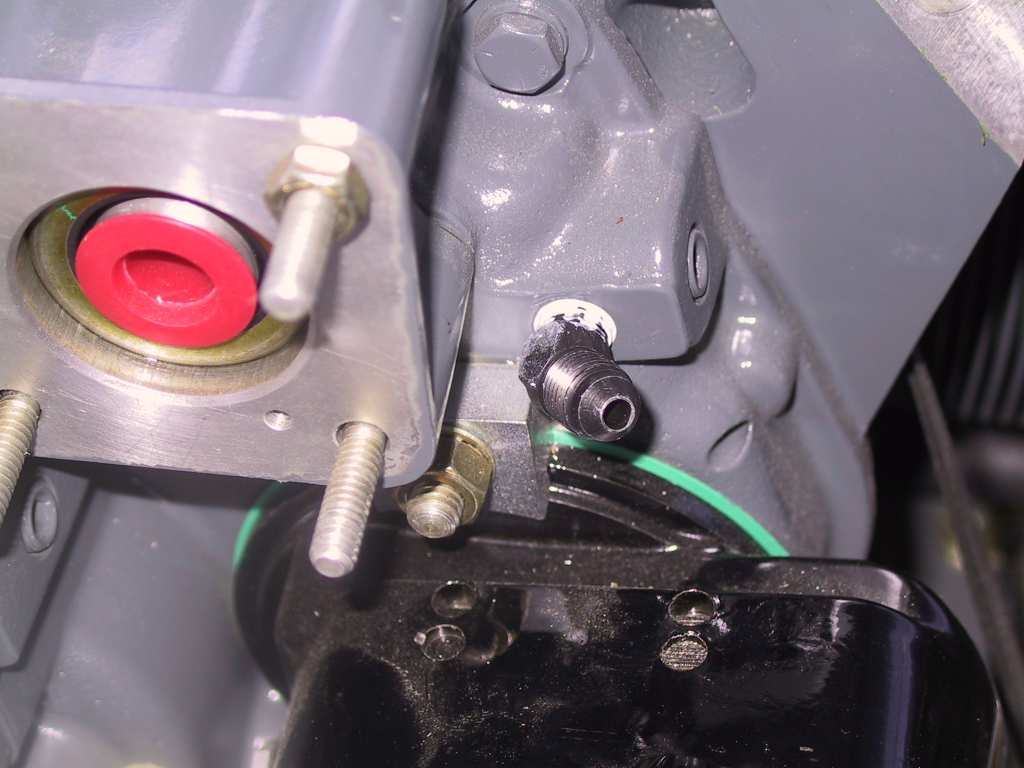
Oil pressure fitting, I had to remove an existing hex nut cap and
replace with this 45 degree fitting which has a reducer inside.

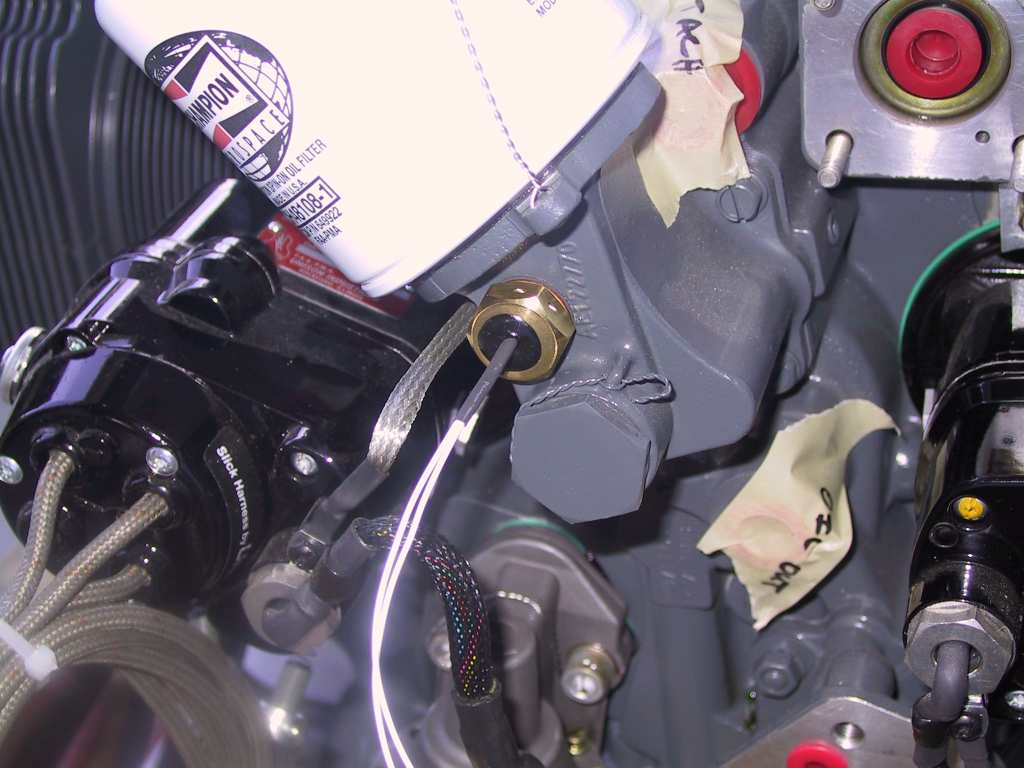
Oil temperature sensor on the oil filter mount. No wrench would
fit to tighten so I used a socket and a pair of vice grips. Because
there is a wire coming from the center of the sensor you can't just use
the socket and socket base. Worked ok, just do the Italian method,
justabouttightenough. This temperature sensor came from Grand Rapids
Technologies with my EIS 4000 kit.
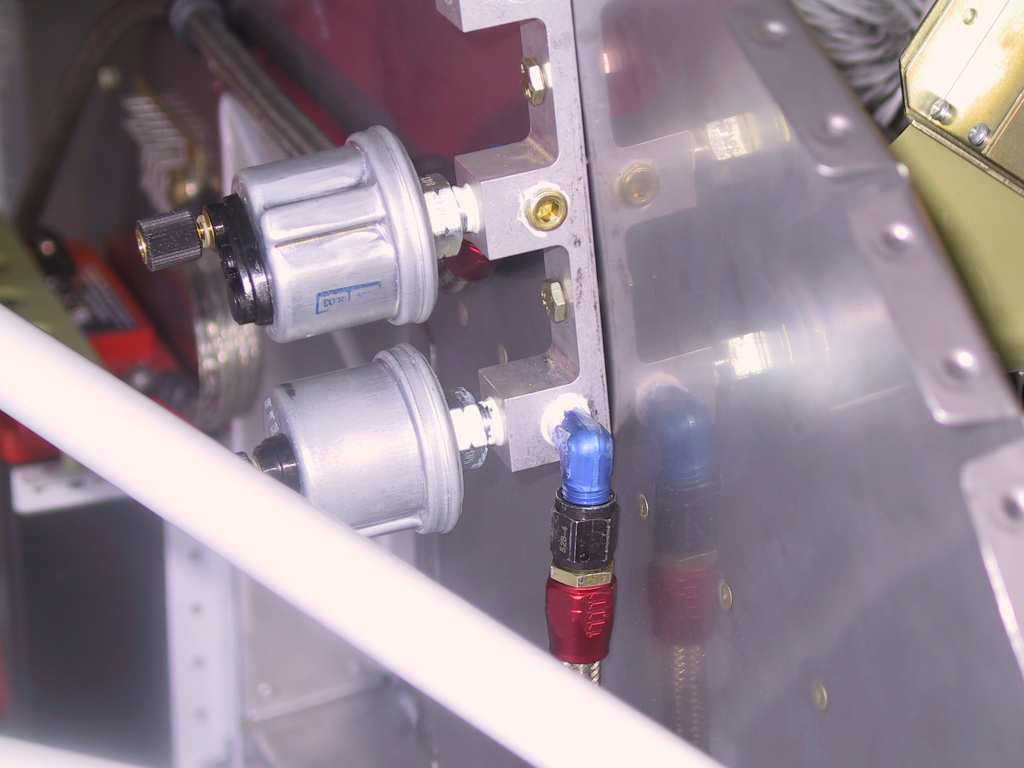
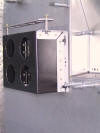
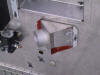
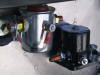
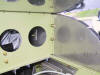
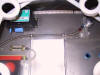
Here's the stuff finally mounted on the nutplates. The oil
pressure sensor is also from GRT and is 150 psi max. I'm leaving the
manifold block untightened at this point because the fuel sensor has to
get connected and you can't place the lines on the manifold when it's
tight to the firewall. You will also notice the LASAR ignition box
mounted on the top of the firewall. The rightmost bolts go through
the F-745 ribs and there is a .090 backing plate riveted to the firewall
through which the leftmost bolts go. It's not going anywhere, solid.
 |
| 8/24/04 |
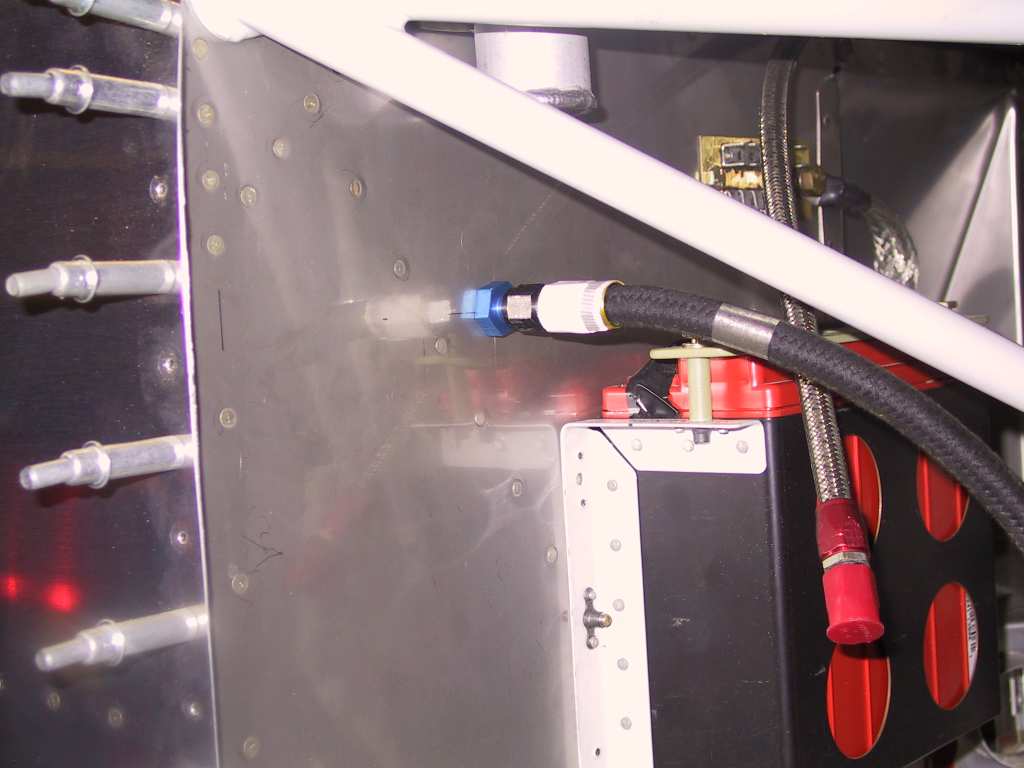
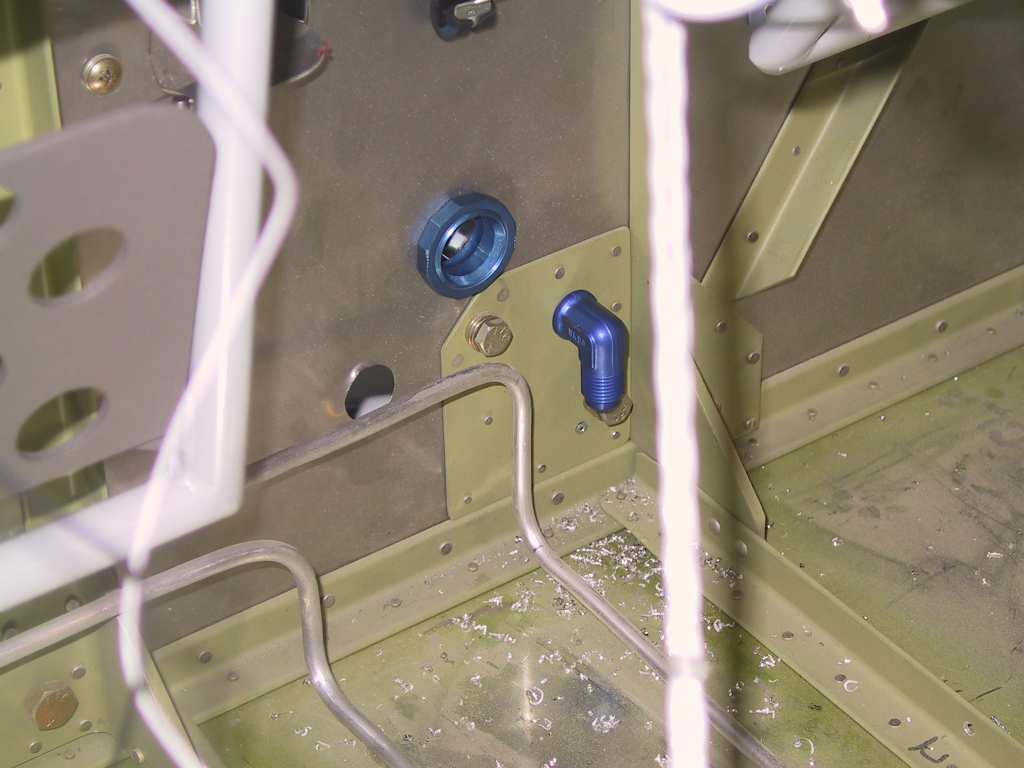
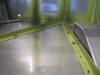
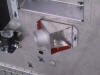
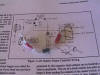
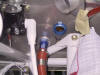
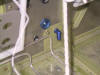
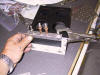
Here's the manifold with the fuel and oil lines coming in
and the GRT transducers. I don't believe I'll be using the other
manifold for anything else. I guess I could have cut the third one
off buy why? It's not in the way and I might use it later.

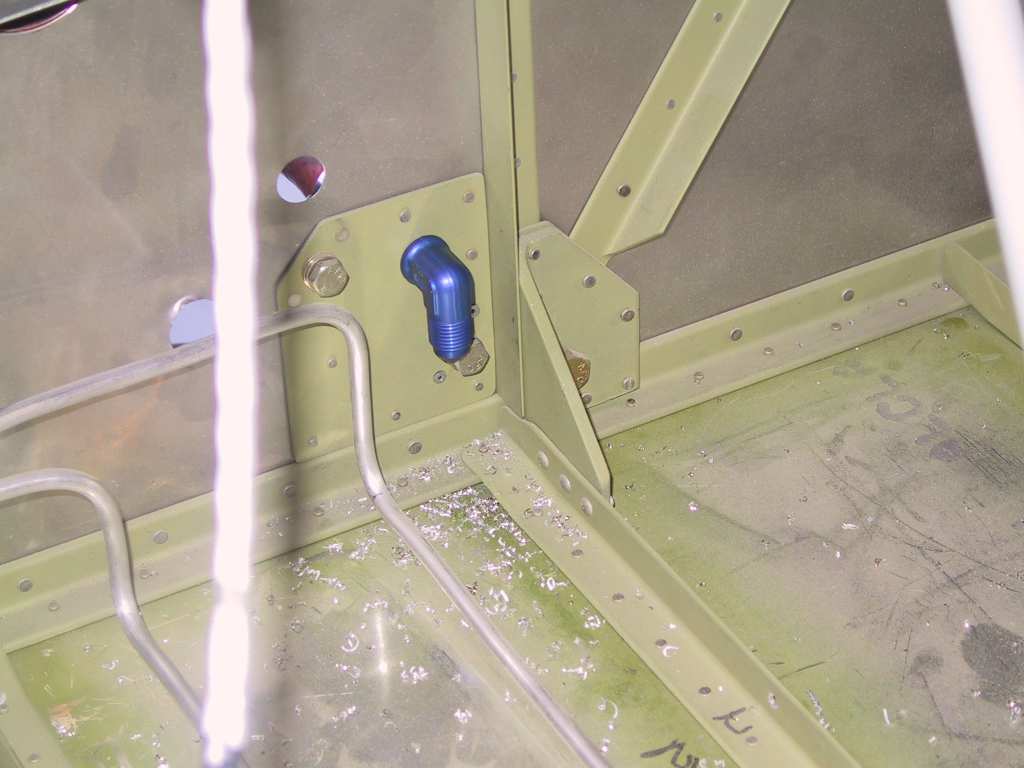
This is the manifold pressure firewall fitting. I placed it where
Vans suggests. No biggie.
 |
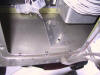
| 8/25/04 |
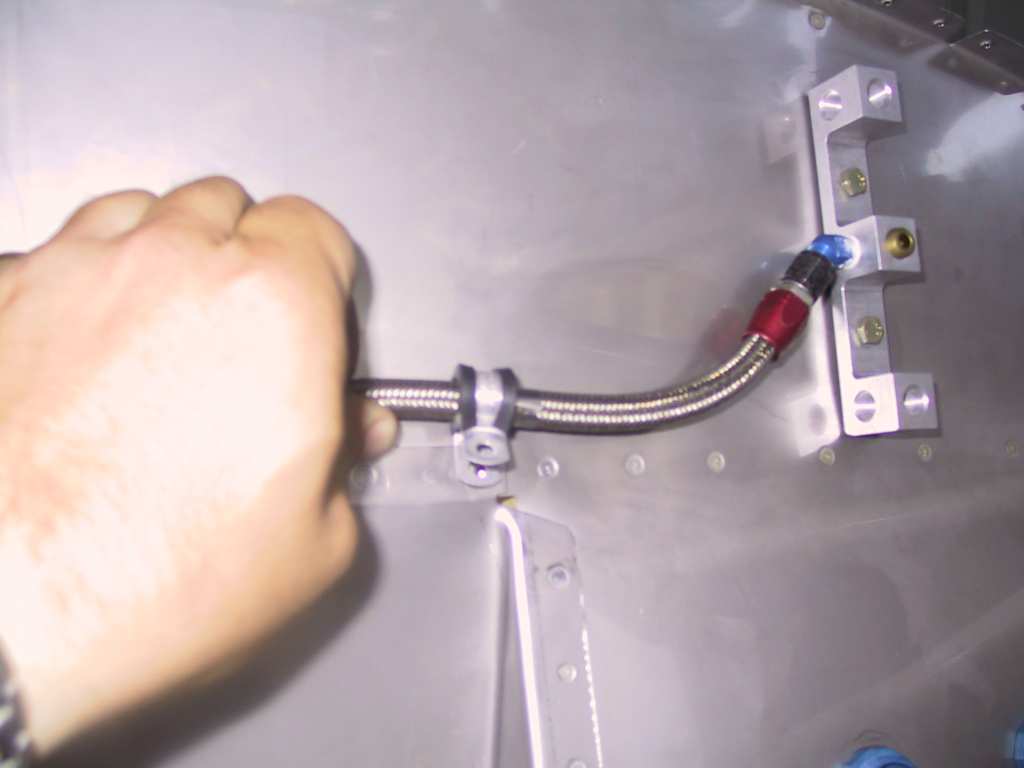
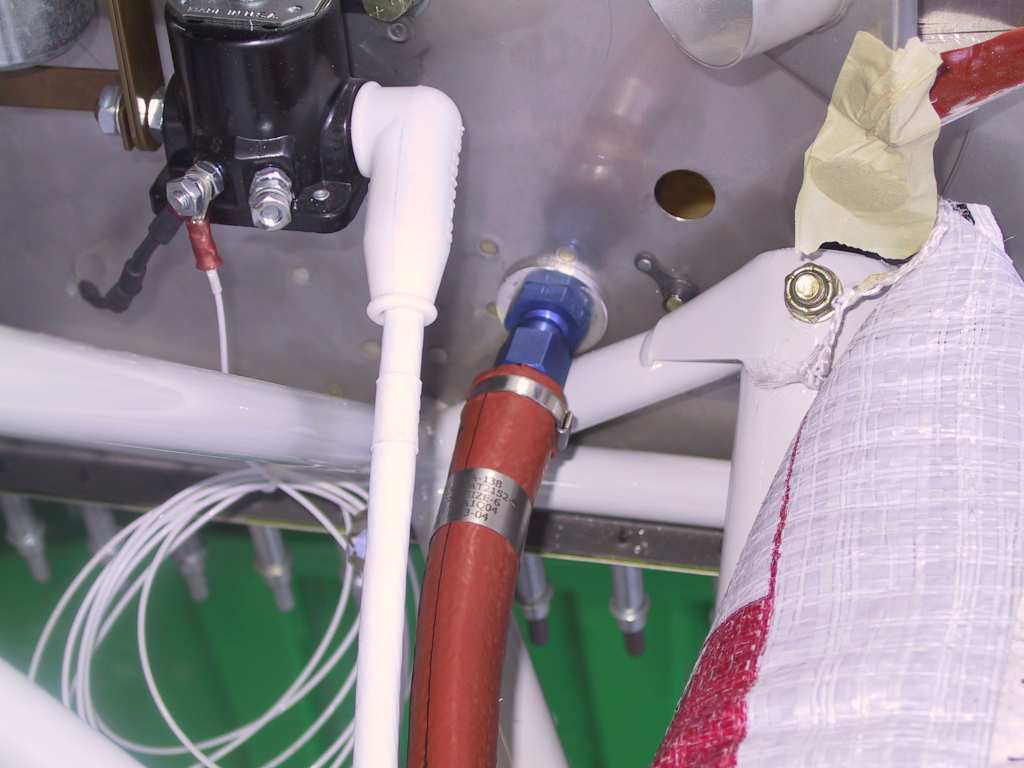
As luck would have it, (finally something goes right), it
turns out that the backing plate that I installed when fabricating the
firewall for the firewall mounted fuel pump makes a great backing plate
for the fuel line. There is just enough room and it works out great.
I have to remove the nut from the inside of the firewall in order to get
the fuel line to connect to the 90 degree fitting inside.
David R. was kind and lent me his 1 1/8" greenlee punch so I can get
the throttle eyeball pass-through cut tonight. It's in Vans
recommended location.
 |
|
9/27/04 |
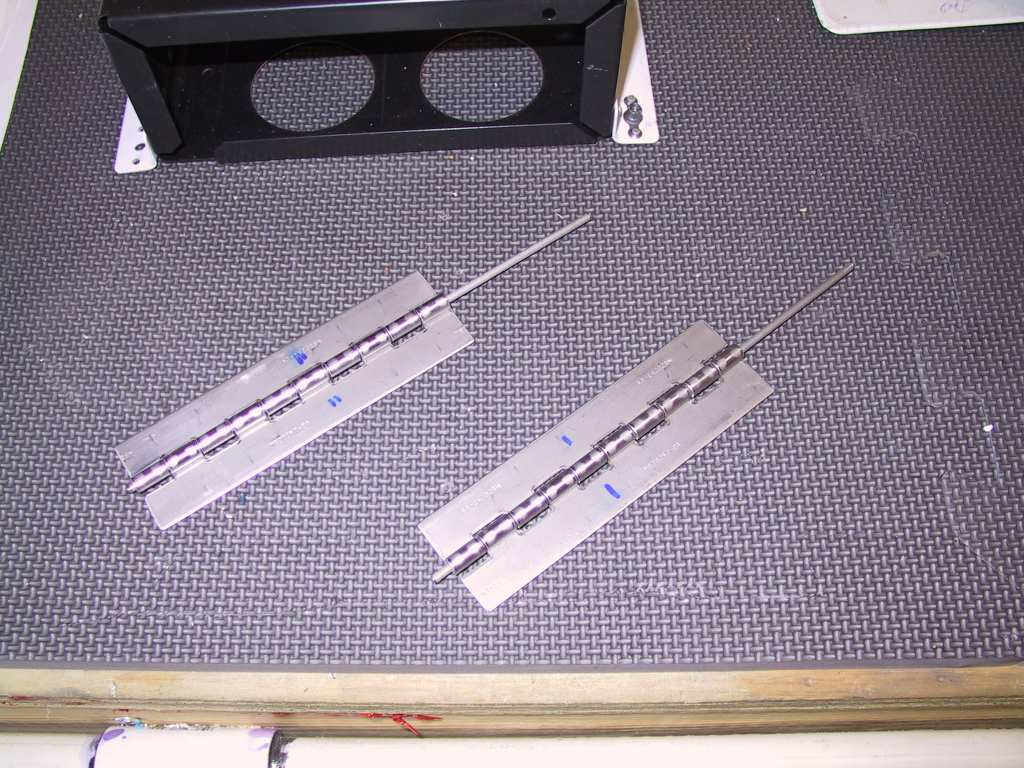
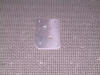
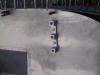
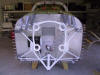
I finally received the hinges that I ordered from Wicks in
order to make my battery box modifications. I went a bit overboard
on the hinges because I *don't* want my battery to fall out of the box in
flight, very bad. I ordered an MS20257-C4 stainless steel hinge.
It's a beefy little sucker. The minimum size I could order was three
feet. It's ok, I'm sure I can use it elsewhere. I cut two 5 in
strips and left the hinges long. Drilled #30 holes in the hinge for
mounting. I placed 6 rivets in the 5 inch hinge on each side then
match drilled them to the battery box.
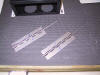 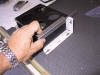 
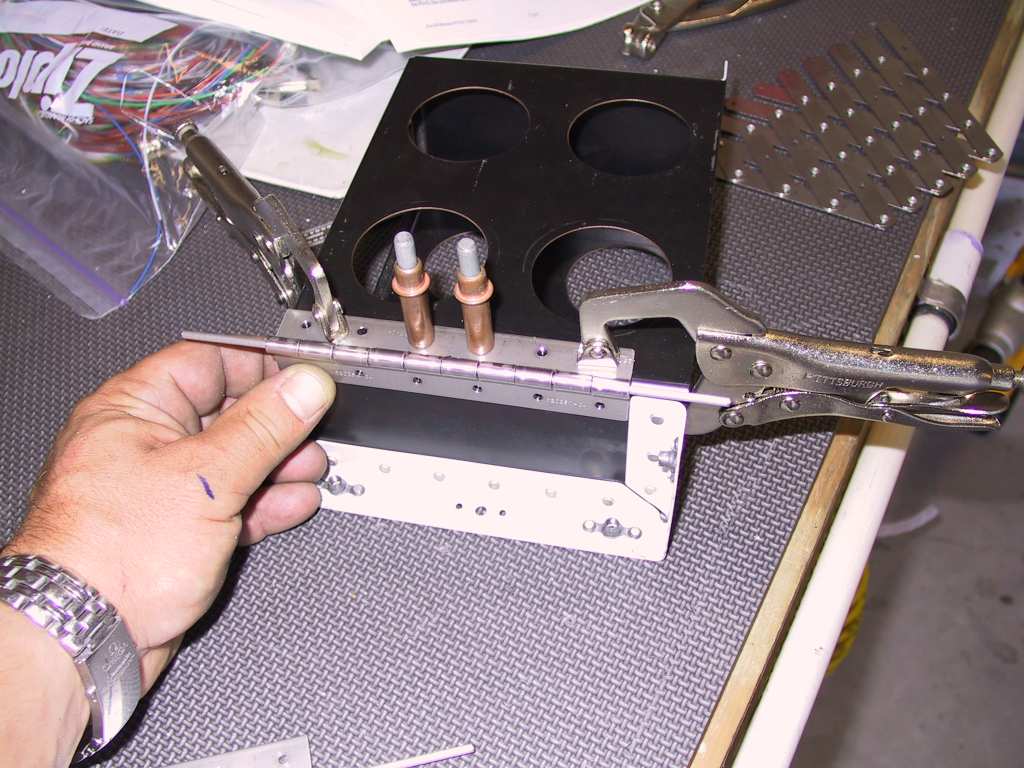
Next I marked the vertex of the corners of the box and scribed a line
then cut carefully with a metal hand saw. Used AN426 4-6 rivets to
attach the hinge to the box corners.
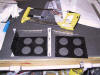  
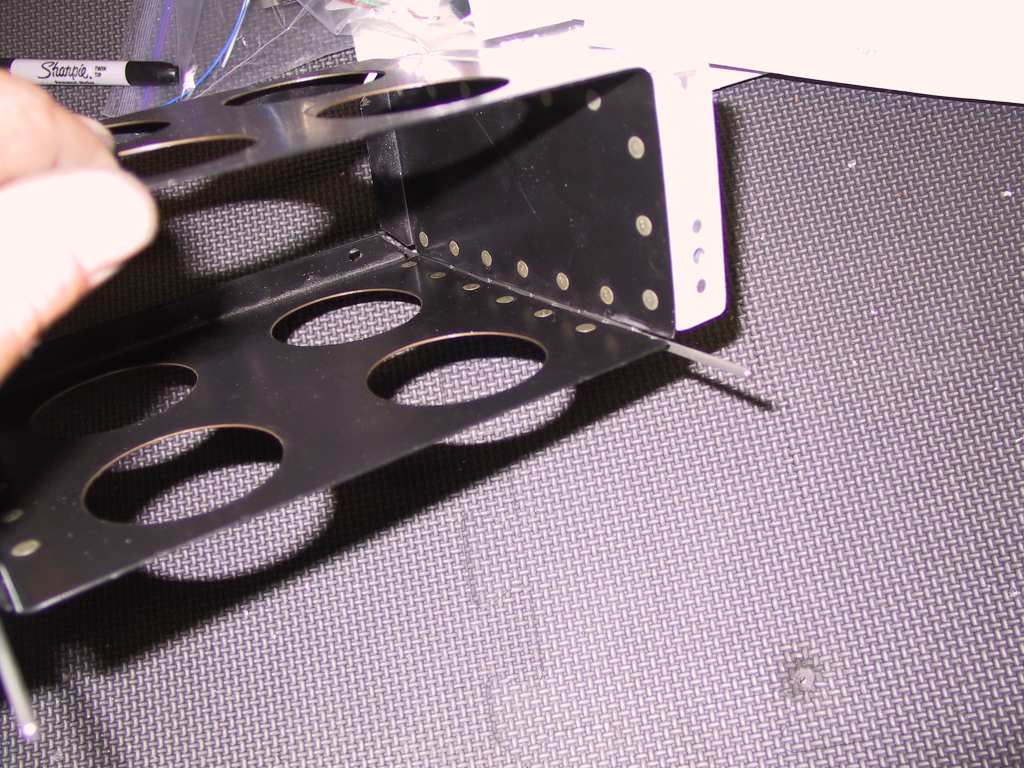
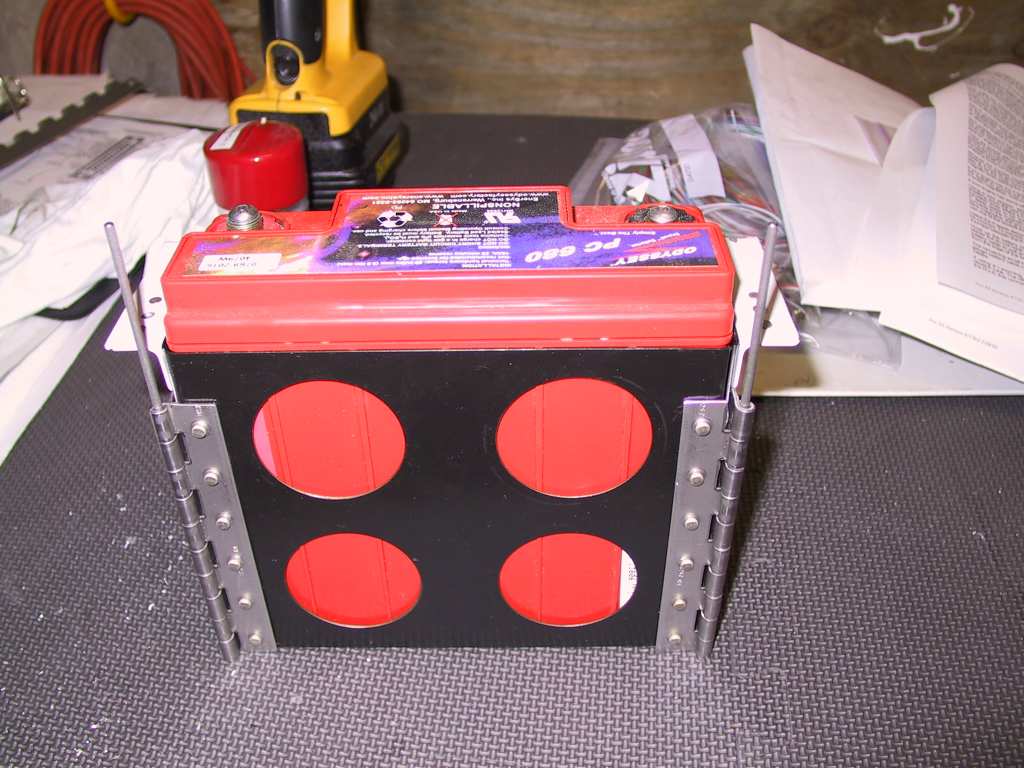
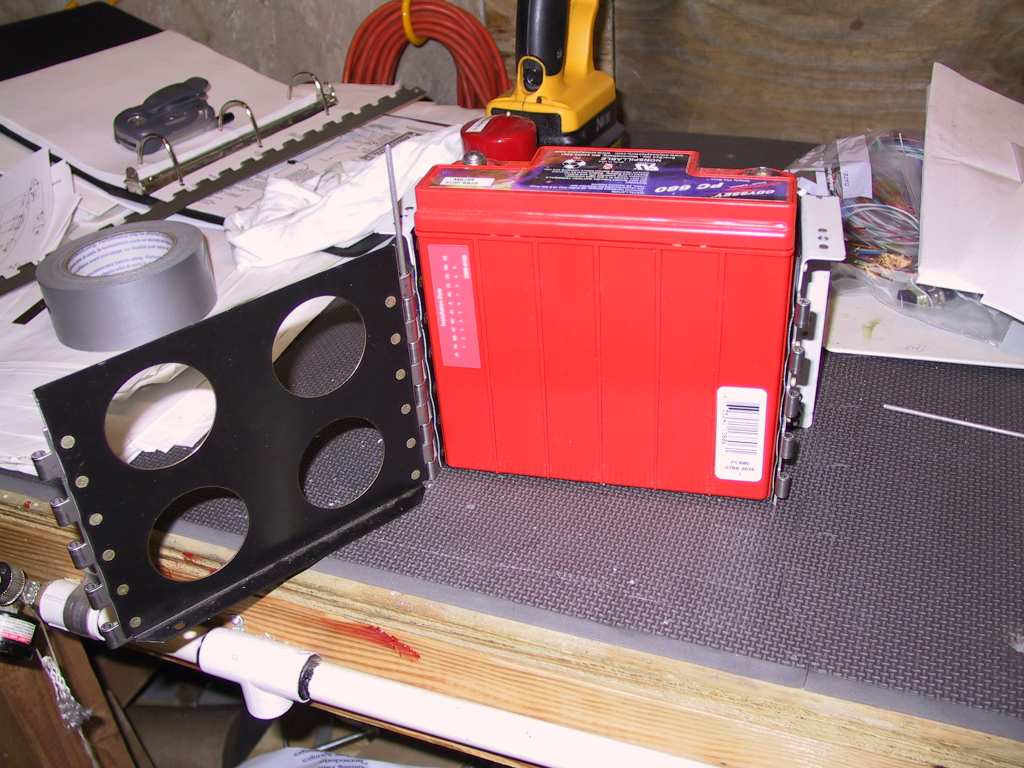
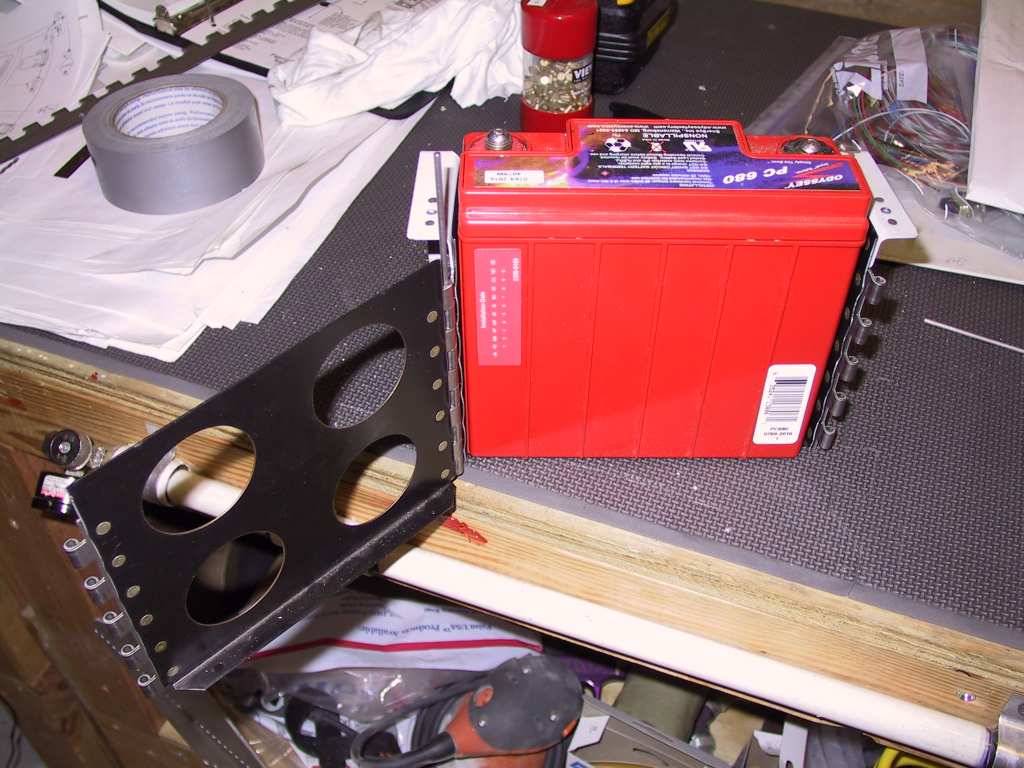
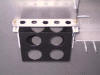
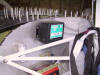
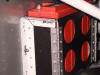
Shot of the battery box closed and open. You can either remove
the front panel entirely or if you have room just swing the front open to
remove the battery.
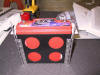 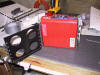 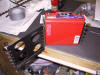
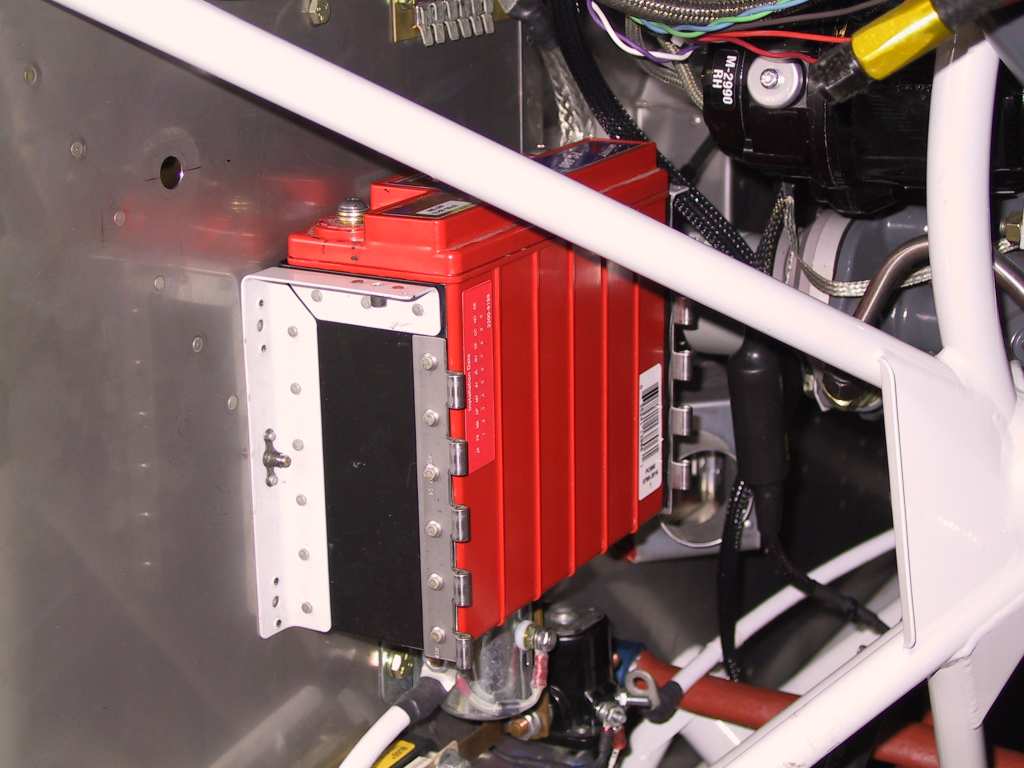
Box mounted, with battery and then with front and hinge pins installed.
I drilled a small hole in the white frame on top to safety the hinge pin.
Today I also received my order of Adel clamps. I ordered a ton.
 |