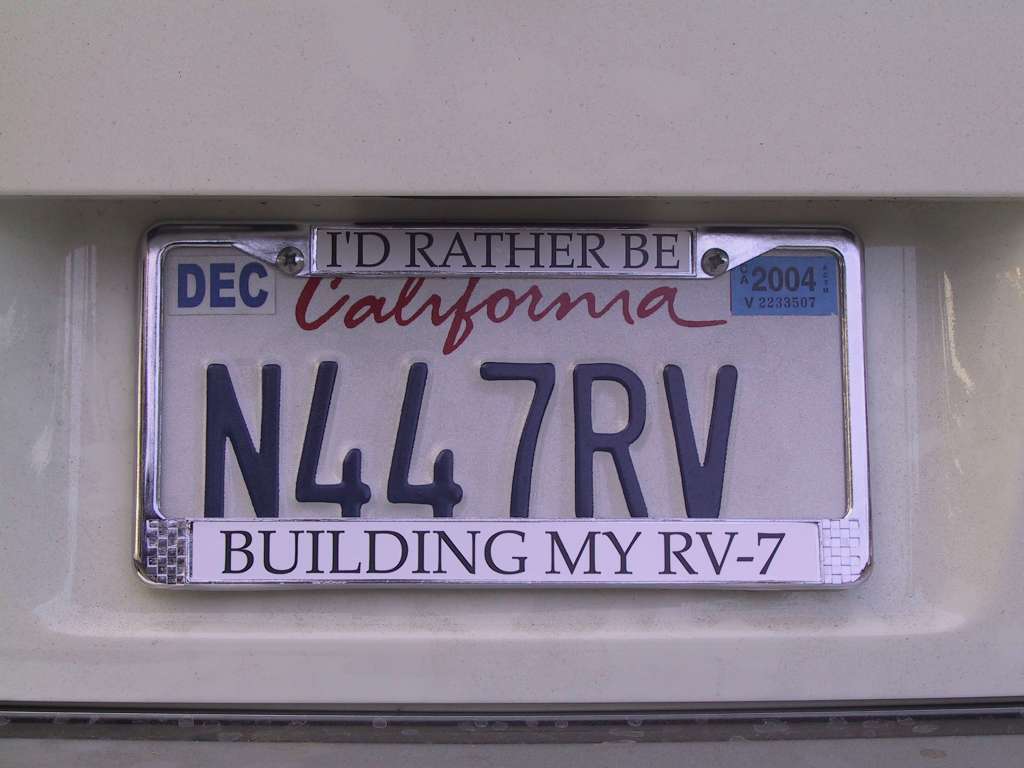
| 10/14/03 |
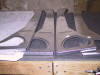
This thing is starting to look like something! Trimmed
the J-channel longerons. Forgot to do both ends so I'll have to pull
them out and work the front ends, no biggie but it kept me from clecoing the
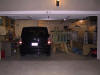
most forward bulkhead in place. Garage now holds two vehicles and all
plane parts.
    |
| 10/15/03 |
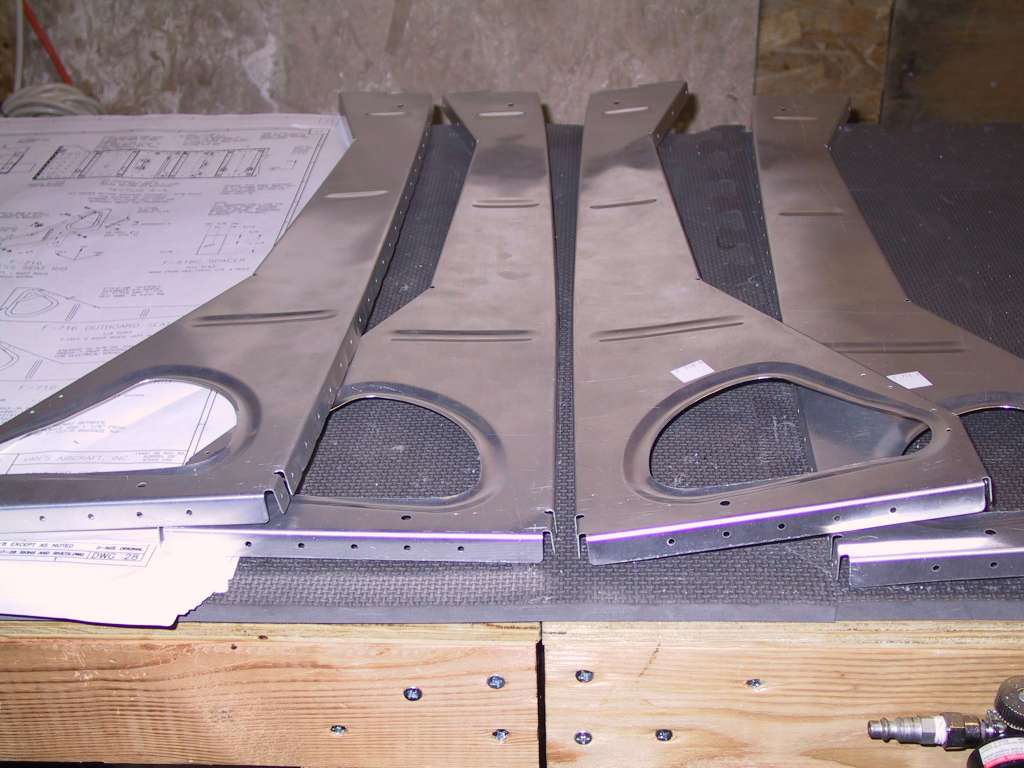
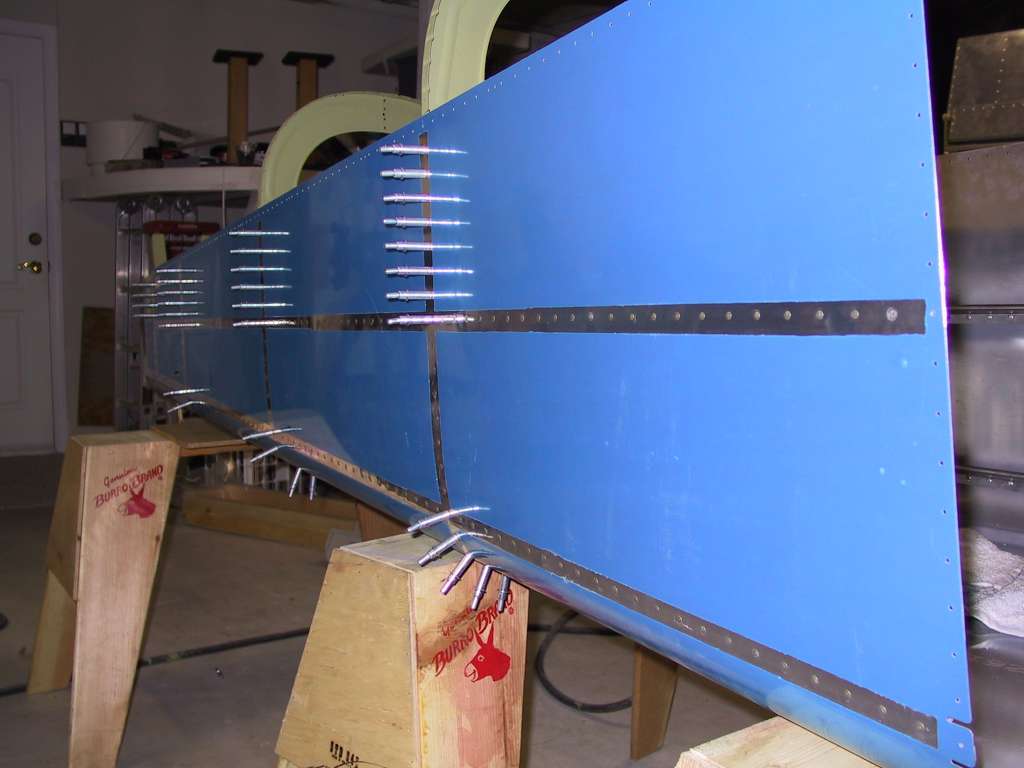
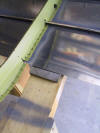
Finished the J-channel longerons. Started to rivet
them to the skins. Is anyone else having problems getting the aft
bulkheads and the lower tail skin to match. What a tight fit.
Managed to massage the bulkheads so that it fits but it took a bit of fuss
for sure.
 |
| 10/16/03 |
Made sure the fuselage was straight with no twist per the
instructions using a plum bob. Nice and straight. Match drilled
the J-channel riveting every forth rivet.
   |
| 10/17/03 |
Friday, payday and time to drill 4 gazillion holes.
Drilled out every hole in the aft fuselage except the 706 bulkhead as per
plans. Now to debur and dimple every last one of them. No need
for a picture of that boredom. Tomorrow I get the second inspection of my
kit so far at my local EAA chapter 96 by Dave Bristol, our local Technical
Counselor. Dave's inspected my work so far and it passed. Dave
has an awesome RV6 hangared there at Compton. Drop by on any third
Saturday of the month for an enlightening monthly meeting, which just
happens to be tomorrow. |
| 10/18/03 |
Dave noticed a few rivets which were a bit too flat on the
firewall but overall he said my work was very good. We had some
confusion about whether the bushings on the control stick mounts should be a
bit longer than the part around it so the bushing does not rotate about the
bolt. I'll post a question to "the group".
Came home and countersunk, dimpled, deburred, etc, etc, etc. Here
are the aft and lower fuselage skins ready to go. Damn now I just
remembered that I didn't debur the edges.
 |
| 10/19/03 |
Today I had my worst day ever. I couldn't put a rivet
in correctly if my life depended on it. Spent almost the entire day
trying to get the rivets set correctly in the 711, 712 tail assembly.
I realized that my 3x rivet gun is having problems. I just can't get
"a little" air through the gun. It either liquefies the rivets or just
doesn't work at all. I'm fed up with it, damn Sioux gun. I'll
use it to buck solid steel instead. It will probably do an excellent
job at that or titanium. I'm tired of seeing rives 1mm in height. |
| 10/20/03 |
Giving it a rest today. Yesterday beat me up. I
ordered a new Taylor 2x rivet gun today for $150. I didn't want to do
it but I know that Sioux gun is trashed. Ordered a few other parts as
well. |
| 10/21/03 |
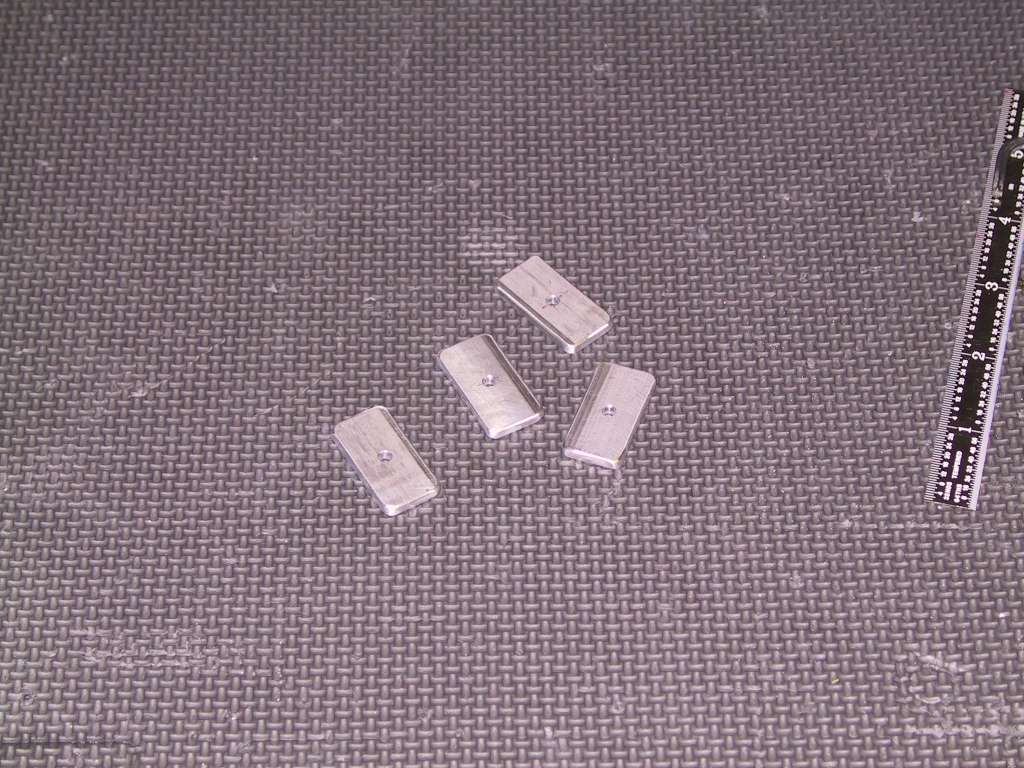
Waiting for the rivet gun before tackling the aft fuselage.
Decided to work on the center section. Fabricated the four small
spacers. I cut the 1.5 " diameter holes in the rails with a hole
cutter, and boy does that work slick. Just make sure you have your
part secured to some wood before drilling.
The plans don't *say* to cut four of the eight but that's how many you
need, two R and two L. You *REALLY* should get a pair of nippers.
Cutting the excess off right to the line took only 1 minute per piece.
  |
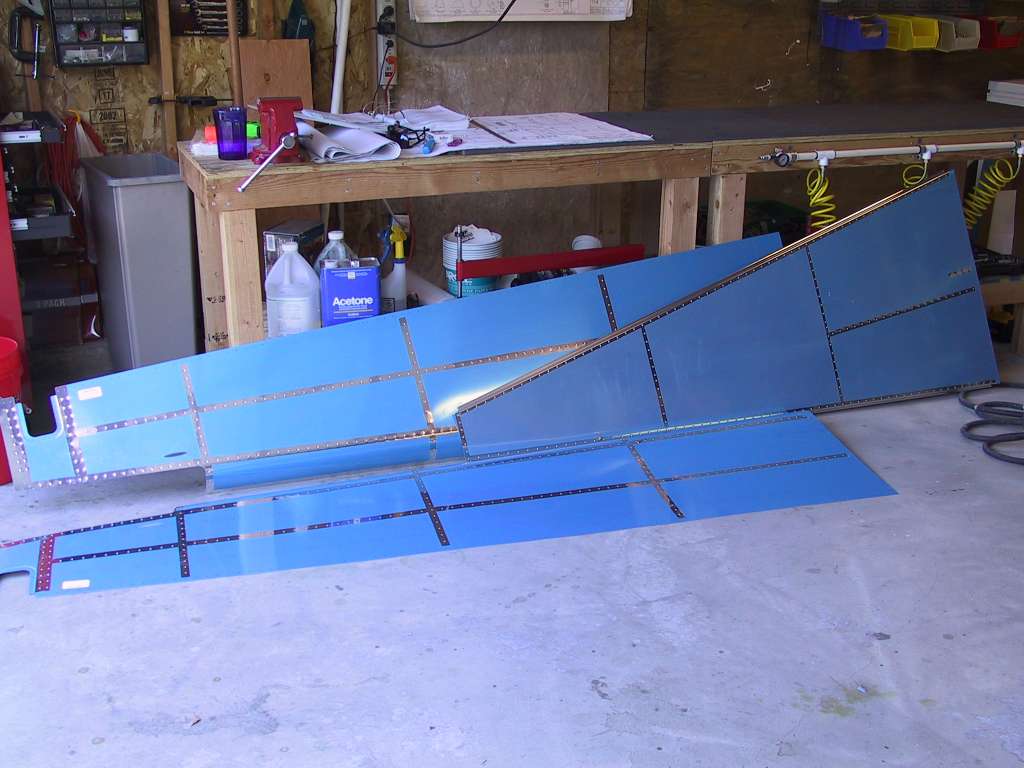
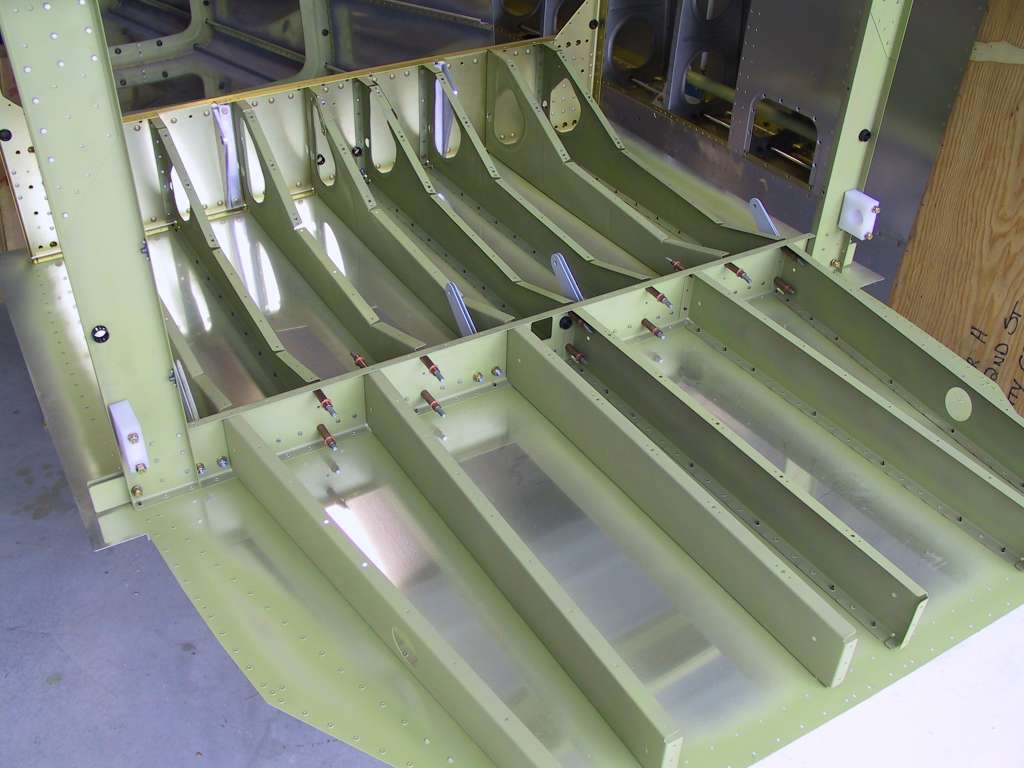
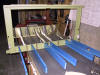
| 10/23/03 |
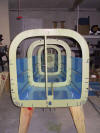
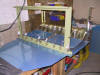
Started to put the center section together for riveting.
 |
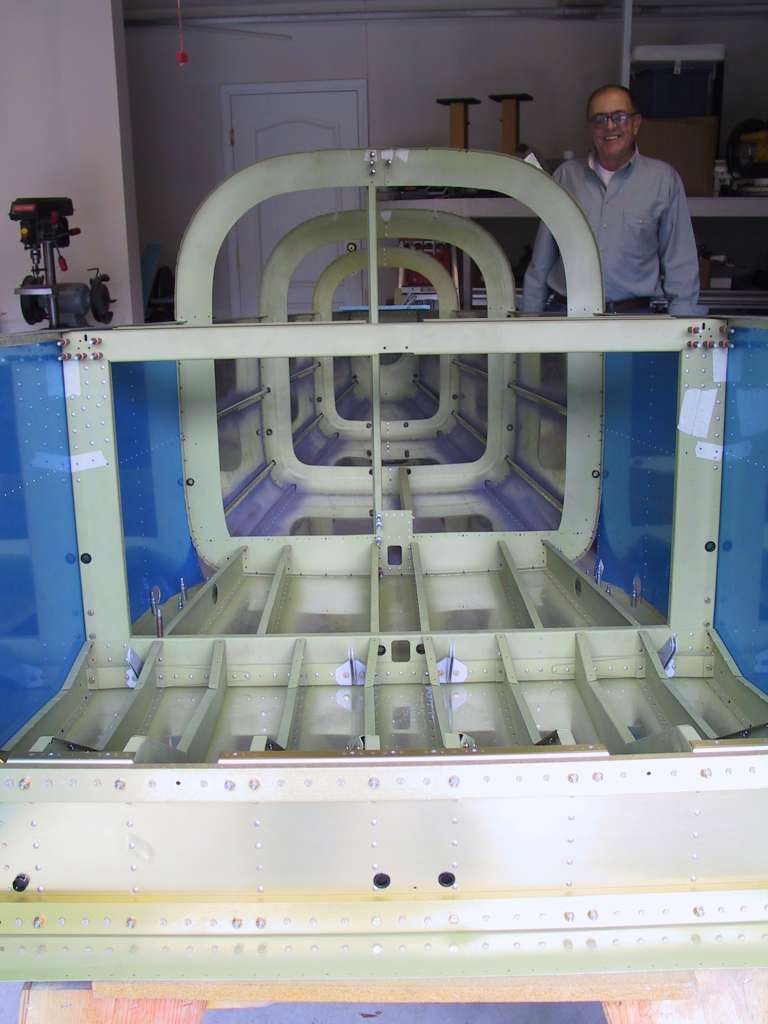
| 10/24/03 |
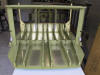
Here it is with the baggage compartment ribs in place.
 |
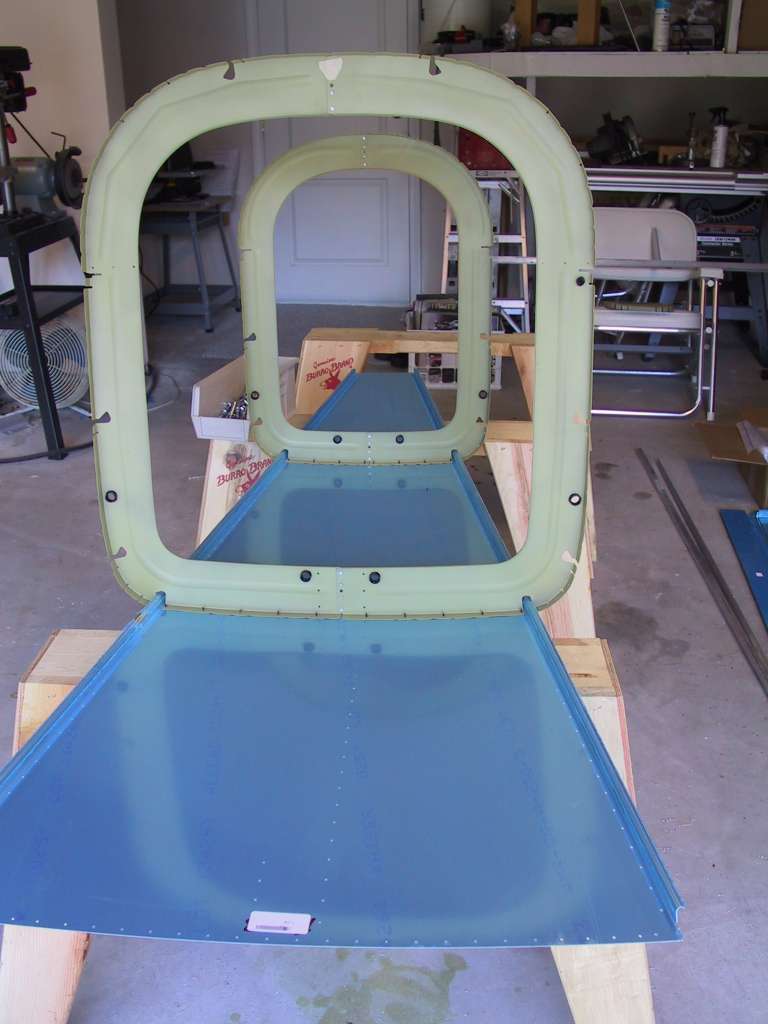
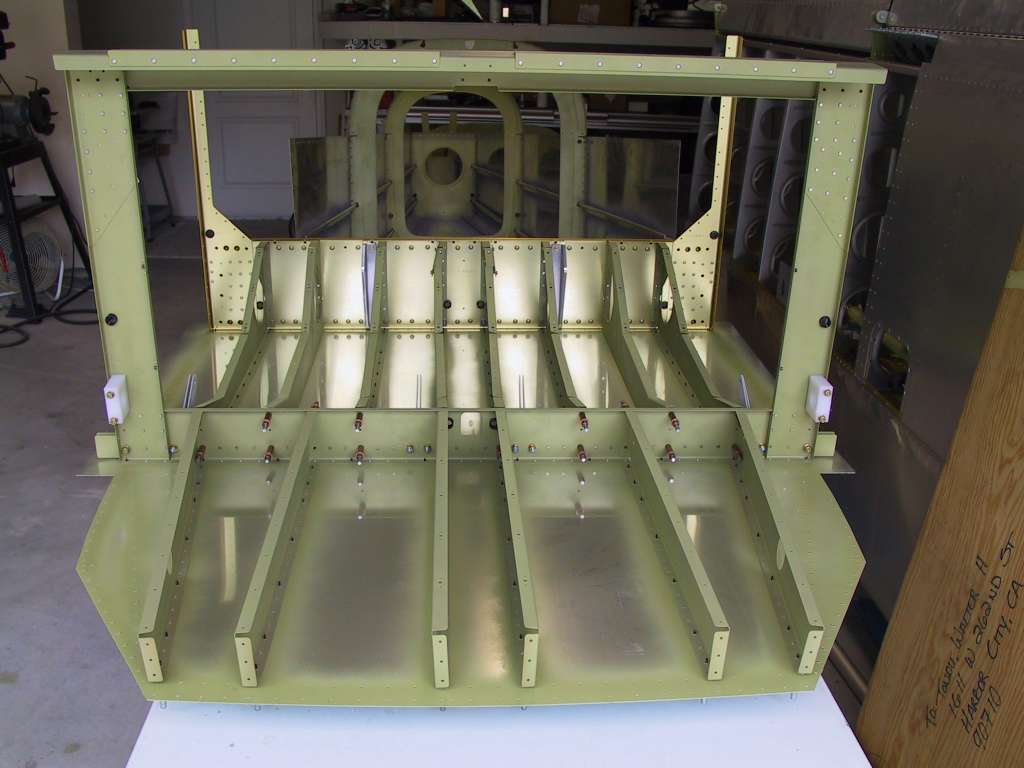
| 10/25/03 |
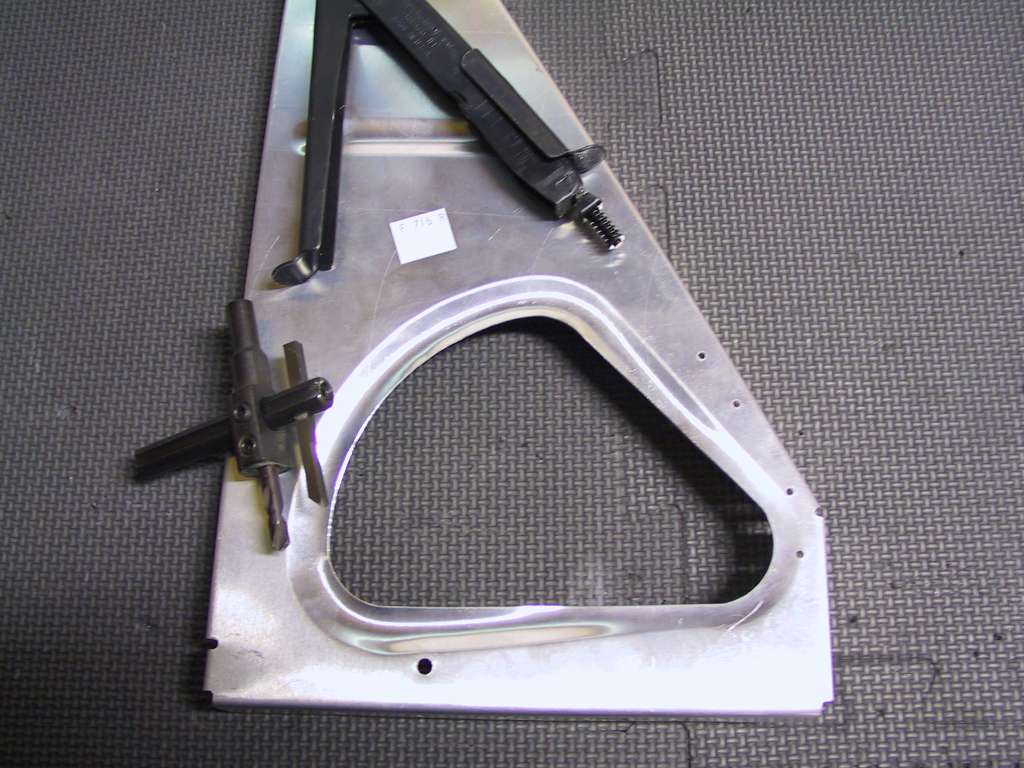
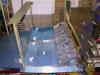
Time to put the center section skin on and complete the
drilling, deburring and all the other monotonous stuff. I put the seat
covers on to make sure I get the contour perfect on the F715. Tomorrow
I'm ready to prime all the parts and hopefully get some riveted.
    |
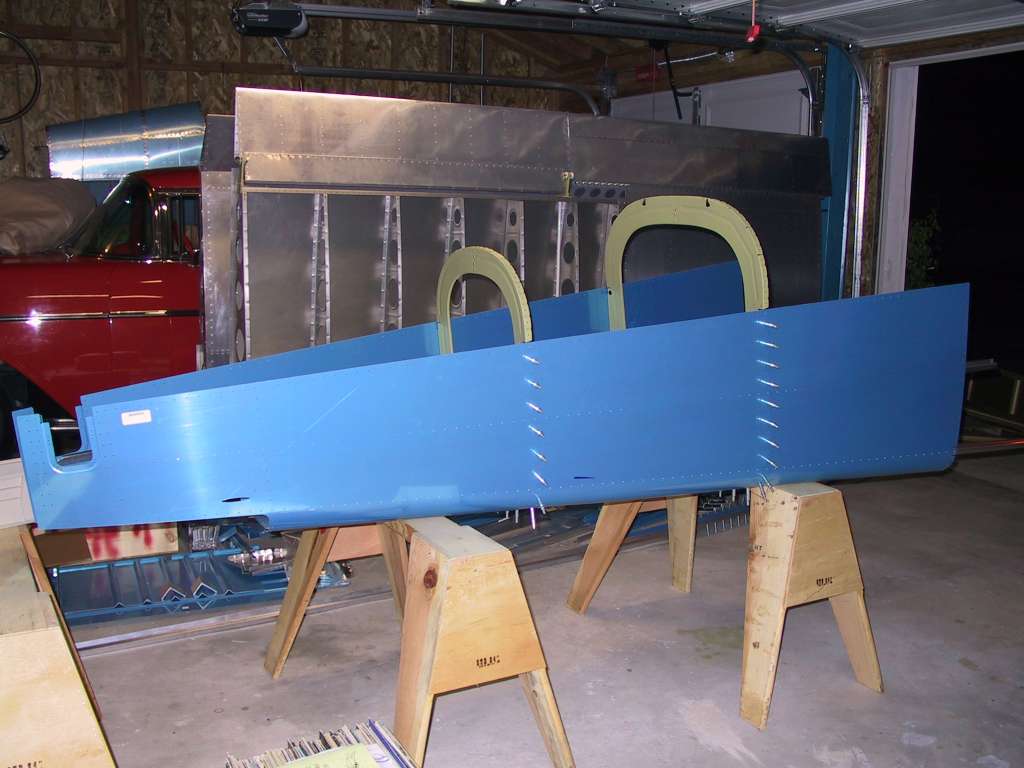
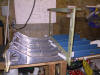
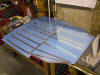
| 10/26/03 |
Smoke and ash and soot was falling like rain all day so
today was not a good day to prime/paint. I resigned myself to
finishing all the dimpling and to study the plans in advance. Here's
the center section skin and a stack of dimpled parts.
  |
| 11/1/03 |
Drove to Corona to get some more Alodine. Spent the
rest of the day alodining all the center section parts and making sure I was
ready to paint tomorrow. |
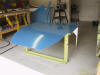
| 11/2/03 |
Painted all the center section parts. Started to rivet
the seat braces to the aft bulkhead. Found that my compressor (4hp 13
gal.) was on the fritz. Bought a new 6hp 33 gallon compressor
(175psi). This think kicks ass.
  |
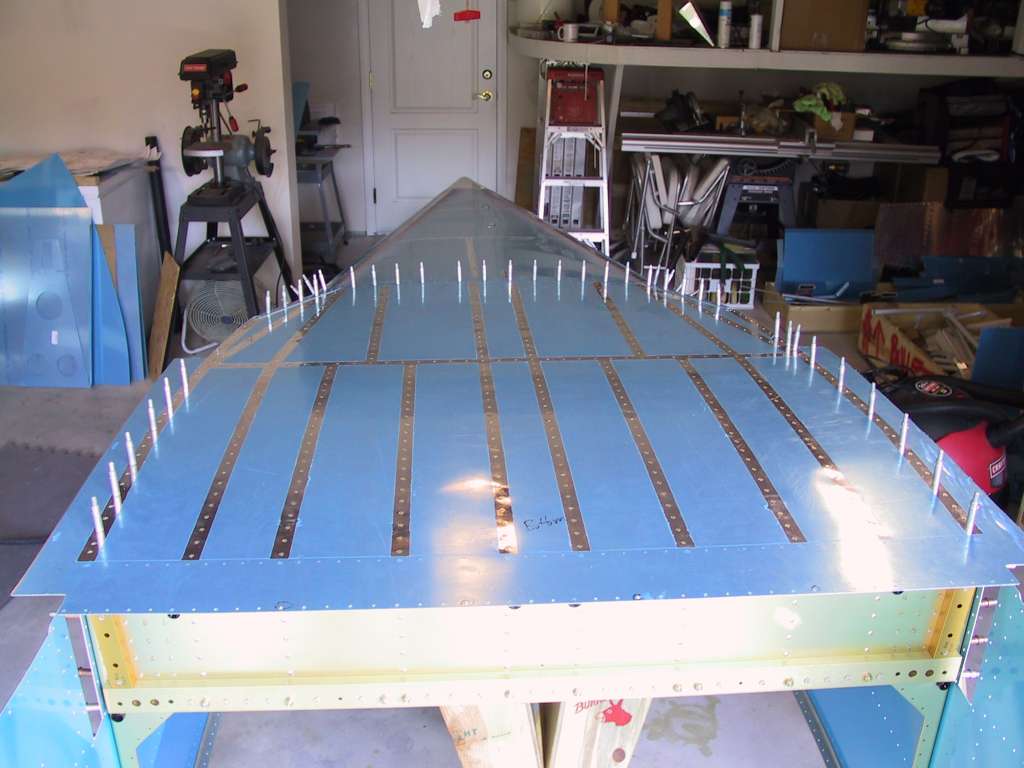
| 11/8/03 |
Decided to get as many rivets in the aft fuselage as I could
by myself. It wasn't easy but I set up three sawhorses. The
center one had the backing plate on it. This worked very well as
almost every rivet came out perfect. Not for those with weak backs
though as you have to continuously look to see if the backing plate is flush
with the rivets. Will need help with the rivets in the corners.
   |
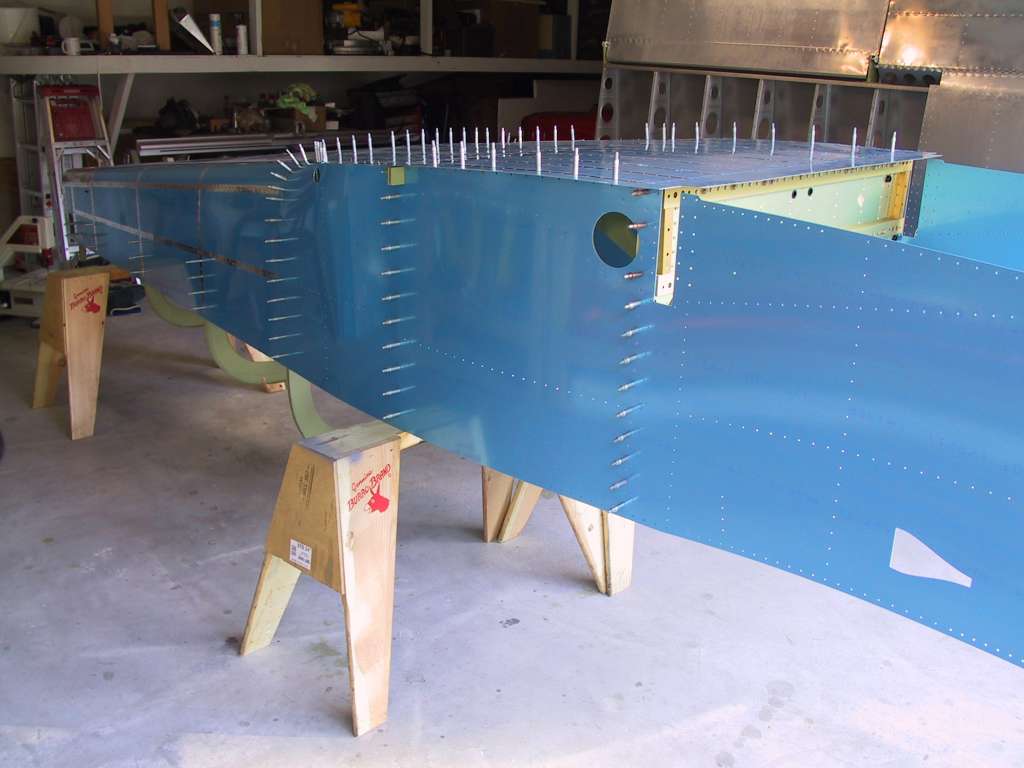
| 11/9/03 |
Spent the day doing all the "little" stuff you see on the
plans. Got all the center section parts completed and ready to rivet
to the skin.
    |
| 11/10/03 |
Barry came over and helped me pound in the last of the
rivets in the aft fuselage with exception of the top 5 or 6 so I can get the
longeron in place. Thanks Barry! |
| 11/12/03 |
Can't do any more until pops gets here in two days. I
sold my 57 Chevy and it's going
away tomorrow, bummer. I'm sulking today. |
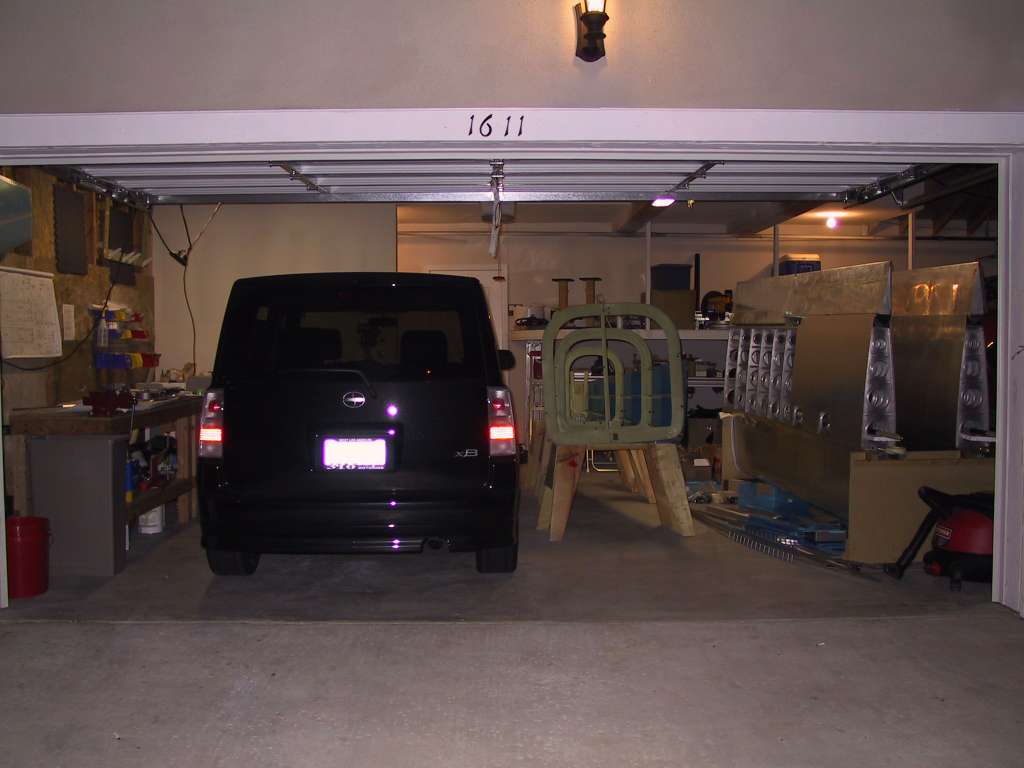
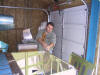
| 11/15/03 |
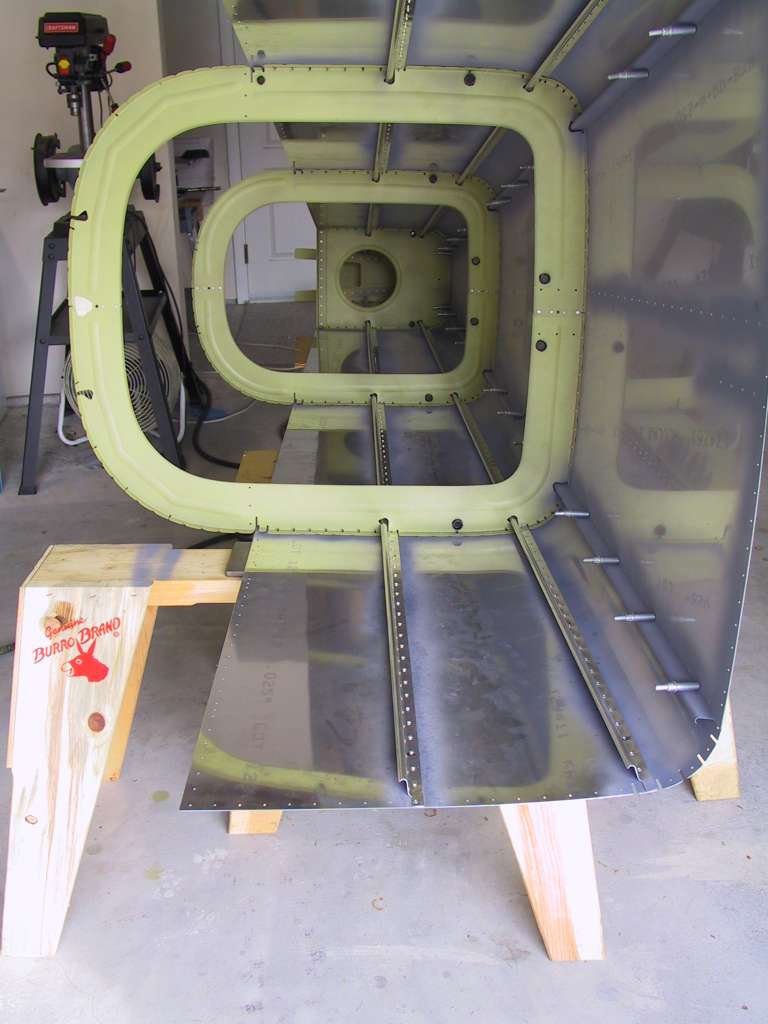
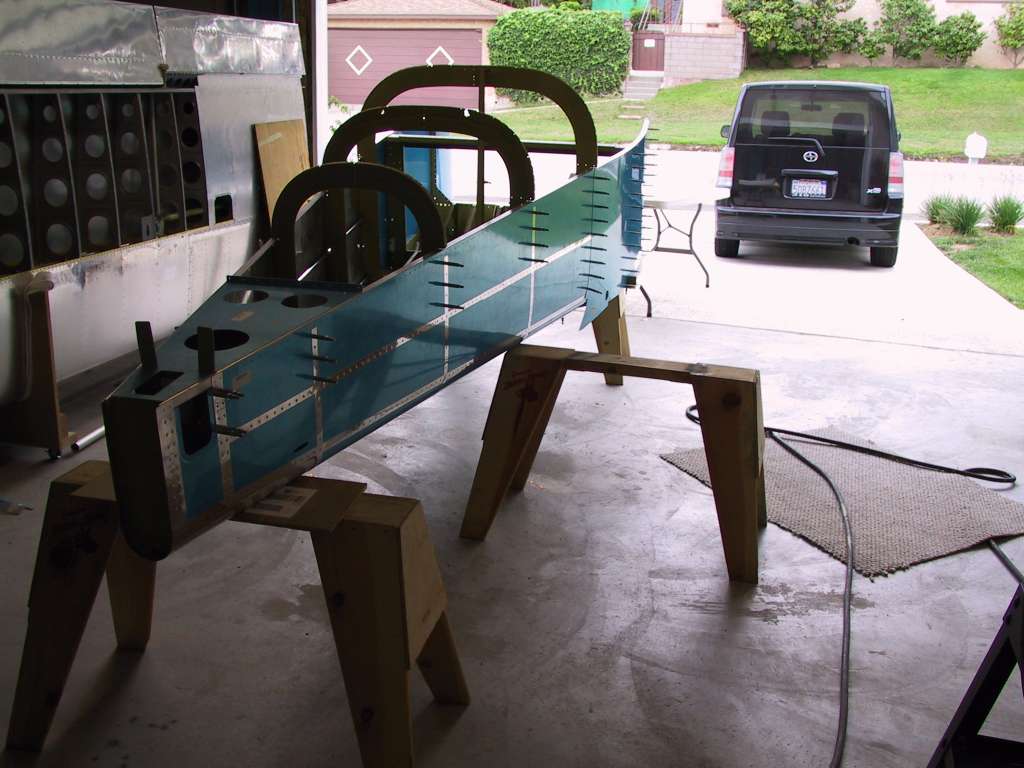
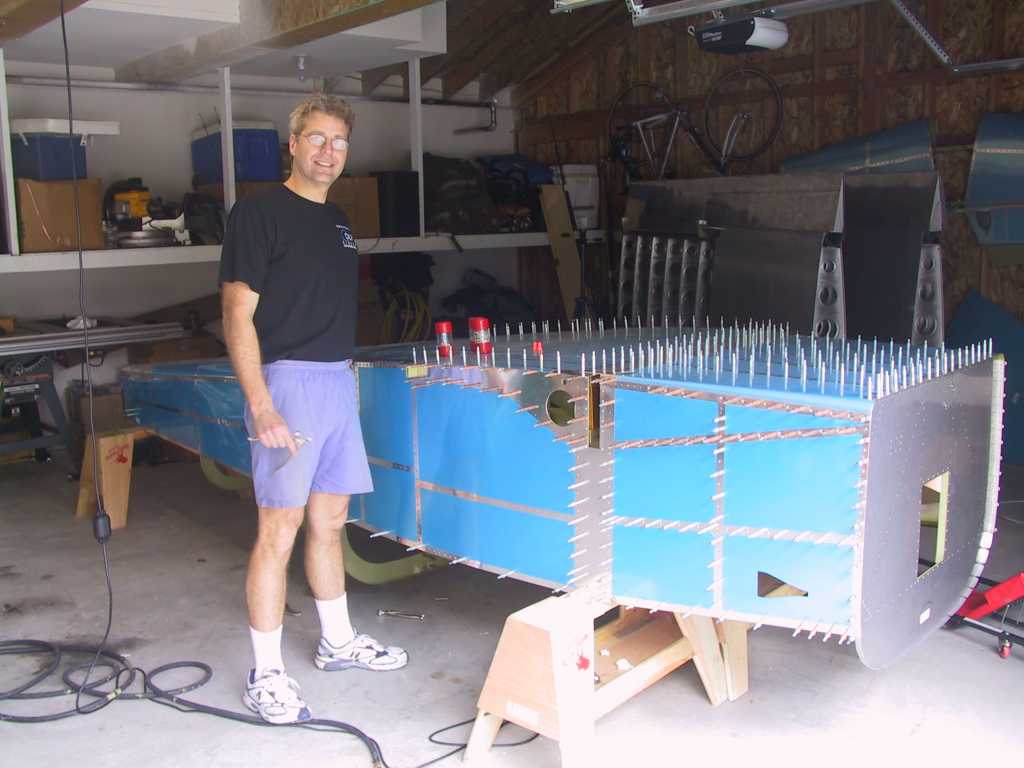
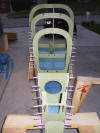
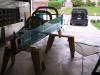
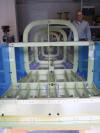
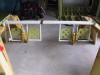
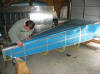
Pops came into town yesterday. We're going to make
some big progress together. Today we clecoed the center section to the
aft fuselage and mated the side skins for drilling. Here you can see
it's starting to look something like an airplane.
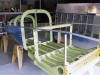  |
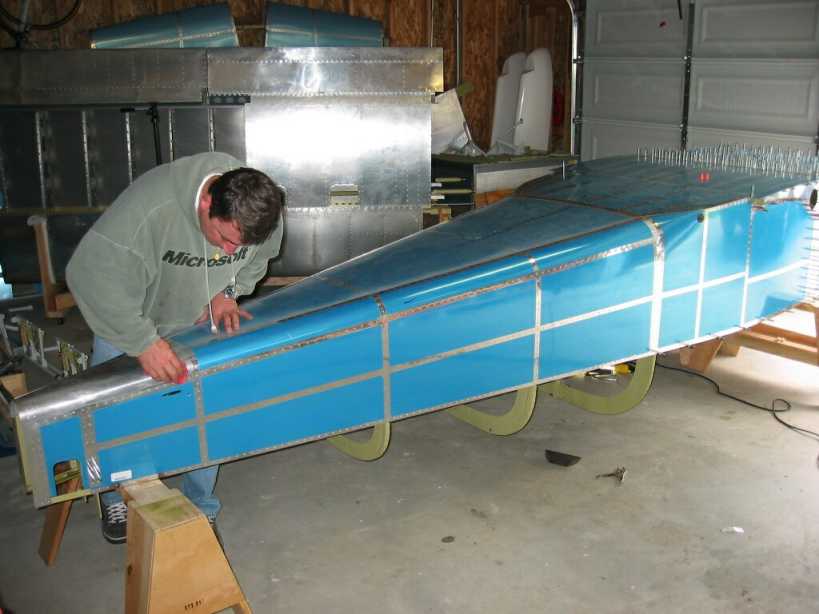
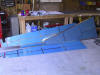
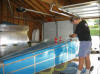
| 11/16/03 |
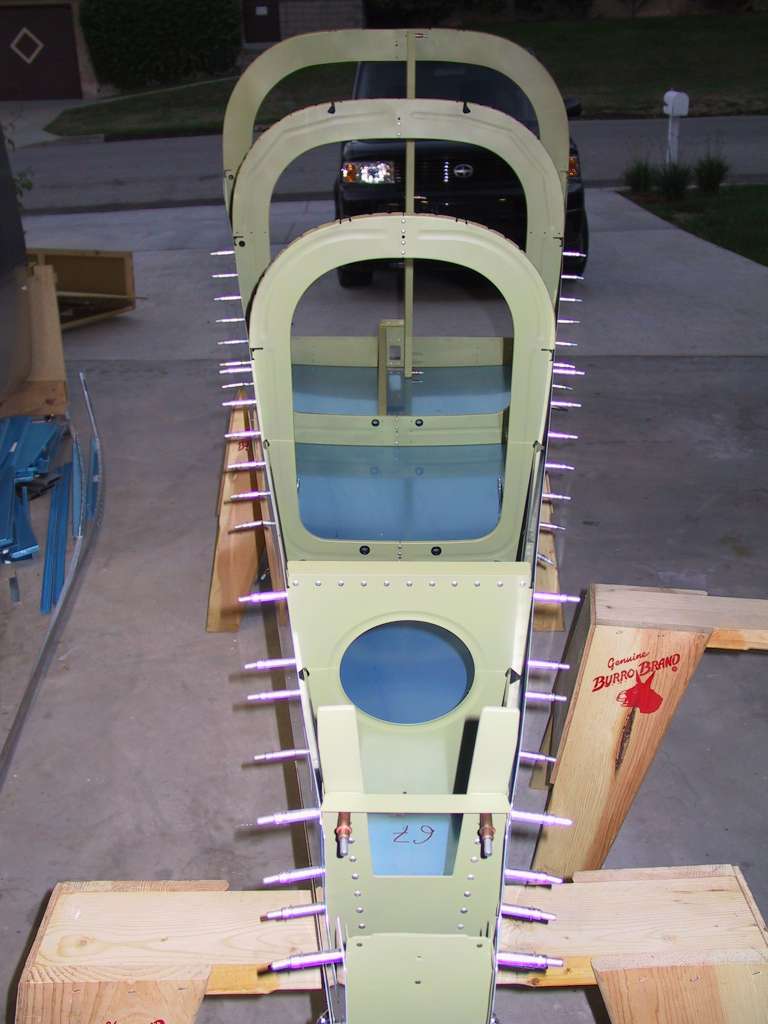
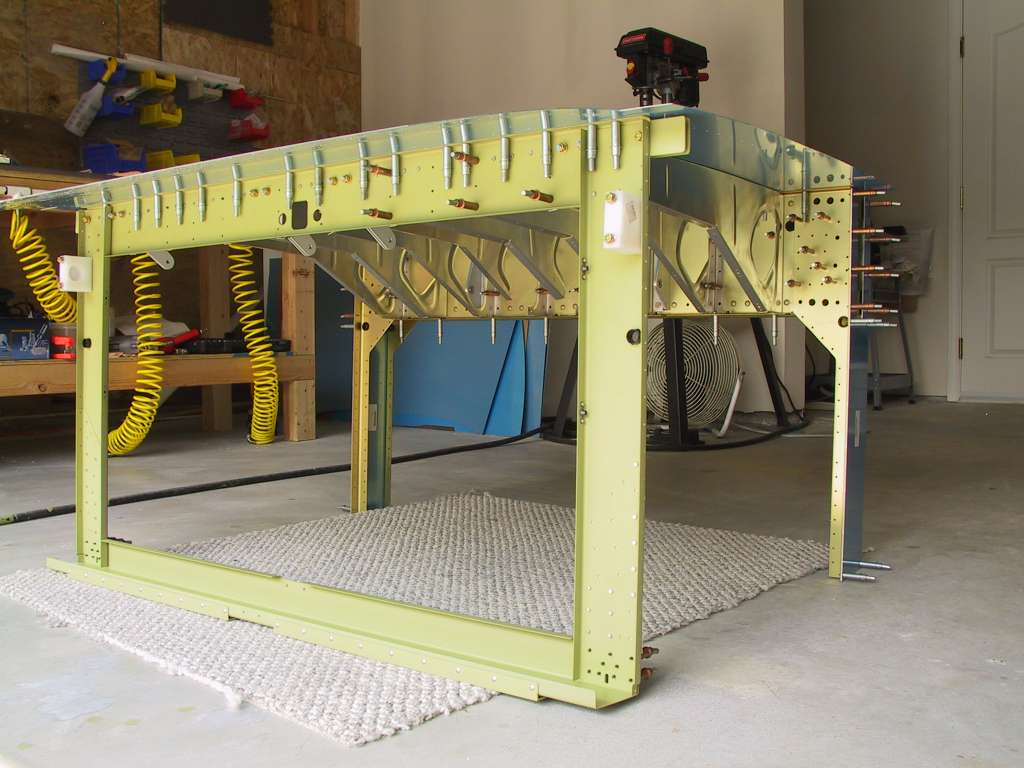
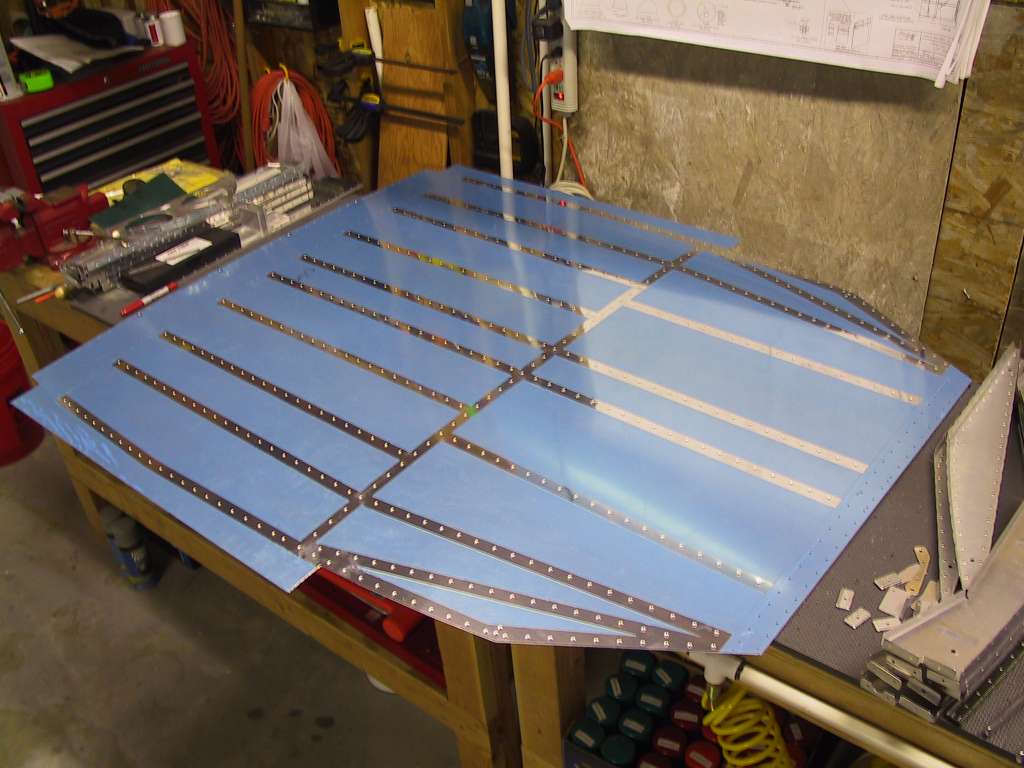
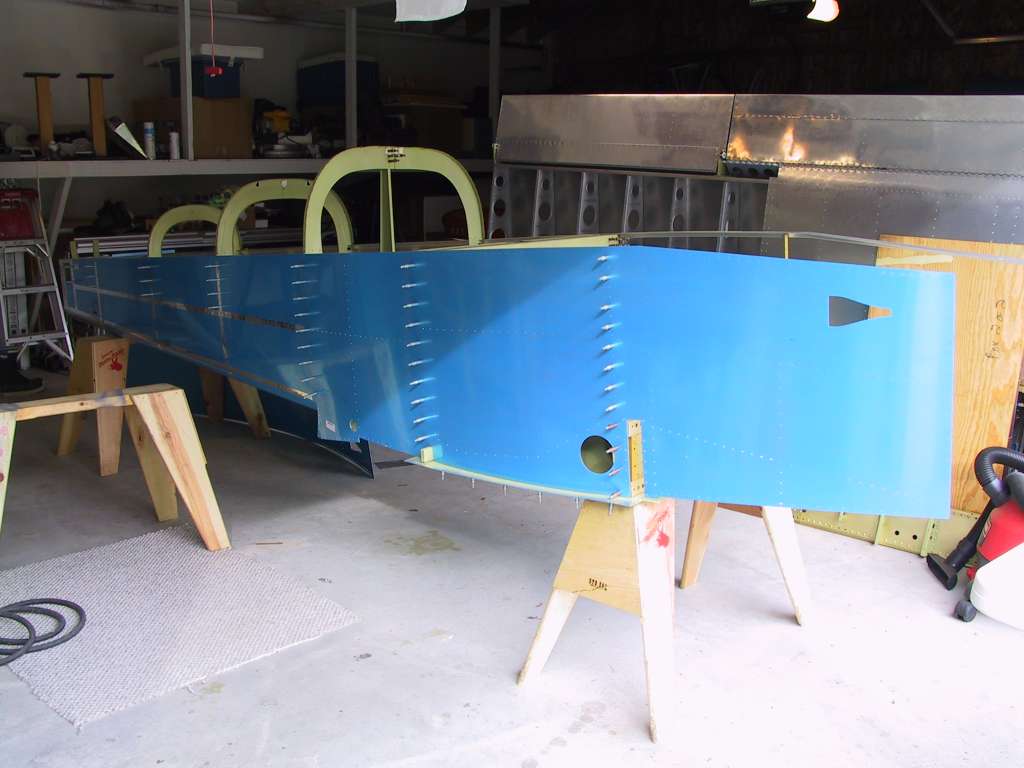
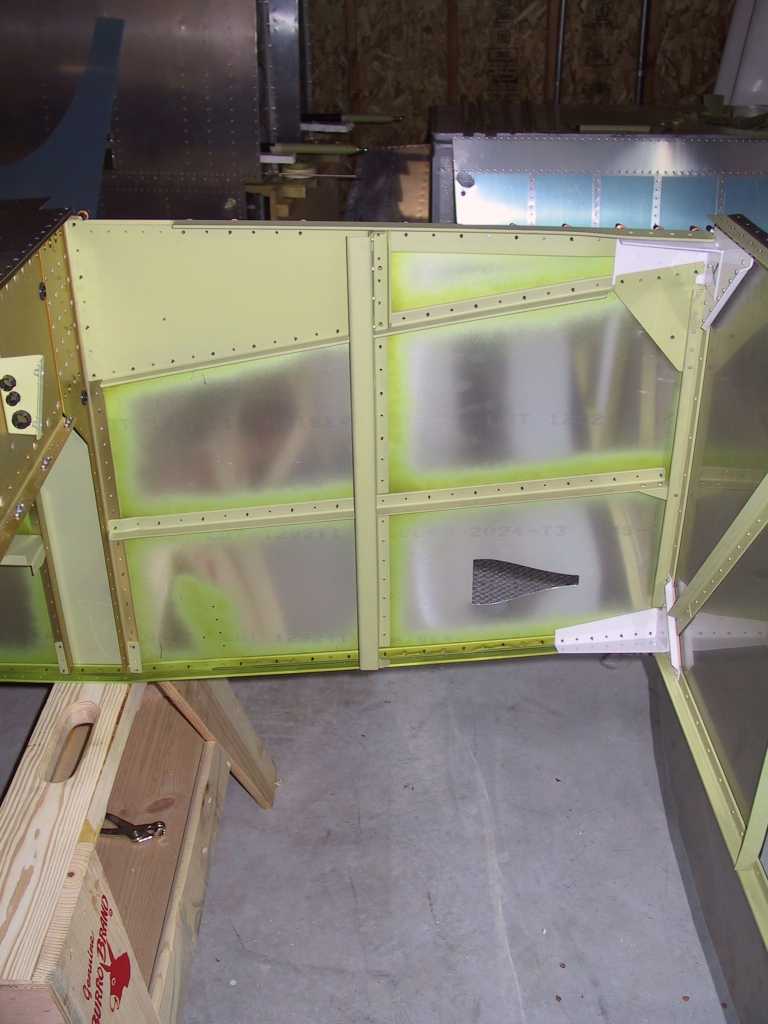
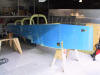
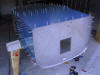
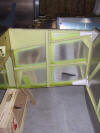
Now it is an airplane. Turned the canoe upside down.
Mounted the longerons and started drilling from the aft end, and drilling,
and drilling and drilling. Bent the bottom corners of the side skin
with no trouble. Do as the instructions say by drilling and clecoing
some angle to the triangle shaped skin tab and bend gently. It takes
some force but in the end it works out fine. Drilled all holes to size
of the side skins. Mounted the 770 bottom skin and drilled to size.
Then mated the firewall. Made sure the clearances were up to snuff.
Inserted rivets through the side skin and longeron to make sure they were
easily inserted and lined up. Held them in place with some duck tape.
Braced the firewall braces as shown in the picture and removed the rivets
one by one and drilled through the metal brace. Finally, here's the
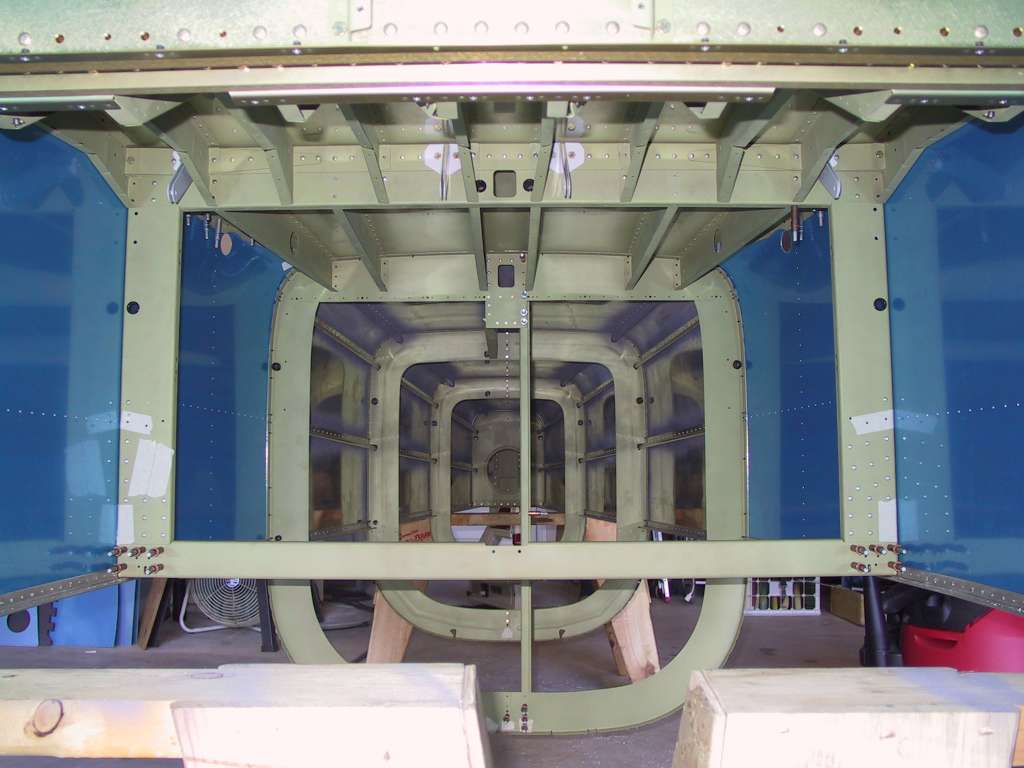
obligatory look at the canoe from the inside.
   |
| 1/7/04 |
Well it's been a busy Holiday season. Pops came out at
the middle of November to help me with the riveting job. He stayed for
three weeks. During that time we had the entire canoe completed except
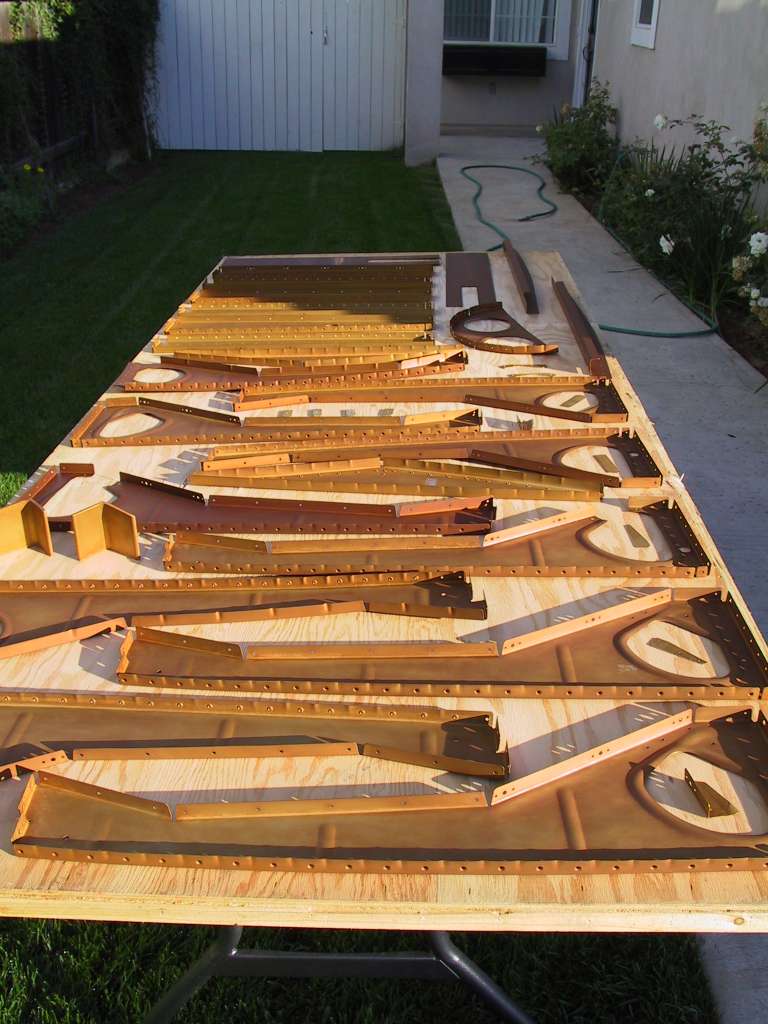
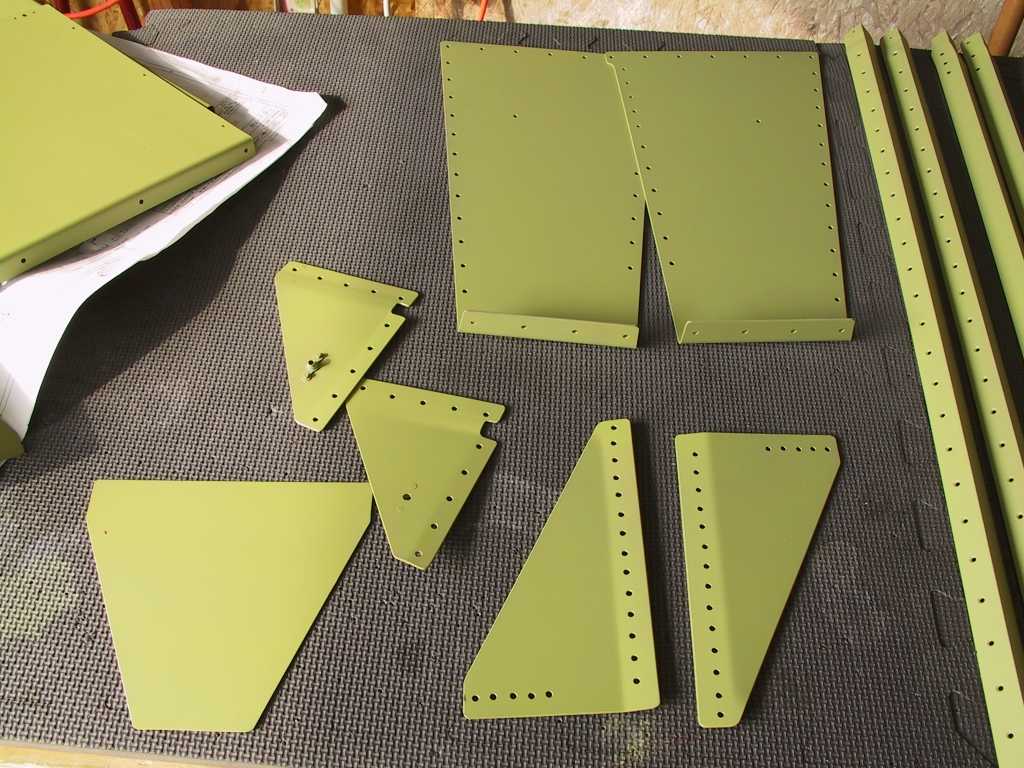
for the final riveting. Here are shots of the parts we fabricated
during that time with notes. (I'm going to keep this up-to-date from
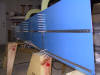
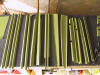
now on :) Here are a few of the parts after priming.
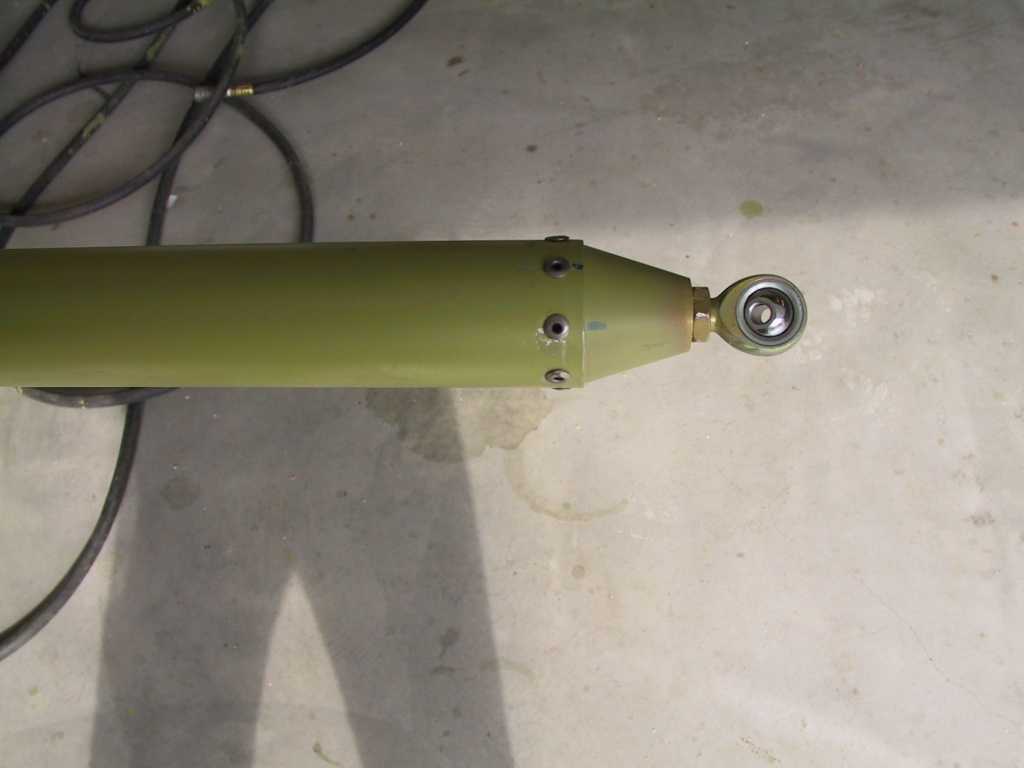
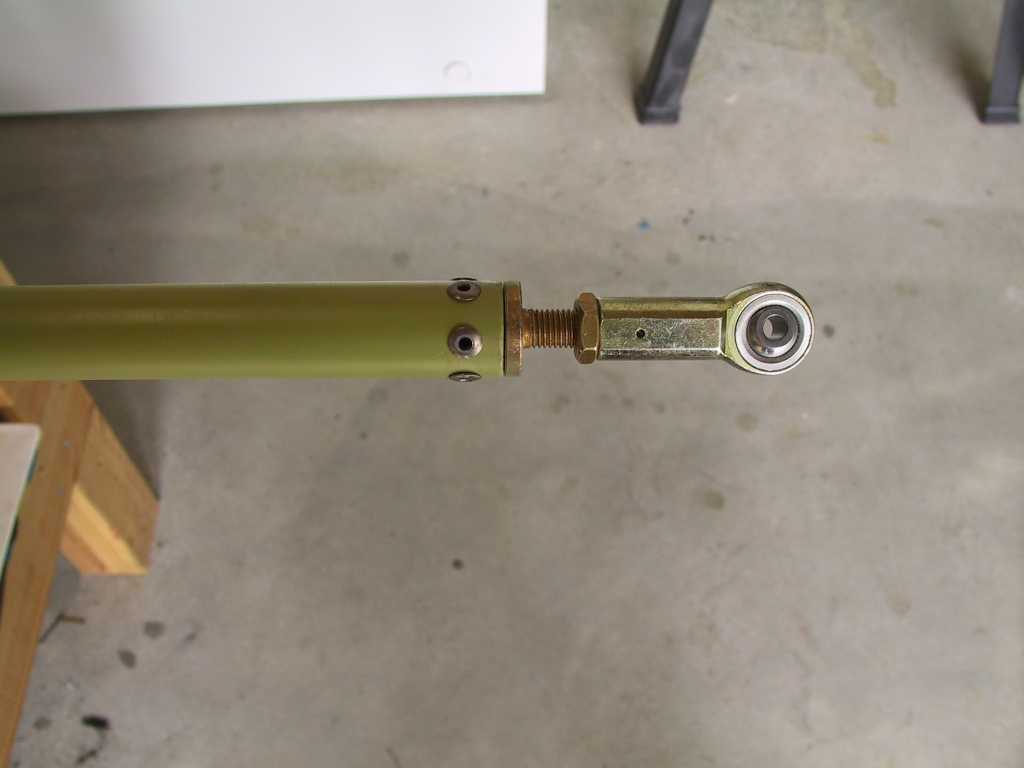
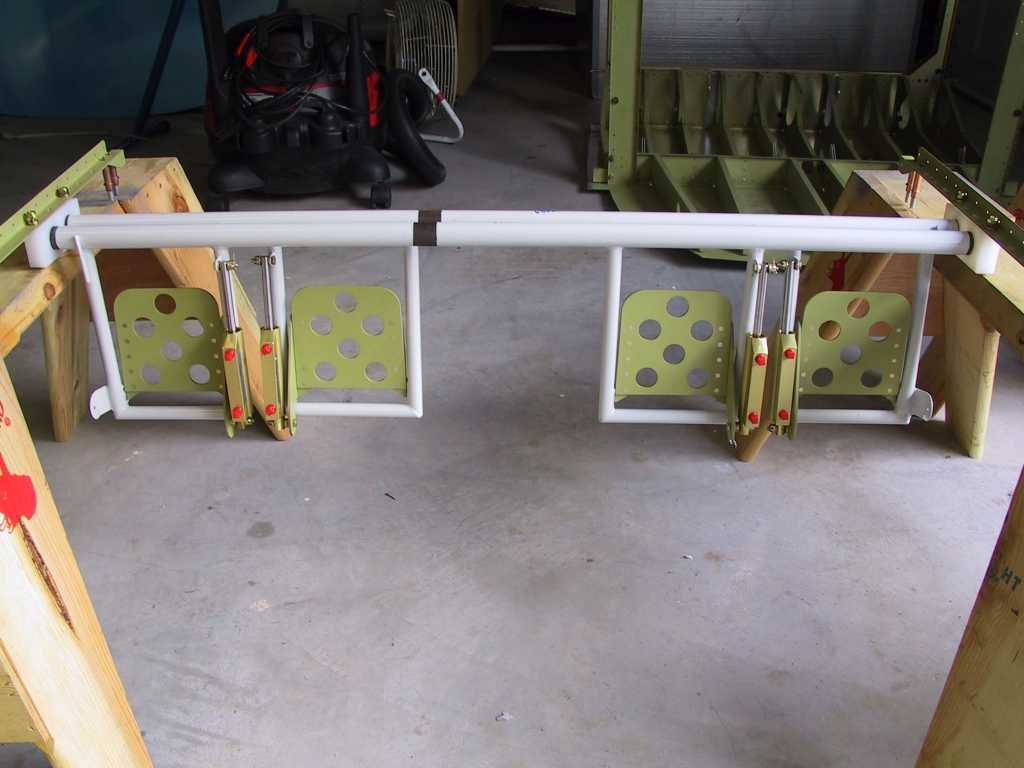
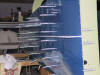
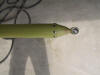
Control rods completed. These are very simple to drill with a tube
holder and drill press. You have to sand away some of the primer from
the insides of the tubes to get the ends to sit without a ton of force.
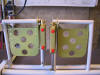
I decided to go with brakes on both sides. It really doesn't cost
much more and the resale value will be better. I will probably cover
these with a non-skit product. Drilling the holes through the cylinder
base and into the pedal angle is a bitch. I ended up taping 4 washers
together to use as a shim as I drilled. This really helps to have two
people to do it accurately. Just try to make sure the pedals are
similarly aligned when you drill the holes and all will be right with the
world. I also had to cut the torque tubes to size as they were
too long. Drilling the multiple positions for the pedals is a cinch.
Don't bother doing this while on the plane. Take the angles off the
skins and mount to the torque tubes and just measure. Dan C. had this
well documented on his site.
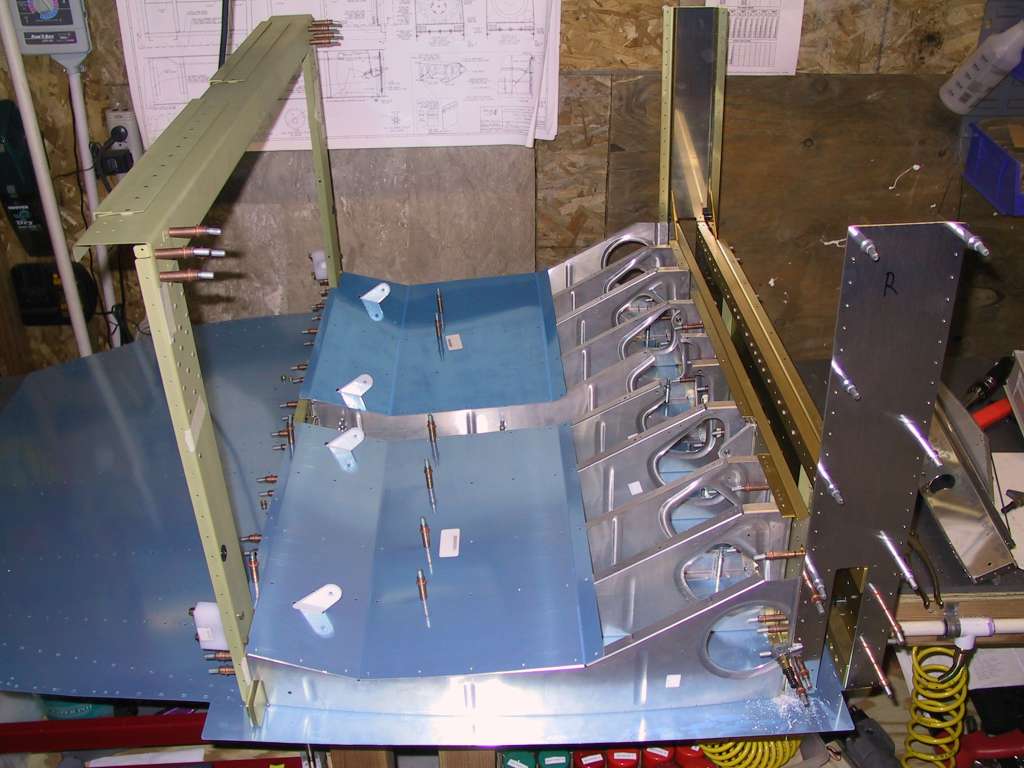
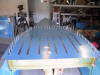
Here, you pre-rivet the spar end brace to the skins Prior to riveting on
the skins. There is no room to do this afterwards. Don't forget!
You will also notice that I sprayed rattle-can primer on all interior
surfaces of the skins where there are rivet holes. Doesn't add much
weight. I can see all the other skin surfaces on the inside of the
airplane so there is no need to primer all interior surfaces.
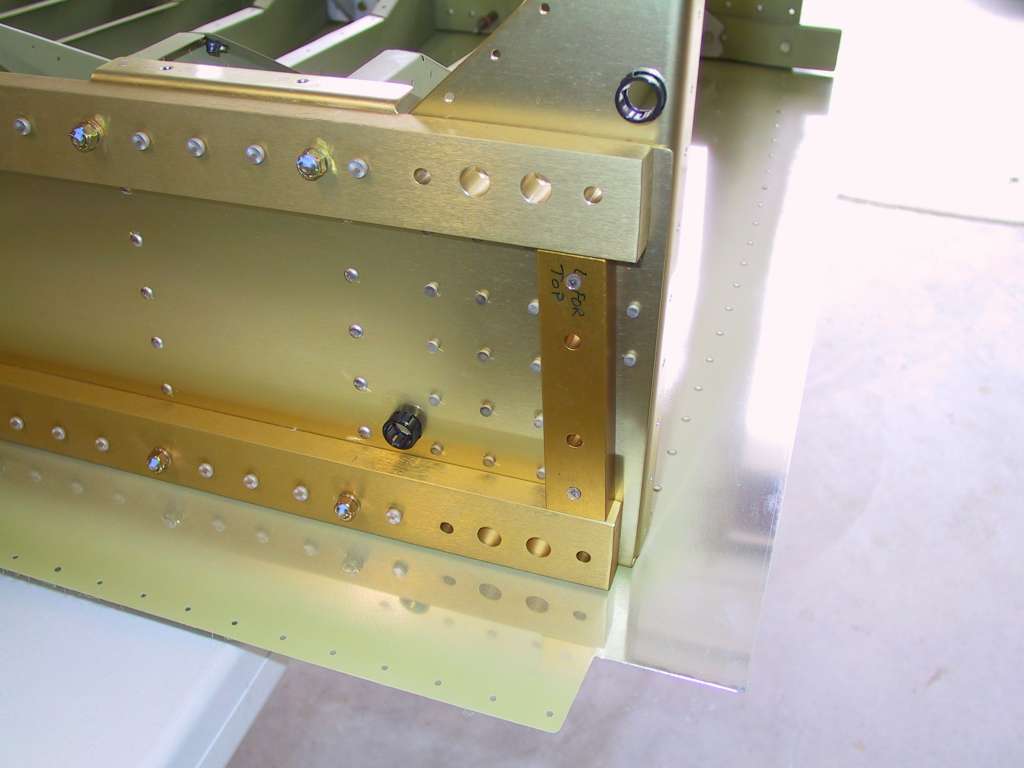
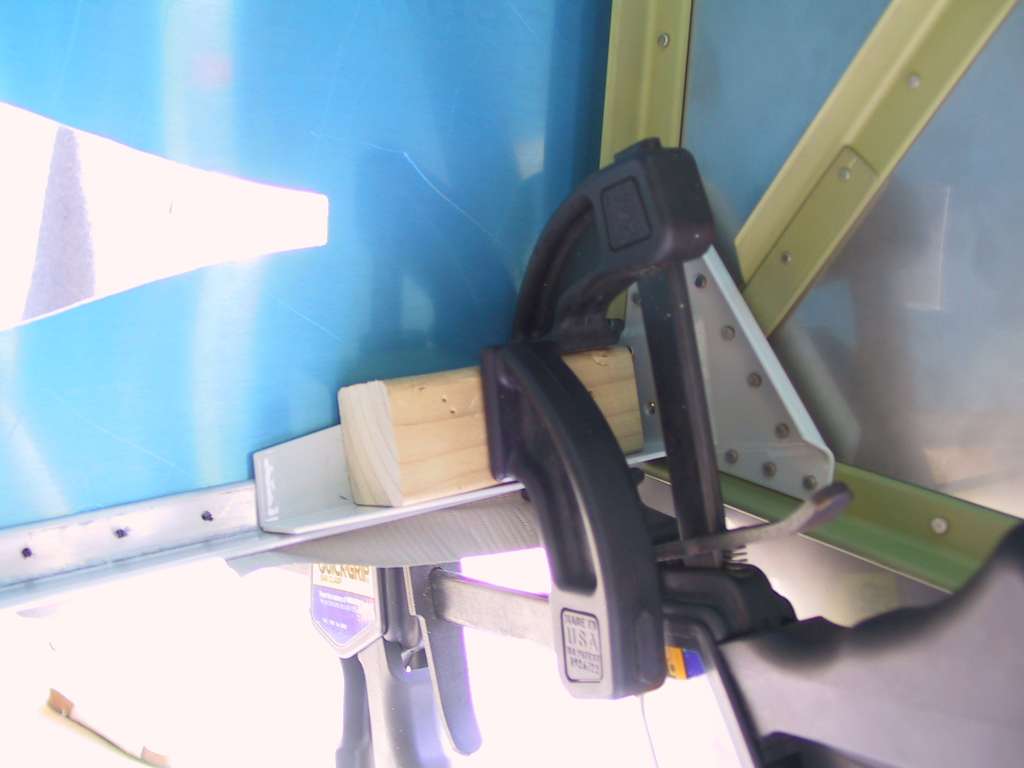
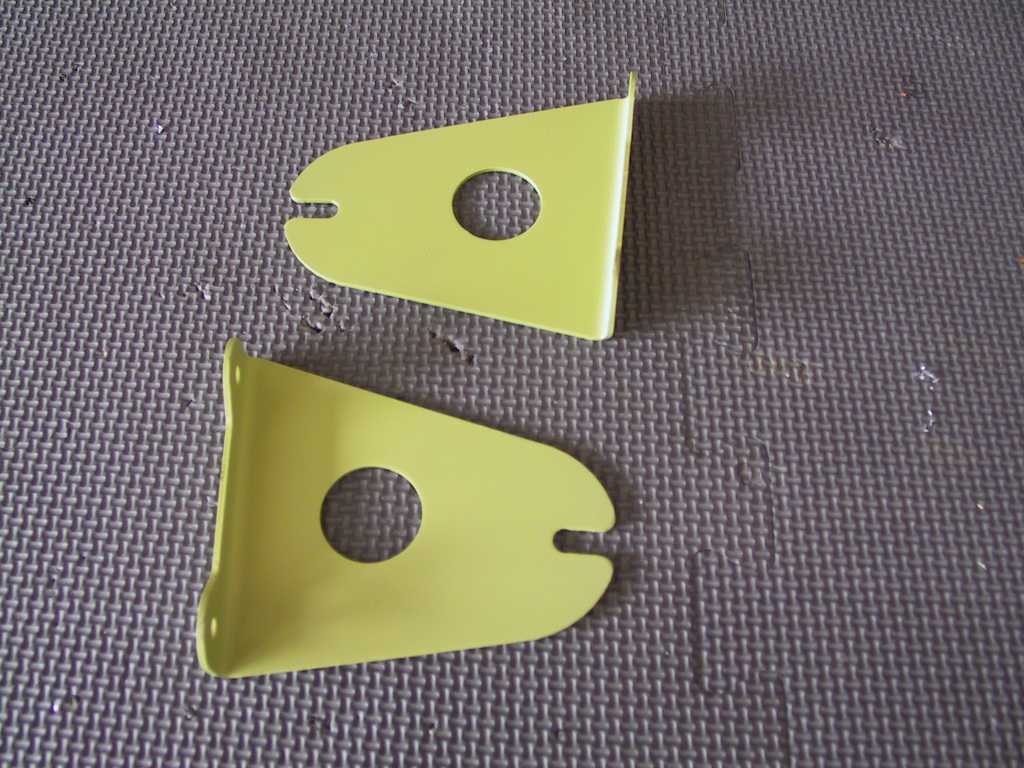
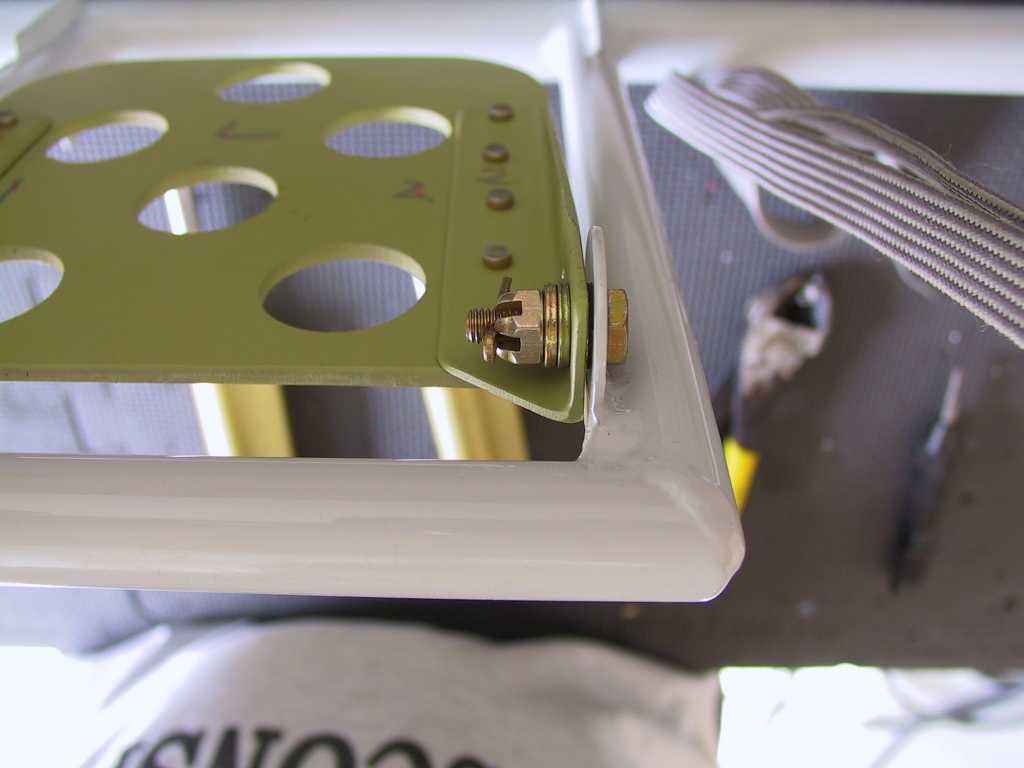
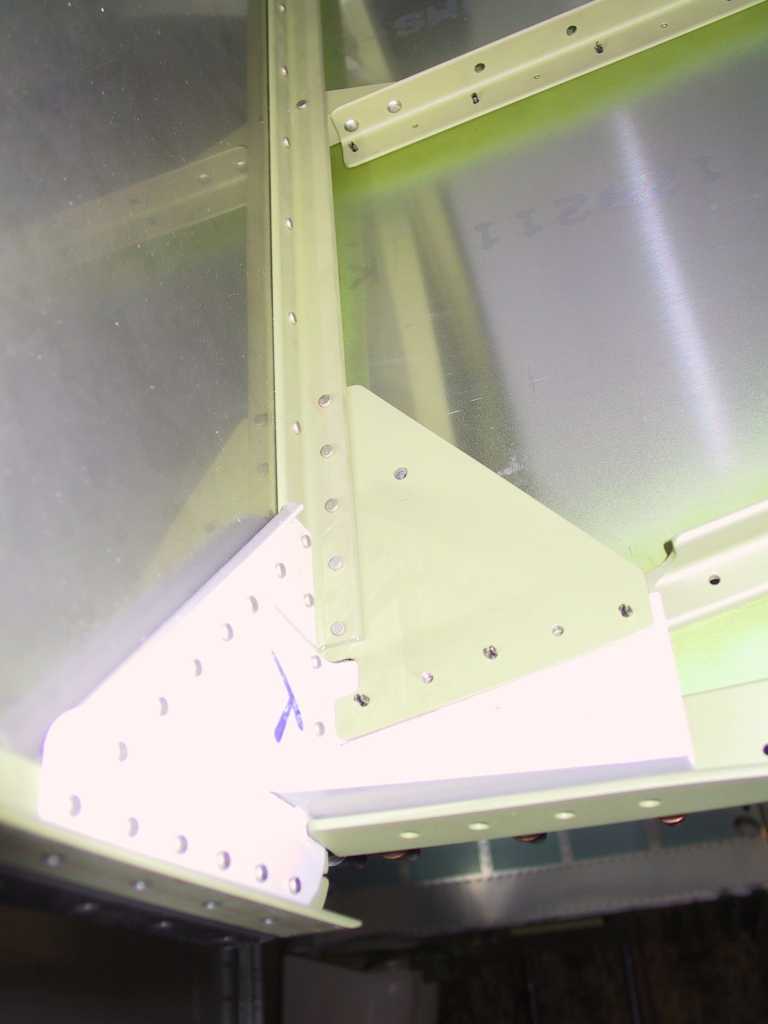
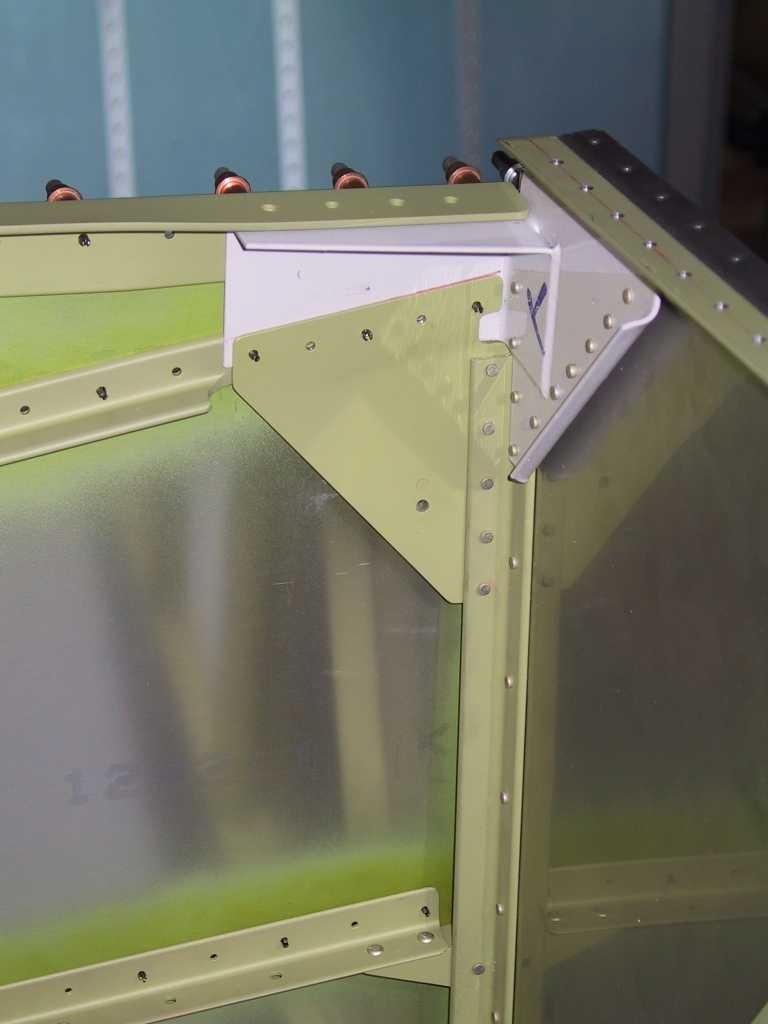
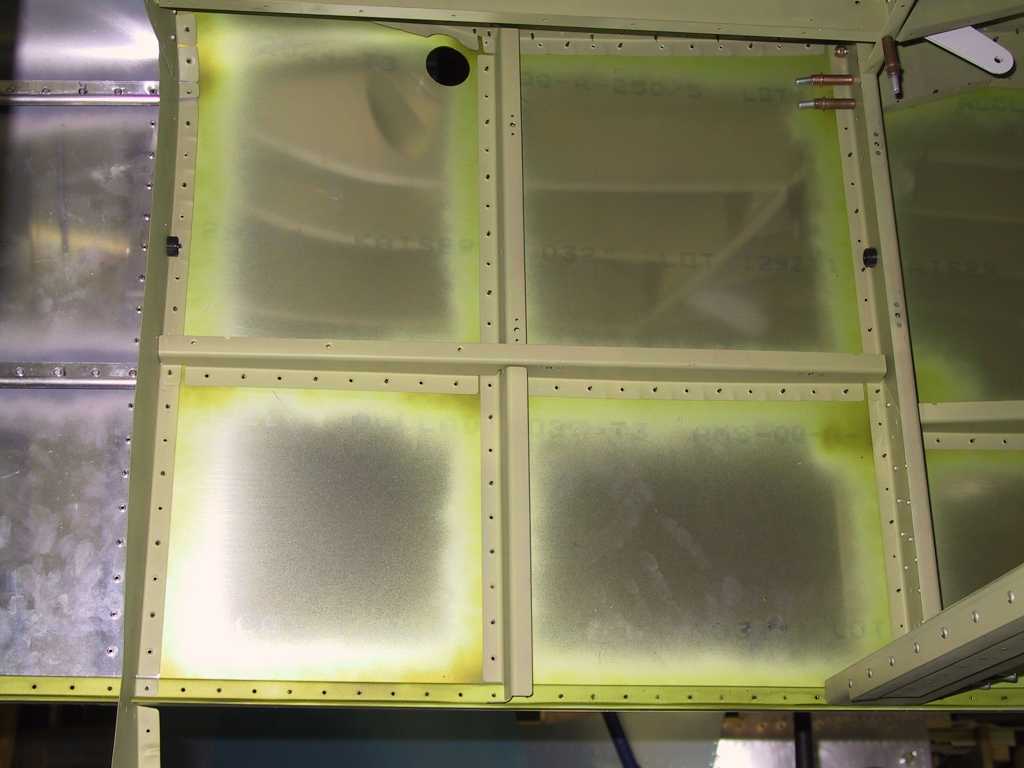
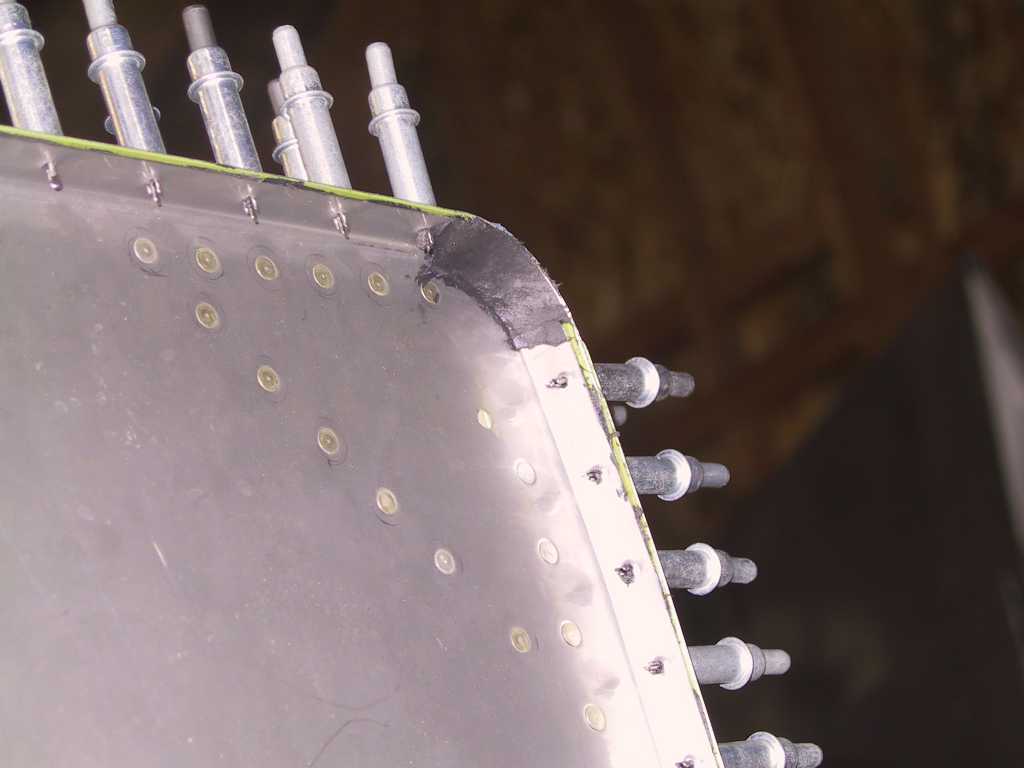
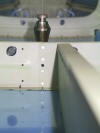
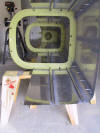
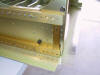
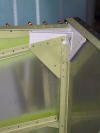
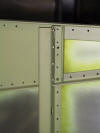
Here are some shots of the firewall braces. You should spend some
time to get them to fit nice and flush. Also there has been some
question lately as to the *split* in the white corner braces attaching to
the firewall. That's supposed to be there. When drilling these
for the first time use the technique in the instructions and place a rivet
in the holes to line everything up.
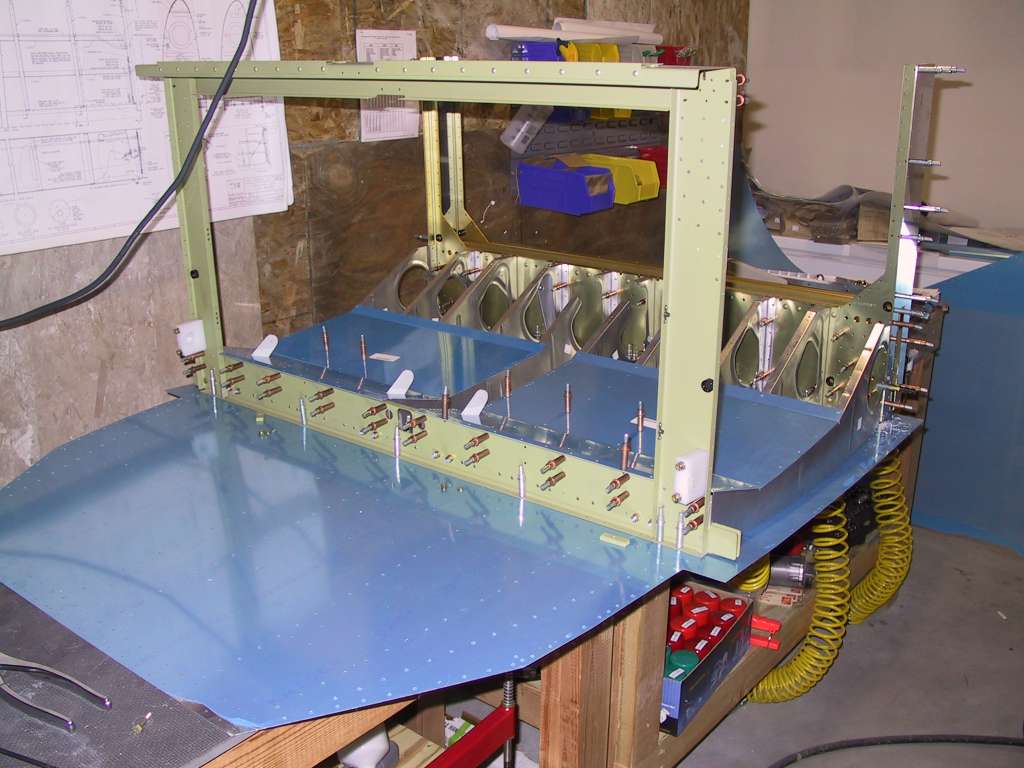
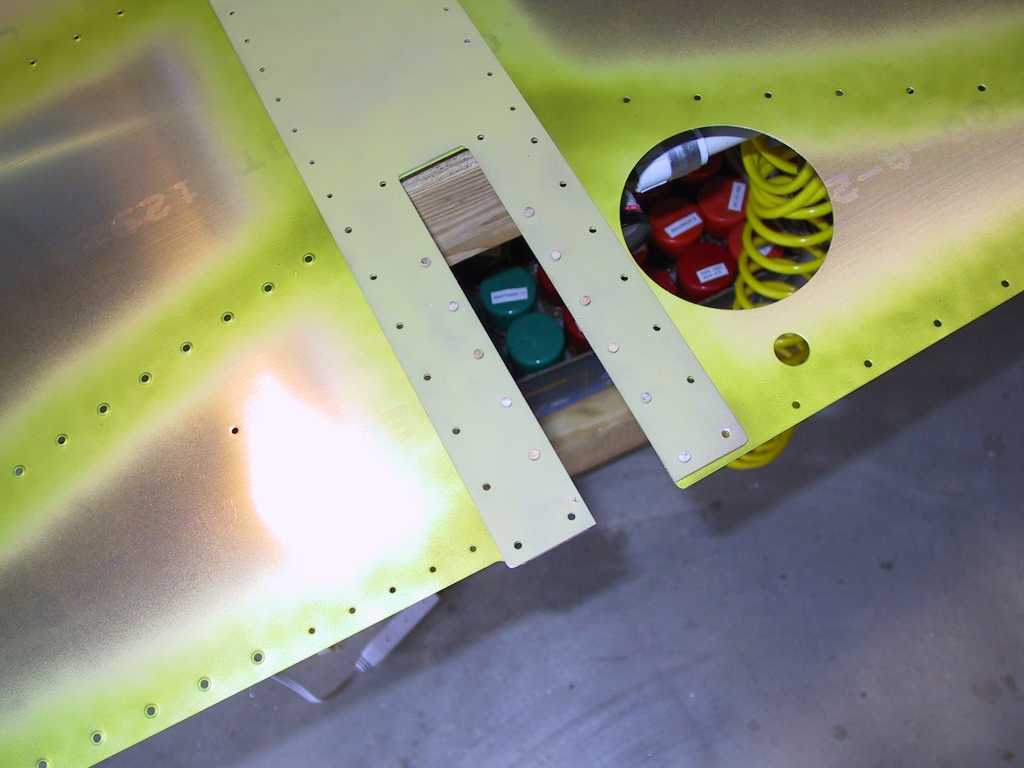
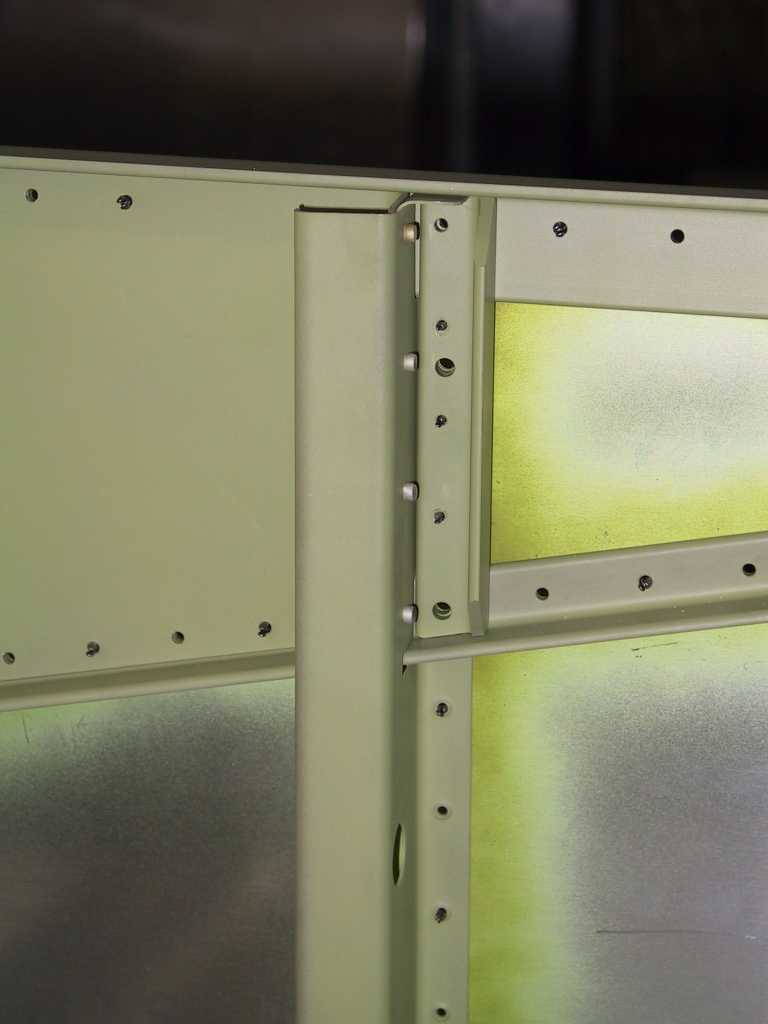
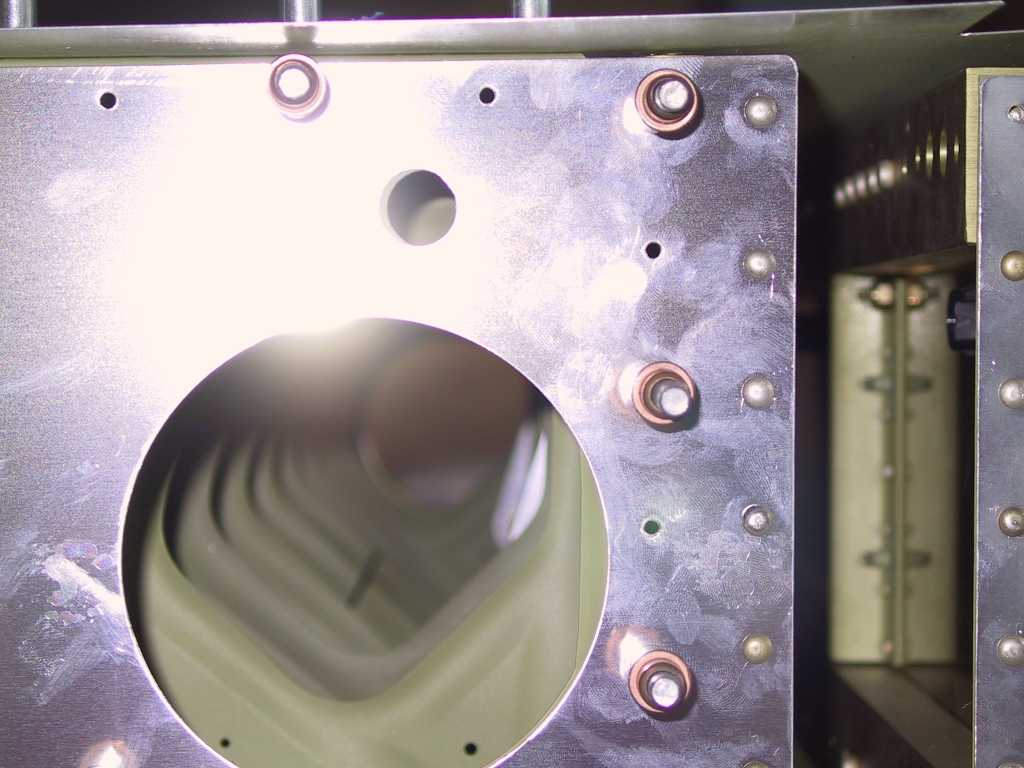
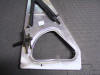
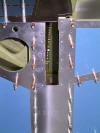
Detail of the forward wing attachment point from the inside.
Remember to mark all of the shims on this part top/bottom, inside/outside
and order of the parts. Since you only have to coat them Barely with
primer you will be able to see your markings after priming. If you
don't get these right your rivets will not sit or pass through the holes
properly. Also the plans have a very complicated process to get these
aligned. It's really very simple and the instructions are overly
complicated.
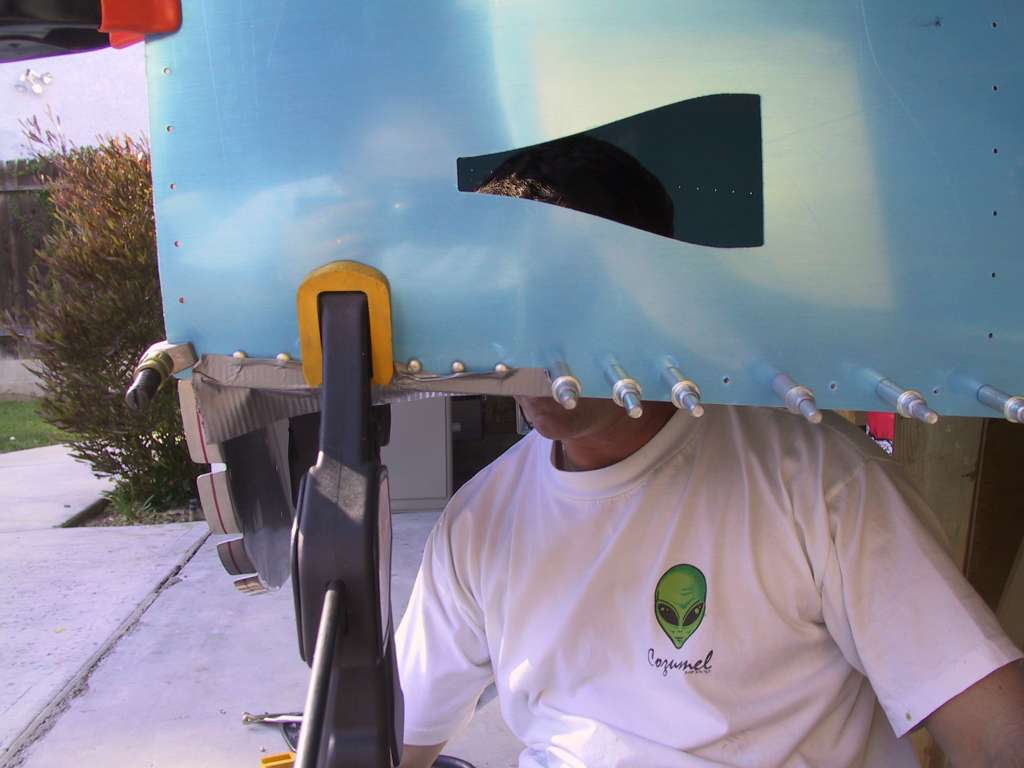
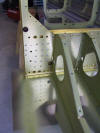
Here I noticed that the bushing holes didn't line up exactly. I
recommend enlarging these holes after you get the skins on and not piece by
piece.
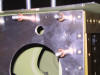 
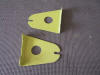
Baggage compartment bracing. Nothing to it.

This is a shot of the bottom of the firewall. Notice that you
dimple the firewall and countersink the angle behind it. You will be
placing the lower cowl hinge on the firewall portion which you will
countersink.
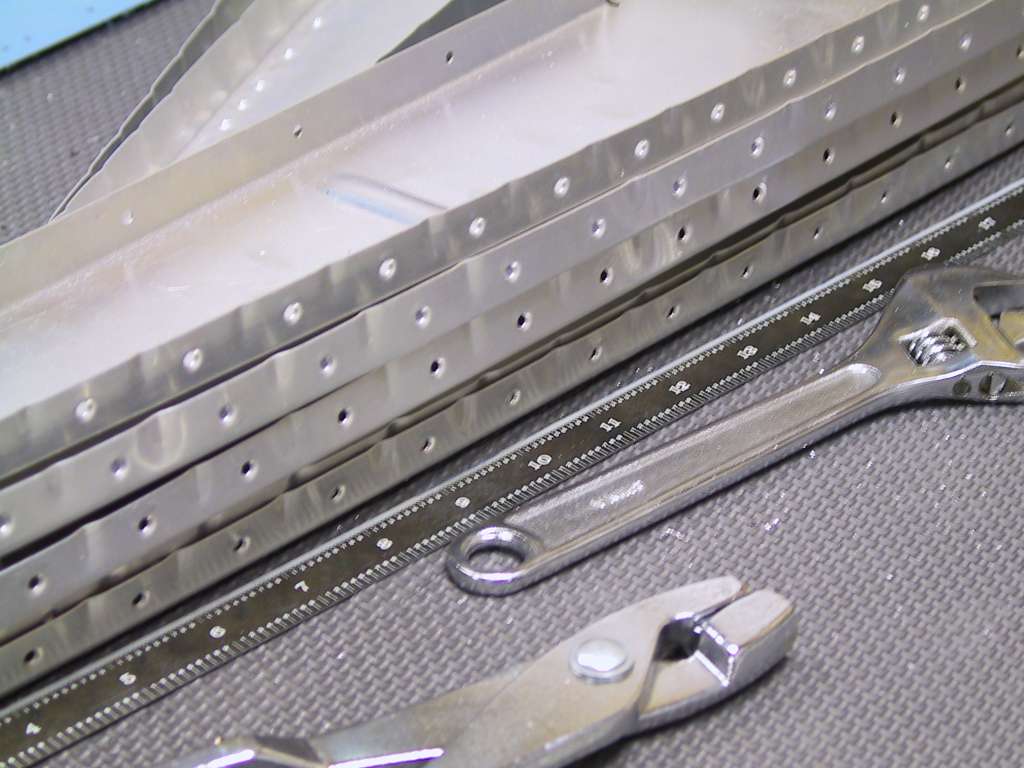
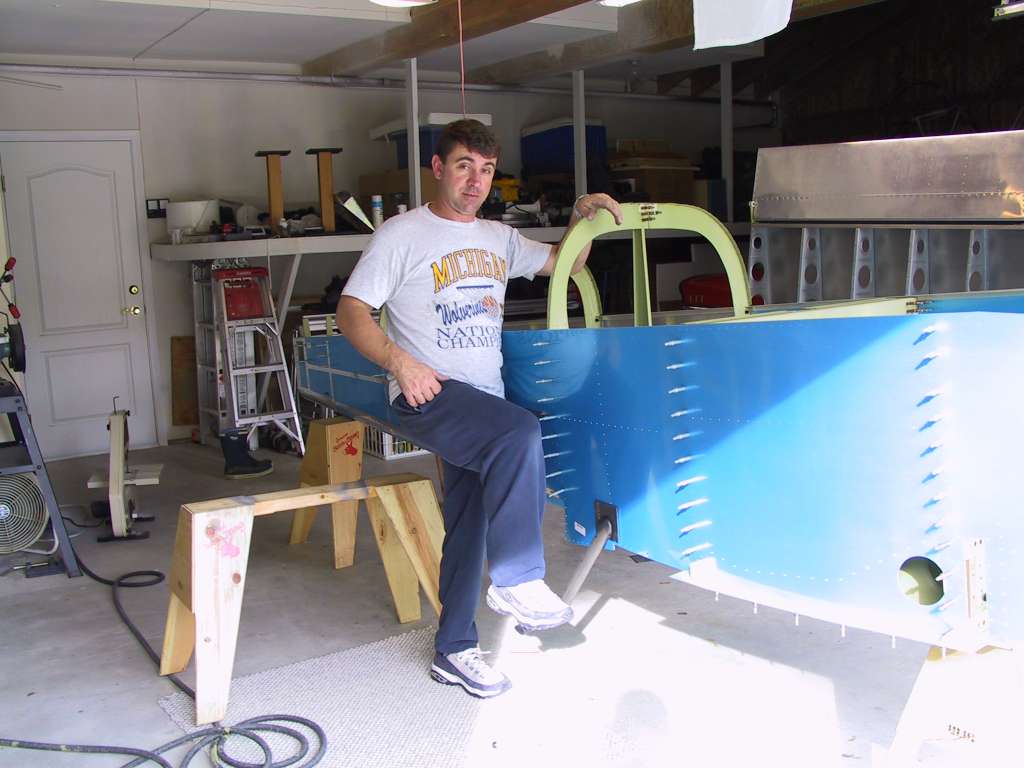
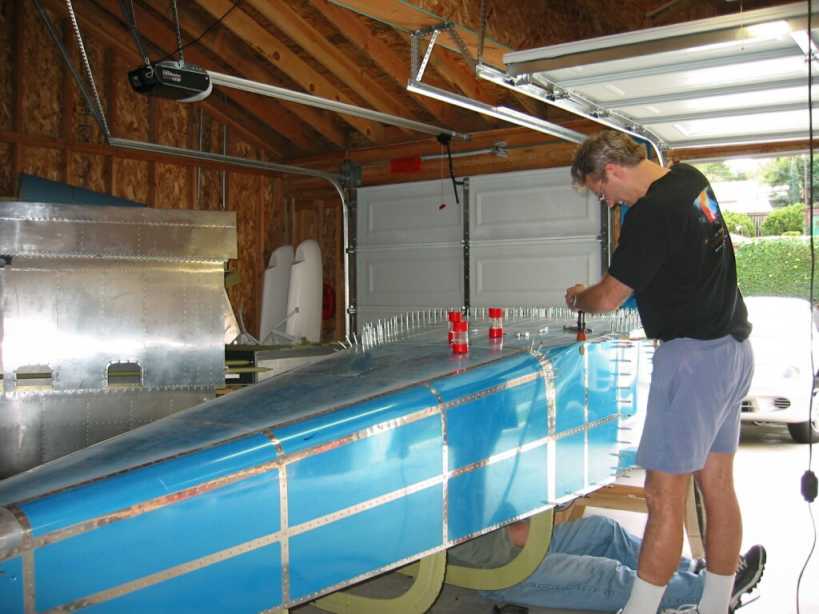
Barry came over about a two weeks ago to help me start final riveting of
the side skins and rest of the fuselage. We made pretty good progress.
There are plenty of rivets to put in. I've ordered the finish kit but
it won't ship until March 22nd so I have *plenty* of time to get this done.
I'm now in slo-mo mode.
Today I started to get my financing inline for the rest of the airplane;
engine, avionics, prop, etc. Here's a costing of those items.
OUCH!!!! I haven't placed my backup instruments here but they will
include Turn/Bank&Slip/Skid, Altimeter, and Airspeed. I want to make
it similar to the Cirrus panel. Very logical layout.
|
QTY |
DESCRIPTION |
VENDOR |
MODEL |
UNIT |
EXTENSION |
|
1 |
Engine |
Penn Yan Aero |
IO-360 horiz induct, LASAR |
$23,641.00 |
$23,641.00 |
|
1 |
Audio Panel w/ 3LMB and Intercom |
Pacific-Coast Avionics |
Garmin GMA 340 |
$1,125.00 |
$1,125.00 |
|
1 |
GPS/MFD/NAV/COMM |
Pacific-Coast Avionics |
Garmin GNS 430 |
$6,390.00 |
$6,390.00 |
|
1 |
VOR/LOC/Glideslope Indicator |
Pacific-Coast Avionics |
Garmin GI 106A |
$1,425.00 |
$1,425.00 |
|
1 |
Transponder w/ Mode S |
Pacific-Coast Avionics |
Garmin GTX 330 |
$3,395.00 |
$3,395.00 |
|
1 |
Transponder encoder |
Pacific-Coast Avionics |
Garmin SAE5-35 |
$349.00 |
$349.00 |
|
1 |
Wiring Harness - built by vendor |
Pacific-Coast Avionics |
custom |
$740.00 |
$740.00 |
|
1 |
Autopilot |
Pacific-Coast Avionics |
Trutrak Digiflight 200VS GPSS |
$4,235.00 |
$4,235.00 |
|
1 |
Firewall Forward Kit |
Vans Aircraft |
FF-7/7A IO-360 CS |
$4,600.00 |
$4,600.00 |
|
1 |
EFIS |
Grand Rapids
Tech |
Dual Display EFIS w/ AHRS |
$8,995.00 |
$8,995.00 |
|
1 |
ARINC Bi-Directional Interface |
Grand Rapids
Tech |
ARINC 429 |
$475.00 |
$475.00 |
|
1 |
Fuel Totalizer |
Grand Rapids
Tech |
Fuel Flow Option |
$375.00 |
$375.00 |
|
1 |
CS
prop, Jihostroj P920 Governor |
Whirlwind Propellers |
WW
151 RV, P920 Gov. |
$7,500.00 |
$7,500.00 |
|
|
|
|
|
TOTAL |
$63,245.00 |
|
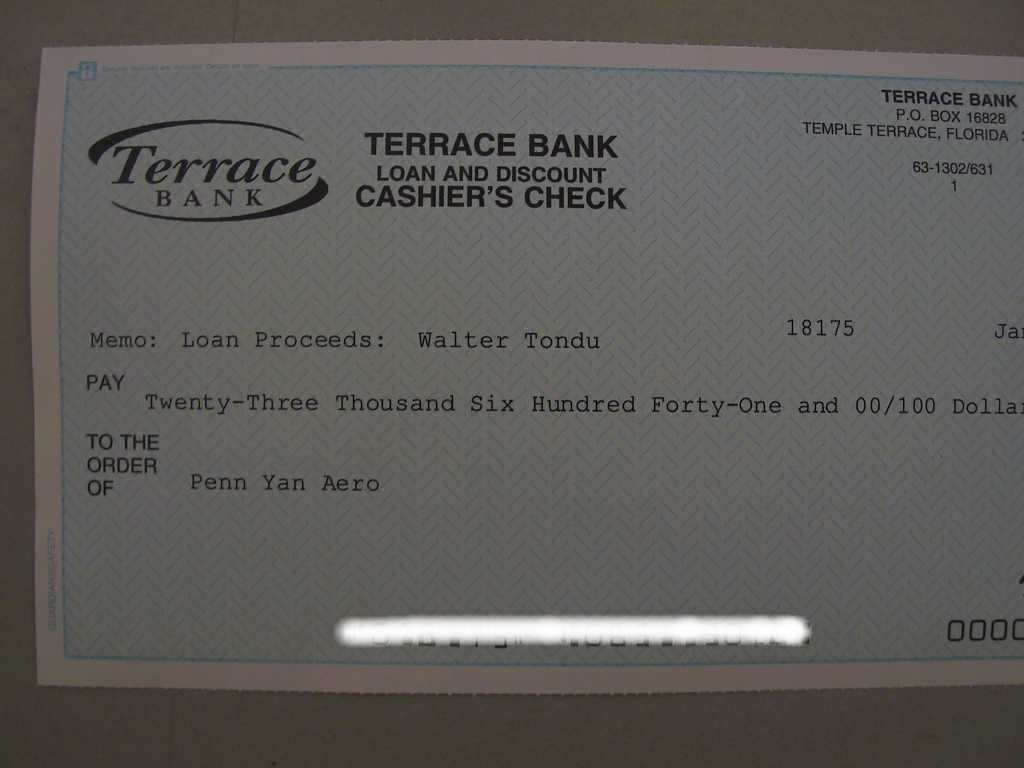
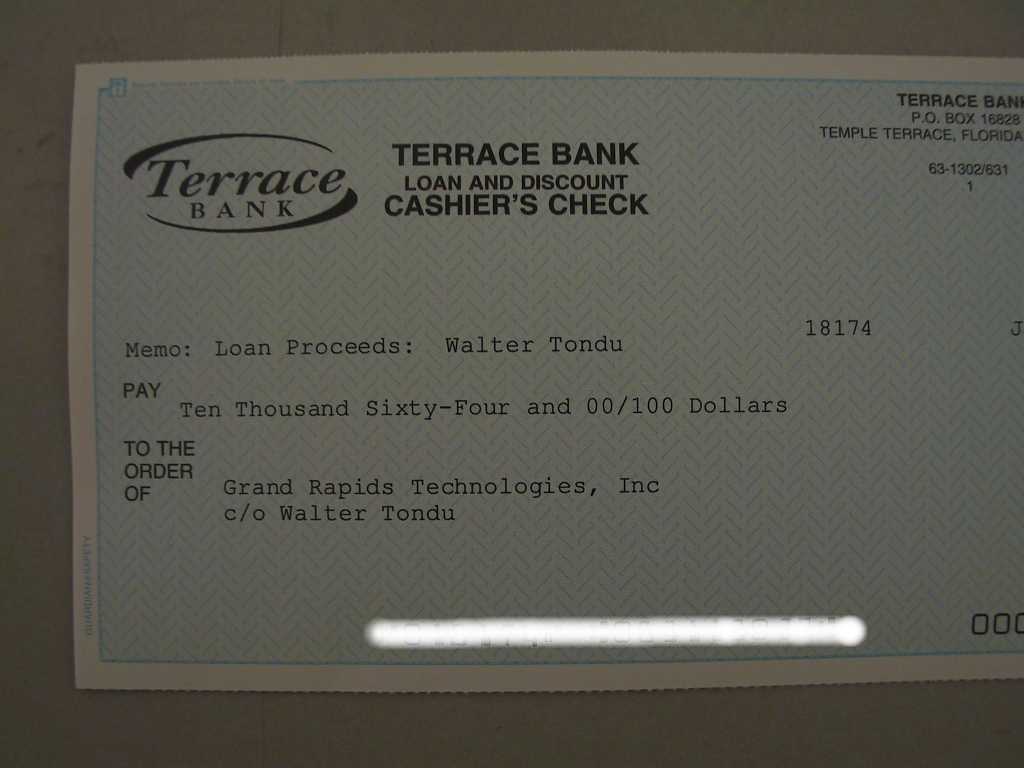
| 1/30/04 |
Well the process of getting financed is complete.
Today I received multiple checks for all the above mentioned products.
I'll mail them out on Monday. By March my garage is going to be very
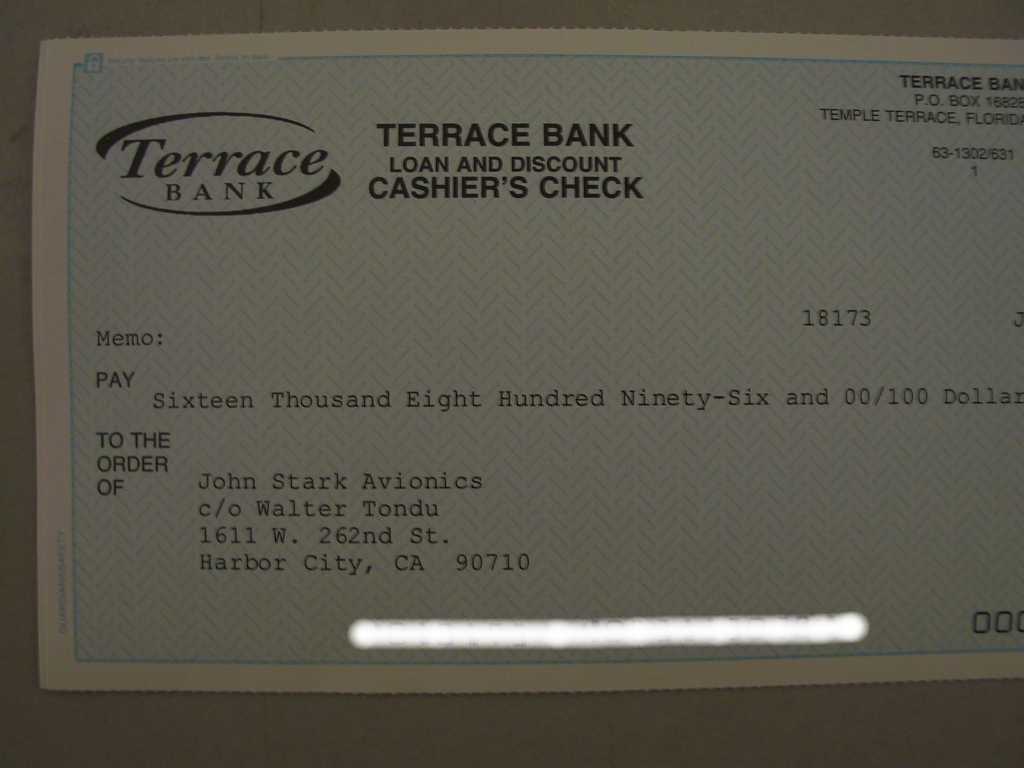
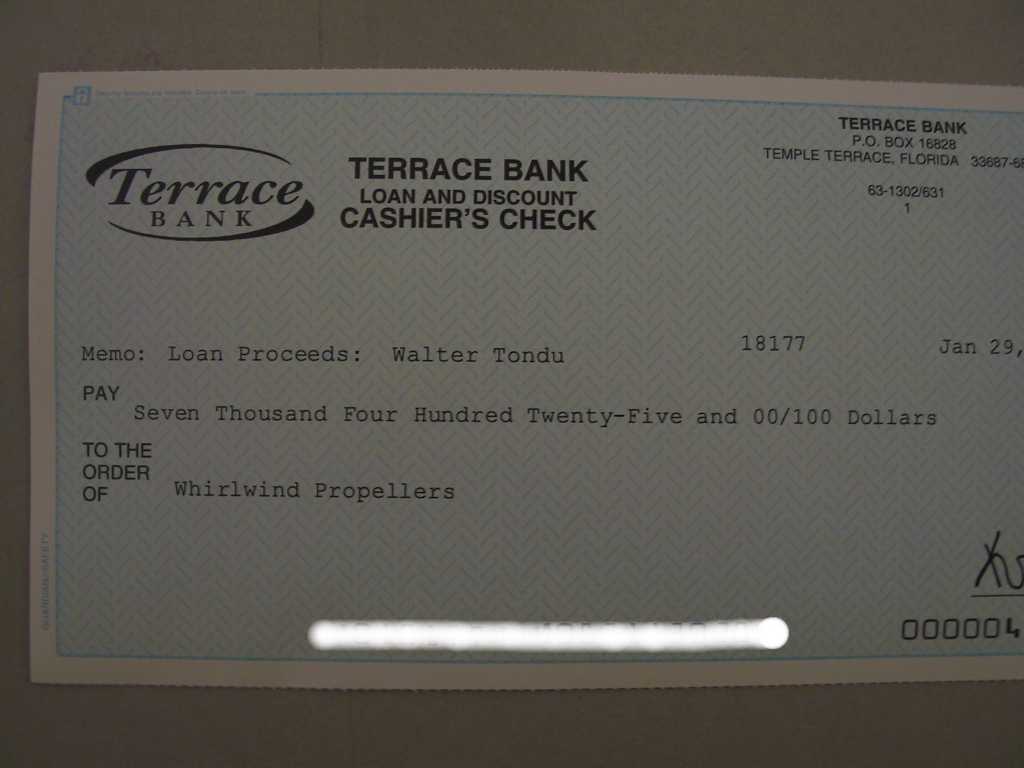
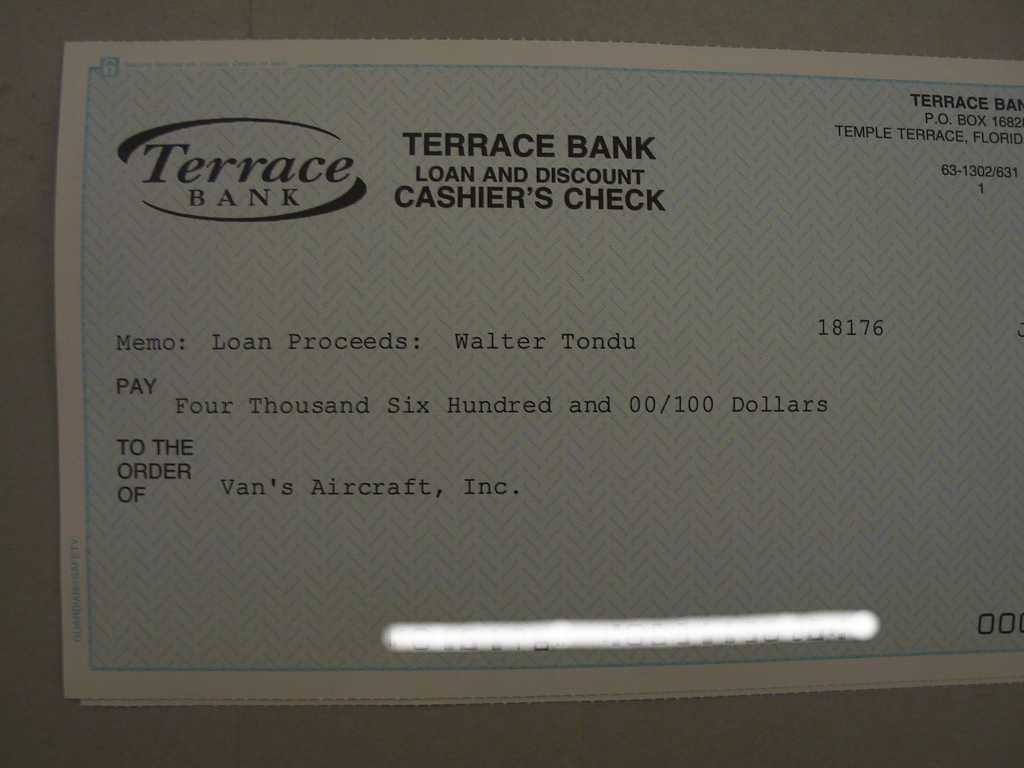
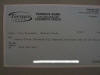
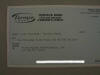
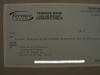
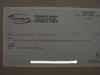
full of aero stuff. I can't wait. Pics of checks.
  |
| 1/31/04 |
Dave Bristol, our EAA chapter 96 Technical Counselor, Flight
Advisor, and Board Member graciously came by for my third EAA Technical
Counselor Visit today. I always enjoy talking to Dave as his
experience building his RV 6 are essential to my successful completion of
the project. Dave gave a good look over and indicated that I was on my
way to a nice flying bird. He also suggested that I get some flying
under my belt and not wait till the plane was almost finished. I
concur. I need to get some air under my wings, and soon.
Tomorrow I will send a little over $63K worth of checks out to get the parts
mentioned above. No progress to mention except cleaning up all the
edges of the remaining parts for the interior of the fuselage. I've
still not been able to get someone over here to help finish the fuselage.
I'll be leaving for France from Feb 5-10. When I come back my parents
are going to come for some here for several weeks. Me and Mom and the
Old Man will knock it out then. |
| 2/22/04 |
Well after a very long hiatus from doing any riveting on the
fuselage I was finally able to get some help today. My very good
friend Scott Dewald stopped by this
weekend and we shot a few hundred rivets. After that I prosealed the
firewall to the side and bottom skins. Getting that proseal out of the
tube took some work! Finally back in action.
     |