| 8/31/04 |
Wanted to get some of the stuff on the motor tonight like the
exhaust. It makes sense to place the permanent items like the exhaust
on the engine early because everything else will have to route around those
immoveable objects. Well we tried and tried but the damn things just
would not fit, not even close. Called the manufacturer and confirmed
that these are not the proper exhaust. Further inspection revealed
that Vans had sent me the exhaust for an Angle Valve 200 hp engine!
Crap. Ok, lets keep busy. How about checking out the engine
baffling. Guess what, No fricken go here either. Again, baffling
for an Angle Valve engine. Jeese, come on Vans. I guess it's my
fault for not taking inventory but that would not have stopped them from
screwing up my order in the first place...would it.
Ok, do something on this plane. How about mounting the oil lines.
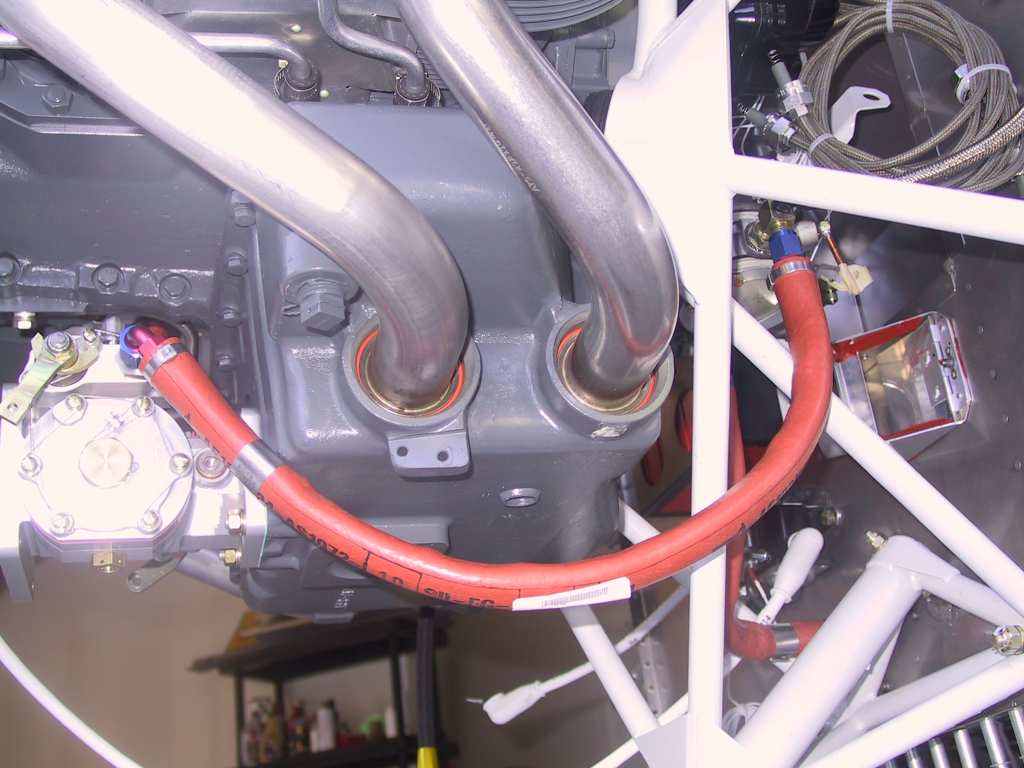
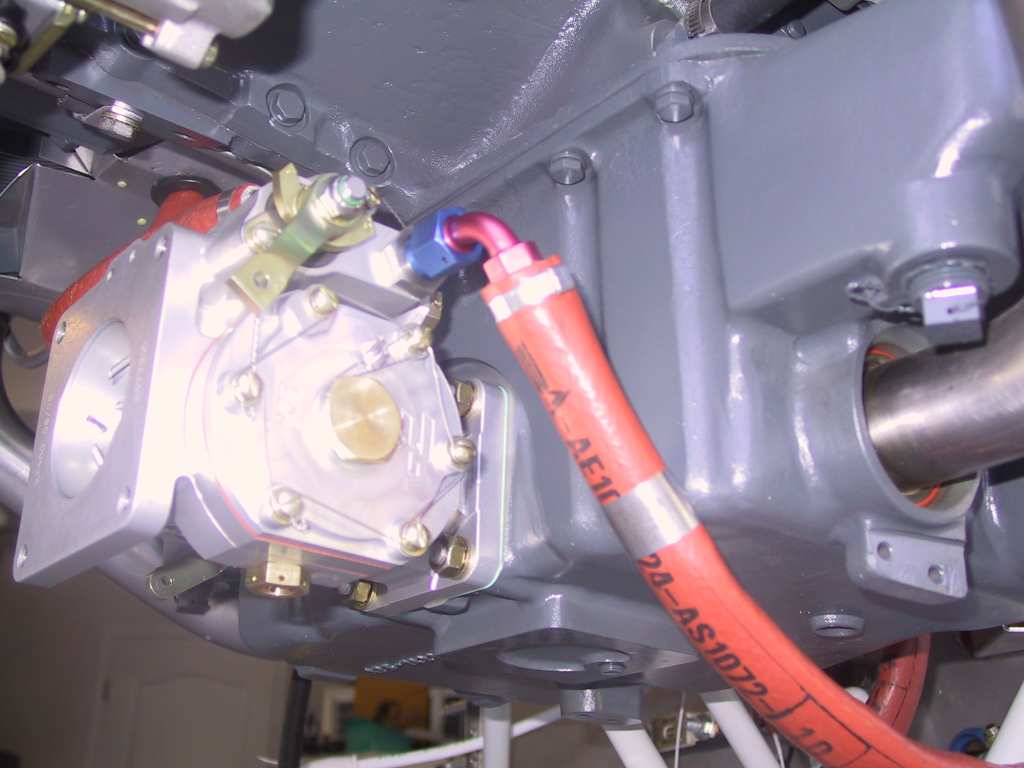
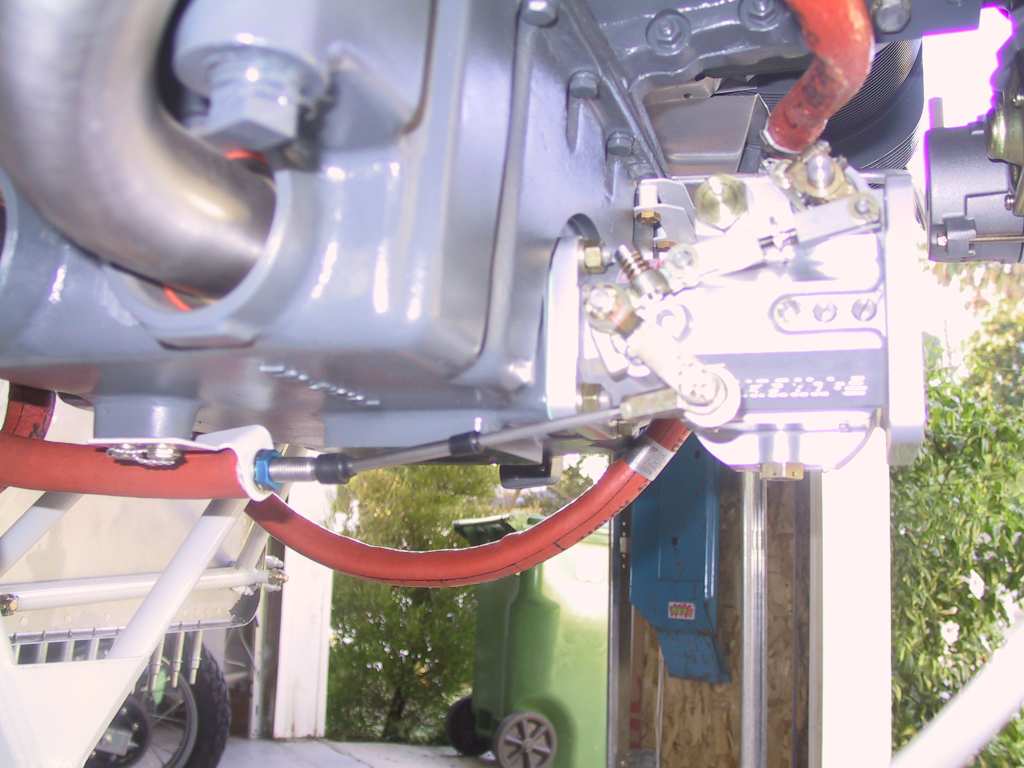
Ok, easy, done. How about the fuel pump to intake line. Again,
it doesn't fit. Doesn't Vans know what I ordered? It fits in
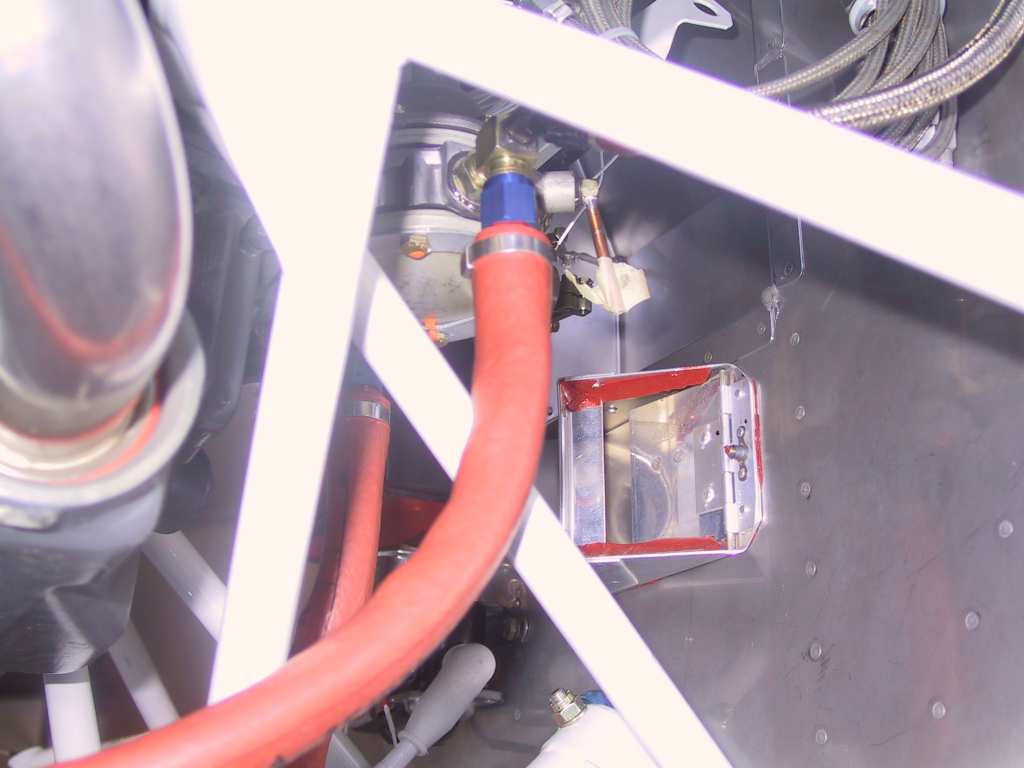
backwards but it's rubbing pretty hard on the engine mount. I wonder
if I bond the two together real good here... The issue is that this
line has a 90 degree fitting on it. Here it's ass-backwards but it
fits a hell of a lot better this way. Unfortunately, this is exactly
where the exhaust will run.
No real progress. In fact I'm going in reverse. |
| 9/5/04 |
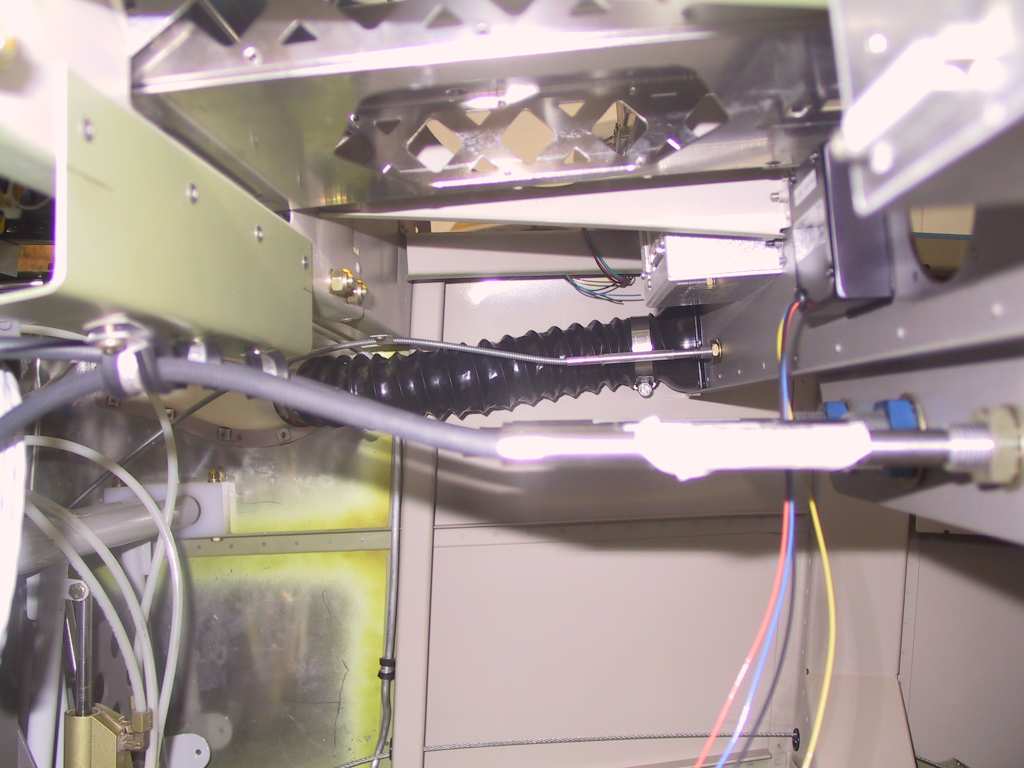
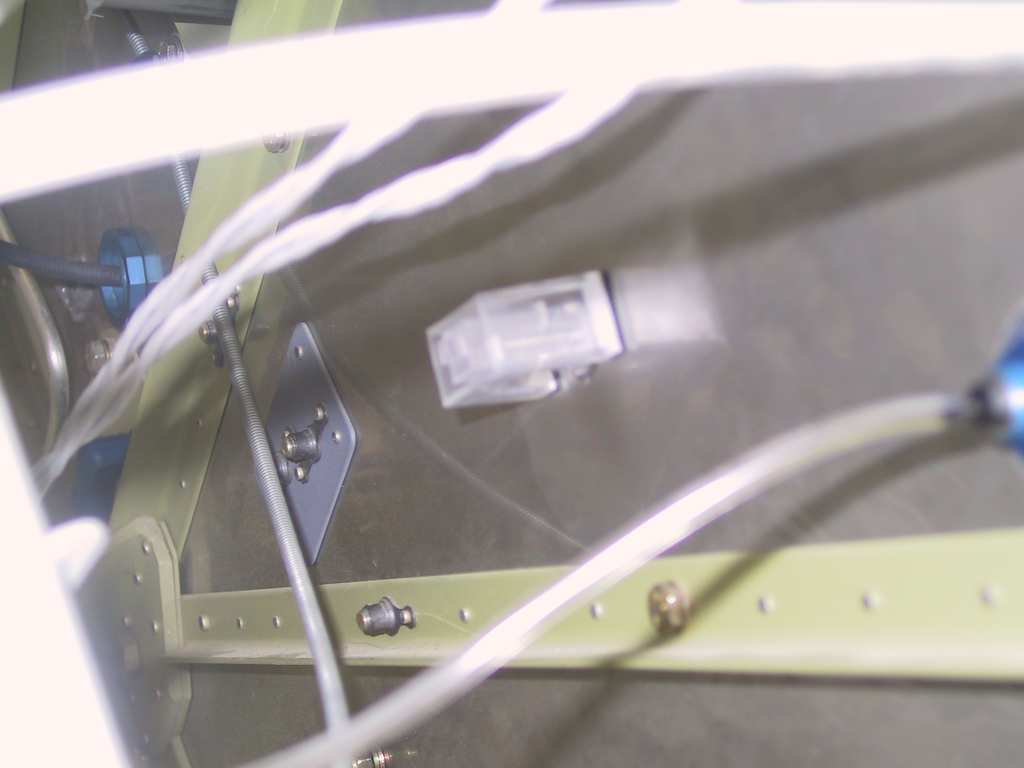
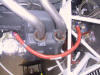
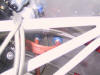
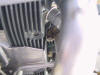
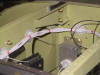
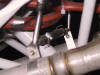
Ran fire sleeve over all control cables and placed the one
hole eyeball firewall pass-through in the firewall. I haven't safety
wired the fire sleeve yet. This is the prop governor cable on the
right, bending to the left and the mixture on the left.
Here's a shot of the throttle cable and the cable mount, safety wired
into place.

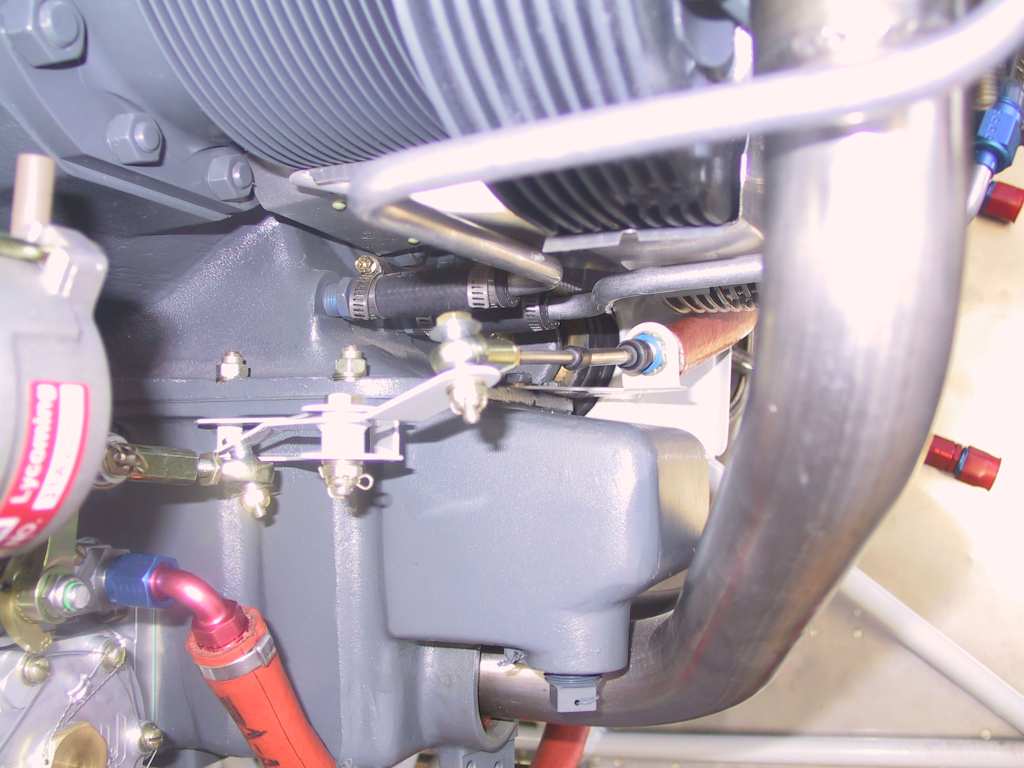
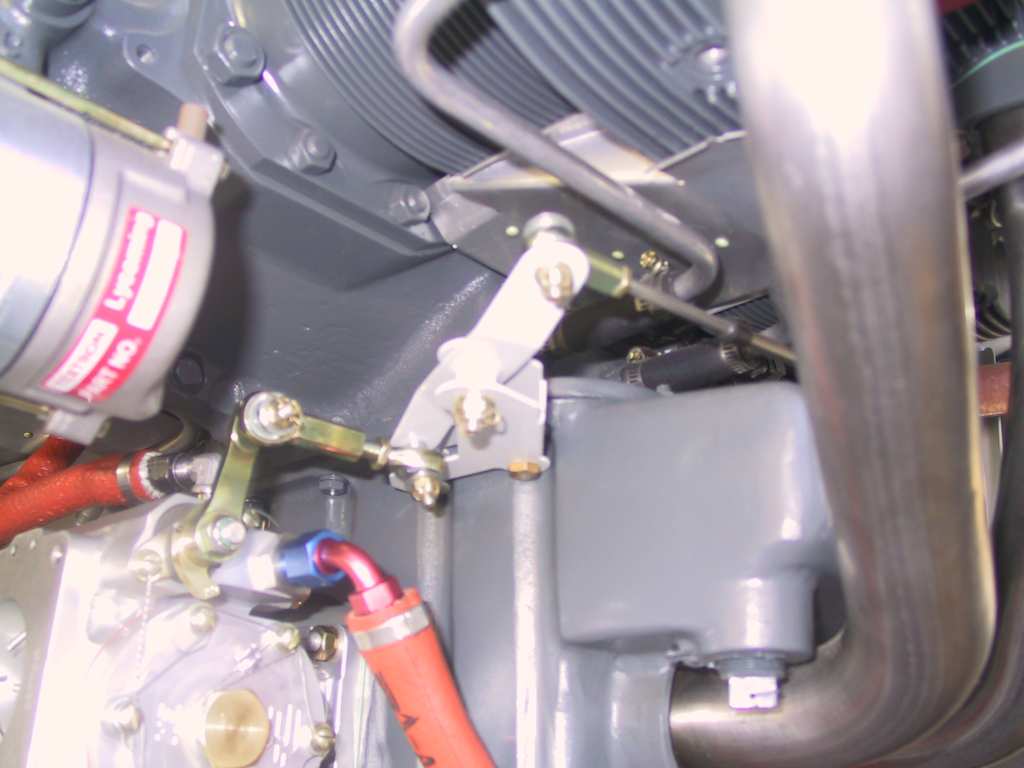
Couple of shots of the mixture bracket Vans supplies. It fits
pretty well and I am able to get full travel and the mixture control knob in
the cabin is about 1/8" from the panel when it's full in. Some of the
castle nuts are not tightened yet.
I *think* I'll be able to get the oil breather vent line on here, once it
gets here. It wasn't in the kit and I don't want the hassle of calling
Vans, so I just ordered another elbow. I suppose I could have gone to
Pep Boys and got one, oh well. It's just easier to order on the web.

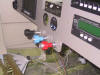
Cabin heat line is mounted. This is the business end.

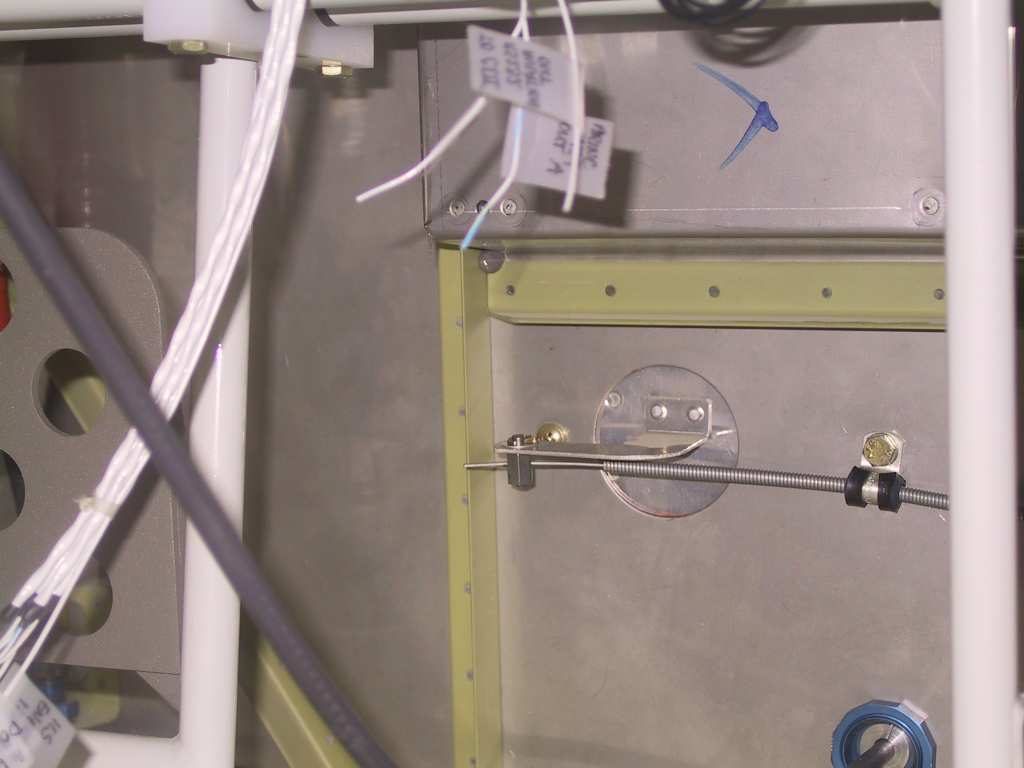
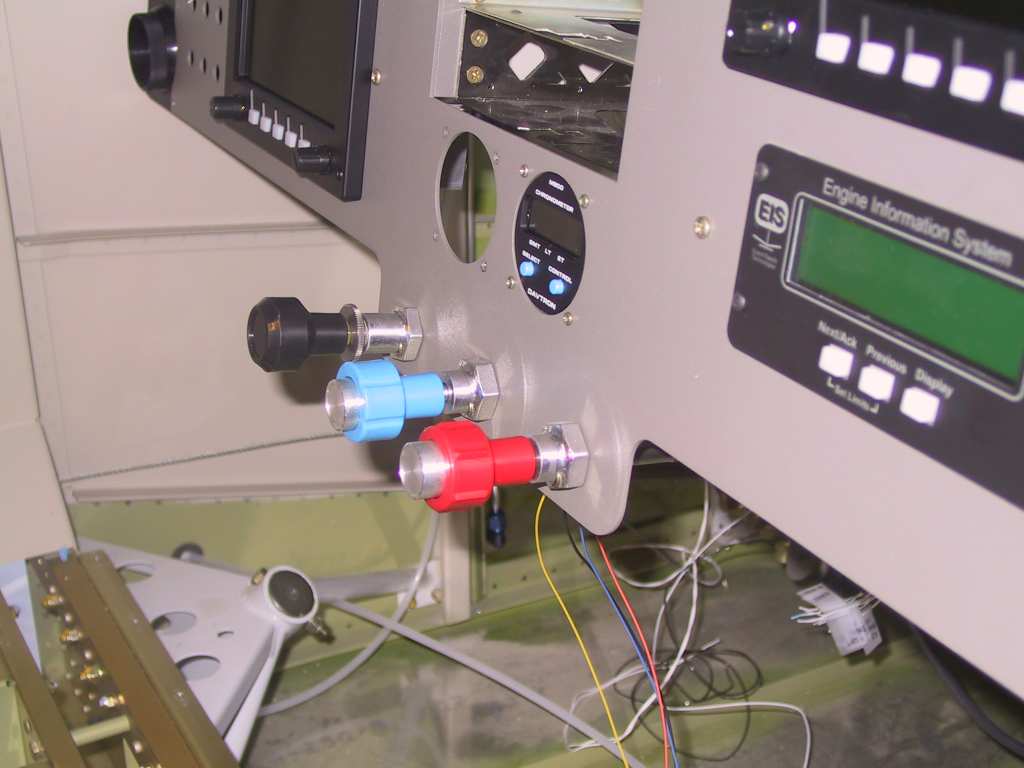
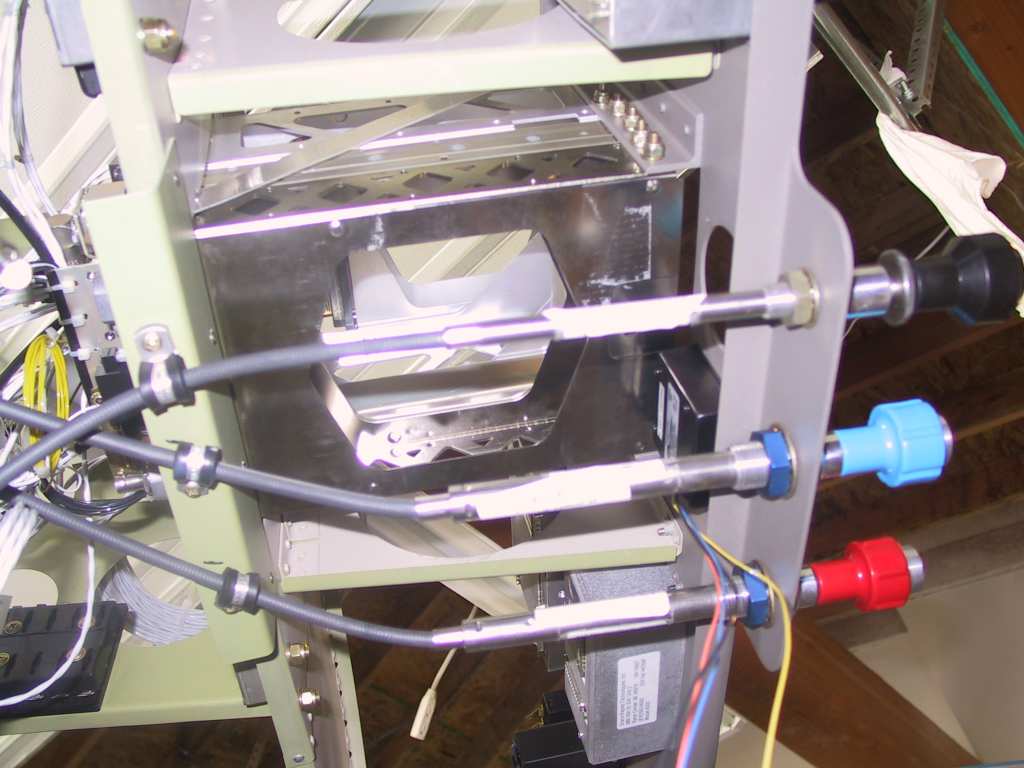
Shot of the controls in place and the mounting of the control lines on
the sub-panel. Since my panel is 2 inches deeper there is a
considerable amount of upturn to the lines. But they still operate
smoothly.
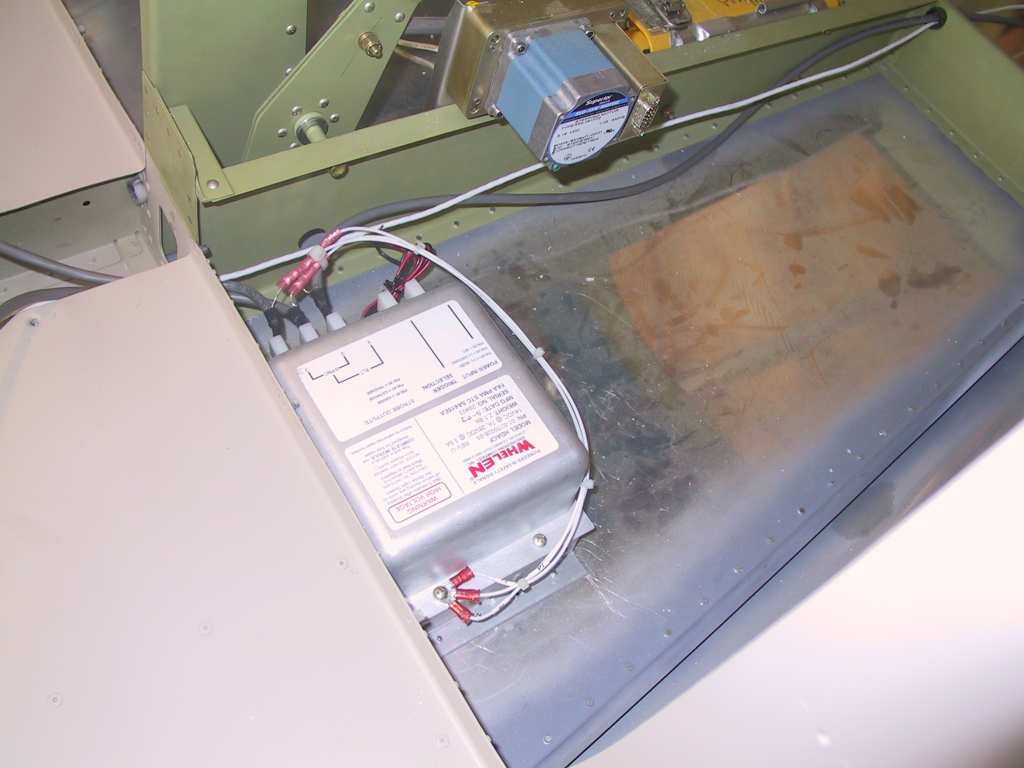
Combined all the shielding of the Whelen cables onto a local ground.
I'm not too happy with this and I may change the way it's all connected.
Looks cheesy.
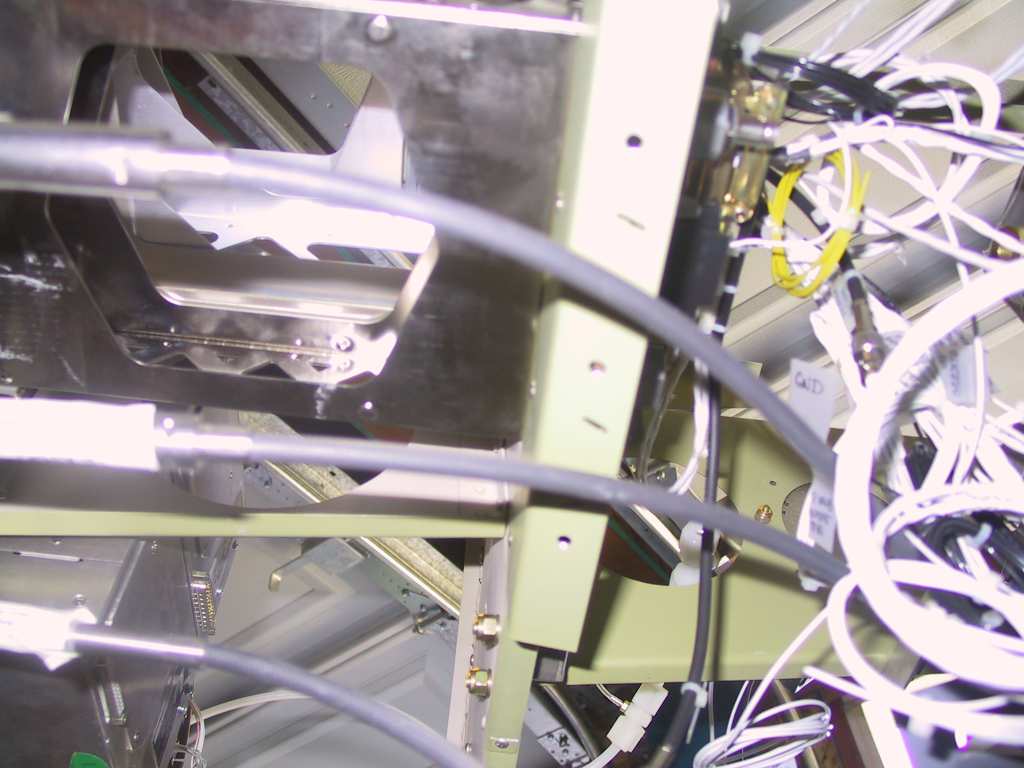
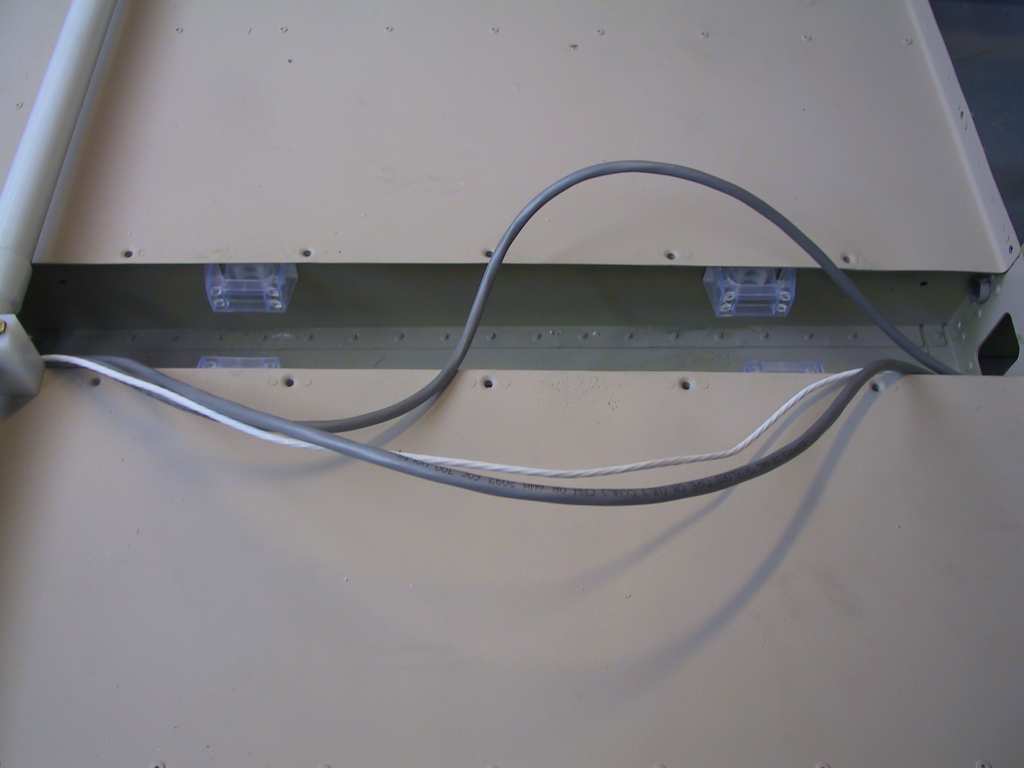
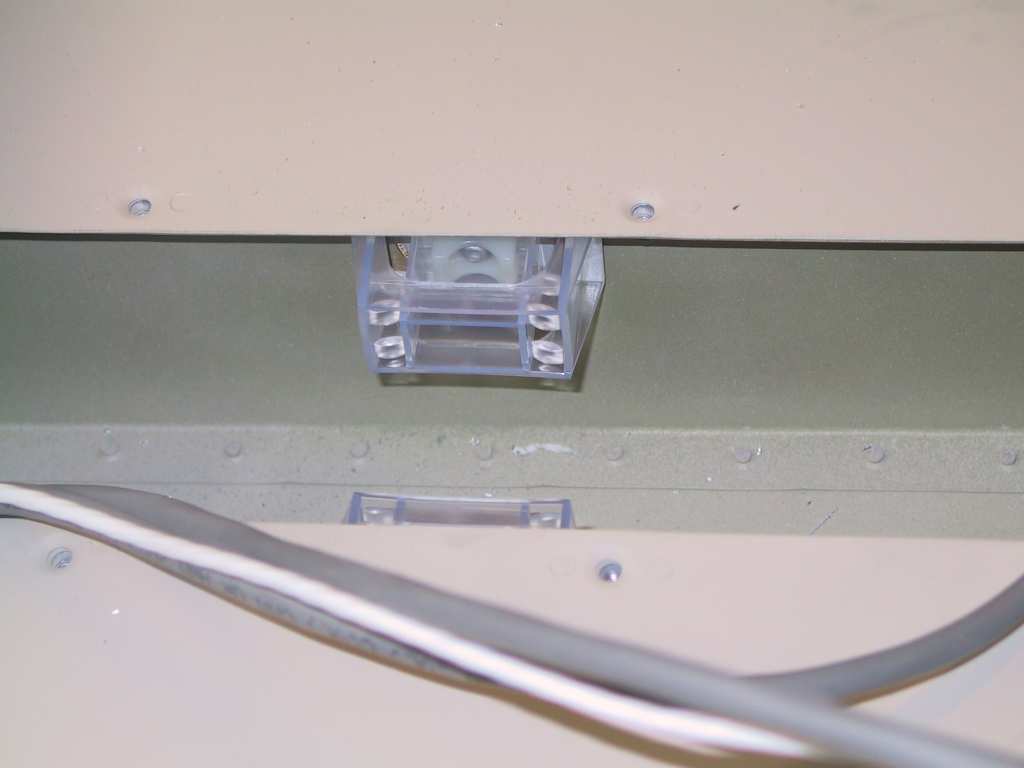
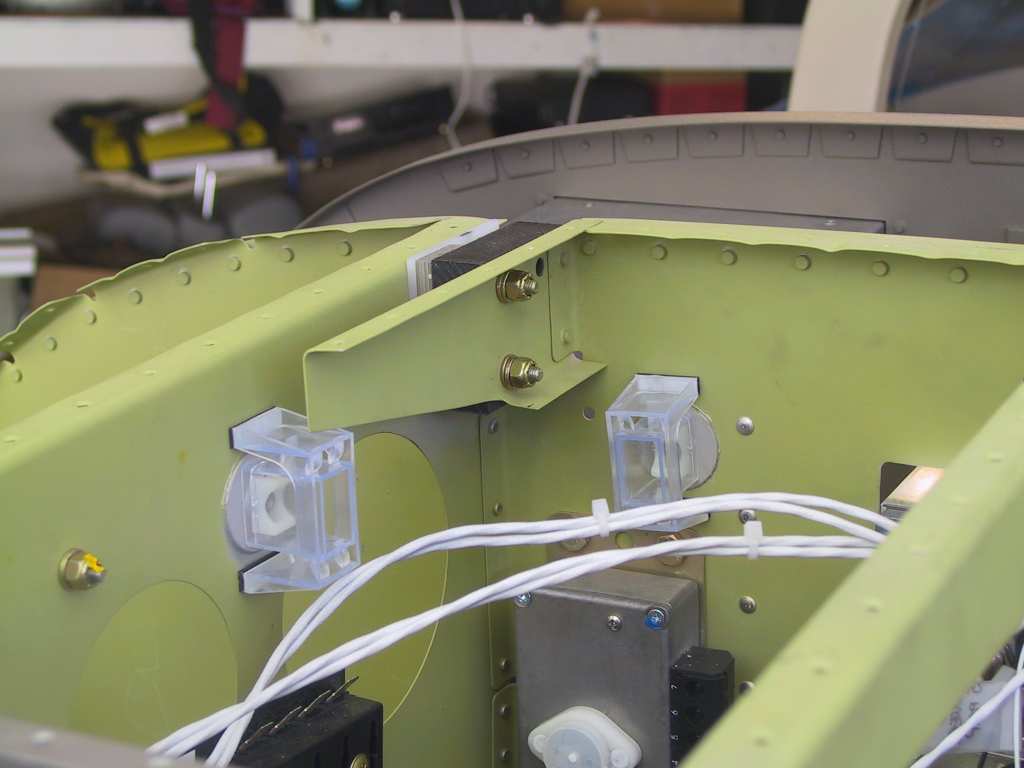
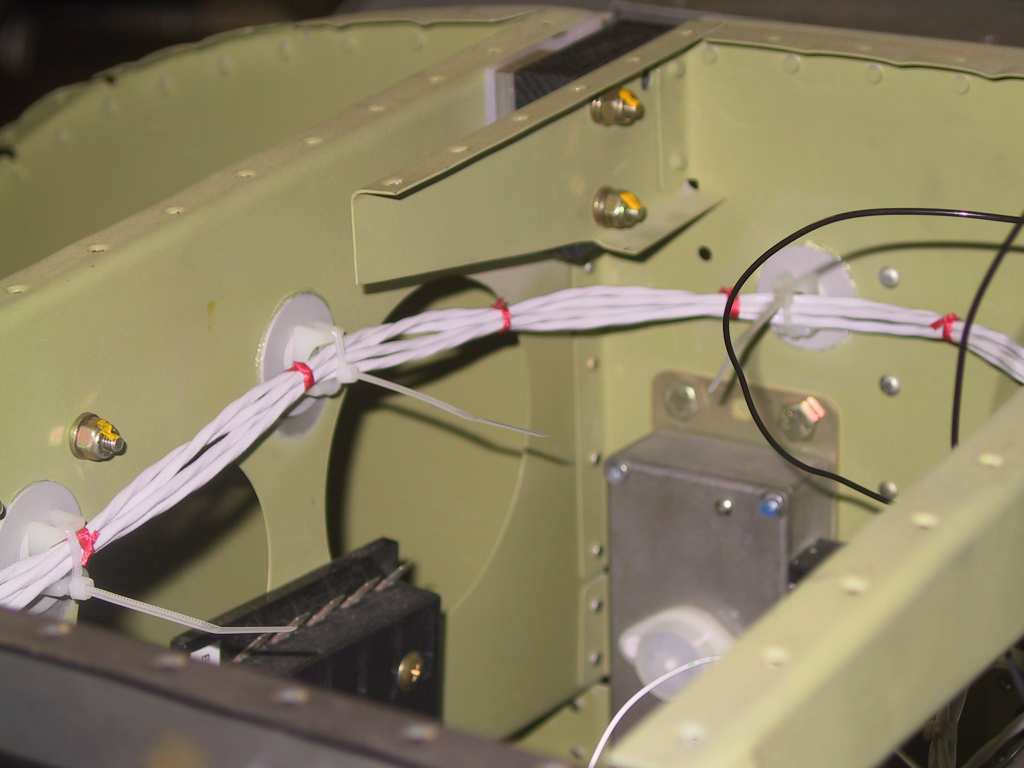
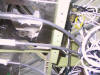
I plan on routing a considerable amount of my wires using these
Click-Bond wire-tie holders. They work great, weigh practically
nothing and seem very durable. I'm not using the glue which comes with
the connectors. I'm using some stuff called E6000 Industrial Strength
Craft Adhesive. It's the same stuff Bob Knuckolls sends whey you
purchase his glue-on screw tabs. I've not been able to remove one of
these things yet. I have them all over the airplane.
     |
|
9/7/04 |
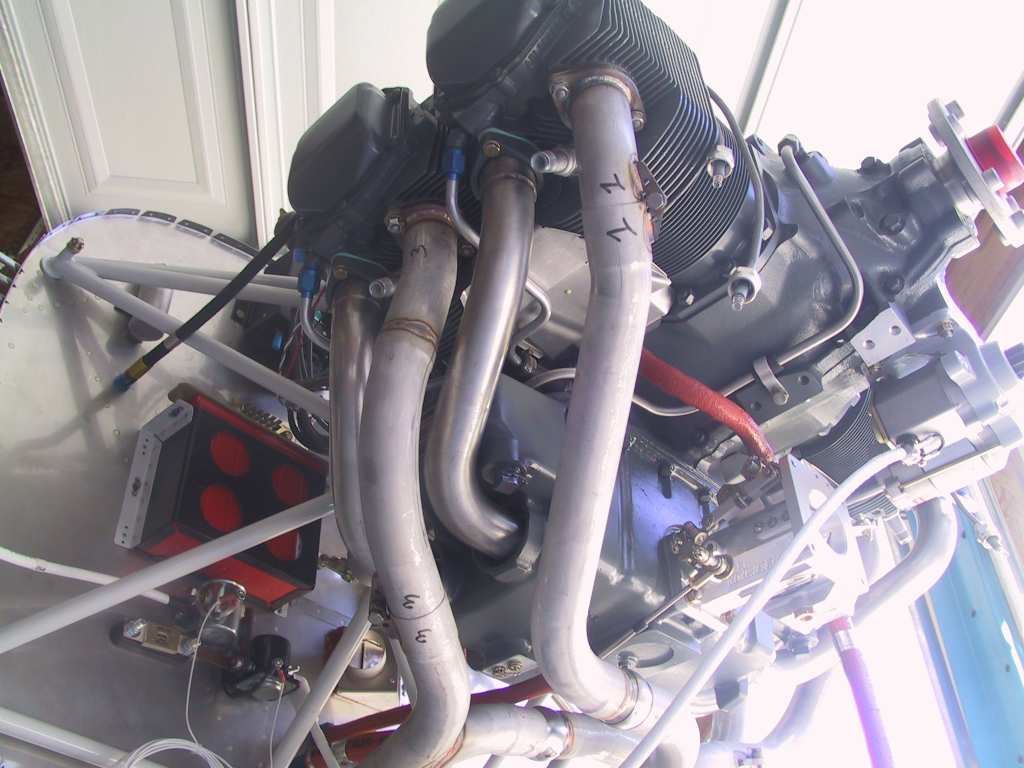
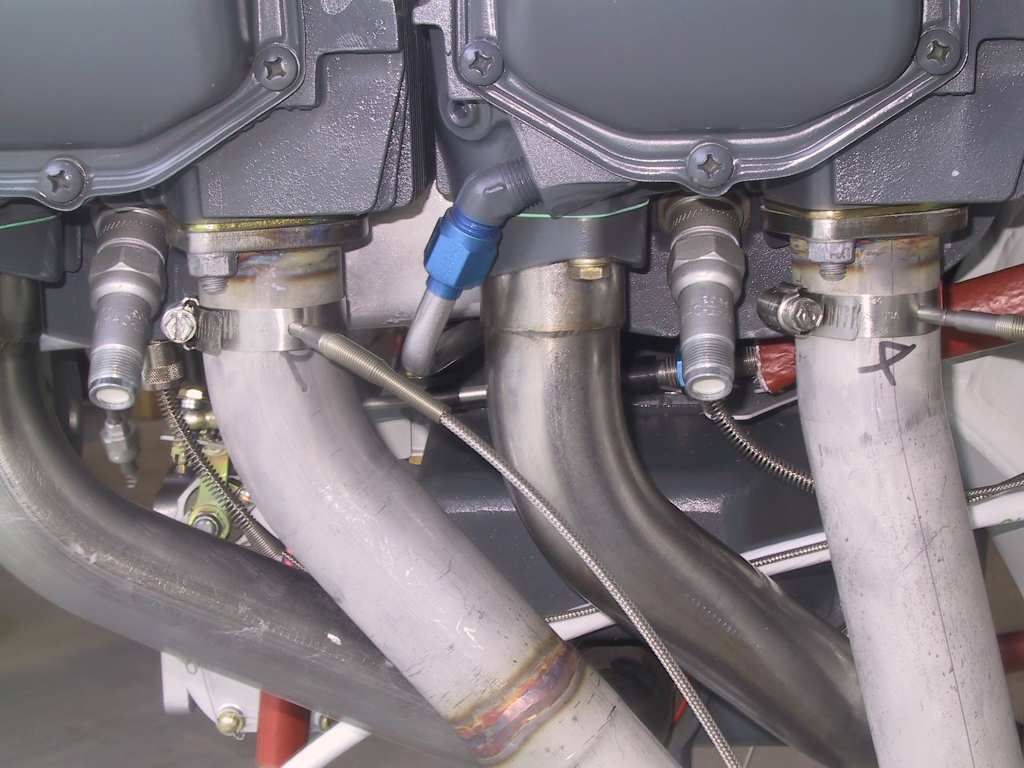
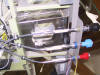
My replacement exhaust and baffling came from Vans today, so
why not mount it? I figure that you should get the permanent,
non-moveable parts on the engine first before running wires etc. The
exhaust went on without a hitch this time. Unfortunately some of the
nuts on each cylinder are very hard to reach. I was able to get a
wrench and even the torque wrench on all of them with some adaptors.
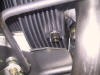
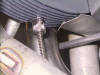
Here's a shot of the exhaust just finger tightened.
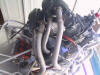 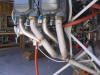
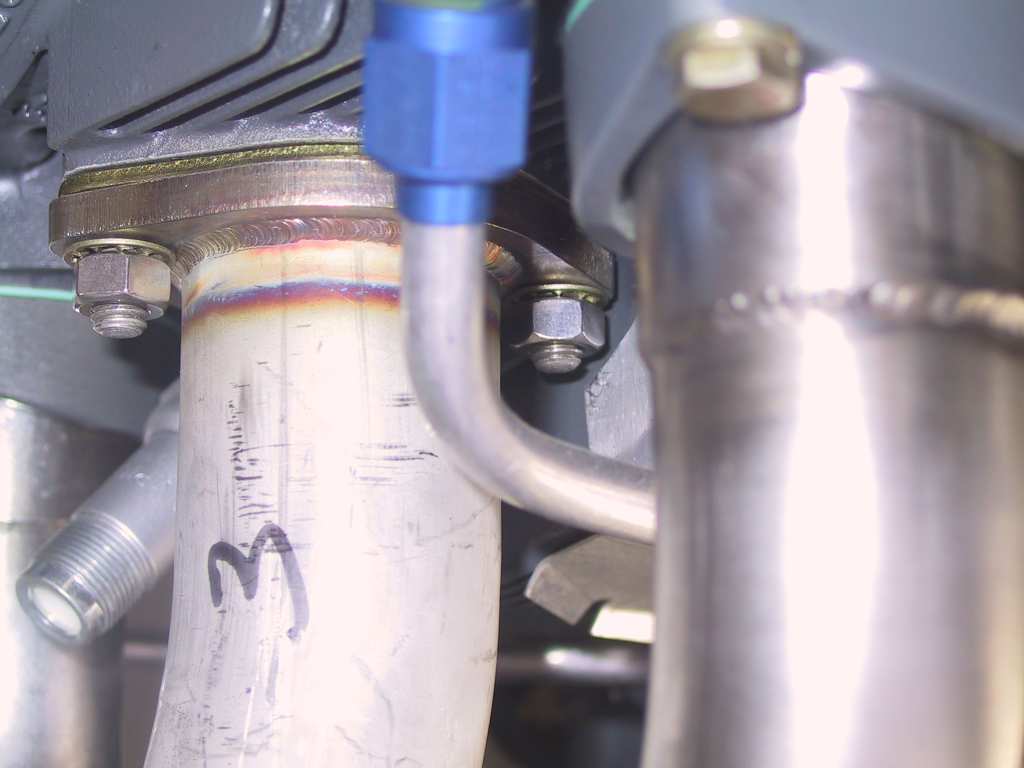
And a shot of the tougher nuts to reach
There is a clearance issue with the exhaust and the throttle cable.
I'll have to place a heat shield here.
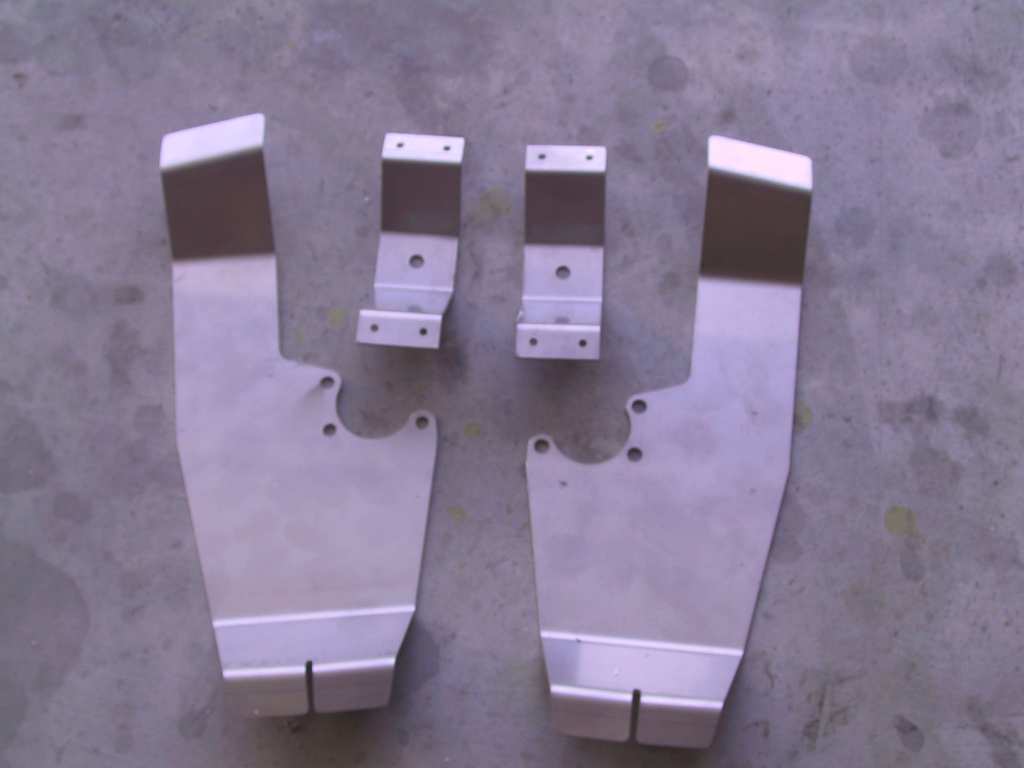
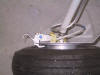
A shot of attawayair.com stainless wheel pant brackets. These are
so much stronger than the aluminum ones Vans sells. I'm really pleased
with these. I'll mount them tomorrow. And here's a shot of the
bent one that we had a slight mishap with.
Final thing for the night was to install the CHT probes. I
purchased some anti-seize from Pep Boys tonight and installed the receptors
into the cylinder heads with a liberal coating. I also did this with
the exhaust when I torque them up as well.
Well I'm already having Pops withdrawal. Dad left on Saturday,
bummer. I really could have used his help tonight. I had to do a
test fit of the canopy with the rear window. David stopped by to help,
but it's not the same thing as having Dad around. On top of that,
there's some dirty laundry and dirty dishes in the sink (the laundry is not
in the sink). That would never happen if Pops were here.
Fortunately he and Mom will be back in January when my cousin from France,
her husband and child come for a couple of weeks. I'm really looking
forward to that. Thanks Pops for all your help the past month! I
can't say how much I love you and mom. |
| 9/9/04 |
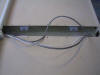
EGT probes installed. I have them one inch down from
the flange on the exhaust. I've read lately that 2 to 3 inches is
better. I guess the only drawback is a burned out probe a bit faster
than usual. We'll see... The holes were drilled with a #30 bit.
 |
|
9/12/04 |
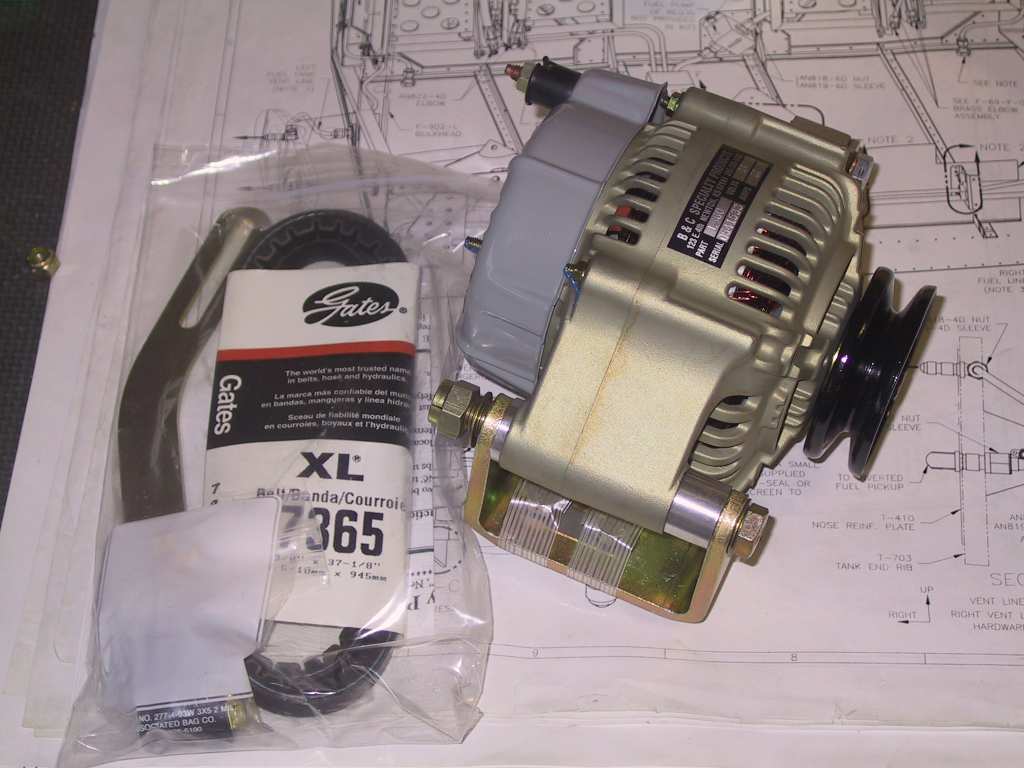
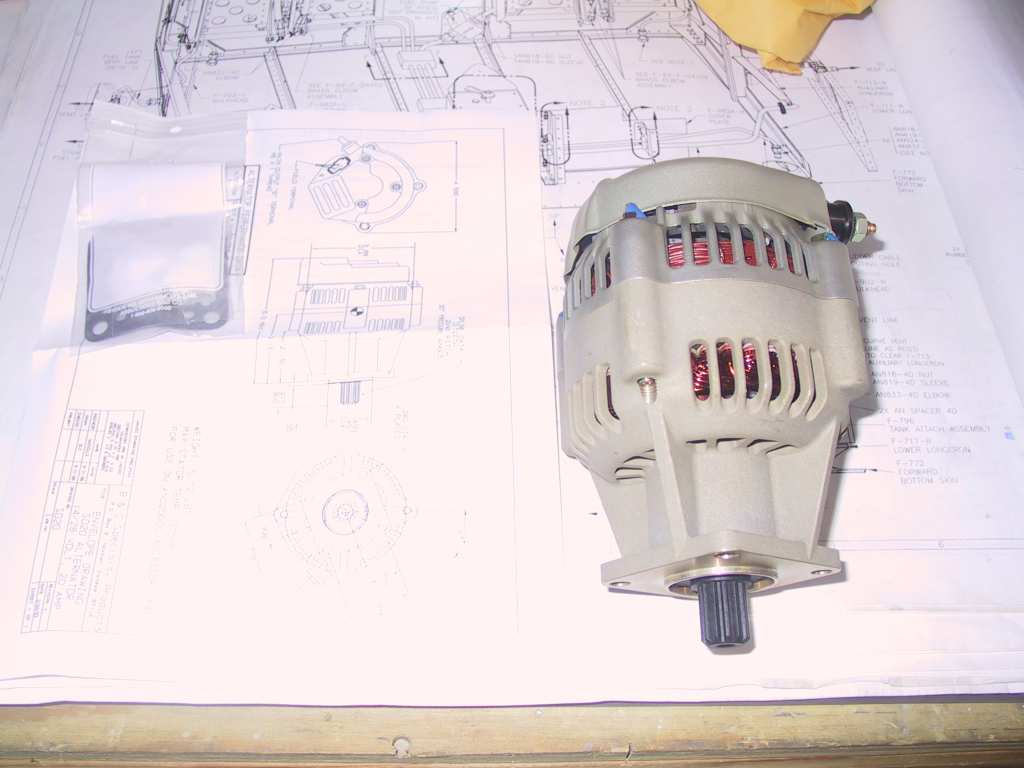
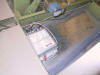
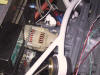
Received my expensive order for a 60 and 20 amp externally
regulated alternators from B&C. Geesh these are expensive. I
hope I never have to replace them.
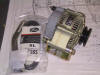 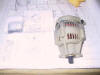
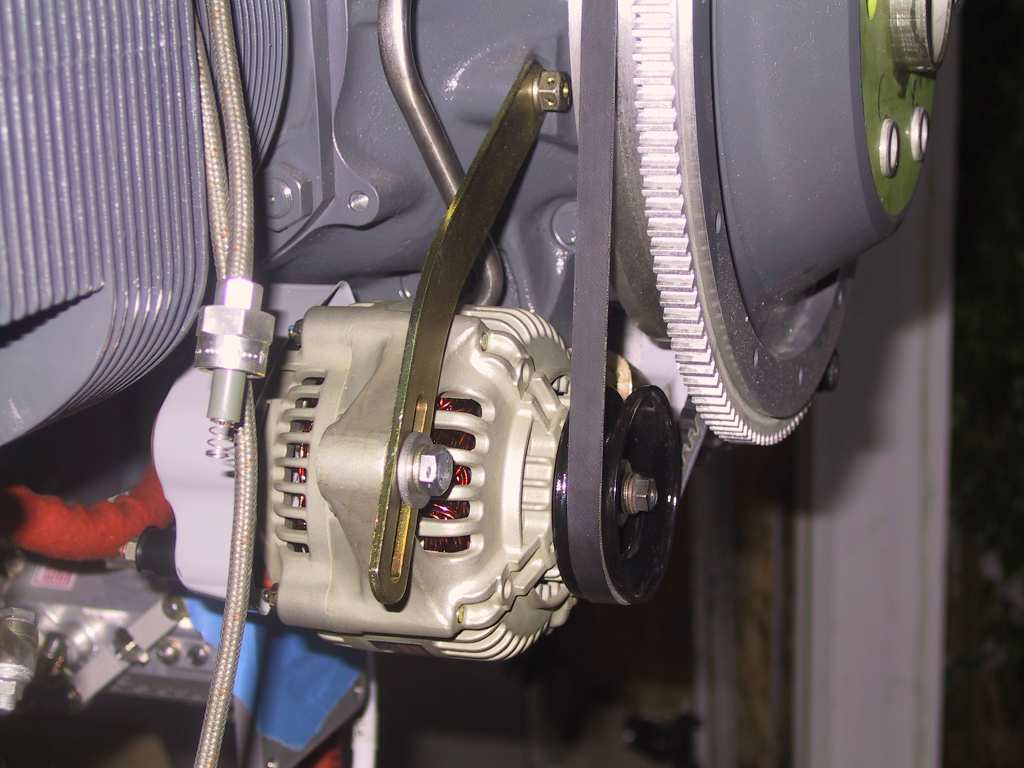
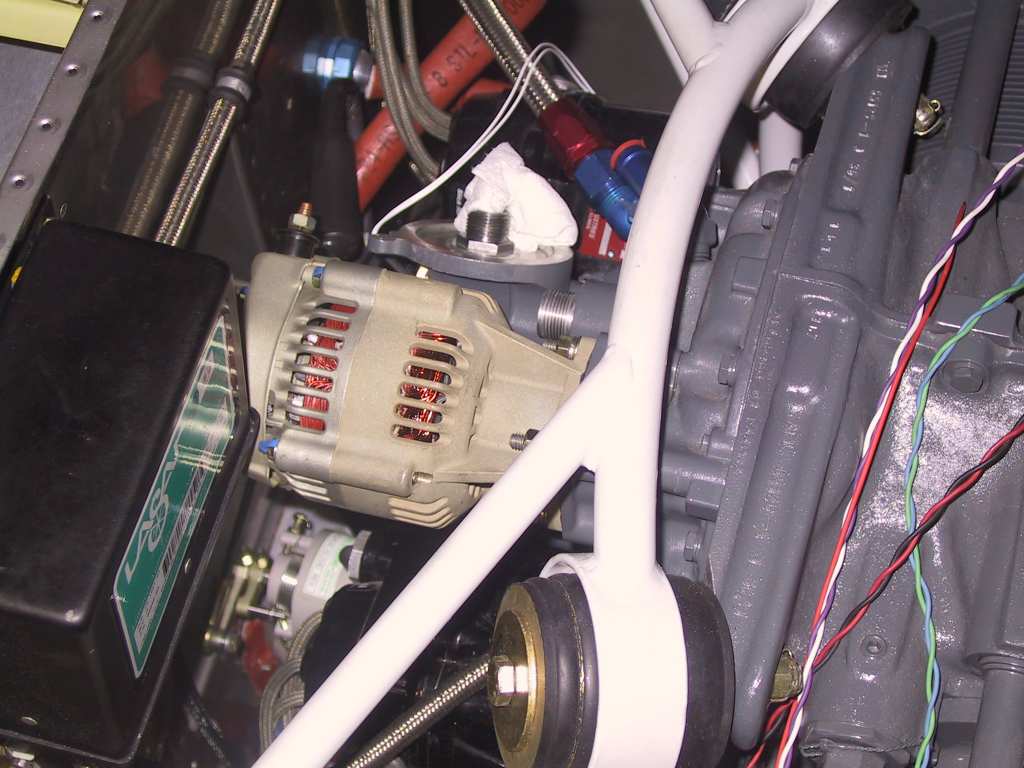
I temporarily fit the 60 amp alternator to check it's fit with the
supplied belt. It's perfect.
  |
| 9/14/04 |
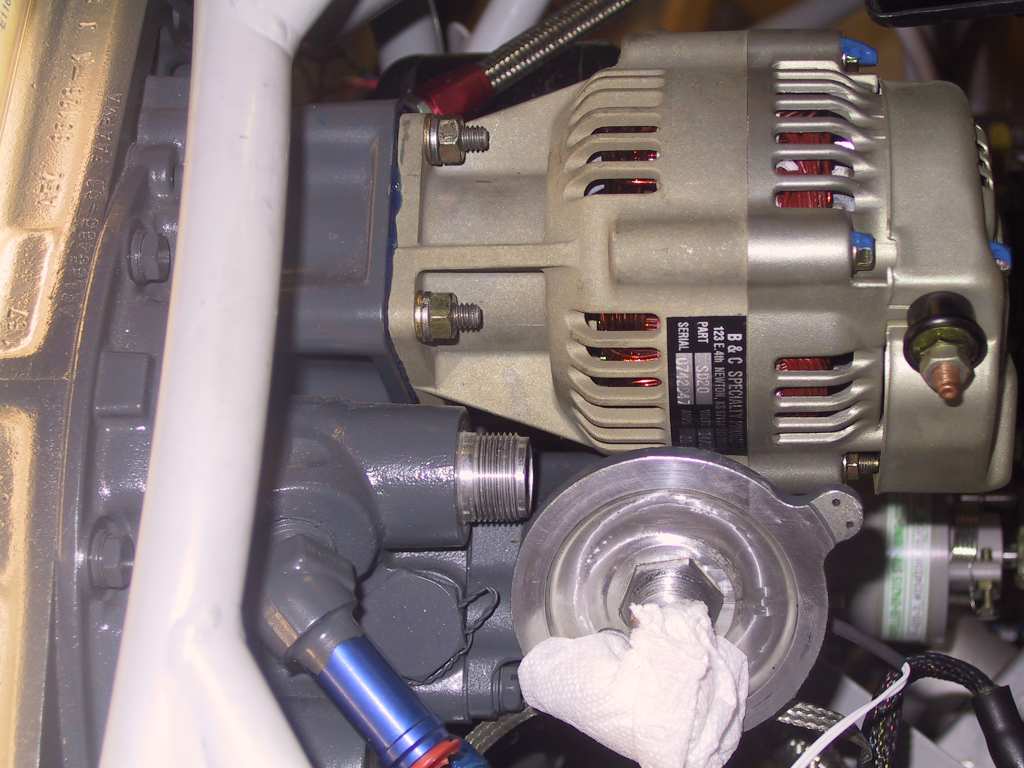
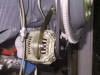
If I had one word to describe how hard it is to install the
last bolt on the stand-by 20 amp B&C alternator it would not be fit for
print. I spent 4 hours trying to get the last nut on. I finally
decided that new tools had to be made for this installation.
You can't get a hand under the alternator to get the bolt closest to the
Oil filter and on the bottom. It's really really really really really
a pain in the Ass. I hope that for as long as I own this airplane that
I never never never never never never ever have to take this off. If I
do, then I will let a certified A&P have his day and I will gladly pay him
whatever he chooses to ask in the form of payment. I am glad this is
over.
   |
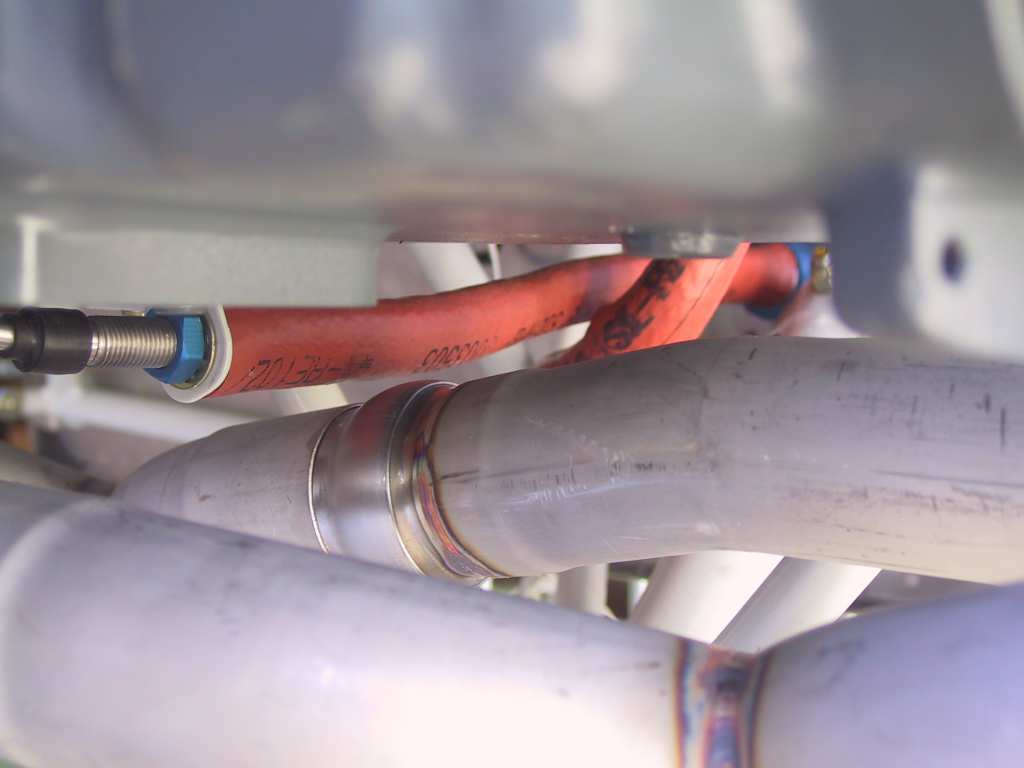
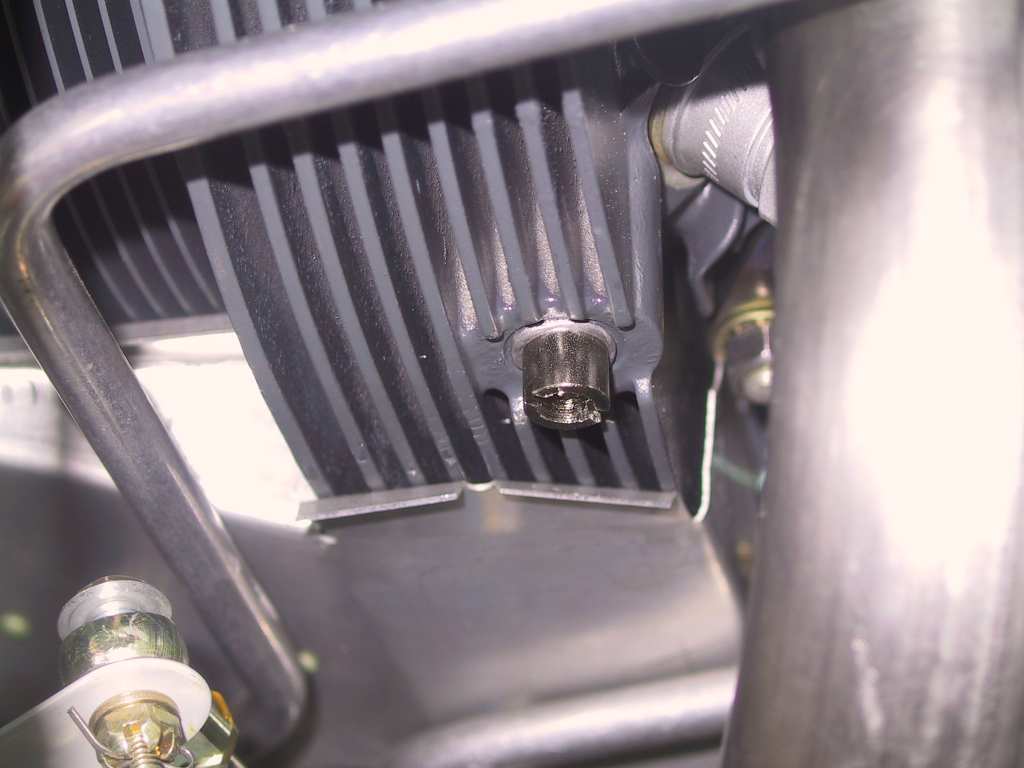
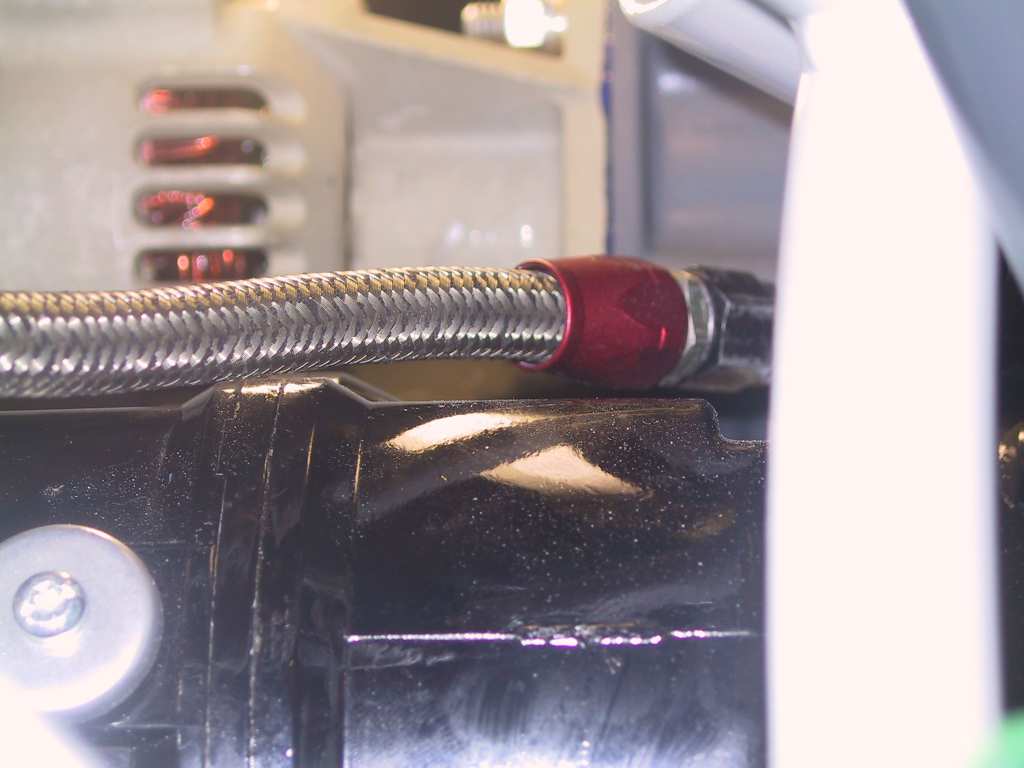
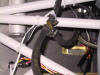
| 10/23/04 |
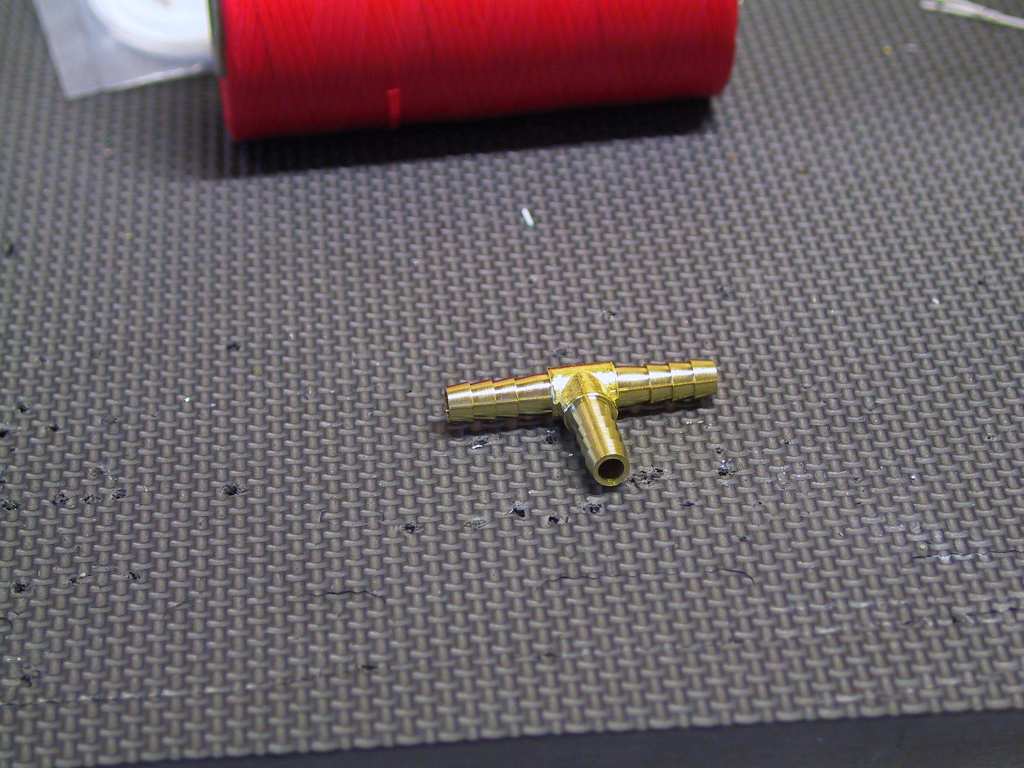
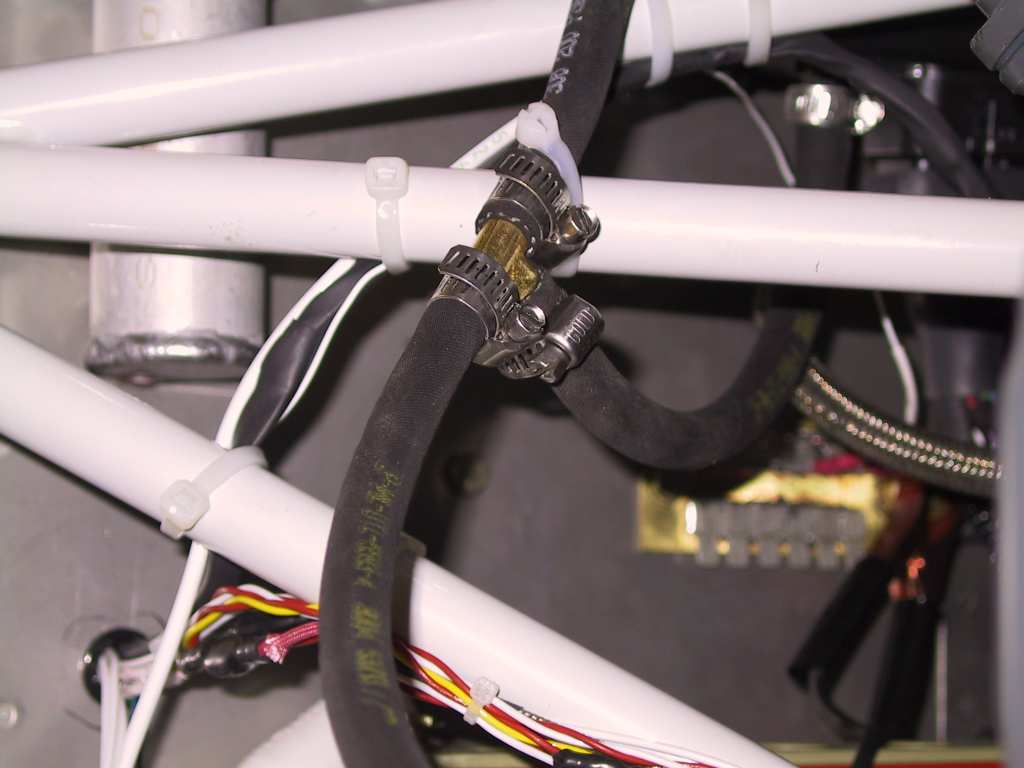
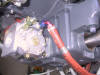
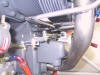
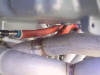
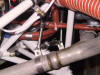
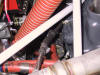
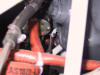
I finally got the brass Tees I ordered from
McMasterCarr. I'm using these
to plumb the manifold pressure tubing. I need to tee off the line
for the LASAR ignition and for the EIS4000 manifold pressure sender.
Trouble is that the LASAR is on the forward side of the firewall and the
EIS mp sender is on the cabin side of the firewall. So I ran the
line with a restrictor fitting off the port on cylinder 3. The
fitting on the cylinder is a hose barb fitting. Ran that a bit to
the engine mount then placed the brass tee, again hose barb fittings.
One side of the tee goes to the barb fitting on the LASAR box and the
other goes to a barb fitting on the firewall. All the barb fittings
are 1/4".
   |
|
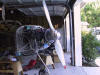
10/28/04 |
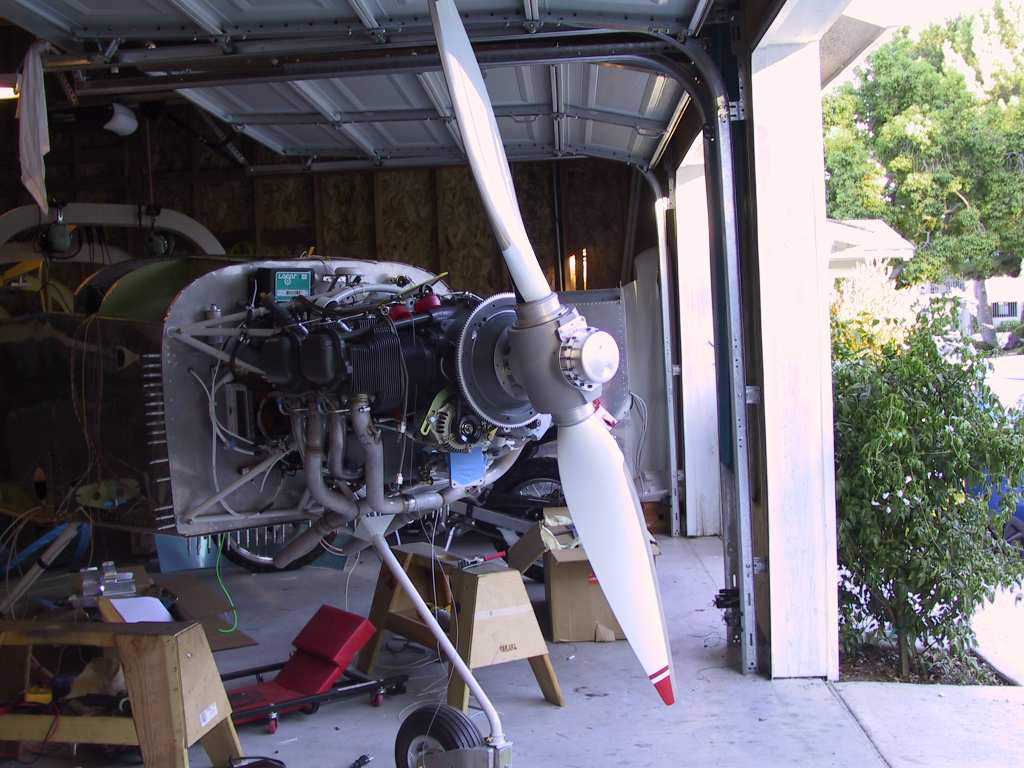
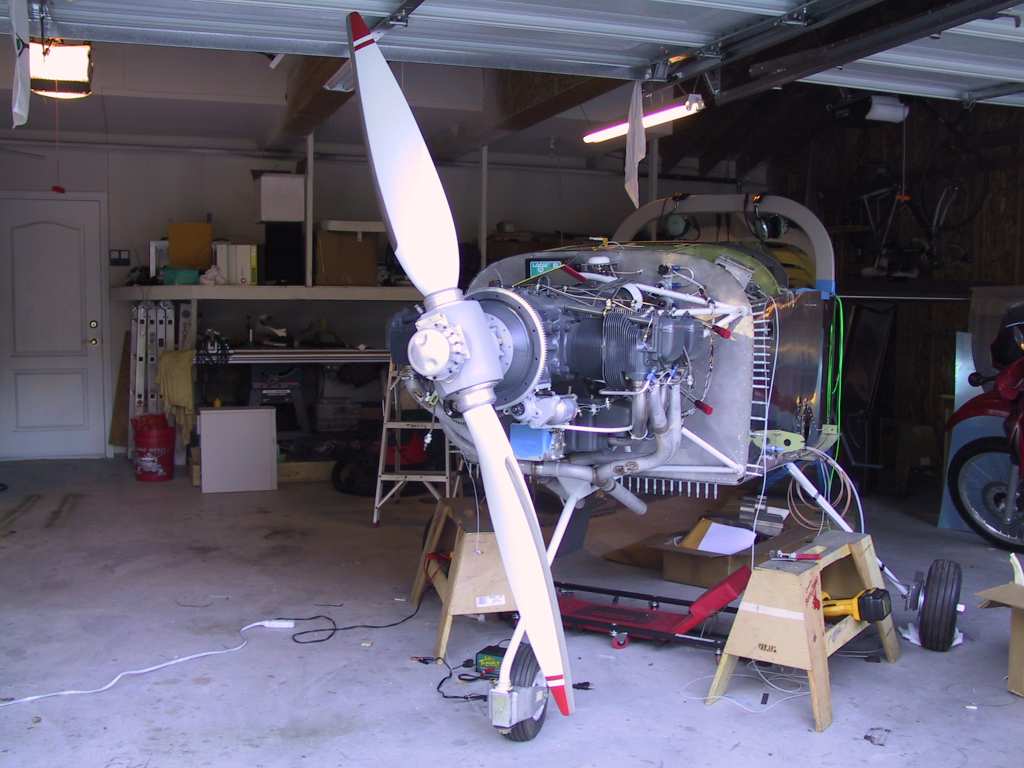
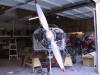
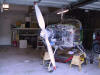
Well I'm still waiting on electrical supplies so nothing
to do but mount the prop! What's nice about this prop is that you
don't need a hoist for it. It's light as a feather compared to the
Hartzell. A true one man job. But tightening 6 bolts 1/8 of a
turn at a time is a drag. I'm putting this on now because the next
job is the cowling. Finally, almost done with the wiring.
   |
|
11/6/04 |
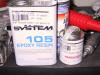
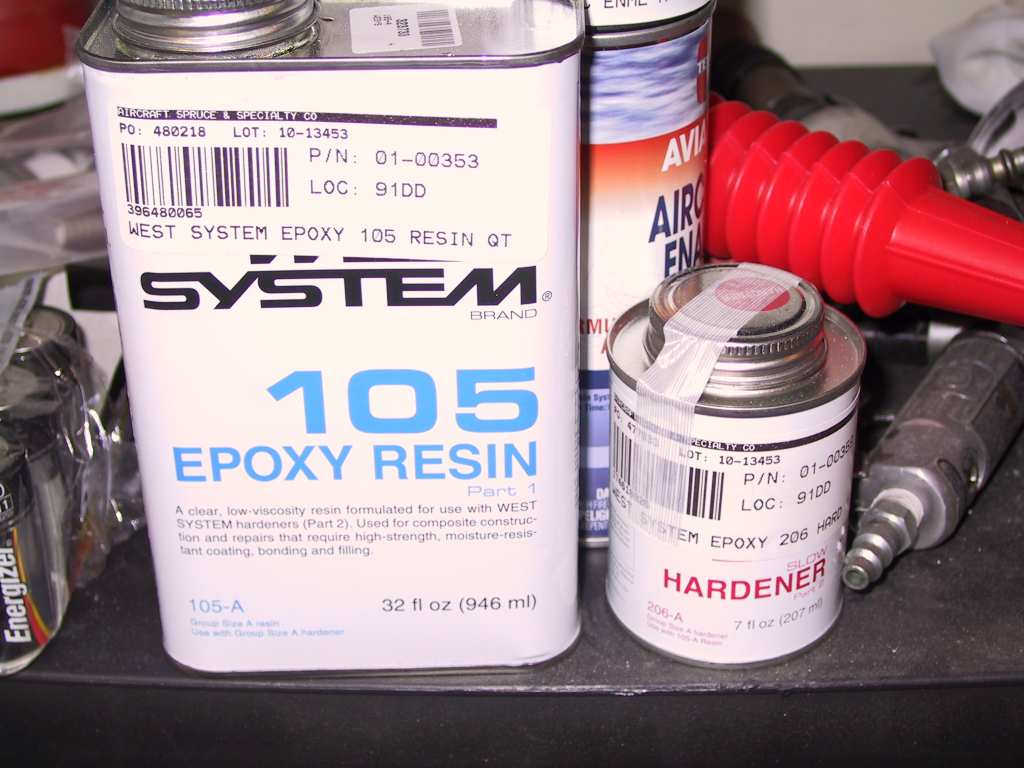
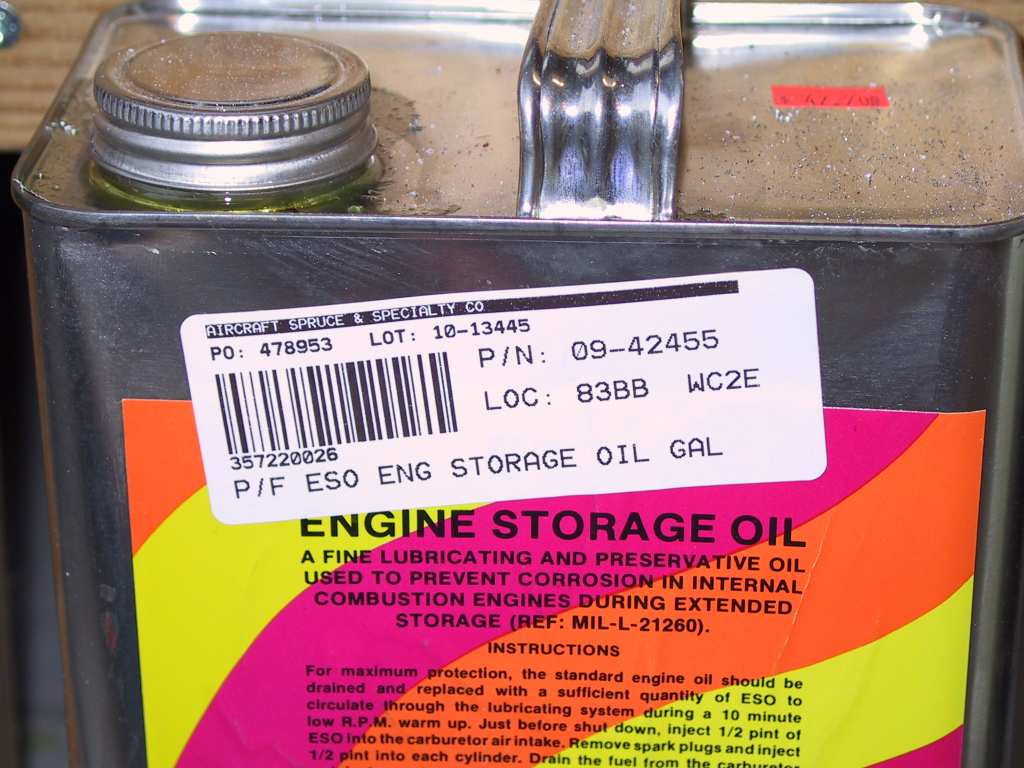
Since I'm still 6 months away (just guessing, it could be next Wednesday)
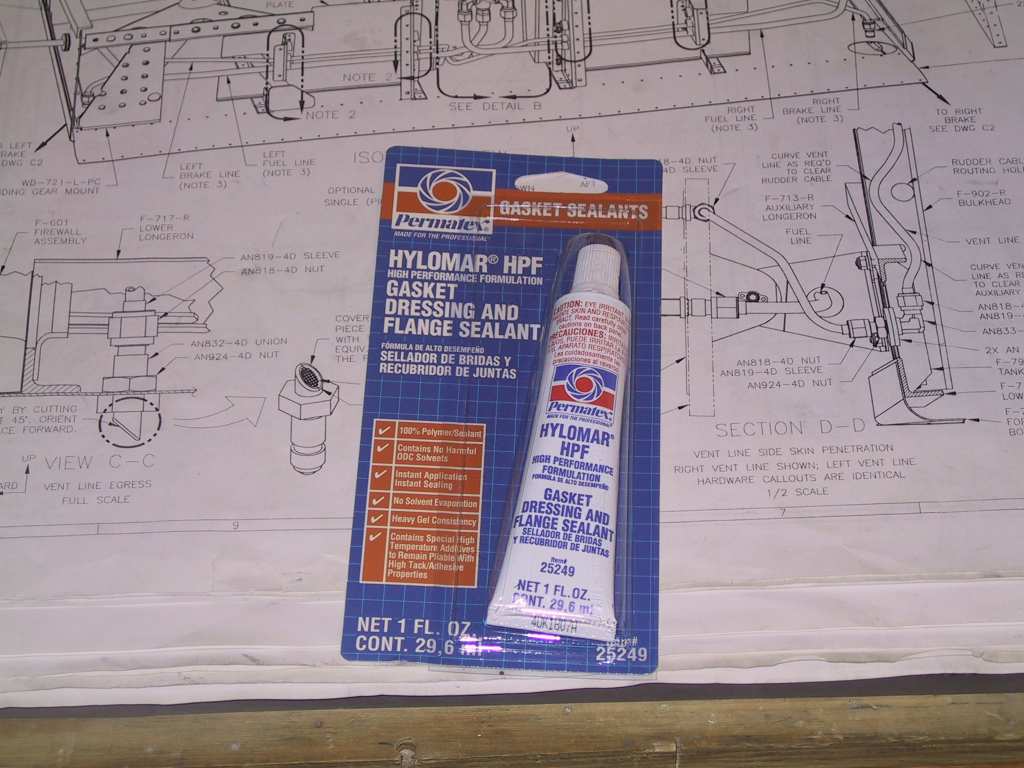
I want to preserve the engine as best as I can. It's been sitting
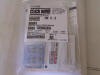
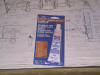
here for 5 months :(. Here's what I bought. I intend to spray
it as best as I can in each top spark plug hole, oil filler and oil
filter.
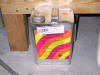 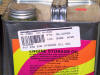
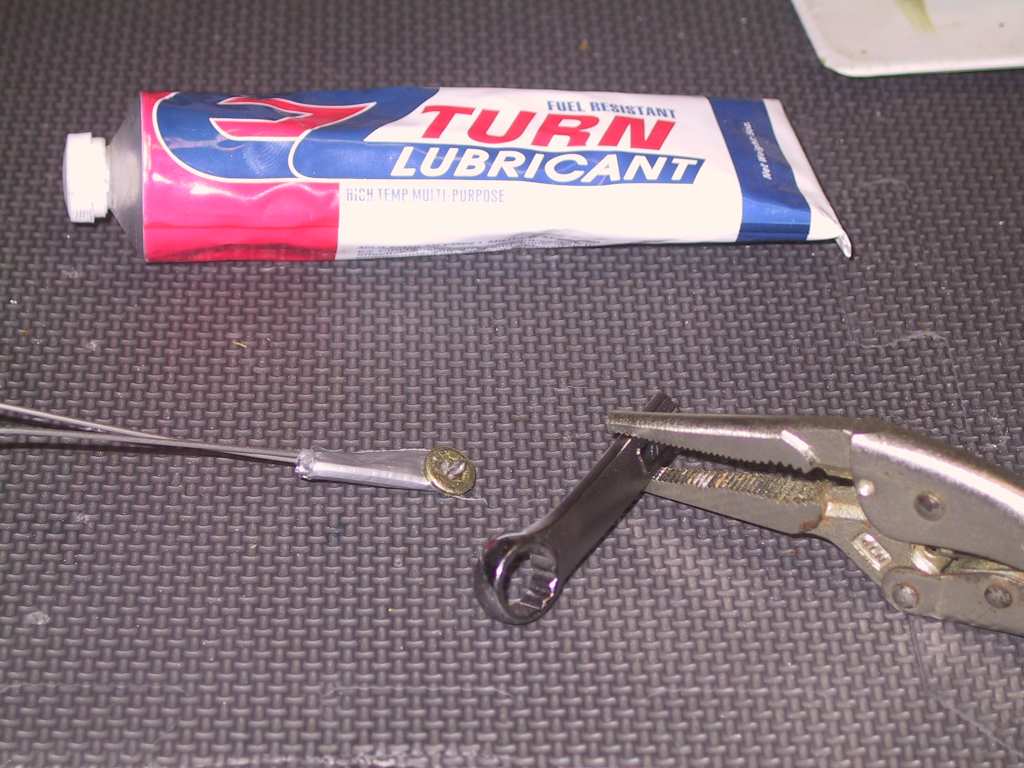
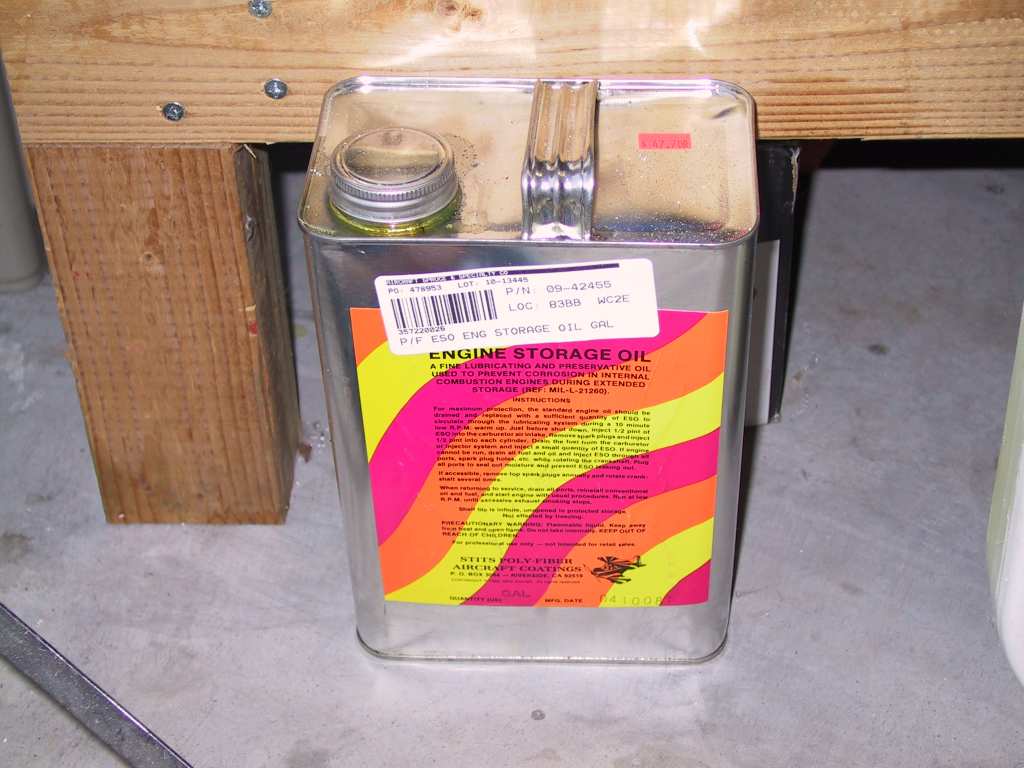
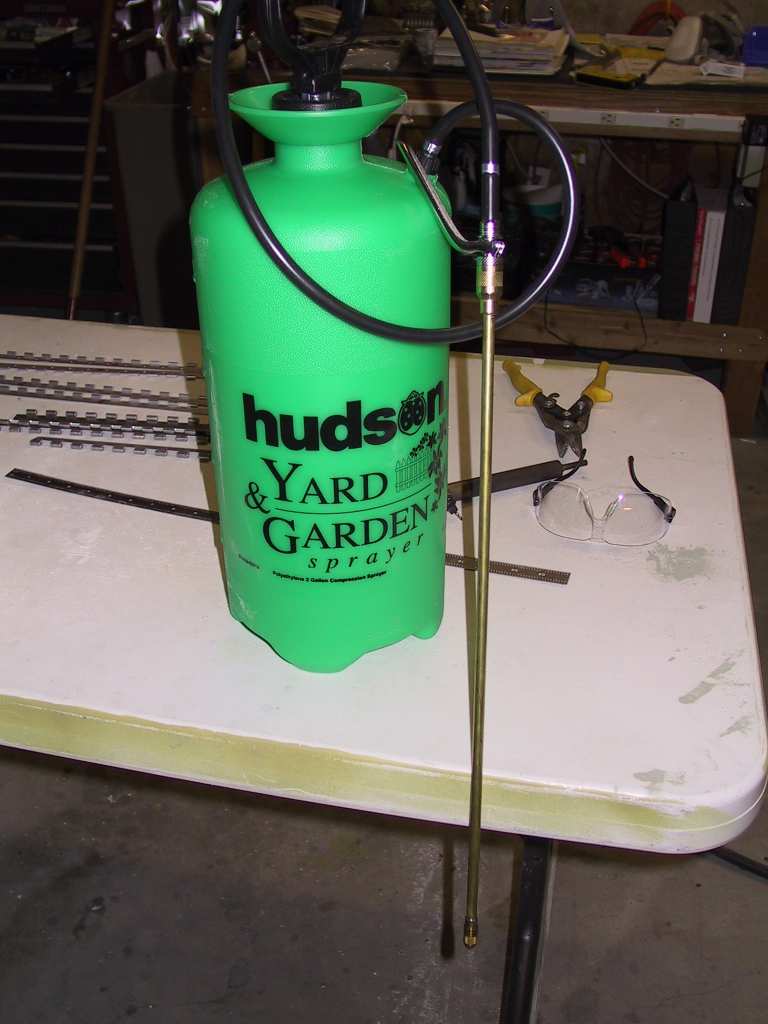
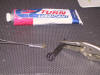
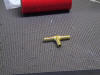
I also bought this from some gardening store to spray it into the
engine. The sprayer end was bent at a 30 degree angle so I
straightened it so I could spray down the oil filler tube.

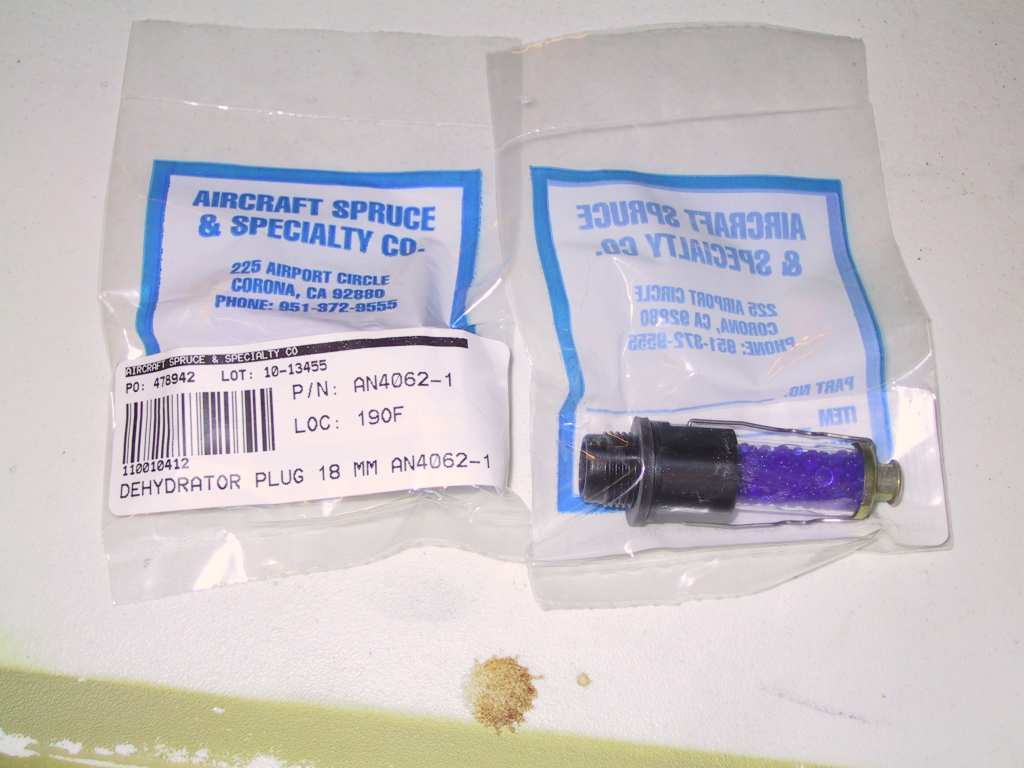
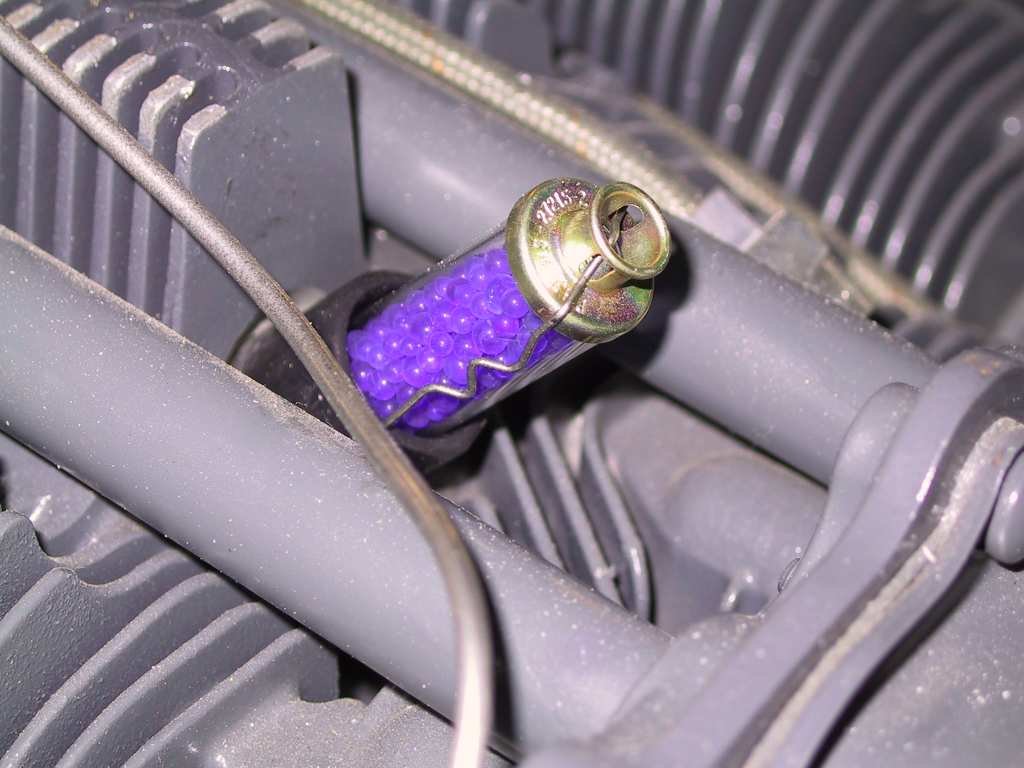
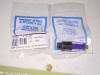
I bought four of these little suckers to suck any moisture out of the
cylinders. They turn pink when they've absorbed any moisture.
You simply bake them in the oven to evaporate the moisture and return them
in place on the engine afterwards.
  |
|
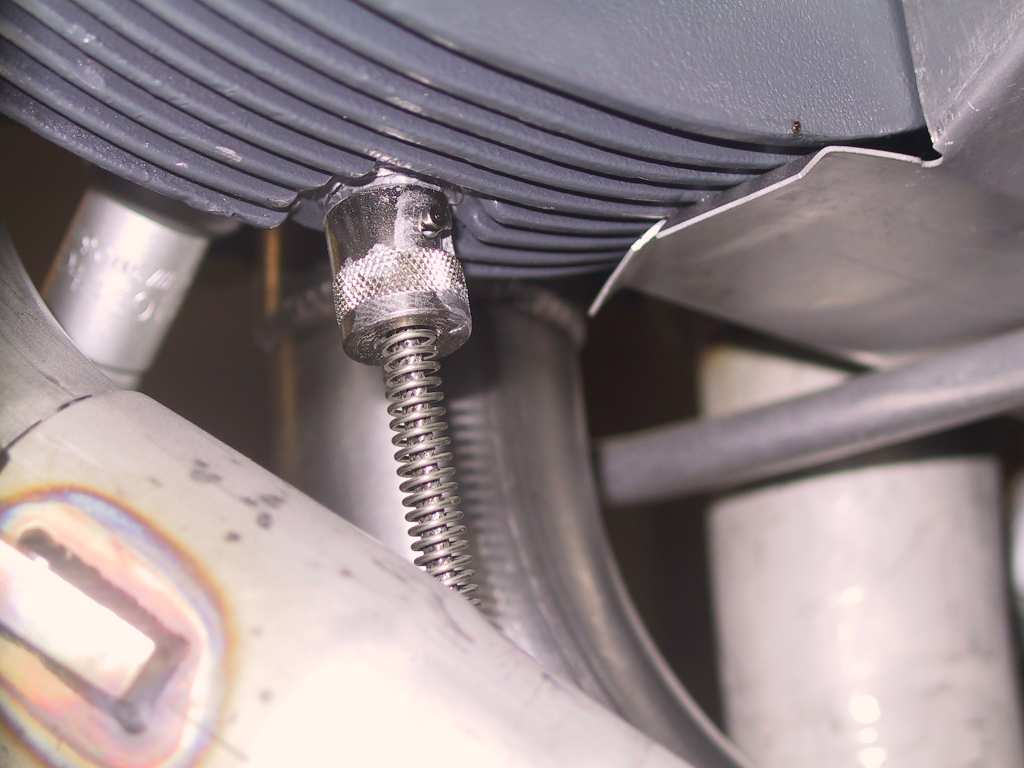
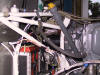
3/13/05 |
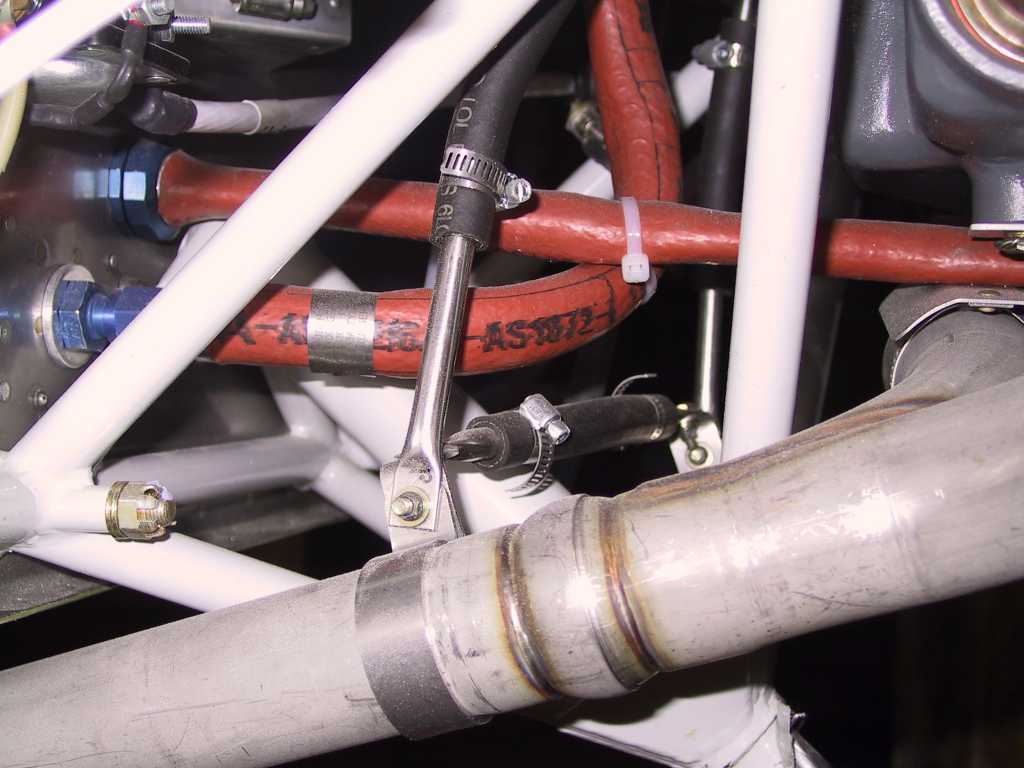
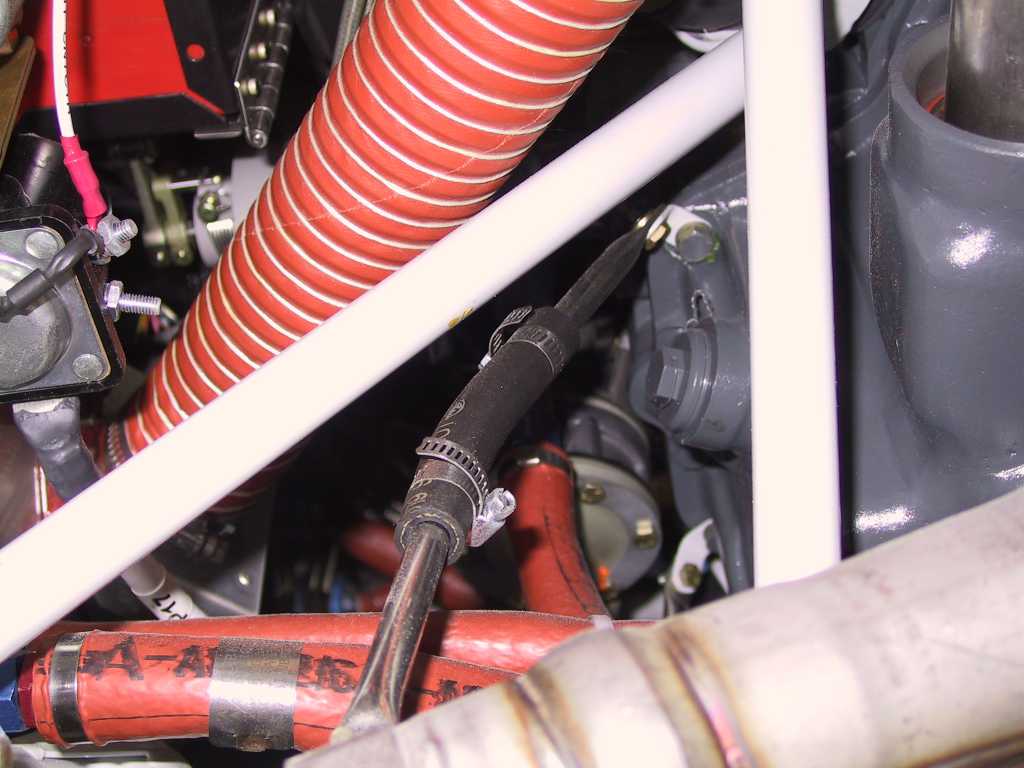
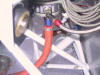
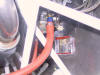
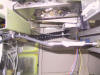
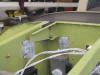
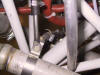
I have already mounted the exhaust hangers but
really did not take any good pictures of how they are installed. I've been
asked by some folks for examples of how they are installed so here you go,
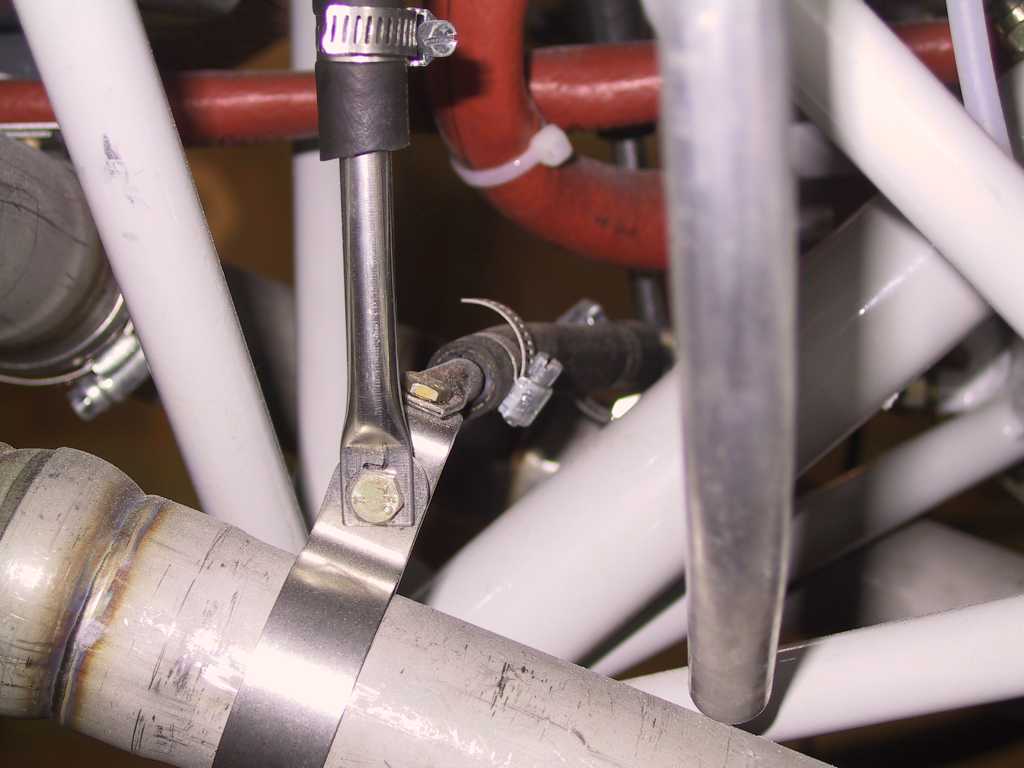
pictures a la mode. View looking from the right side of
the plane, how they are attached to the exhausts and each other.
 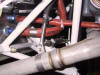 
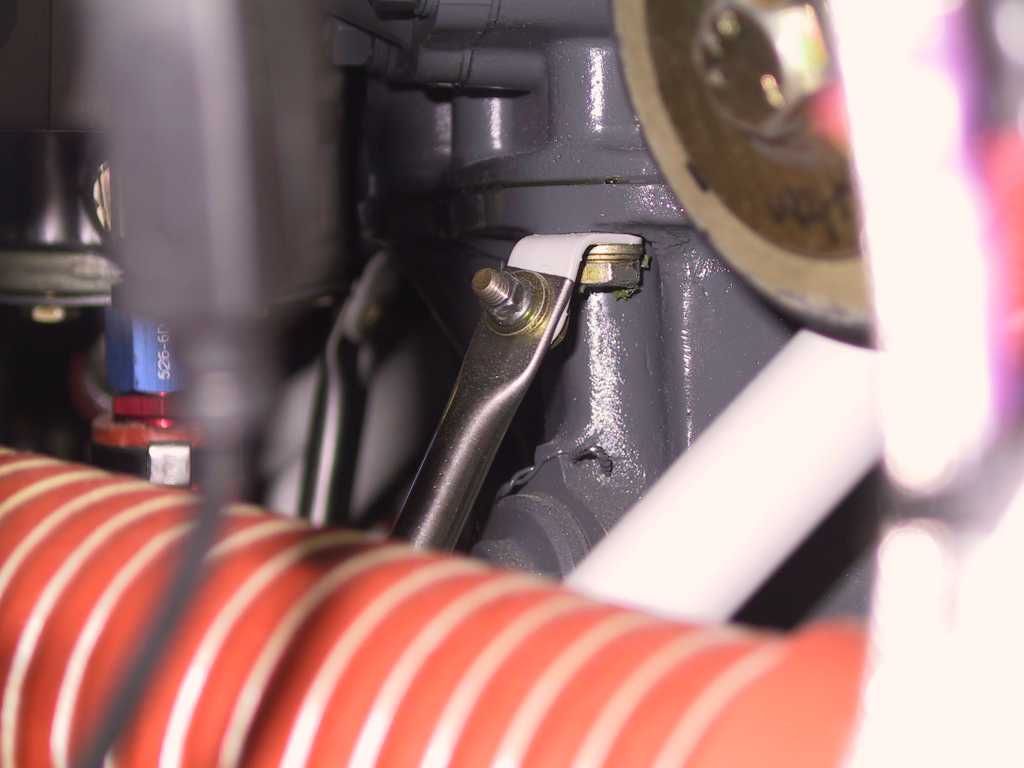
How the hangers are attached to the engine.
Left side.
 |